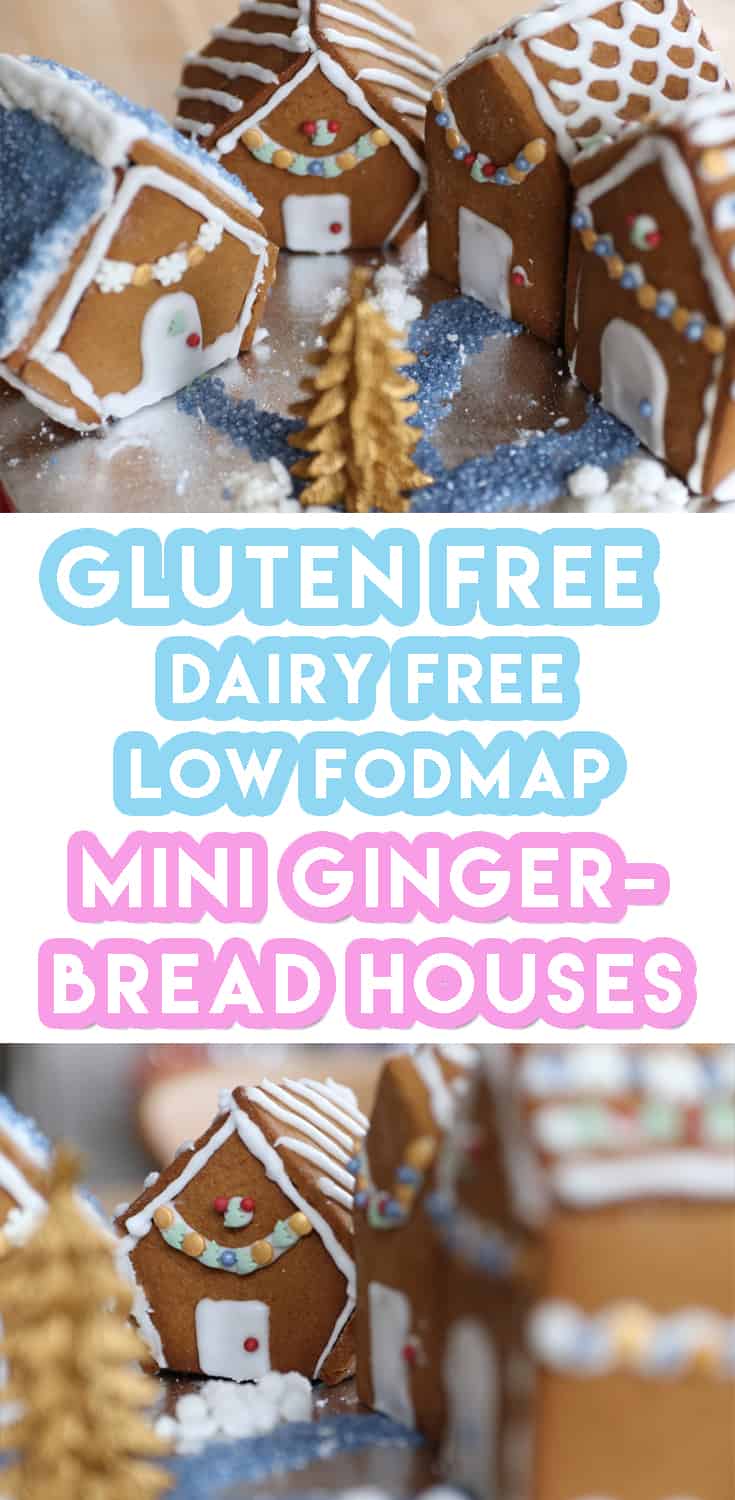
My mini gluten free gingerbread houses are really fun to make, super simple and delicious, all under one roof. My gluten free gingerbread is strong and holds perfectly. This recipe is dairy free and low FODMAP too.
Who doesn’t love making gluten free gingerbread houses at Christmas?! It’s one of those little festive activities that guarantees to get you into the festive mood (Christmas music and movies on repeat whilst decorating are optional, but highly recommended)
There’s two sides to creating my gluten free mini gingerbread houses: the baking and the making! Thankfully, baking each individual biscuit for your gingerbread houses is no more complicated than baking any other gluten free biscuit.
You start by melting dairy free margarine, dark muscovado sugar and golden syrup. Once melted, you simply add this to your dry ingredients and bring together into a ball of fiery, ginger goodness.
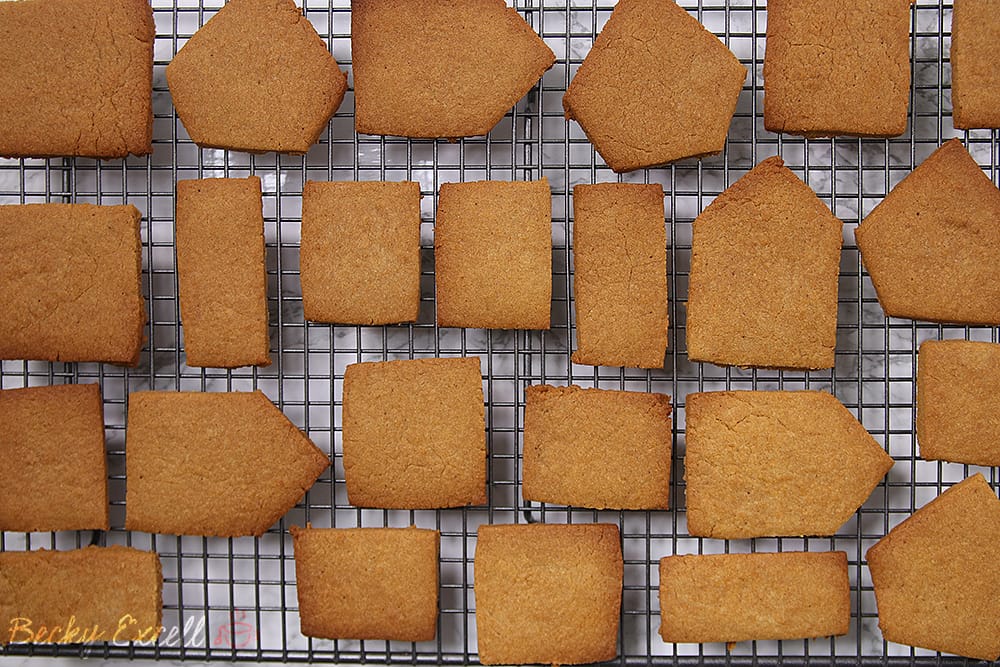
After giving both you and your dough ball a little chill time, you roll it out, cut your shapes using my template and bake them in the oven. Even Rudolf could manage this recipe and he doesn’t even have opposable thumbs.
Once your biscuits have cooled, now the fun begins… constructing and decorating! It can be a little tricky at first, but it’s really quite simple if you follow these handy tips.
Firstly, make sure you’ve got a cocktail stick or two handy. You can use them to drag your piped icing out a little, into your desired shape. This is particularly useful when trying to make shapes for the doors and you don’t pipe a perfectly squared rectangle first time. You can then use the cocktail stick to drag out the corners so that they’re not so rounded.
Obviously, you’ve got to decorate your mini gluten free gingerbread house pieces before you put the house together!
Done decorating? Make sure you leave all of your icing to dry for 15 minutes or more before you start constructing your gluten free mini gingerbread houses.
Now comes the construction (no need for a hard hat). I’d recommend icing two pieces together at a time, then leaving them to dry (preferably with something supporting it so it doesn’t fall) for about 10 minutes. Then you can continue to add the next piece and so on.
I usually start by icing together the front and one of the sides in an ‘L’ shape, then put something like a spice pot against it to support it. Trust me, this works wonders. Otherwise, the bond will tend to wain under the annoying power of gravity.
If you have unlimited time and patience here, you can always guarantee a perfect, beautifully structured house that could easily go for £750 per calendar month on Homes Under The Hammer.
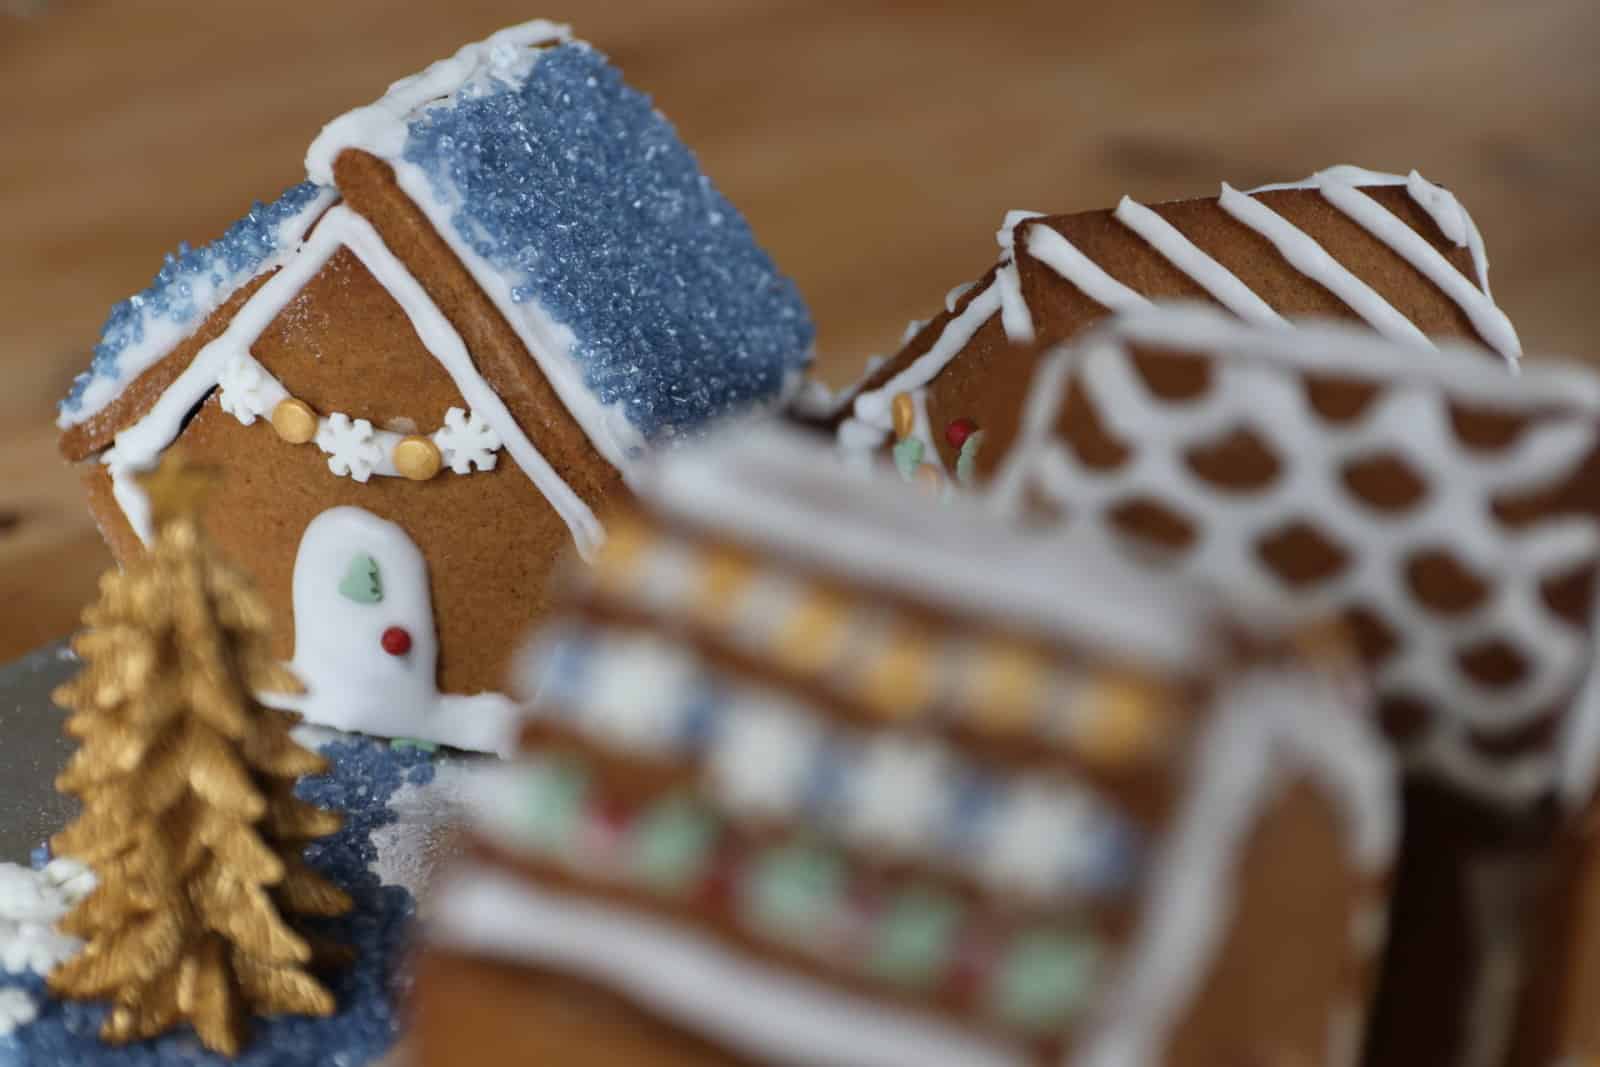
Just repeat until you have an entire winter wonderland like mine!
The icing is simply two ingredients – egg white & icing sugar. I use this mixture for both the ‘glue’ (sticking the house together) AND for much of the decoration (windows, doors, roofing). It’s very easy to handle in a piping bag.
I used lots of little edible decorations on my gluten free gingerbread houses. Always make sure they are gluten free as some do contain wheat starch strangely. So always check the back of any cake decorations in the baking aisle first.
I don’t personally think that making this gingerbread gluten free makes it any more difficult to work with the dough at all. I did add in a 1/4 of a tsp of Xanthan gum to the recipe just to be on the safe side and it worked famously.
I must also add the gingerbread itself is actually vegan too as it contains no dairy or egg. If any vegans out there have another way of making royal icing (mine I make simply from egg whites & icing sugar) then you could very easily make this gluten free gingerbread house vegan as well.
This recipe is a 100% gluten free and dairy free gingerbread house though so perfect for Coeliacs, gluten intolerants, lactose intolerants, those with a milk allergy and those who can eat everything (it definitely tastes no different from if it did have gluten in it.)
Oh & one more thing… of course I’ve got my own templates for you to use to make your very own gluten free gingerbread houses, just click here to view them, print them and cut them out!
Anyway, enough chat, lets all give these mini gluten free gingerbread houses a go! What will you name your village?! Mark and I named ours ‘Snowington Gingerville’. Want a more soft and chewy gingerbread recipe? Give my gluten free gingerbread men recipe a try!
Mini Gluten Free Gingerbread Houses (Dairy Free)
Ingredients
For the gingerbread
- 300g gluten free plain flour
- 1 tsp bicarbonate of soda
- 1/4 tsp xanthan gum
- 2 heaped tsp ground ginger
- 125g dairy free hard margarine I use Stork Hard Margarine
- 3 1/2 tbsp golden syrup
- 100g dark muscovado sugar
For the icing
- 1 large egg white for the icing
- 250g icing sugar for the icing
- cake decorations / sweets of choice for decorating
- piping bag
- paper templates available within the blog post
Instructions
- In a saucepan melt the hard margarine, golden syrup and dark muscovado sugar
- Whilst this is melting, mix together your dry ingredients - gluten free flour, xanthan gum, ground ginger and bicarbonate of soda.
- Add your melted mixture to the dry ingredients and stir together.
- The mix should form a dough (& smell lovely and gingery!) using your hands, bring the dough together into a ball.
- If the dough is still a little warm (due to the melted mix being hot when you poured it into the dry ingredients) allow the dough to cool down a little before wrapping it is clingfilm and placing it in the fridge to chill briefly (15 minutes).
- Remove the dough from the fridge, allow it to warm up a little at room temp before handling it.. Split the dough into small chunks - it's easier to roll out like this. Also before I roll the dough out I like to 'play' with it a little & mould it in my hands to warm it up - this is important 🙂
- Place some non stick baking paper down and roll your dough out to about one pound coin thick.
- Place your templates on the dough and carefully with a sharp knife score around them. Then remove the template and properly cut the dough out, removing excess dough from around the edges - this can then be rerolled for the next shapes.
- Once you have all your sides, roofs and fronts cut out, lift the baking paper you rolled them out on, onto a baking sheet. (Don't lift the dough without the baking paper at this stage)
- Place your shapes in a preheated oven (180 C fan) for around 10 - 12 minutes (until the edges are a little darker - this might happen sooner)
- Once cooked take out and leave to cool.
- Whilst they are cooling make your icing - simple mix your egg white with the icing sugar until it becomes a thick paste.
- Place your icing in the piping bag.
- Whilst your gingerbread is still flat ice the detail onto each shape. Leave this to set for at least 15 minutes.
- Pipe icing along the joins of the walls (just the fronts and the sides at this stage, not the roof) and assemble into a house. (You can use objects to support the structure whilst this is drying - I often use spice pots) Be careful to not touch the decoration you did in step 14 - it's still delicate! Leave this for a further 15 minutes to set.
- Pipe icing between the two roof shapes and delicately place on top. Try not to move the house for another 20 - 30 minutes so it can completely set and hold together.
- Repeat for further gingerbread houses until you have made your entire gingerbread village.
Notes
Thanks so much for checking out my mini gluten free gingerbread house recipe! Mark & I had a great time making these… relationship building 10/10! In this instance we made it for Christmas, I mean Christmas gluten free gingerbread just had to be done, however, this recipe would work really well throughout the year for making any sort of gluten free gingerbread structure.
I would absolutely love to see your gluten free gingerbread house creations! So make sure you take a photo and send it over to me, or just tag me in your photos on social media 🙂
Any questions about the recipe? Please do let me know by leaving a comment below or on Facebook / Twitter / Instagram!
Thanks for reading,
Becky xxx
Oh and don’t forget to pin this for later!
