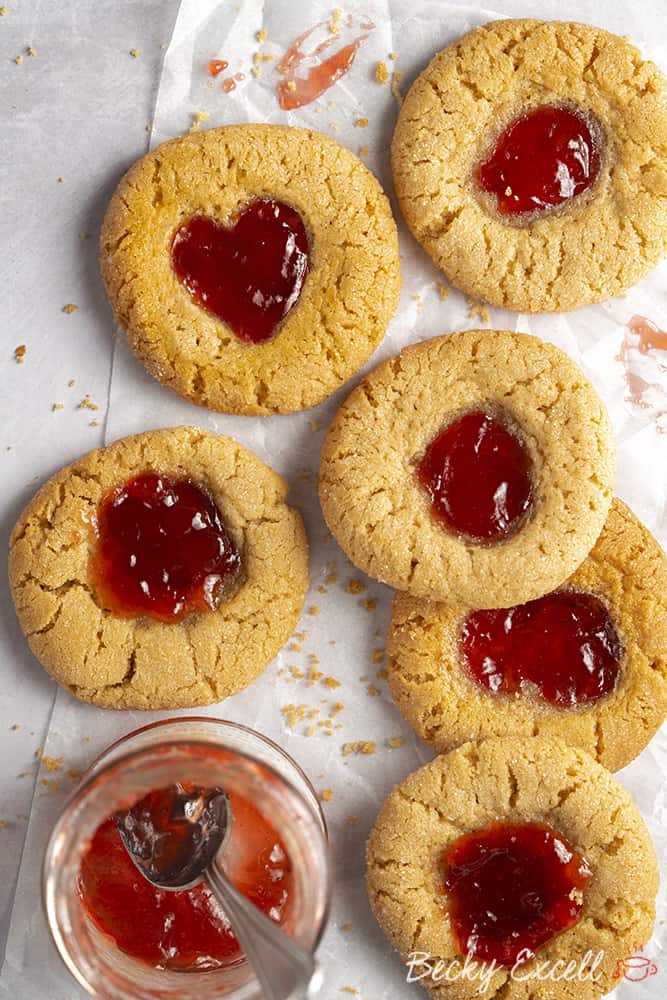
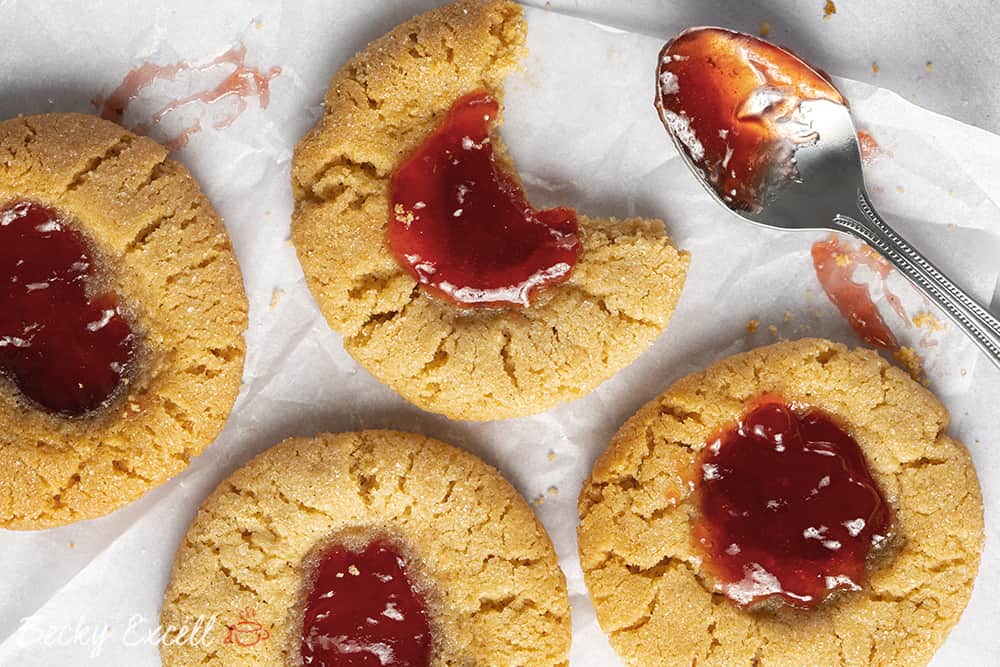
Peanut butter and jam gluten free thumbprint cookies recipe – it’s finally here! These chewy cookies are packed with peanut butter flavour and a lovely splodge of hot jam in the middle – it’s the ultimate combo. Plus, they’re low FODMAP and you can easily make them vegan and dairy free too.
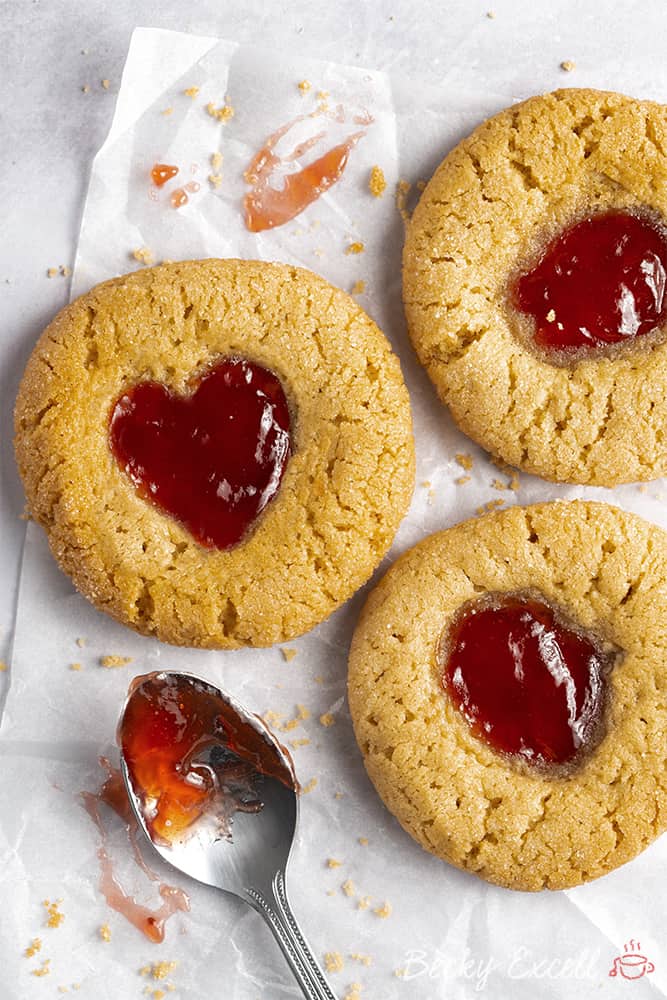
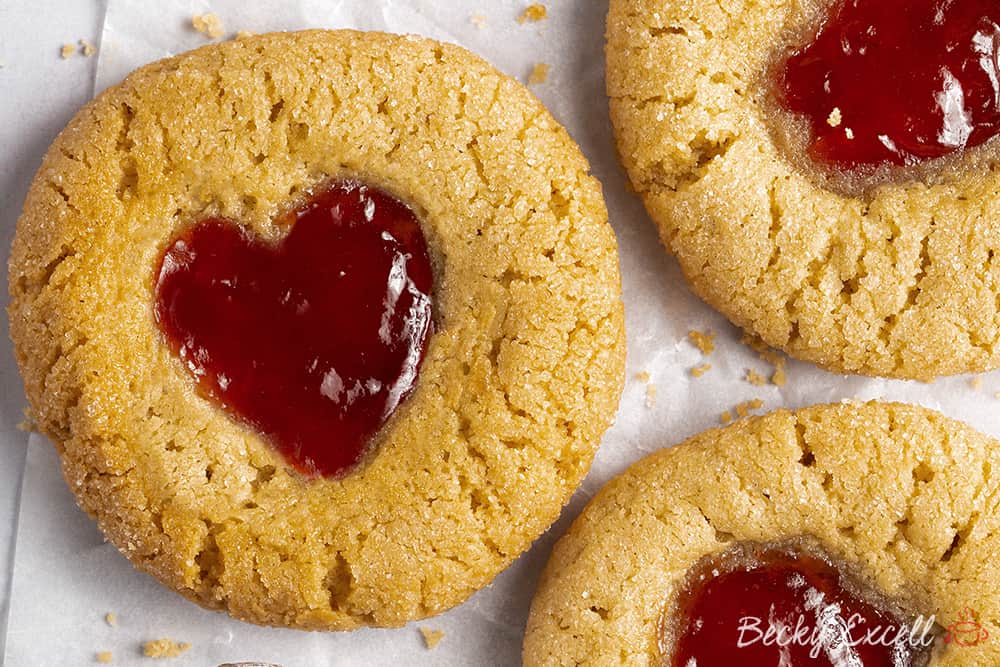
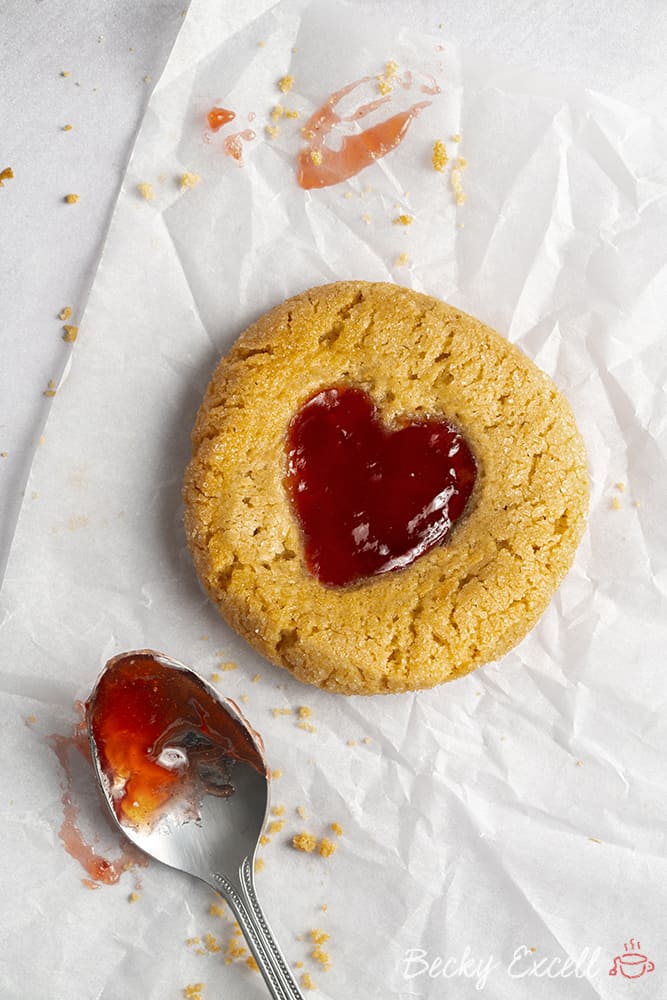
Peanut butter and jam gluten free thumbprint cookies recipe, anyone? They’re super easy to make and if you’re a PB&J fan, you will absolutely love these. Sometimes you might even get heart-shaped jam on one or two in a batch if you’re lucky!
Yep, these are the little heart-shaped jammy biscuits I’ve been posting on Instagram… and two months later, they’re finally here! They’re a little twist on my gluten free peanut butter cookies recipe if you didn’t know already.
(ok, not every jam centre will be a heart shape but you might get one if you’re lucky ?)
They’re incredibly easy to make and only call for ingredients that I tend to have in the house at all times. anyway So I’m rather dangerously, never far away from making a batch of peanut butter and jam gluten free thumbprint cookies!!
But what do they taste like? Are these the cookies you’ve been looking for? Well let me tell you what they’re like…
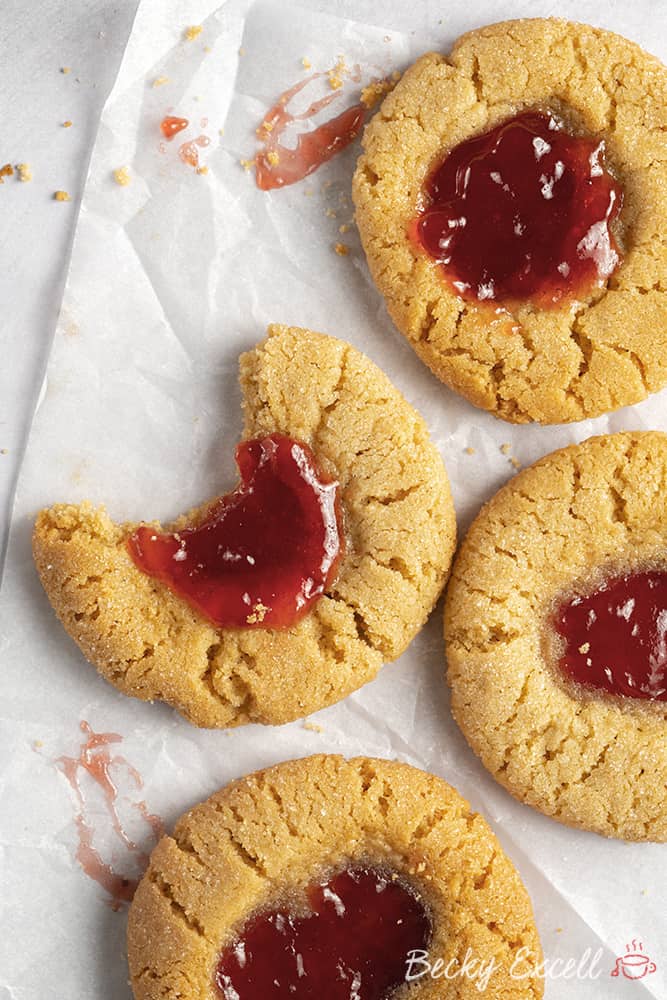
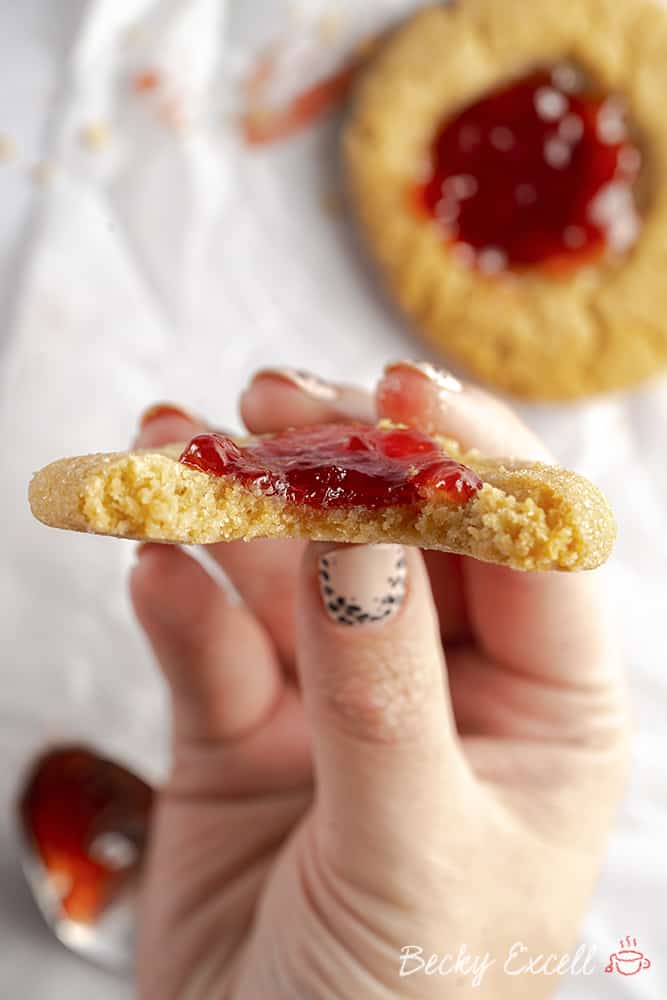
They’re crisp on the outside and covered in crunchy granulated sugar. But after one bite, you’ll discover just incredibly how moist and chewy they are in the middle, just like all those cookies that NEVER seem to be gluten free.
And then the taste. omg. The peanut butterry taste is unreal, but before you even get to react, you’re hit with sticky, gooey raspberry jam for that sweet, sharp flavour.
As you can imagine, the combo of flavours is absolutely awesome. PB&J is one of my fave flavour combos so it’s no surprise that I’m absolutely obsessed with these!
And the best part of all is that anybody can make these. They really are nice and simple!
 Ok, so here’s everything you’ll need for my peanut butter and jam gluten free thumbprint cookies recipe. Consider this your shopping list if you don’t already have these in your cupboards!
Ingredients for my peanut butter and jam gluten free thumbprint cookies recipe
- 100g caster sugar
- 100g light brown sugar
- 140g butter, melted (dairy free alternative if necessary)
- 160g gluten free plain flour
- 250g peanut butter (smooth or crunchy – but ideally a more creamy peanut butter)
- 1 egg
- 1/2 tsp bicarbonate of soda
- 1/2 tsp vanilla extract
- 1/4 tsp xanthan gum
- jam (any flavour you like – I prefer raspberry)
Keep scrolling to the bottom of this post until you see the recipe card for the method ??
Oh and before we get started, here’s a few frequently asked questions that I’m sure a few of you will be wondering about this recipe ??
Can I make this recipe gluten free? Is it suitable for Coeliacs?
It is gluten free, though nobody would know just by tasting it – trust me!
Bear in mind that minimising cross-contamination is hugely important if you’re Coeliac or making this for someone who is. Here’s some tips from Coeliac UK on minimising the risk of cross contamination.
Also, make sure that all ingredients used don’t have any gluten-containing ingredients. Then make that that they also don’t have a ‘may contain’ warning for gluten, wheat, rye, barley, oats (which aren’t gf), spelt and khorasan wheat (aka Kamut).
Here’s some more info from Coeliac UK on identifying safe gluten free products.
Can I make your peanut butter and jam gluten free thumbprint cookies recipe dairy free?
Of course you can! And this one is super-easy.
All you’ll need to use is hard margarine instead of butter – I used a block of Stork. It’s gluten free too obviously!
This is one of those recipes that makes barely no difference in taste whether you use dairy free products or not – result.
Can I make this recipe vegan?
If you follow the steps above to make this recipe dairy free (using Stork instead of butter) then all you’ve got left to contend with is one egg.
Here’s a few ideas you can use as egg replacements, so each of these = 1 egg.
- 3 tablespoons of aquafaba – water from a can of chickpeas. Keep the chickpeas for a future dinner!
- Egg replacement powder – I’d recommend using Orgran as it’s gluten free.
- 1 tablespoon of chia/flax seeds mixed with 2 tablespoons of water and left for 10 minutes in the fridge.
- 3 tablespoons of applesauce.
- 1 small, mashed ripe banana
So use one of those egg replacement options and you’ve got gluten free AND vegan peanut butter cookies!
Is this recipe low FODMAP?
Yes, it is! One cookie is a safe low FODMAP serving portion size during the elimination phase of the diet. I’d also recommend using strawberry jam as it’s a low fructose fruit.
Just avoid any jam with high fructose corn syrup in it!
Is your peanut butter and jam gluten free thumbprint cookies recipe nut free?
Sadly not – this a very peanut-heavy recipe! Feel free to check out my gf choc chip cookies recipe if you still have a cookie craving.
Can I make your peanut butter and jam gluten free thumbprint cookies recipe in a food processor or standing mixer?
Of course you can, but it’s definitely not mandatory. I personally prefer to use an electric hand whisk – that’s my go-to mixer for the most part when a mixture just needs a short, quick blast.
Do I need any special equipment to bake your peanut butter and jam gluten free thumbprint cookies recipe?
Certainly not! You can easily bake these just using a bowl and a spatula. You do need a little more elbow grease, but otherwise, that’s all you need!
You’ll probably need a microwave the butter though (or use a bain marie on the hob) – just some way to melt the butter until completely liquidised.
You’ll obviously need a fridge also to chill the dough before rolling into balls – not sure if that constitutes being called ‘special equipment’ though!
Do I need weighing scales to bake your peanut butter and jam gluten free thumbprint cookies recipe?
In short… yes! And I wouldn’t advise attempting any of my recipes without them. One of the worst things you can do in any baking recipe is alter the quantities by mistake or on purpose.
(unless you know what you’re doing of course)
Why? Well, you’re sort of just gambling with the recipe and praying that it turns out ok. And I’ve generally already done the hard work there for you!
A lot of work went into fine tuning ratios and quantities so I wouldn’t mess around with them unless you really know your stuff.
Can I make this recipe without xanthan gum?
You’ll see xanthan gum in a lot of my recipes as it’s an essential ingredient in gluten free baking. Without gluten to bind the biscuit together, you can be left with a much looser texture which can be crumbly and easily fall apart.
If you struggle to tolerate xanthan gum however, this particular recipe wouldn’t end in complete disaster if you didn’t include it. The eggs and peanut butter are great ingredients which will help bind the cookies together, so you can probably get away with it this time.
Some people have asked if they can use psyllium husk powder instead of xanthan gum and you could definitely give it a try in this recipe – though I don’t recommend using it for cakes.
Can I bake your peanut butter and jam gluten free thumbprint cookies recipe with less sugar?
I can definitely understand the need to reduce sugar in our foods, but this is one of the recipes where I wouldn’t advise it at all!
Of course, the sugar isn’t just for sweetness – it’s integral to the structure of the cookies once baked and is sooo important.
The sugar caramelises to produce a nice, crispy exterior on the outside and without that… they’re not gonna be nice, crisp out the outside, soft in the middle cookies at all are they?!
You can of course skip the optional granulated sugar which will help a little.
Can I bake this recipe using just one type of sugar instead of two?
Of course! Just bear in mind that light brown sugar adds more of a caramel-like flavour so it’s worth making sure you use some brown sugar in your mix.
Feel free to experiment with whatever sugars you like, as long as it isn’t less than 200g.
I wouldn’t recommend using any syrups in place of sugar either, as it can greatly affect the consistency of your mixture – I wouldn’t imagine you’d be able to roll them into balls as they’d be too wet!
How long can I keep your peanut butter and jam gluten free thumbprint cookies for?
I’ve kept my cookies for around a week and they still taste as good as they day they were made. Obviously store them in an air-tight container too.
You can always reheat them for 20-30 seconds in the microwave at 900W for the ‘fresh out of the oven’ feel too.
When they lose the crispiness on the outside, they’re probably starting to get past their best.
Can I freeze your peanut butter and jam gluten free thumbprint cookies?
Of course! I’ve frozen them for up to a month and after allowing one or two to fully thaw for 3 hours, you’d never know they were frozen.
After thawing, I’d recommend baking them in the oven for 5 minutes or so just to remove any excess moisture before enjoying them warm though.
How can I tell when my cookies are done?
They should look nice and golden, but not actually browned or browning at the edges.
Poking them doesn’t help much because they won’t be nice and crisp until they’ve cooled a little. So just aim for how mine look in the photos and if you take them out early – no bother!
Just pop them back in until you’re happy with the colour. Oh and make sure you leave them to cool before sampling them!!
Troubleshooting
My cookies weren’t soft and chewy – they were hard and crunchy and the jam was really set and sticky.
Sounds like they were over-baked. So either your oven is way too hot or you’re leaving them in too long.
Remember, that we just want a slightly crisp outside, leaving them soft and chewy in the middle. We’re not aiming for hard biscuits here so don’t over-bake them!
My gluten free cookies spread too much and were flat like pancakes!
You might not have allowed enough time for the dough to chill in the fridge.
This is a really important stage in the recipe as it not only allows the dough to harden up a bit so they’re easier to roll into balls, but it’s also important for baking them.
If the dough is warm before it goes in the oven, it’ll spread a lot quicker and result in flatter cookies!
My cookies were too thick, what did I do wrong?
When the cookies come out of the oven, it’s a good idea to give the tray a swift but gentle tap on a hard surface a couple of times.
While the cookies are still soft, this will encourage them to flatten – otherwise you can end up with cookies that are fairly thick.
My batter was still quite wet when it went in the fridge… what did I do wrong?
That means you didn’t mix the dough for long enough! You need to mix it until it comes together like cookie dough, so don’t stop before it does.
Measuring everything out accurately will ensure you don’t have too much in the way of wet ingredients either.
My batter was still wet after chilling and when I was rolling the balls?
If you did mix your dough until it came together well, then it’s likely that you didn’t chill your cookie dough long enough.
So whack it back in the fridge and be patient! The temperature of the dough is quite important so that it’s easy to roll and also doesn’t spread too quickly when baking into flat pancakes.
Can I print your peanut butter and jam gluten free thumbprint cookies recipe?
Of course! Just hit the print button located on the recipe below ?? (otherwise you might end up printing this entire post which would probably make your printer go into early retirement)

Peanut Butter and Jam Gluten Free Thumbprint Cookies Recipe (dairy free option, low FODMAP)
Ingredients
- 100 g caster sugar
- 100 g light brown sugar
- 140 g butter melted (dairy free alternative if necessary)
- 160 g gluten free plain flour
- 250 g peanut butter smooth or crunchy - but ideally a more creamy peanut butter
- 1 egg
- 1/2 tsp bicarbonate of soda
- 1/2 tsp vanilla extract
- 1/4 tsp xanthan gum
- jam any flavour you like - I prefer raspberry
Instructions
- Place your caster and light brown sugar into a bowl. Add your melted butter and mix throughly until combined.
- Add in your egg and vanilla and mix until combined.
- Next add your peanut butter. Use an electric hand mixer to whisk until fully combined.
- Then add your gluten free flour, bicarbonate of soda and xanthan gum and mix in until fully combined.
- Chill in the fridge for 1-2 hours (minimum) in a bowl covered with clingfilm. You can chill the dough for longer if you want to make it in advance.
- Preheat your oven to 160C Fan / 180C and prepare a couple of baking trays with some parchment/baking paper.
- Once the dough has chilled, remove it from the fridge and roll into balls (mine weighed around 30-35g each). Optionally at this point you can roll each ball in some granulated sugar to give it a nice crunch.
- Put your balls onto your baking tray with space between each one.
- Carefully press your thumb down into each ball to create a hollowed out centre - be careful to not go too deep as you could create a hole!
- Spoon about 1/2 tsp of jam into each centre - until the hole is nearly filled up.
- Place in the oven for for about 15 minutes until the cookies have spread and turned golden.
- Allow to cool on the baking tray before moving them.
- If you want to add a little extra jam at the end... go for it, I usually warm mine up to make it smoother.
- Enjoy!
Thanks for reading how to make my peanut butter and jam gluten free thumbprint cookies recipe! If you make them, I’d love to see how they turned out so don’t forget to take a snap of your bakes and tag me on Instagram!
Any questions about the recipe? Please do let me know by following me Instagram and leaving me a comment!
Thanks for reading,
Becky xxx
Oh and don’t forget to pin this for later!

