My gluten free crumpets recipe is something I’ve been trying to perfect on and off for the last few years… but somehow, I think I’ve finally nailed it! There’s an easy vegan/dairy free option and it’s low FODMAP too.
Now, you’ll probably know me as more of a baking kinda gal and that’s because everything else seems to turn into a disaster very quickly!! But after many failed attempts, I’m super happy to share my gluten free crumpets recipe with you… hooray!
And I guess that failure is all part of the process, right? I mean, I wouldn’t be posting this recipe without all those burned-to-a-crisp-crumpets of the past, would I?!
(there’s your motivational though for the day!)
But it was actually KitchenAid who gave me the inspiration to step into the ring (kitchen!) for one more round with my biggest rival: the gluten free crumpet.
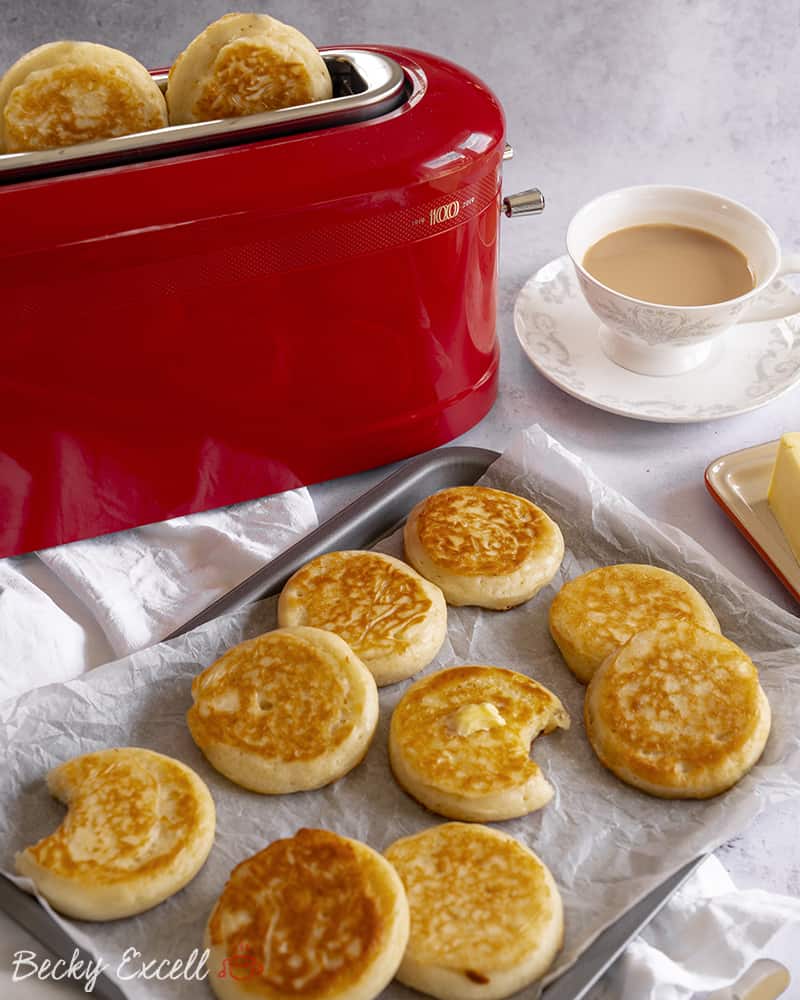
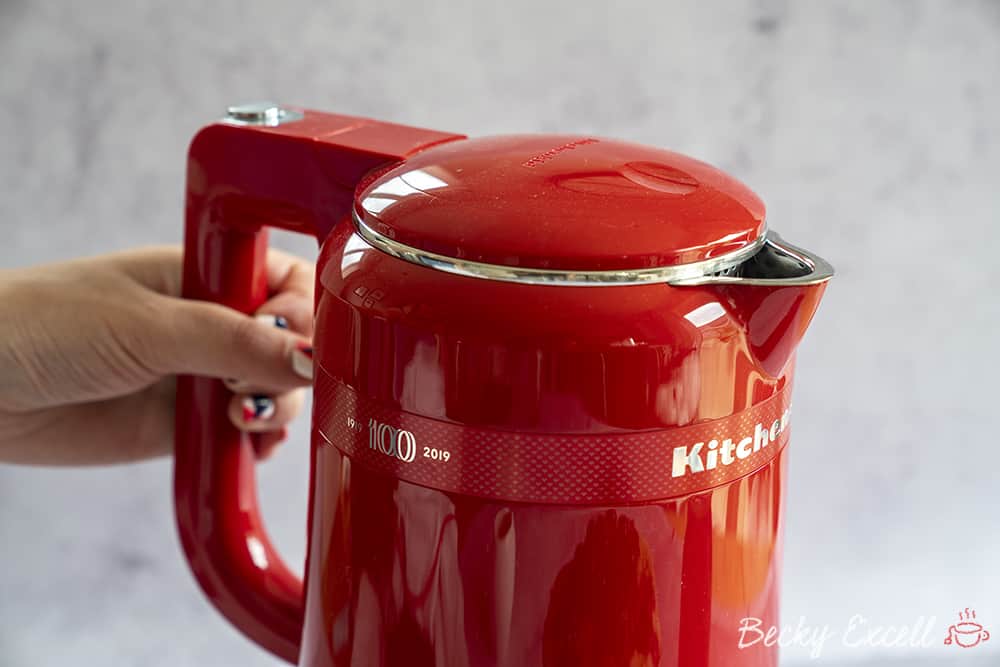
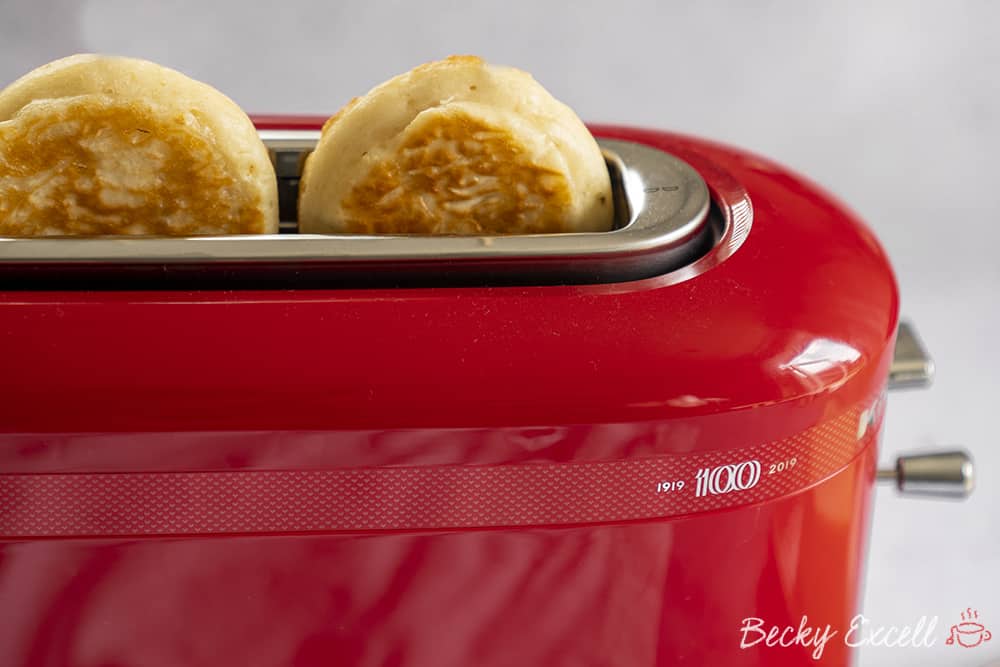
They gifted me their beautiful toaster and kettle from the Limited Edition Queen of Hearts collection to celebrate their 100th anniversary. And I mean… it was like fate or something.
Because obviously, to create tea and crumpets… you’ll probably need a toaster and a kettle, right?!
So that was a massive sign to me that I need to finally take on and conquer gluten free crumpets once and for all.
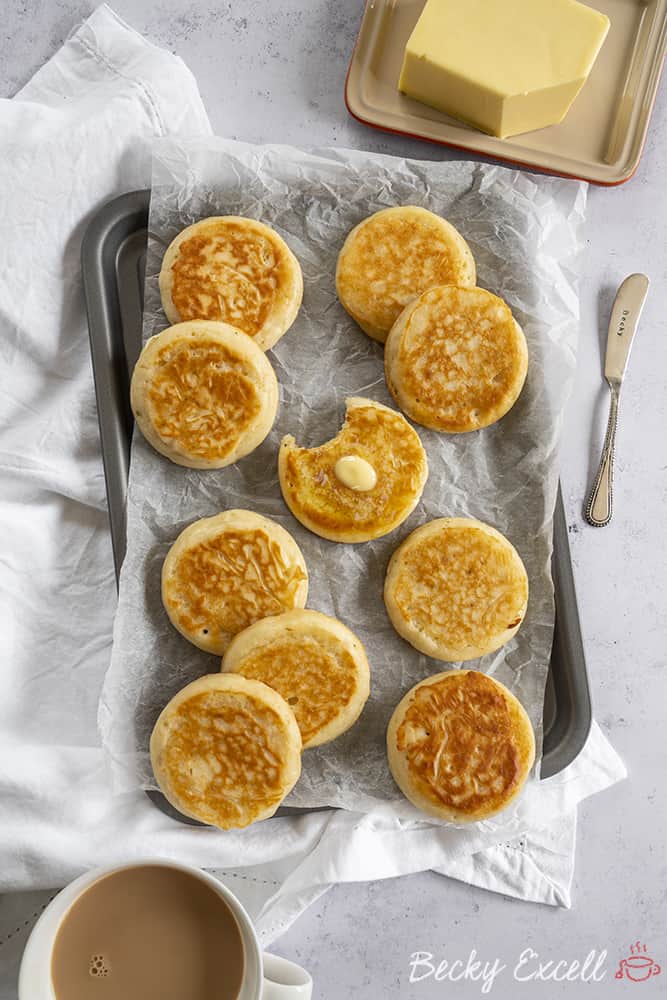
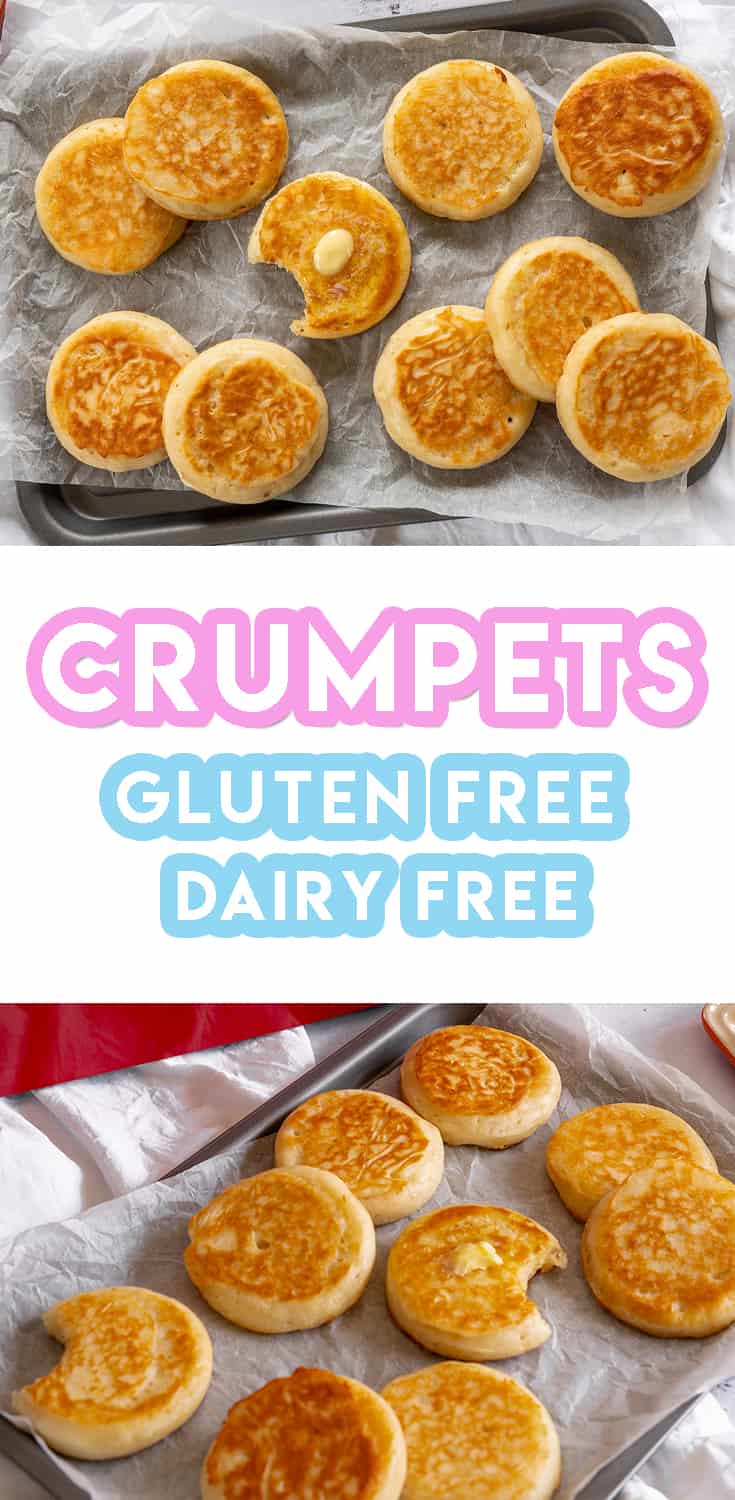
And somehow I did! They turned out just as I’d dreamed – a lovely crisp exterior with a light and fluffy, yet slightly chewy interior. Keep reading to find out what I was doing wrong all these years and why it’s actually sooo simple when you know how!
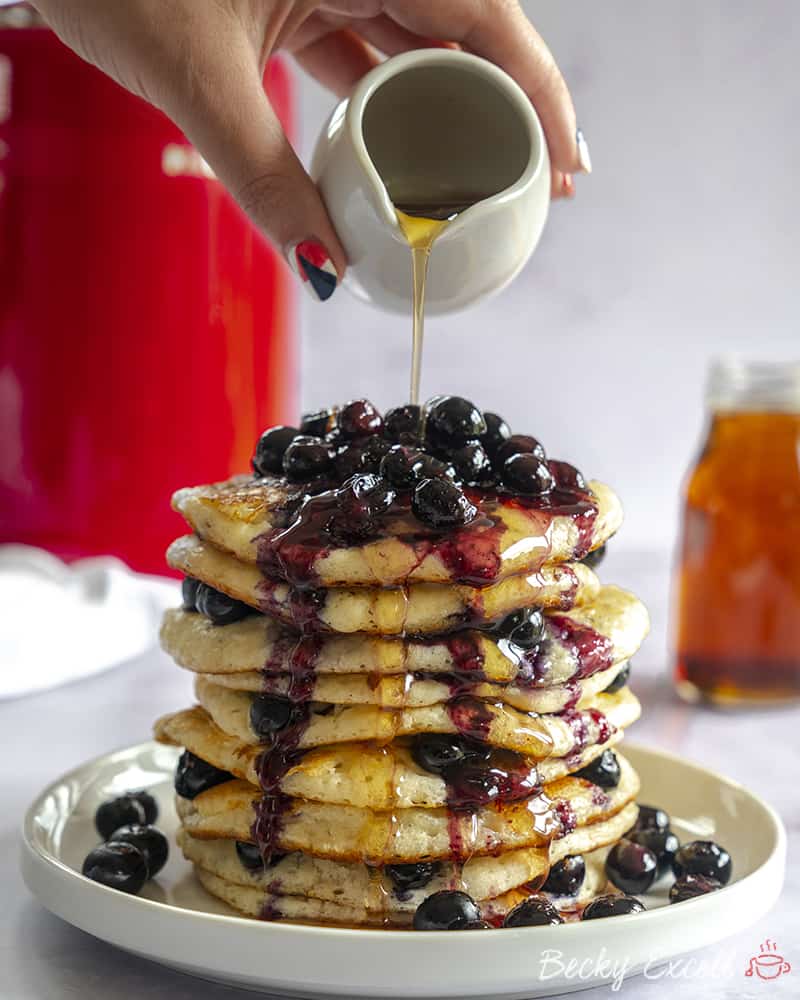
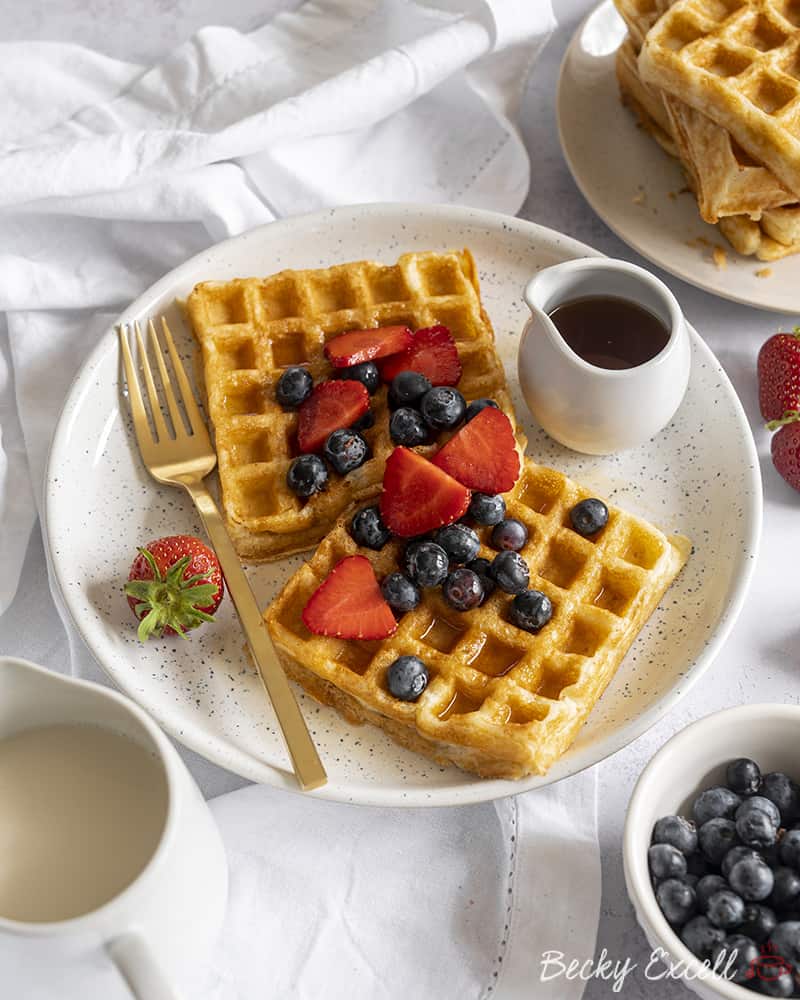
I got so carried away that I then went on to create a couple of other toaster-friendly recipes too which I’ll post below ?? including my gluten free blueberry pancakes (recipe here) AND gluten free waffles (recipe here).
So what was I doing wrong all these years when trying to create my gluten free crumpets recipe?
Well, it was quite simple really but I had a bit of a lightbulb moment that I never really thought about before and it was this:
Gluten free flour tends to make everything drier – it’s quite a bit more absorbent than regular flour. And I always compensate for this in my baking by using slightly less flour compared to my wet ingredients.
Now it seemed so obvious! Throughout all those crumpet-fails of the past, it was because my batter was simply waaaaay too thick and never stood a chance of cooking right through. It would be burnt on the outsides before it was even close to being cooked in the middle – a massive fail.
So with that bombshell finally realised, I simply upped the amount of milk I was using in the recipe (and added a little extra water if I still feel it’s too thick) which made the batter mixture much more of a workable consistency.
And boom! They turned out perfect – lightly golden brown on the tops and bottoms and perfectly cooked in the middle.
So I just wanted to thank KitchenAid for giving me that ‘sign’ I needed to get back in the crumpet-recipe-creation-game again… I mean, only one recipe came to mind when I heard I was going to be creating a recipe using a toaster and a kettle ?
(and I wasn’t quite sure how I felt about it at the time!!)
But looking back on it now, it was all a necessary journey to get me to this blog post… and now it sort of puts all those fails and struggles into context!
Phew, who knew that my gluten free crumpets recipe would get so deep?!
But even if it’s something as small as a batch of freshly made crumpets, it’s so nice to now be able to think of what I would have called a waste of time and ingredients, as a journey to the end product. And I guess this is where I finally share that with you right now!
You can easily make this recipe vegan and dairy free simply by swapping milk for unsweetened almond milk. I’ve tried it and it works completely fine! For low FODMAP, just make sure your milk is lactose free.
My Gluten Free Crumpets Recipe (vegan/dairy free option + low FODMAP)
Ingredients
- 400 ml milk (dairy free / vegan if necessary)
- 1.5 tsp caster sugar
- 1 tbsp yeast (I use dry active yeast) (ensure it is gluten free)
- 300 g gluten free self raising flour
- 1/2 tsp salt
- 1/2 tsp bicarbonate of soda
Instructions
- Place your milk into a glass jug and heat up to around 43 degrees C (this is just warm - I used my cooking thermometer to check)
- Add your caster sugar and yeast to the warm milk and stir. Leave until the mixture starts to get a little frothy - about 10 minutes.
- In a mixing bowl add your flour, bicarbonate of soda and salt. Then add in your milk mixture. Stir together until smooth. It should be quite thick, but not too thick! Do this for a couple of minutes, I used a handheld whisk.
- Leave to prove, covered in a warm place for about 90 minutes (no less than an hour). My oven has a proving setting so I left it in there. Make sure you bowl is big enough so it doesn't over prove, there should be some air bubbles on the top once it's done.
- If your mixture has thickened too much you could add a little warm water at this stage (a tbsp or two, but it should be ok).
- Heat up a frying pan and add some oil to it. place either a couple of egg rings or biscuit cutters in the pan.
- Once the pan is hot enough (medium heat), put two and a half tbsp in each ring and allow to cook for about 5 minutes. Little air bubbles should start to appear on the surface (hopefully!). If they don't then don't worry too much.
- Using tongs, lift off the rings and then flip the crumpets onto the other side for a minute or two (the top of the crumpet should basically be dry so when you flip it there should be no mess).
- Remove from the pan and repeat with the rest of the batter.
- Serve hot from the pan or place in your toaster to reheat. Serve with butter, spread, golden syrup, jam, cheese... or whatever you fancy! Enjoy with a cuppa!
Nutrition
Any questions about the recipe? Please do let me know by following me on Instagram and leaving me a comment on a recent photo!
Thanks for reading,
Becky xxx
Oh and don’t forget to pin this for later!

