My gluten free no-onion bhaji recipe is one of my absolute fave side dishes! It’s low FODMAP and dairy free too.
I’ve missed onion bhajis soooo much! So today I decided to make my wildest dreams come true and share it with you – my gluten free no-onion bhaji recipe…
But why no-onion, I hear you ask?
(yes, I can read your mind via the Internet)
Well, gluten isn’t the only reason I can never eat onion bhajis… I can’t eat onion! Kind of a problem that, isn’t it?
Myself, along with a lot of you guys, reeeeeally struggle to tolerate onion and garlic. It’s high in FODMAPs and can be difficult to digest for people with IBS.
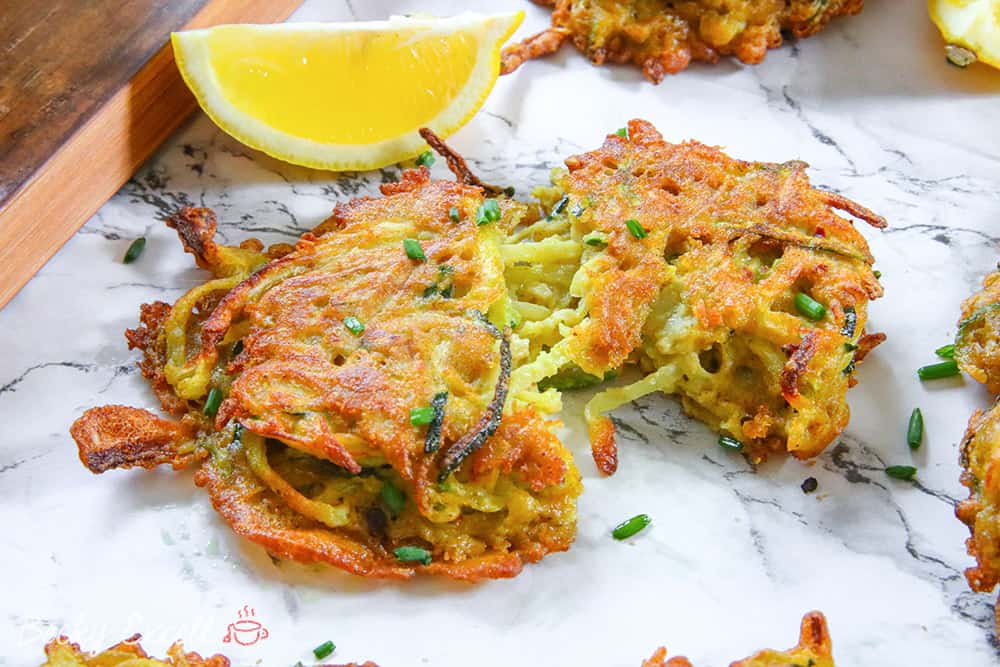
So instead, I’ve used spiralised courgette which works perfectly. Honestly, it feels like bhajis should be made with it. Just look at how they pull apart in the photo below…
Obviously you’re more than welcome to sub in onions if you’d prefer and don’t care about the low FODMAP diet! But defo give it a try my way first – trust me on this one!
They’re so simple to make as well. Just combine spiralised courgette, eggs, spices and shallow fry on both sides. Then, simply finish off with a blast in the oven.
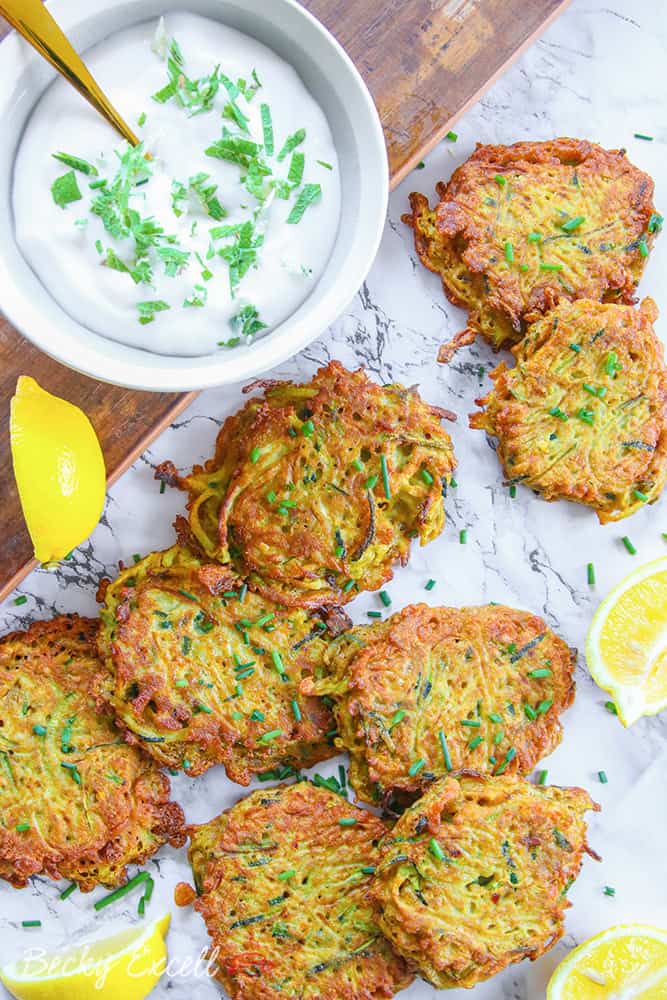
I’d defo recommend serving it up with my spiced coconut chicken curry and with a lovely mint Raita dip on the side.
You can easily do this by mixing a little grated cucumber and freshly chopped mint into dairy free yoghurt. It’s the perfect, cooling dip for a warming gluten free no-onion bhaji!
Oh and a top tip – these make a great cold lunch! I’ve started packing a few leftover bhajis away in a lunchbox and eating them on the go.
Somehow they taste even better cold!
Ok, so drumroll please… here’s my gluten free no-onion bhaji recipe!

Gluten Free No-Onion Bhaji Recipe (low FODMAP + dairy free)
Ingredients
- 400 g courgette (spiralized)
- 2 eggs, beaten
- 120 g gluten free plain flour
- 1/2 tsp asafoetida (it's a spice!)
- 1/2 tsp cinnamon
- 1 tsp curry powder (ensure it's low FODMAP if you need to)
- sprinkle of chilli flakes
- 1/2 tsp baking powder (ensure it's gluten free)
- sprinkle of salt
- garlic infused oil (for frying)
Instructions
- Preheat your oven to 170C.
- Spiralize your courgettes into courgetti. You can use a spiralizer or if you don't have one, you could use a peeler and then cut the strips to be thinner.
- A lot of water comes off of courgette so I often squeeze mine out in kitchen roll before I cook with it a lot!
- Place your courgette in a bowl and add your flour, asafoetida, cinnamon, curry powder, baking powder, chilli flakes and salt. Mix together so your courgette is nicely coated.
- Add your beaten eggs to your bowl and coat the courgette.
- Coat the base of your frying pan with a thin layer of garlic infused oil and put on a medium/high heat. When the oil is hot enough you can add a little bit of the mixture and it should sizzle.
- Once the oil has heated, dollop a large spoonful of the mixture into the frying pan and slightly flatten with the back of the spoon. If your frying pan is large enough, you can do 2-3 at a time.
- Fry on each side for about 30 seconds or until it starts to turn golden. Use a spatula to very carefully turn them over (I often find I need to add a little extra oil every few bhajis).
- Once each bhaji is cooked on both sides, place them all onto a baking sheet. Place them in the preheated oven for about 10 minutes.
- Remove from the oven and serve hot or cold. Enjoy!
Notes
- I serve mine as a side with a minty yoghurt dip.
- I also serve them up with a curry.
- I also like to have them cold if I have them left over, they are delicious snacks on-the-go.
- You could also serve them as part of a delicious brunch with poached eggs on top.
Thanks for reading how to make my gluten free no-onion bhaji recipe! If you make it, I’d love to see how it turned out so don’t forget to take a snap of your dinner and tag me on Instagram!
Plus, I’m giving away a £50 supermarket voucher every month to my fave pic, so get cooking!
Any questions about the recipe? Please do let me know by following me Instagram and leaving me a comment!
Thanks for reading,
Becky xxx
Oh and don’t forget to pin this for later!


