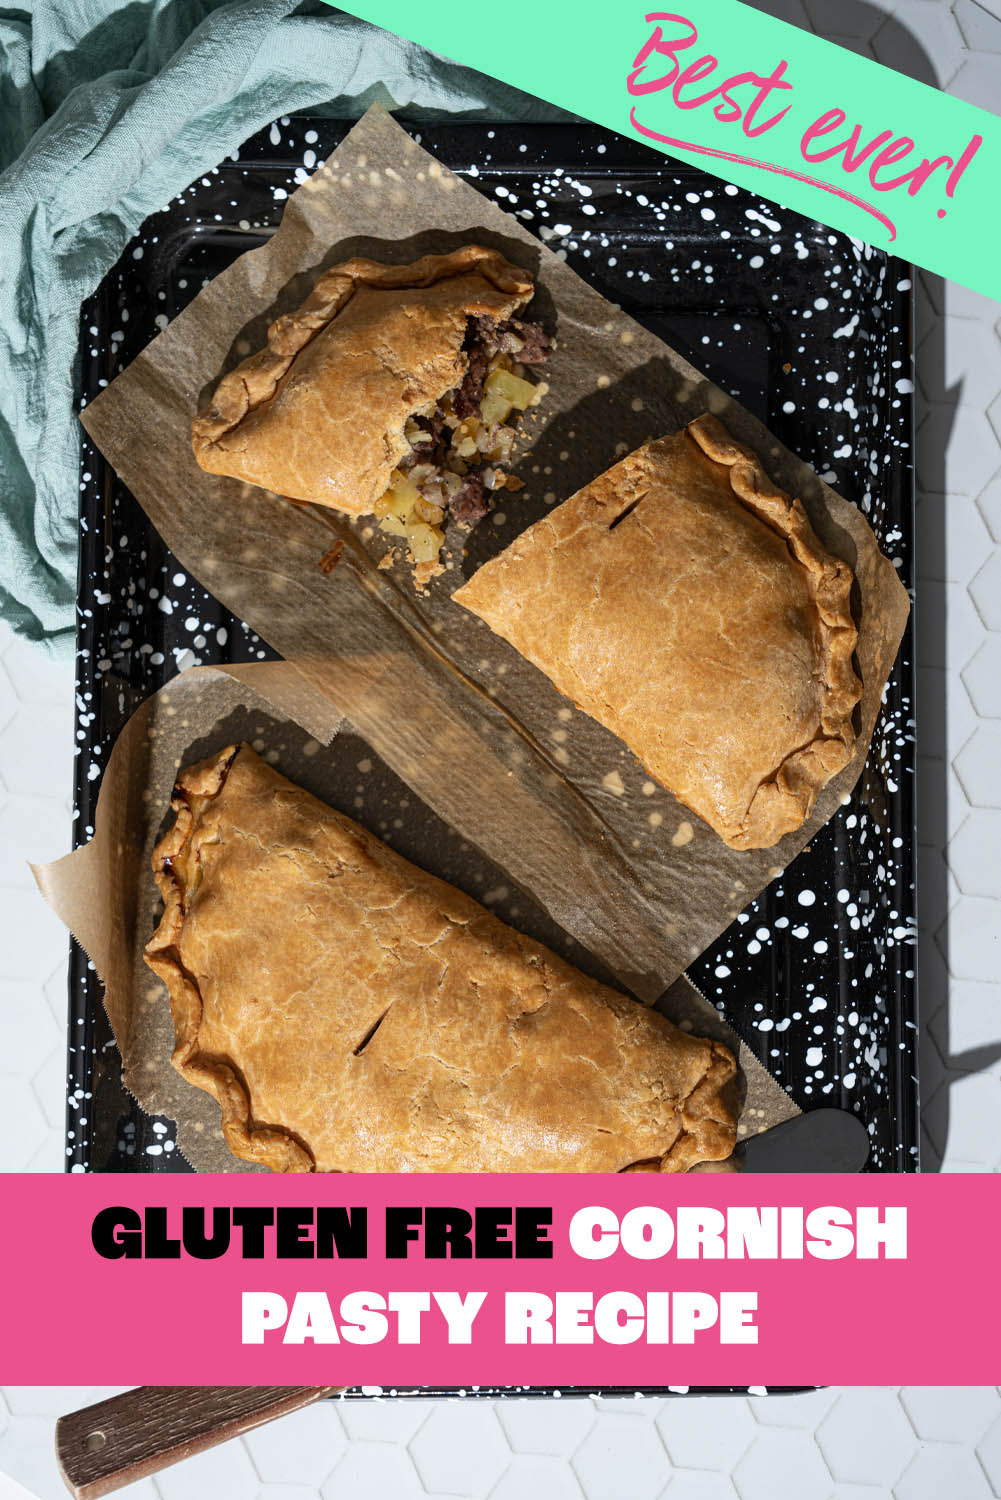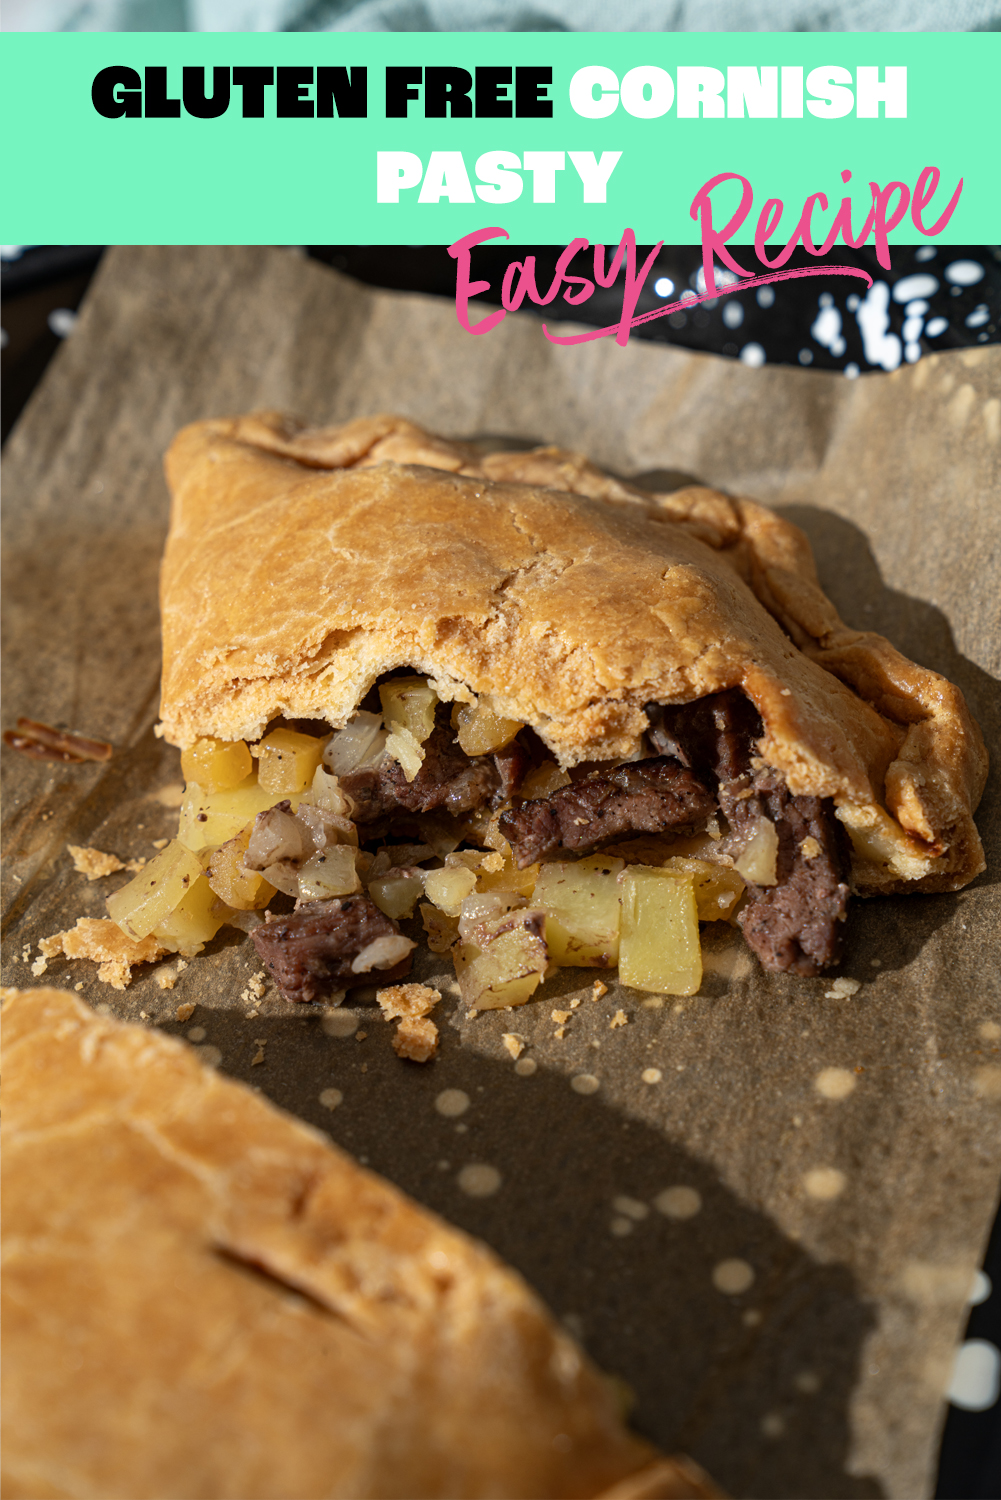

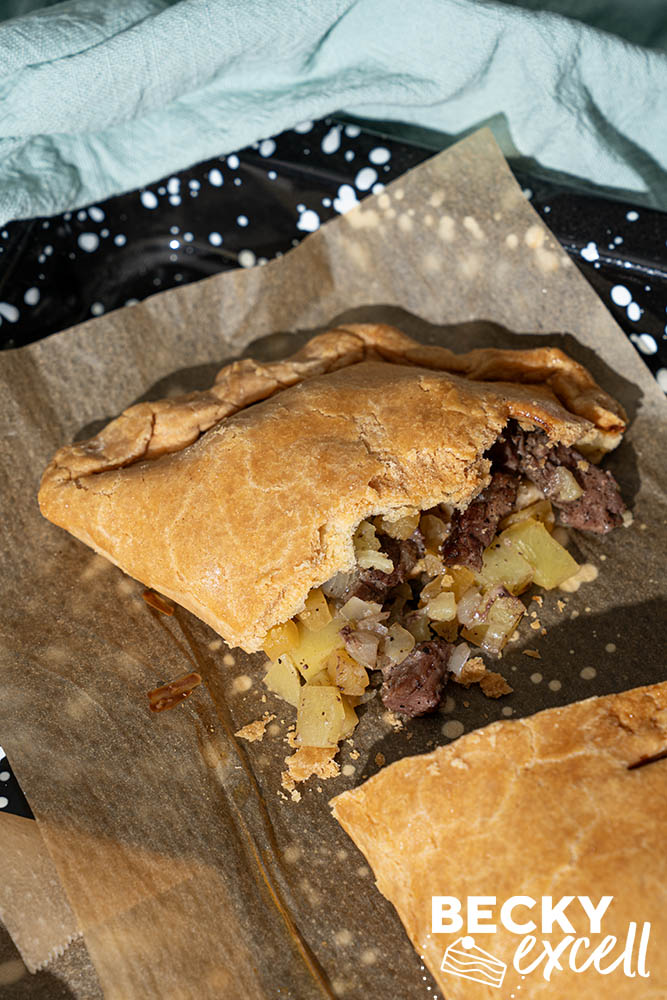
Here’s my Gluten-free Cornish Pasty recipe! Coeliac-friendly, with golden, buttery pastry that won’t crumble or fall apart, plus a traditional beef and vegetable filling. See the FAQ section for dairy-free advice.
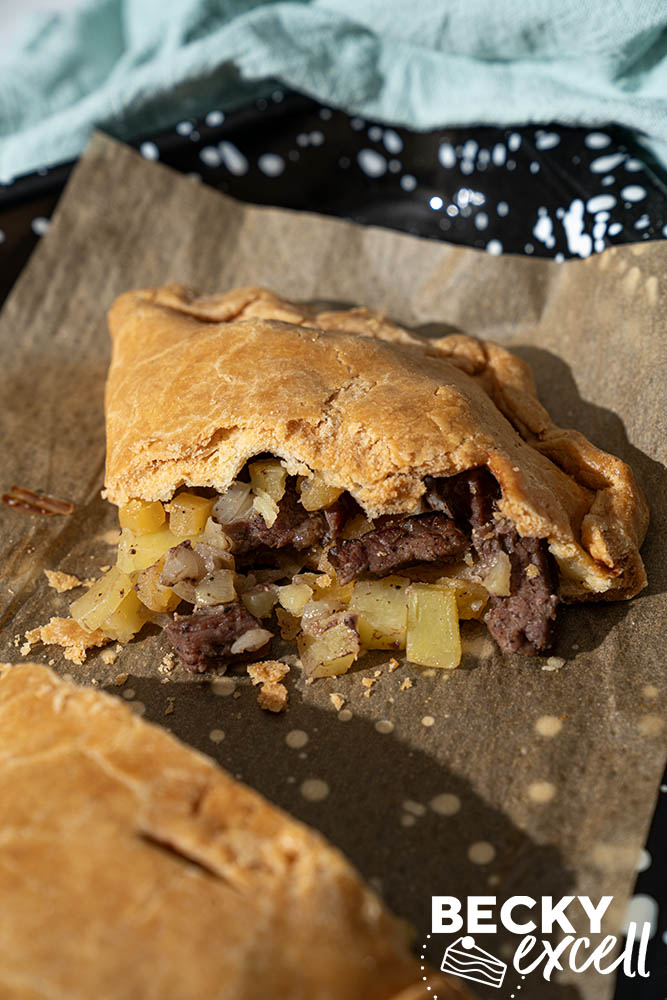
My gluten-free Cornish pasties have a crisp, buttery pastry shell packed with beef skirt, potato, swede and onion, all seasoned simply with salt and black pepper. This recipe makes two large pasties, and you can either seal them with a fork or try the traditional side crimp shown in the photos. Both options get you to the important part: a proper homemade pasty!
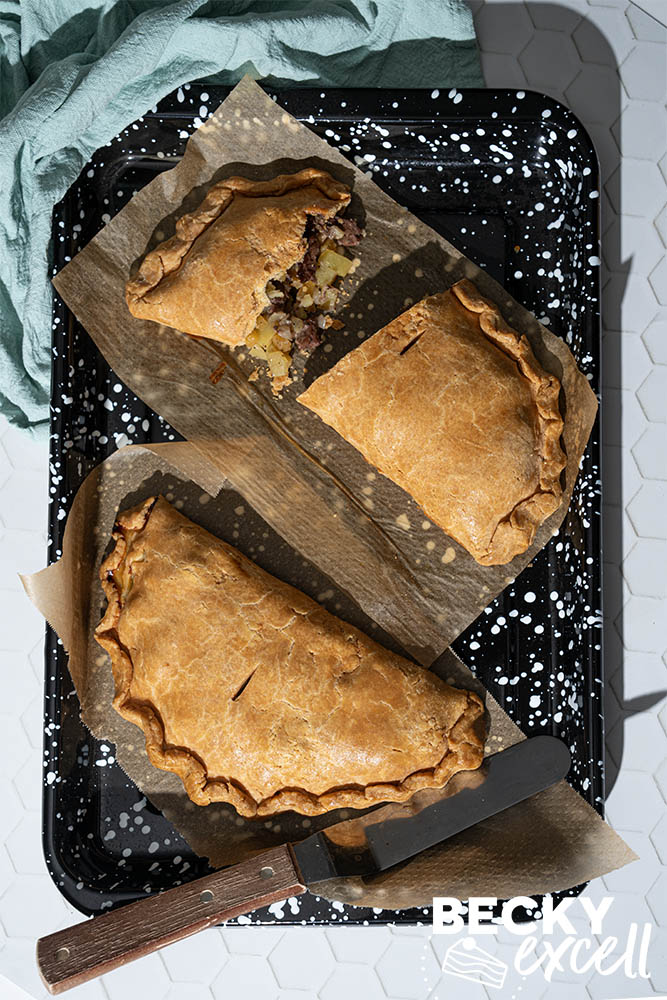
Welcome back to the sixth instalment of ‘How To Make Bake Off Gluten-free’! After last week’s gluten-free bread and butter pudding, Episode 6 was Pastry Week. The hand-held savoury pies in the Signature Challenge were the perfect excuse to make a gluten-free version of this British classic.
For the pastry, I’m using my gluten-free shortcrust pastry recipe. You’ll need to make one quantity using the savoury option and chill it before starting the pasty recipe below. Follow the dough-making instructions only, then come back here for rolling, filling and baking. You don’t need to make a tart case or blind bake anything!
This is the buttery, slightly flaky pastry I’ve used for years, made with a supermarket gluten-free flour blend rather than a collection of separate flours. The filling stays simple and goes into the pastry raw, so the beef and vegetables cook together inside. That means there’s no separate frying pan or saucepan to wash up afterwards!
And please don’t let the crimping put you off. Pressing the edges together with a fork is the easiest option, and it’s the one I’d suggest if you don’t fancy wrestling with a traditional crimping method. Mine needed a little tidying up too! I’ll explain how to support the pastry with baking paper and smooth any small cracks as you go.
Why you’ll love my Gluten-free Cornish Pasty Recipe
- Proper buttery gluten-free pastry. My ultimate gluten-free shortcrust recipe has a lovely flaky quality, with no lard needed.
- A traditional beef and vegetable filling. Beef skirt, potato, swede and onion cook together inside the pastry, with salt and pepper doing all the seasoning. It all melts in the mouth and tastes unreal!
- You don’t have to master traditional crimping. A fork gives you a simple, neat seal, and baking paper helps you fold and move the pastry without stretching it.
- Two generous homemade pasties. Ideal for a comforting lunch or dinner, with the option to freeze a cooked pasty for another day.
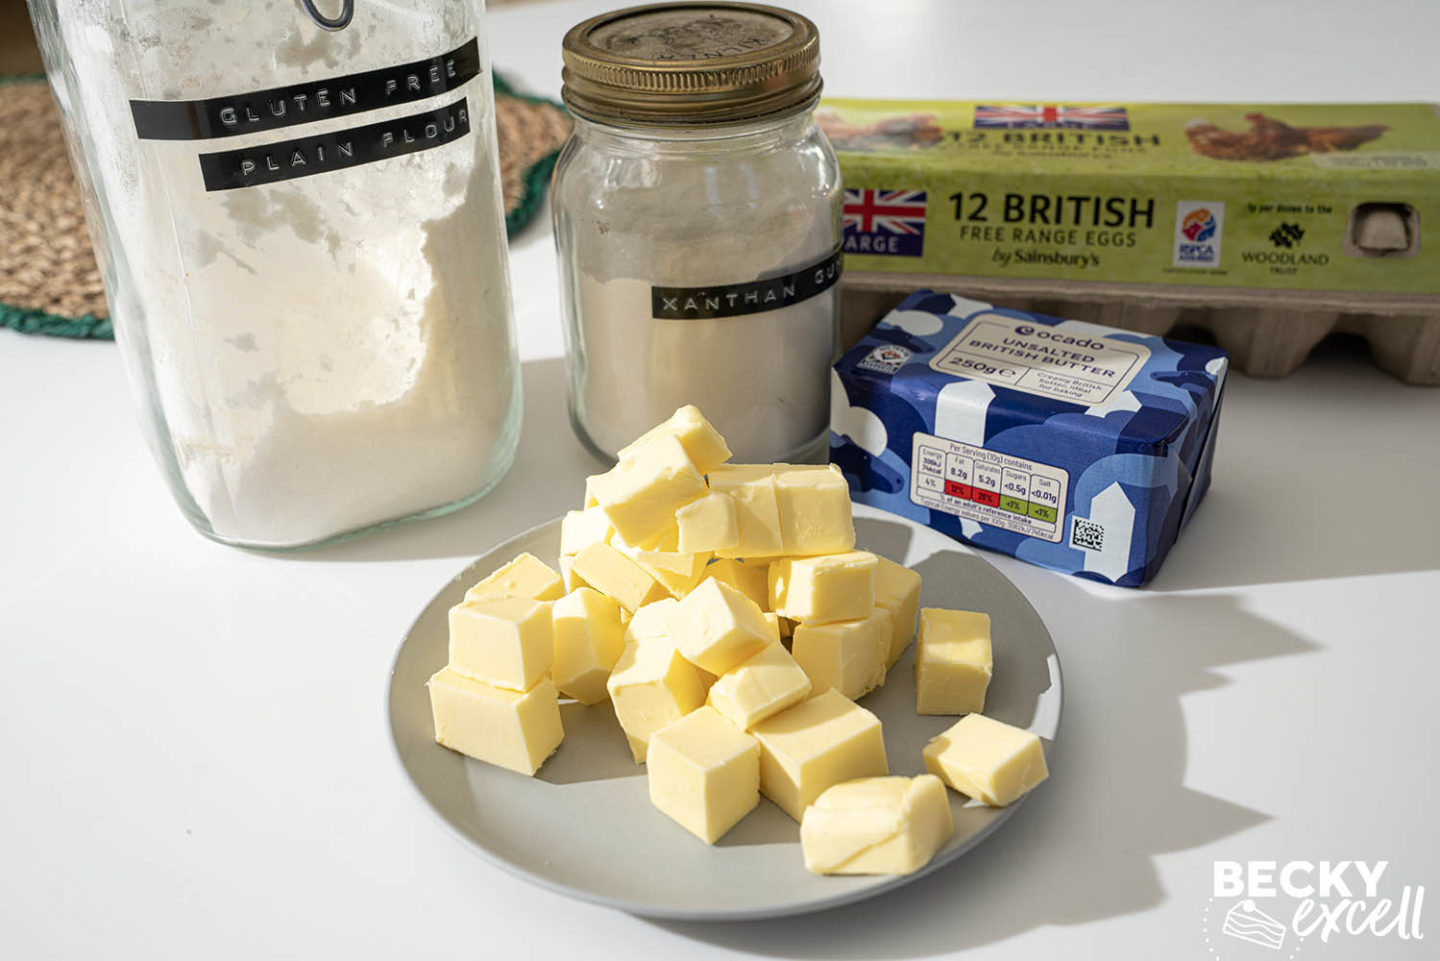
Ingredients for my Gluten-free Cornish Pasty Recipe
Start with one quantity of my gluten-free shortcrust pastry recipe, made with the savoury option. For that, you’ll need gluten-free plain flour, xanthan gum, cold butter, large eggs and salt. I used FREEE by Doves Farm gluten-free plain white flour. Make and chill the dough before starting this recipe, and remember that you’ll need a separate egg for glazing the pasties.
For the meat, you’ll need beef skirt. Skirt is the traditional choice and the cut I used for this version. See the FAQ section below for exactly where I found it and another supermarket that lists it.
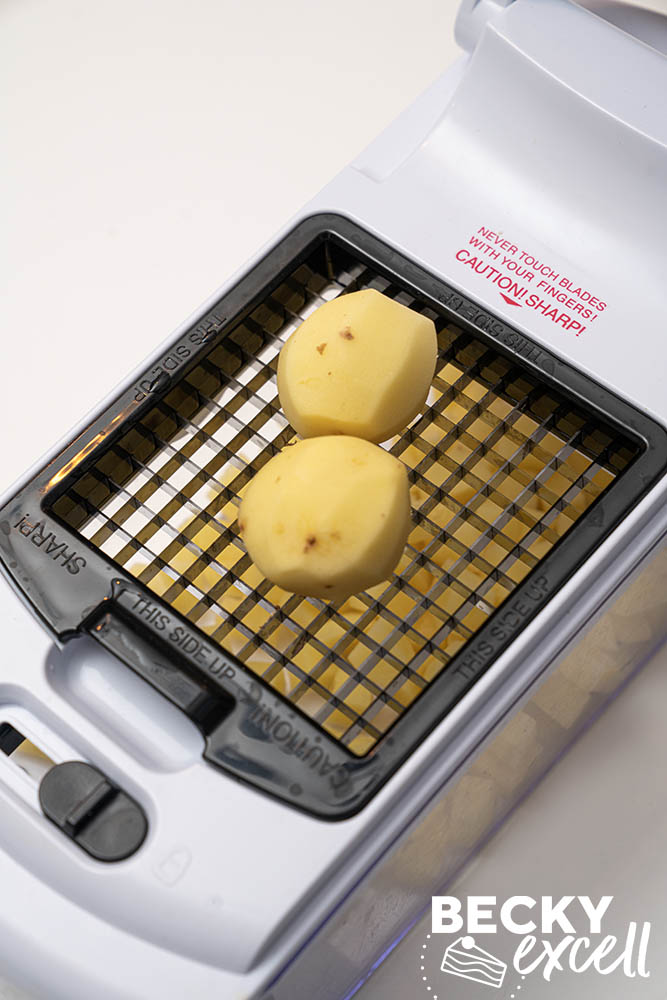
You’ll also need potatoes, swede (rutabaga) and onion, weighed after peeling. Choose firm salad potatoes that will hold their shape if you can. Cut the potato and swede into 5mm cubes and finely dice the onion to a similar size – I used a speedy veg chopper to make life easier and ensure a consistent size. Small pieces are important here to ensure everything cooks evenly inside the pastry.
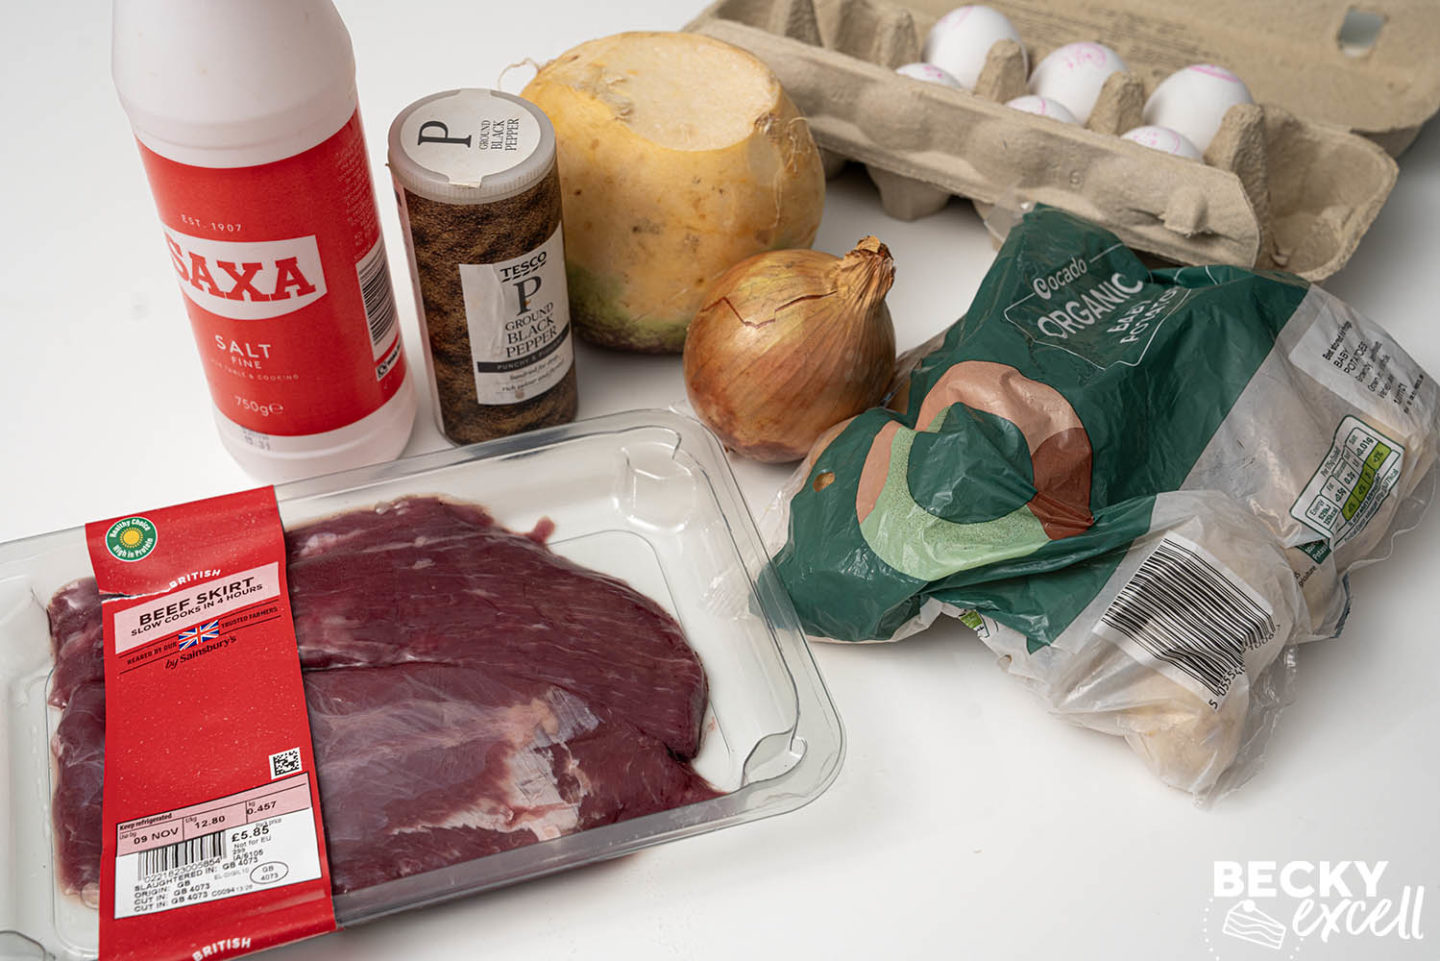
In case you didn’t know, swede is a yellow-fleshed root vegetable (also called rutabaga) that you’ll easily find in supermarkets. Onion belongs in the traditional filling, but if you can’t tolerate it, you can use the same weight of carrot instead – that’s what I used in my version of this in my second book ‘How To Bake Anything Gluten Free’. That’s a personal variation rather than the traditional version, of course!
Season with fine salt and ground black pepper. You don’t need stock, gravy or a long list of herbs and spices for this filling.
For the glaze, you’ll need one egg beaten with 1 tsp water. The water makes it easier to brush on a thin, even coat. You can sieve it to remove stringy bits of egg white if you like, but that’s optional.
Shopping list:
For one batch of gluten-free shortcrust pastry and two large pasties:
- 300g gluten-free plain flour, plus extra for dusting – I used FREEE by Doves Farm
- 1½ tsp xanthan gum
- 145g butter
- 3 large eggs – 2 for the pastry and 1 for glazing
- 1¼ tsp fine salt – 1 tsp for the pastry and ¼ tsp for the filling
- 160g beef skirt, weighed after trimming
- 120g potato, weighed after peeling – firm salad potatoes, such as Charlotte or Maris Peer
- 60g swede, weighed after peeling
- 60g onion, weighed after peeling
- Generous pinch of ground black pepper
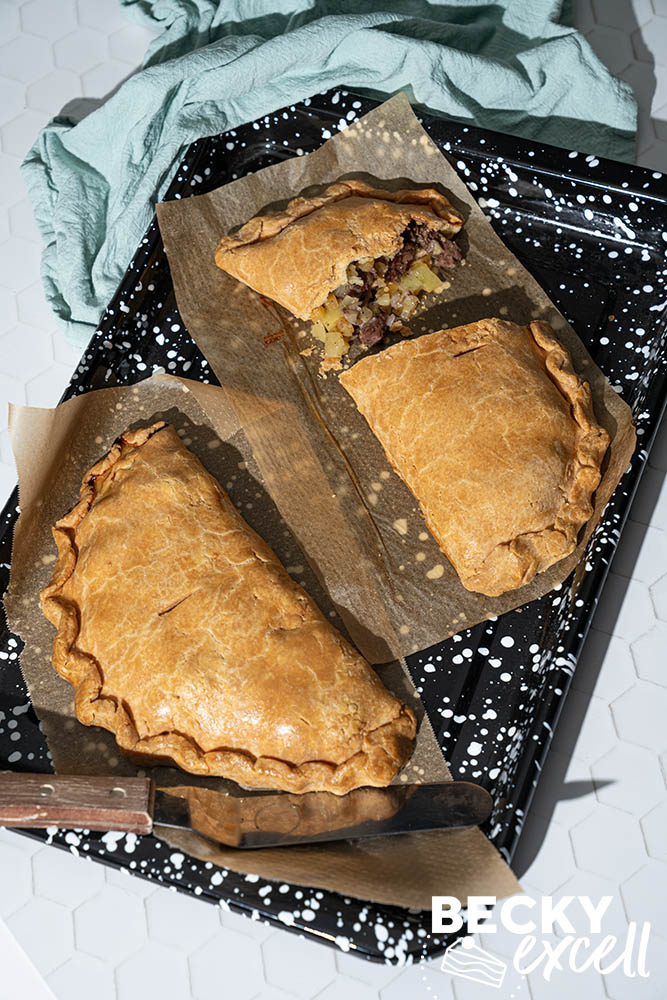
How to make my Gluten-free Cornish Pasty Recipe
- Make and chill the pastry first. Follow my gluten-free shortcrust pastry recipe using the savoury option. Once chilled, it should be firm but workable. If it’s very hard, let it soften slightly before rolling.
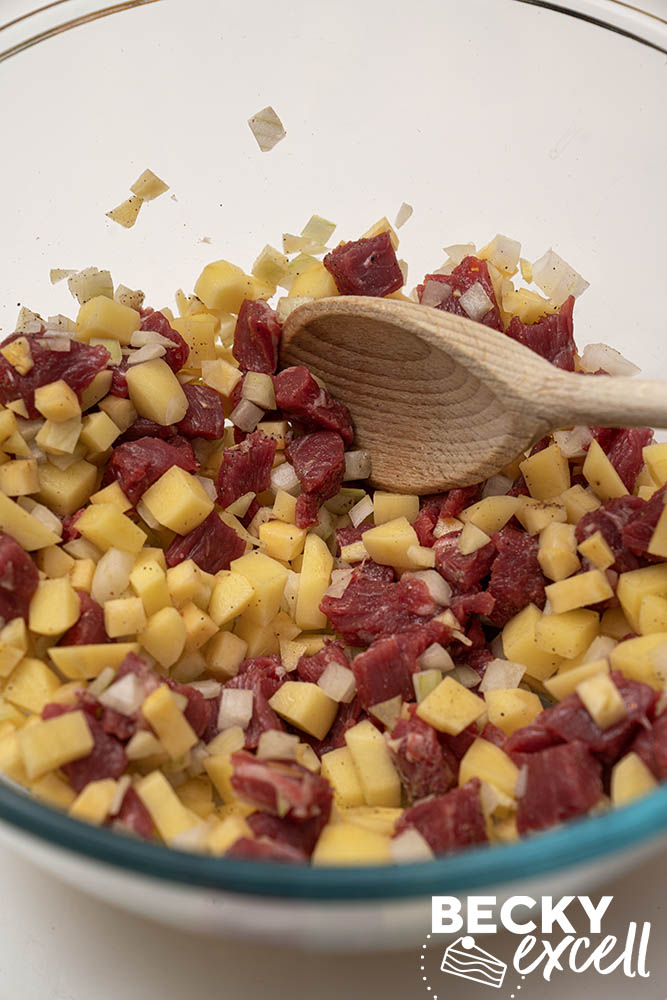
- Prepare the raw filling. Cut the beef skirt into 1cm pieces and the peeled vegetables into approximately 5mm pieces. Mix together, then season just before filling the pastry.
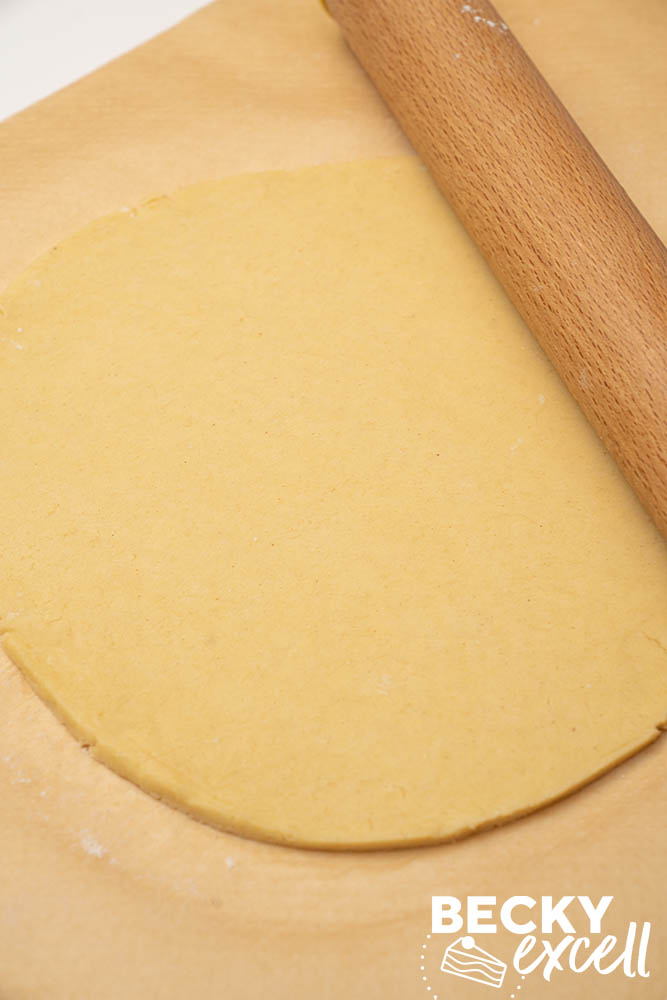
- Roll and cut the pastry. Divide the dough in half and roll one portion on non-stick baking paper to around 4mm thick. Cut out a 25cm circle using a plate as a guide. Roll gently rather than pulling or stretching it.
- Fill and fold using the paper for support. Put half the filling on one side, leaving a 2cm border. Lightly brush the edge with water, then lift the paper beneath the empty half to help fold the pastry over the filling. Peel the paper back gently.
- Seal, tidy and transfer. Press the edges together and seal with a fork, or make a traditional side crimp. Smooth small cracks with a lightly damp finger. Cut around the paper, leaving enough to lift the pasty onto the tray. Repeat on a fresh sheet with the remaining dough and filling.
- Chill, glaze and add a steam vent. Chill the assembled pasties for 20-30 minutes while the oven heats to 160°C fan. Brush with the egg and water mixture, then cut a 1cm slit through the top of each pasty.
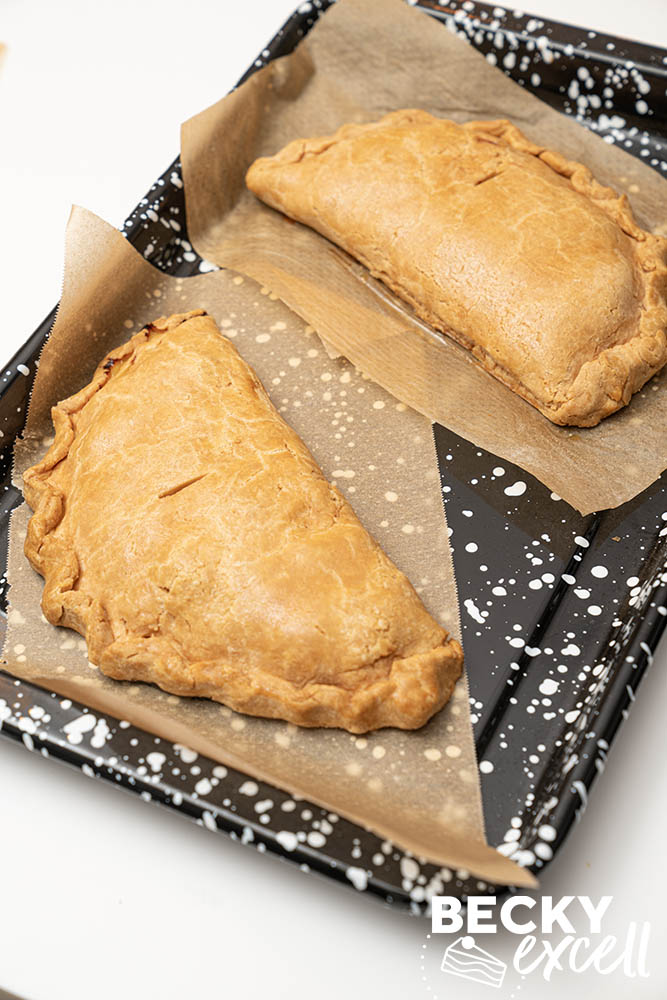
- Bake for 60-65 minutes at 160°C fan. The filling should be cooked through and tender, and the pastry golden. If you’d like extra colour, finish with an optional 5 minutes at 180°C fan. Rest for 10 minutes before serving.
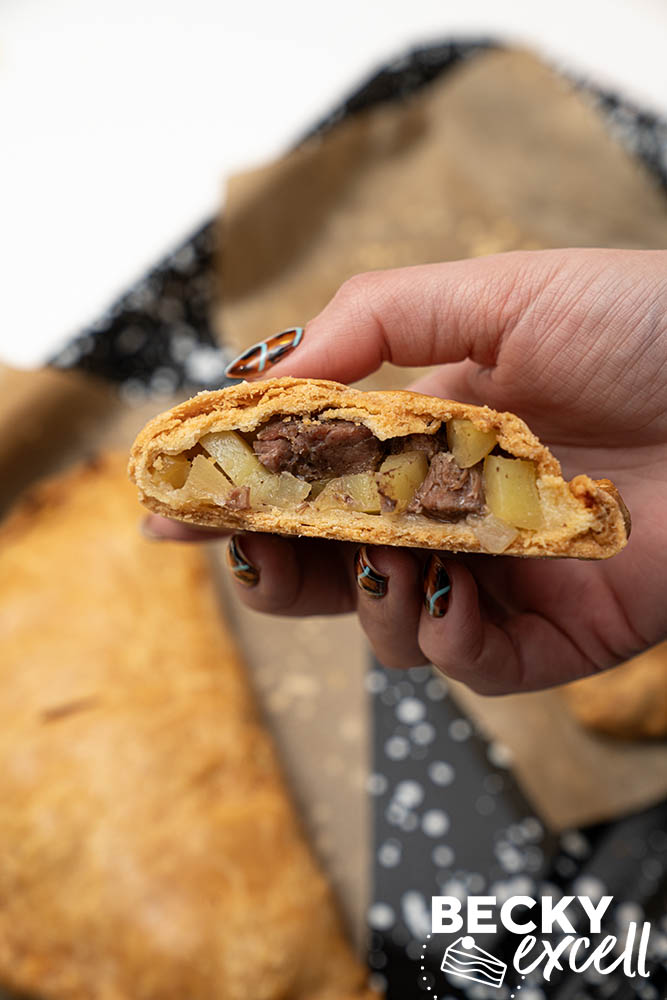
A few tips before you start
Firstly, make the pastry before starting the pasty recipe. It needs time to chill, so this isn’t a case of mixing the dough and immediately filling it. You’ll find the full pastry quantities and instructions in my gluten-free shortcrust pastry recipe.
Keep the dough cool but pliable. Rock-hard pastry will be difficult to roll, but dough that’s becoming warm and sticky needs a short spell back in the fridge. Work with one half at a time and keep the other covered.
Most importantly, don’t pull or stretch the dough. Rolling it gently is fine, but trying to tug it over a mound of filling is asking for cracks. Lift the baking paper to support it as you fold instead of picking up the pastry itself.
Stick to the 25cm circle, 4mm thickness and 2cm border. These give you room to enclose the filling without stretching the pastry. I had filling left over during testing, so I’ve reduced the filling quantities in the recipe below.
For the easiest finish, press the sealed edge with a fork. If you choose a traditional crimp like mine, work gently and use a very lightly damp finger to tidy any little tears. After sealing, you can smooth small surface cracks in the same way. The pastry doesn’t need to be wet, just lightly damp where you’re repairing it.
Once each pasty is shaped, cut around its baking paper and use the paper to help lift it onto the tray. Leave it on that piece of paper for baking, then start the next pasty on a fresh sheet. This saves you trying to lift a filled pasty with your hands.
Brush on a thin, even layer of egg wash, including the edges, without letting it collect in the folds or around the base. Don’t forget the small steam slit in the top before baking.
Storage and leftovers
These gluten-free Cornish pasties are lovely served warm after their 10-minute rest. They can also be enjoyed cold once properly cooked, cooled and refrigerated.
Cool leftovers and refrigerate them in an airtight container. Eat within 48 hours, or freeze them if you want to keep them longer.
To reheat, place in the oven until piping hot throughout, not just warm on the outside. Reheat only once. The oven is my preference for keeping the pastry crisp; microwaving will give you a softer crust.
Can I freeze them?
You can freeze the cooked, cooled pasties for up to 2-3 months. Wrap well and place in a freezer-safe container or bag. Defrost overnight in the fridge before reheating until piping hot throughout.
Recipe tips, swaps and FAQs
Is this recipe gluten-free? Is it suitable for people with coeliac disease?
Yes! Provided all the ingredients you use are gluten-free, including the flour used for dusting and rolling. If you’re cooking for someone with coeliac disease, follow Coeliac UK’s advice on avoiding cross-contamination.
Can I make this dairy-free?
Yes! Use a hard dairy-free alternative to butter in the pastry (like Stork hard margarine). Of course, avoid a soft, spreadable tub margarine. Dairy-free pastry may need a little extra chilling if it feels soft.
Can I make this vegan or egg-free?
Not with a simple swap. The pastry contains two eggs which help bind it together, as well as a separate egg for glazing. Replacing the glaze alone won’t make the pastry egg-free, and I don’t have a tested egg replacement for this dough. A vegan version would also need a different filling.
Can I make this lactose-free? Or low lactose?
For lactose-free pasties, use a hard dairy-free alternative to butter in the pastry. For low lactose, butter is naturally very low in lactose. The standard beef and vegetable filling contains no dairy.
Is this gluten-free Cornish pasty recipe low FODMAP?
The standard version contains onion, so it isn’t suitable as written. For the onion-free variation, replace the 60g onion with 60g peeled carrot, cut into 5mm cubes. Choose a gluten-free flour blend and any dairy-free butter alternative that suit your low FODMAP requirements too.
Which gluten-free flour should I use for the pastry?
I used FREEE by Doves Farm gluten-free plain white flour. That’s the blend I’d recommend for reproducing this version. Use plain flour, not self-raising, and don’t replace it with a single flour such as almond flour or coconut flour. Different gluten-free blends absorb liquid differently, so the dough may behave differently if you change brands – simply compensate with a little more water if too dry or a little more flour if too sticky.
Can I make the gluten-free pastry in a food processor?
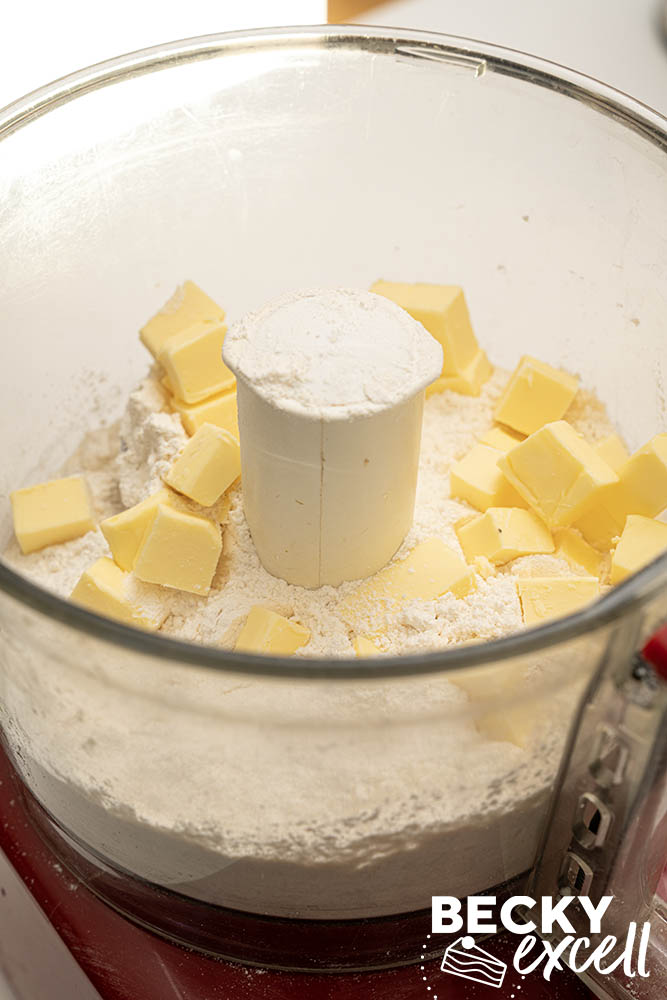
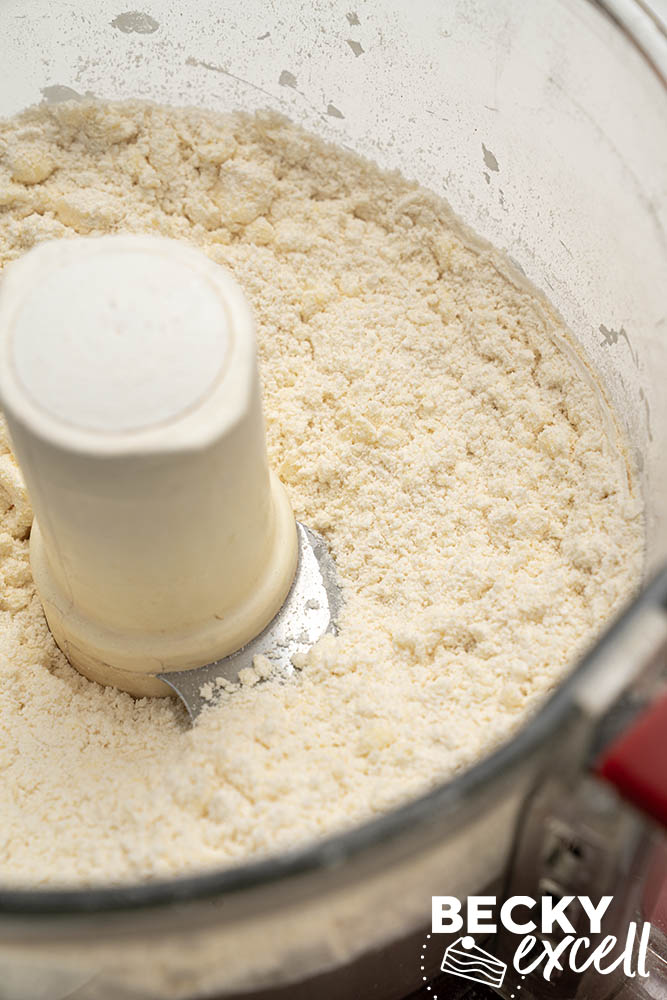
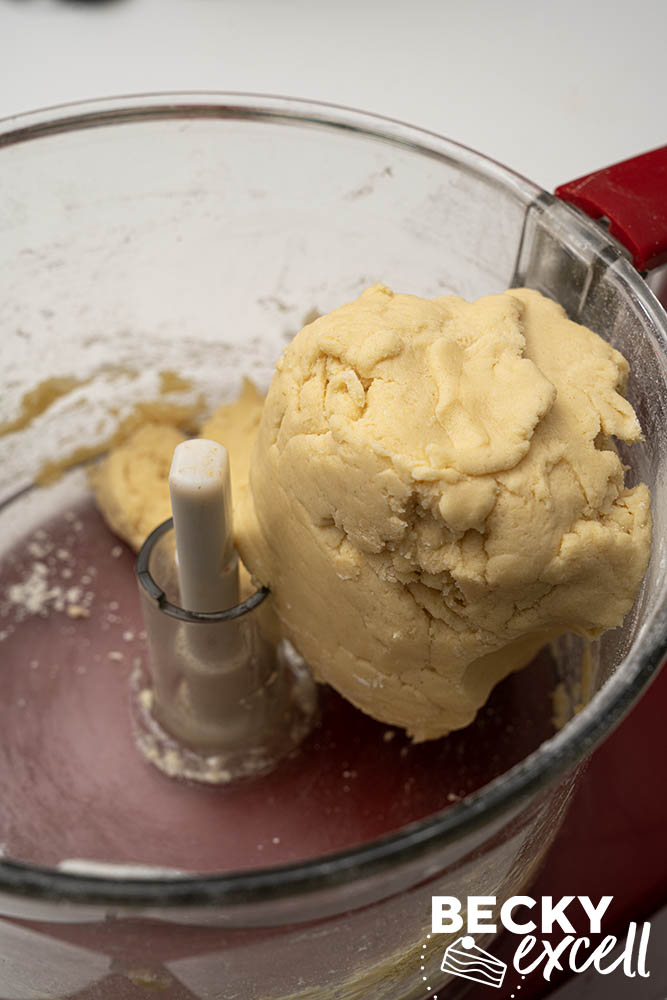
Yes! Mix the salt and xanthan gum into the gluten-free flour first, then add to your food processor with the cold cubed butter. Blitz until the mixture resembles breadcrumbs.
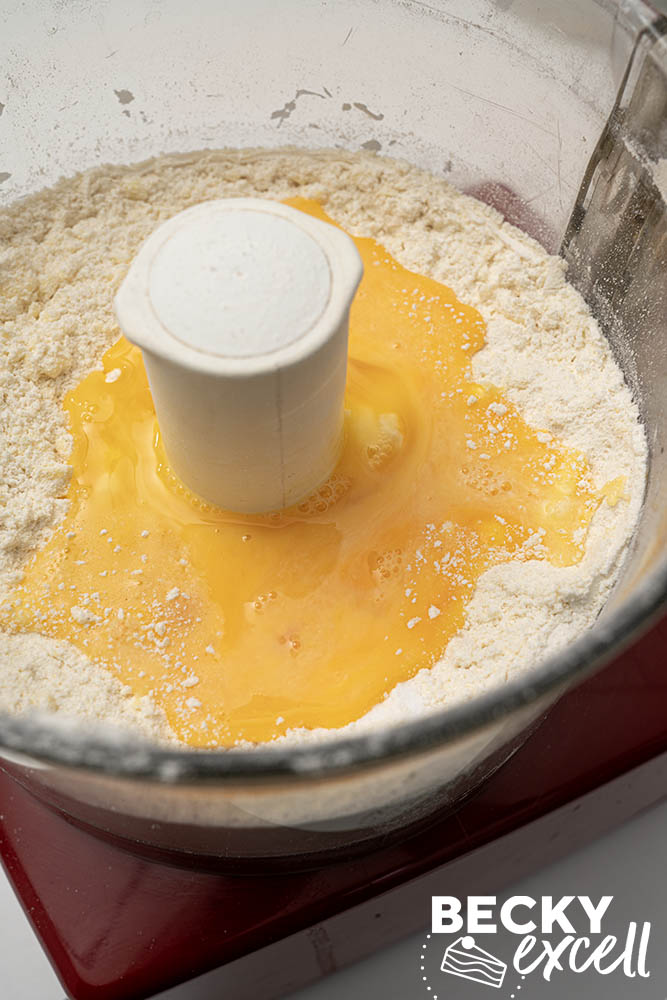
Add the beaten eggs, then pulse until it magically comes together into a dough. Stop as soon as it comes together rather than continuously blending it. Wrap and chill as directed in my gluten-free shortcrust pastry recipe before rolling. No rubbing in or mixing by hand needed!
Do I need xanthan gum if my gluten-free flour already contains it?
The FREEE gluten-free plain white flour I used doesn’t contain xanthan gum, so add the full 1½ tsp specified in the pastry recipe. If you’re using a blend that already contains it, I can’t give a reliable adjustment without knowing how much is in that blend. For the most predictable result, use the flour tested here rather than guessing.
Do I need lard to make Cornish pasty pastry?
No! Butter and lard are a familiar combination for pasty pastry, but this recipe uses my all-butter gluten-free shortcrust. You don’t need to buy lard or change the pastry recipe to make these.
Which cut of beef should I use?
Beef skirt is the traditional choice and the cut I used. Ribeye is a possible alternative, but I haven’t tested it with a long bake as written here, so skirt is my recommendation for following this version.
Where can I buy beef skirt?
I bought mine in Sainsbury’s after being unable to find it on Ocado or in M&S. Look for Sainsbury’s Beef Skirt. Morrisons British Beef Skirt is another supermarket listing worth checking. Availability varies by branch and delivery area, so check before making a special trip.
Don’t be surprised if the packet says ‘slow cooks in 4 hours’ – mine did! That refers to the suggested slow-cooking method on the pack, rather than these small pieces cooked inside a pasty. Follow this recipe’s chopping sizes and cooking method. If neither supermarket has it locally, a butcher is another option.
Which potatoes should I use?
Use firm salad potatoes that hold their shape. Charlotte or Maris Peer are suitable named varieties too. Peel before weighing and cut into 5mm cubes so they cook evenly inside the pasty.
Do I cook the filling before making the pasties?
No! The beef, potato, swede and onion all go in raw. There’s no need to fry the meat or soften the vegetables first. The small pieces cook together inside the pastry during the longer bake, so don’t leave the vegetables in large chunks.
Can I make the pastry ahead of time?
Yes! You can make the dough the day before, wrap it well and keep it in the fridge. Let it become firm but workable before rolling, as dough chilled overnight may be too hard straight from the fridge. Prepare the raw filling when you’re ready to assemble the pasties.
For making the whole meal ahead, bake the pasties, cool and refrigerate or freeze them, then follow the storage and reheating advice above.
Troubleshooting
Why does my gluten-free pastry crack when I fold it?
This pastry rolls out beautifully, but it won’t stretch like pastry made with wheat flour – there’s no gluten to give it that elasticity! So don’t try to pull it over the filling or tug the edges together. Lift the baking paper underneath and let that support the pastry as you fold it over – it prevents you from pulling and stressing the dough.
Stick to the circle size and filling quantity in the recipe so the edges meet without any persuasion. And if you do get a few little cracks, don’t panic! A finger very lightly dipped in water will help you gently smooth them away.
What if the pastry tears when I crimp it?
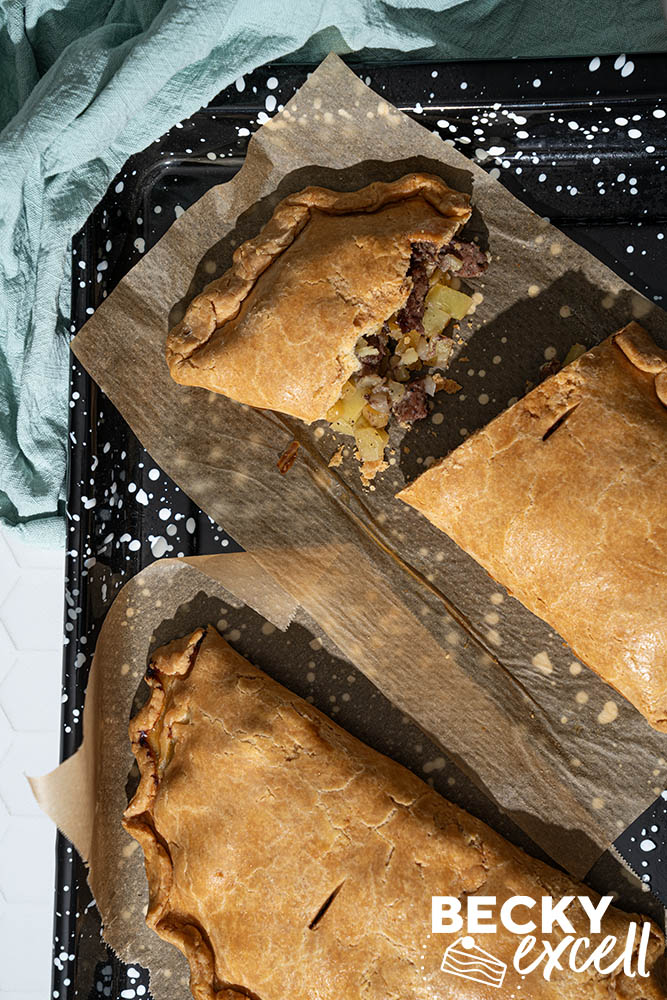
This happened while I was making mine too, so don’t panic! Once fully crimped, simply use a very lightly damp finger to smooth little tears back together and tidy the edge. A traditional crimp puts more strain on gluten-free pastry without any stretch-power, so a little smoothing over and tidying up is natural.
That’s why I instruct sealing with a fork as the easier option. You don’t need a perfect rope-like edge to make a delicious pasty – it’ll still taste the same!
Why are my pasties still quite pale after baking?
The main bake is at 160°C fan, so the pastry colours more gently than it would in a hotter oven. Brush with a thin, even layer of egg wash before baking. If you want a deeper colour after the 60-65-minute bake, increase to 180°C fan for an optional 5 minutes.
Why are the vegetables or beef still tough?
Check the chopping sizes first: 5mm pieces for the vegetables and 1cm pieces for the beef. Larger pieces can need longer, and a different cut of beef may not behave like skirt. Make sure you cut the skirt across the grain before dicing it.
If the filling isn’t tender and cooked through, continue baking at 160°C fan and check again. The optional hotter finish is for colour, not a substitute for cooking the filling properly. Pastry colour alone doesn’t tell you whether the centre is ready.
Gluten-free Cornish Pasty Recipe
Ingredients
- 1 quantity gluten-free shortcrust pastry see link in first step for the recipe
For the filling
- 160 g beef skirt trimmed weight, cut across the grain and then into 1cm pieces
- 120 g potato peeled weight, cut into 5mm cubes; use a firm salad potato
- 60 g swede peeled weight, cut into 5mm cubes
- 60 g onion peeled weight, finely diced into approximately 5mm pieces
- 1/4 tsp fine salt
- generous pinch ground black pepper
To glaze
- 1 egg
- 1 tsp water
Instructions
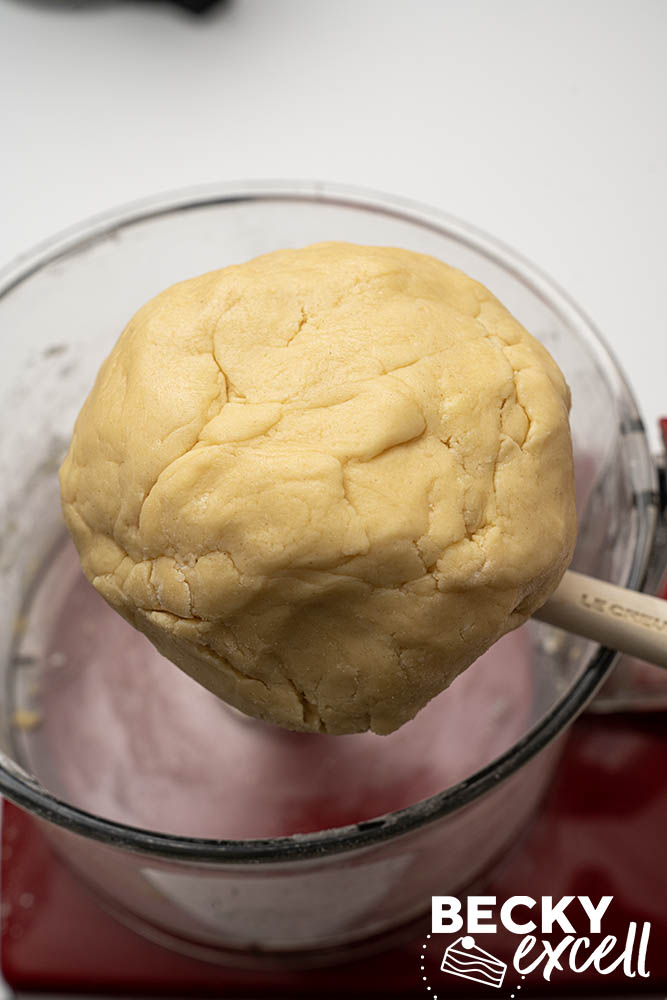
- Before starting, make one quantity of my gluten-free shortcrust pastry using the savoury option and chill as directed. Follow the dough-making instructions only – there's no need to make a tart case or blind bake anything.
- Prepare a large baking tray with non-stick baking paper. Chop the beef and veg as described in the ingredients – I use a veg speed chopper to ensure consistent size for the veg.
- If your chilled pastry dough is quite firm, leaving it out at room temp ahead of time is definitely advised. If that’s the case, remove your pastry dough from the fridge now and place to one side. It should be cool but pliable enough to roll.
- Add all of the raw vegetables to a mixing bowl, along with your raw beef. Season with salt and pepper and give it a stir.
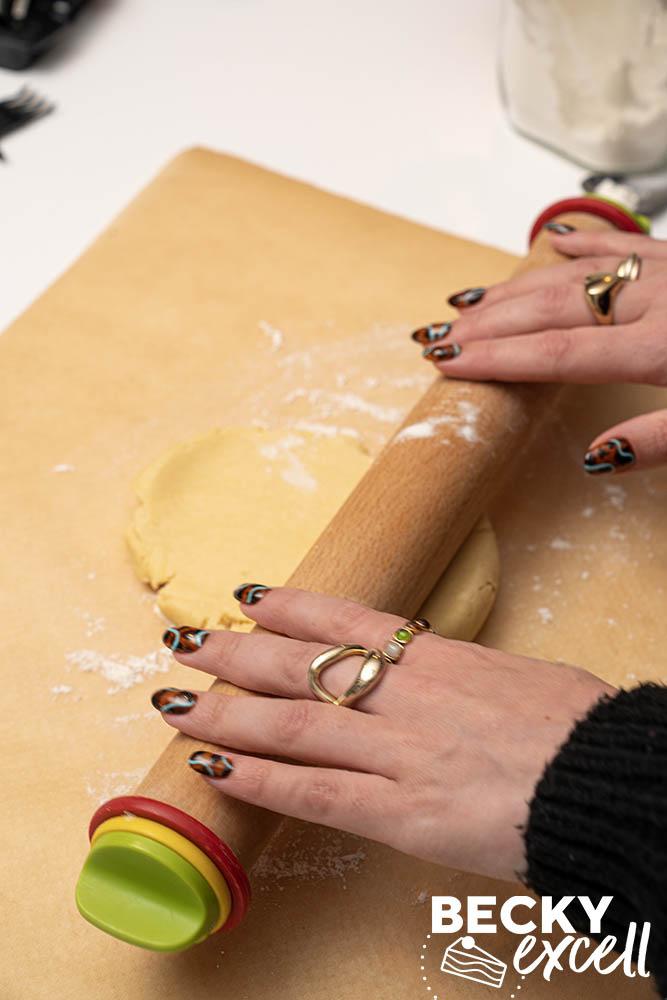
- Cut your pastry ball in half, take one portion and cover the other in clingfilm, then lightly flour your rolling pin with gluten-free flour. Remember not to excessively handle your dough from this point onwards as this will warm it up and make it more fragile.
- On a sheet of non-stick baking paper, roll out the dough portion to a large, round circle, around 4mm thick. Once rolled out, cut out a circle that’s 25cm in diameter. I find that cutting around a plate is the easiest way to do this. Brush away any excess flour. Avoid pulling or stretching the rolled pastry as it doesn’t have the elasticity of pastry made with wheat flour.
- Spoon half the filling onto one side of the pastry circle, leaving a 2cm gap between the filling and the edge. Lightly brush all around the edge with water. Lift the baking paper underneath the unfilled half and use it to support the pastry as you fold it over the filling, bringing the edges together without pulling or stretching the dough. Gently peel back the paper.
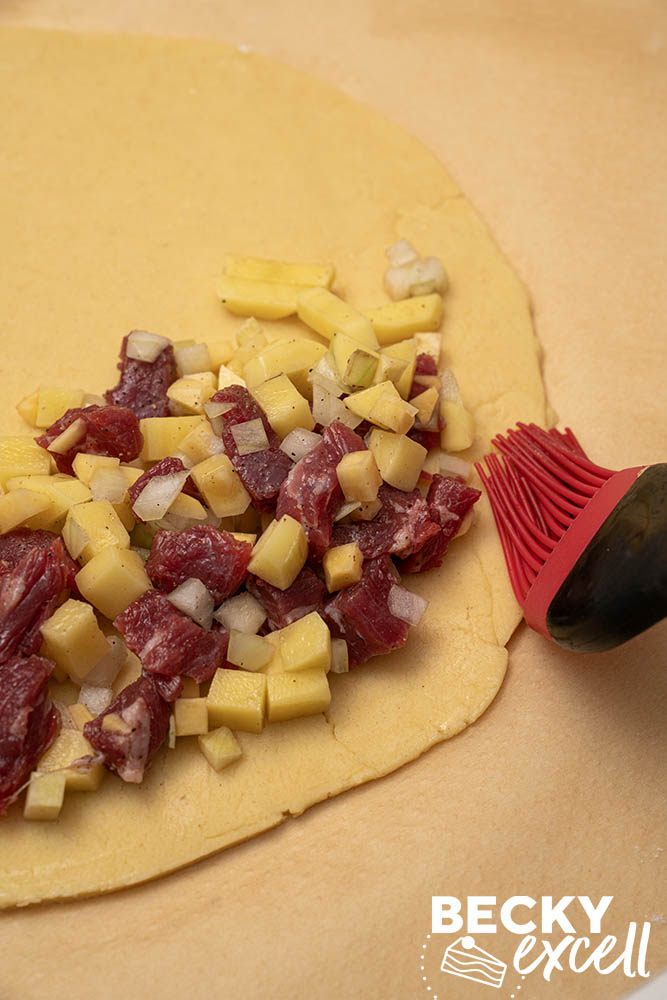
- Seal the pasty shut by pressing the pastry edges firmly together, then use a fork to press along the curved edge to create a neat seal.
- Alternatively, for a traditional crimp as shown in the photos, start at one corner, pinch a small section of the sealed edge between your thumb and forefinger, then fold it diagonally towards the filling. Repeat along the curved edge, overlapping each fold slightly to create a rope-like crimp. Tuck the final end underneath. If the pastry tears as you crimp, simply use a very lightly damp finger to gently press it back together and tidy things up.
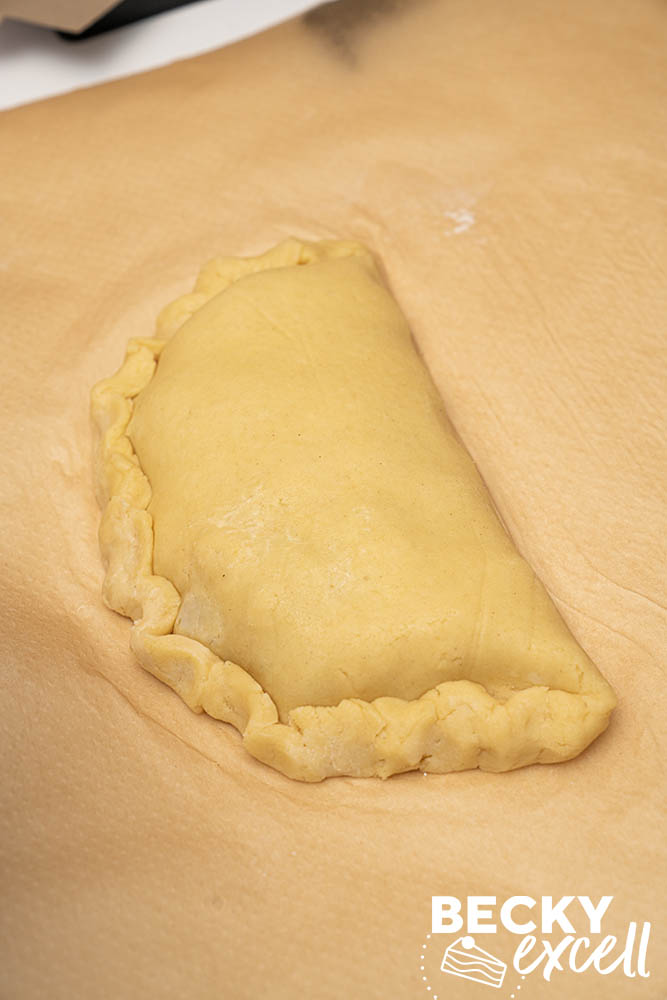
- After crimping, use a finger lightly dipped in water to gently smooth out any noticeable surface cracks.
- Cut around the baking paper, leaving enough around the pasty to help lift it onto the prepared baking tray. Leave the pasty on its piece of paper for baking. Repeat with the remaining pastry and filling on a fresh sheet of baking paper, then transfer the second pasty to the tray. Chill both pasties for 20-30 minutes. Meanwhile, preheat your oven to 160°C fan.
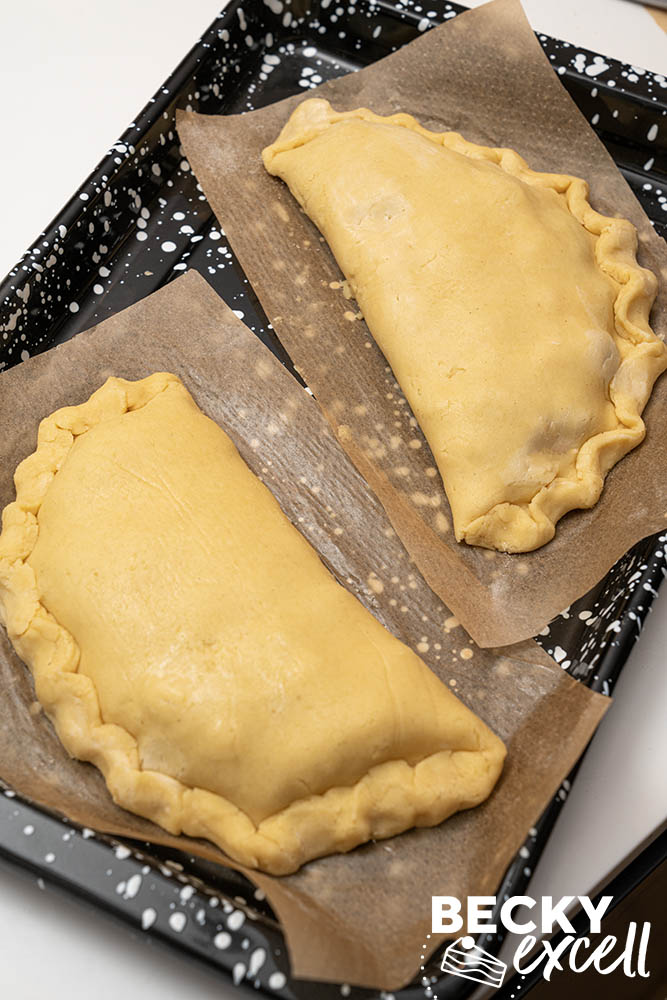
- Beat the egg and 1 tsp water together thoroughly. If you like, pass through a small sieve to remove stringy bits of egg white for a smoother, more even glaze. Brush a thin, even coat over both pasties, including the crimp, avoiding puddles in the folds or around the base.
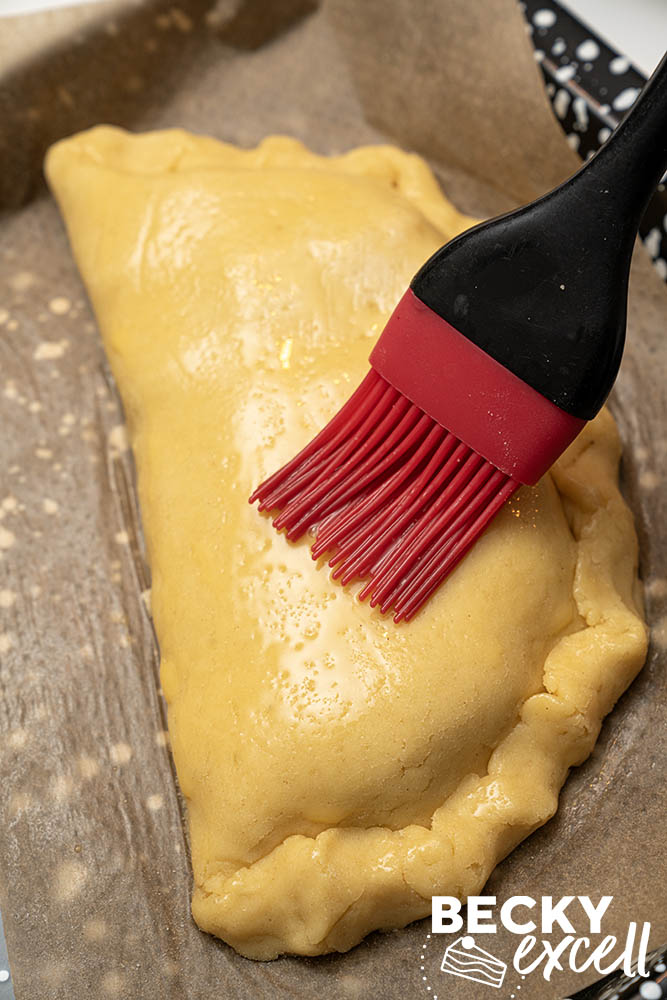
- Using a sharp knife, cut a 1cm slit through the pastry at the highest point of each pasty, away from the crimp, to allow steam to escape.
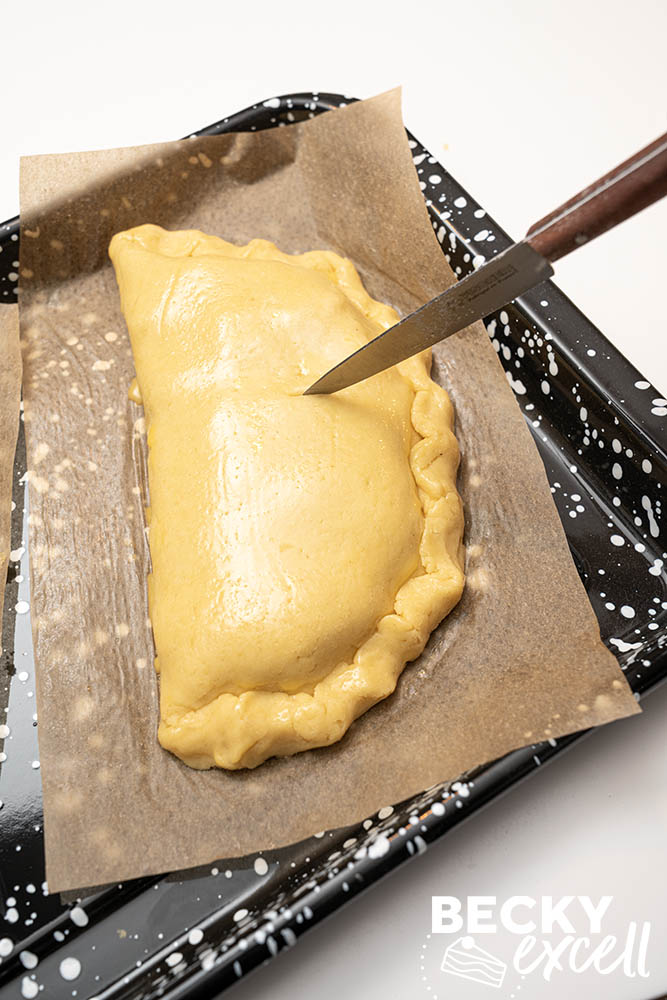
- Place into the preheated oven for 60-65 minutes, until the pastry is golden, the vegetables are tender and the beef is cooked through and tender. For added colour, increase the oven to 180°C fan and bake for a further 5 minutes, if needed.
- Remove from the oven and allow to rest for 10 minutes before enjoying warm.
Notes
Nutrition