Sushi makes a delicious gluten free lunch, dinner or snack. Homemade gluten free sushi is scrumptious & simple to make. Here’s how!
I still remember the first time I tried Sushi… I think I was incredibly late to the party. I was 18 and in my first year of university, Mark & I went to Yo! Sushi within Selfridges in Manchester. I loved all the flavours, the colour, the vibe that comes with grabbing plates at will off a moving belt, basically from that day forward sushi & I have had a pretty decent relationship!
I haven’t been to a huge variety of different sushi restaurants, I’ve mainly just enjoyed the likes of Yo! Sushi, Itsu & Wasabi. I’ve always wanted to go to a really nice Japanese restaurant or maybe just visit Japan someday? But for now Mark & I have started to fulfil our sushi desires by making our own at home! It really is very simple & a lot of fun too!
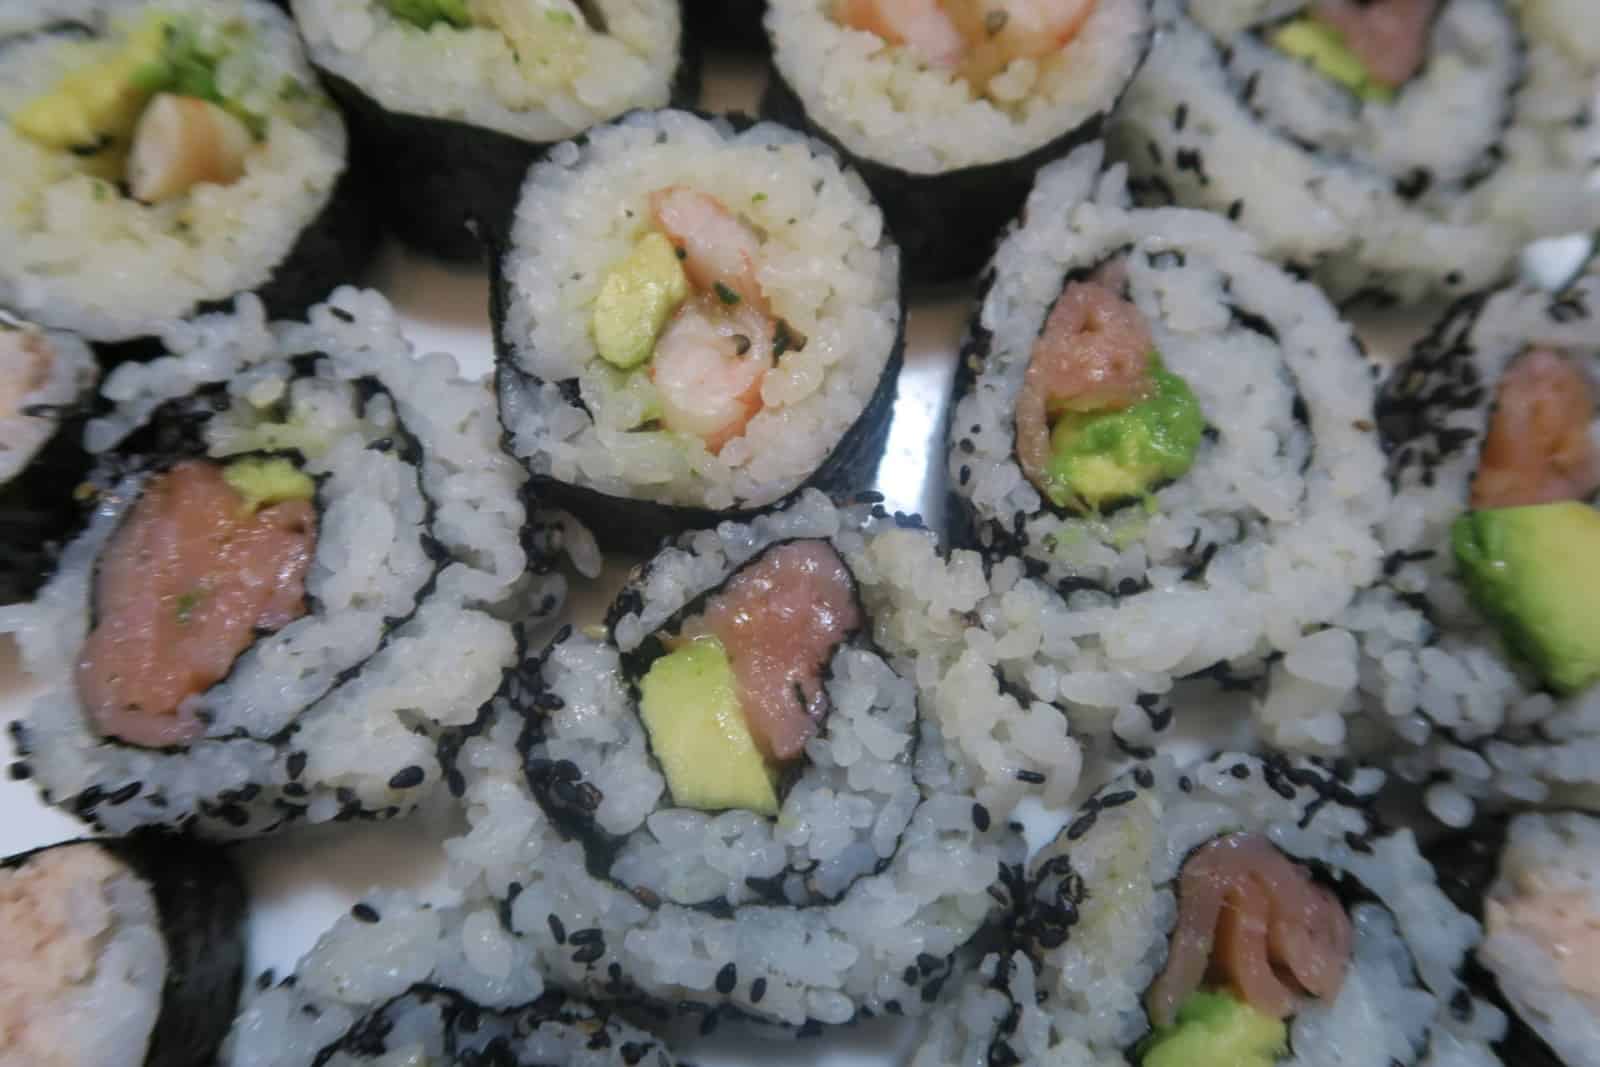
There are so many different types of sushi, but in the case of today’s post I thought I would put down my method for making some sushi rolls. We usually make a mix of maki (the smaller sushi rolls), sushi rolls & the inside out sushi rolls. Of course, once you have prepared your sushi rice the world really is your oyster, & you could attempt to make any type of sushi you like. For instance the sushi I refer to as ‘Nigiri’ is very straightforward to make & doesn’t require the rolling up… however making the gluten free sushi rolls in the most fun!
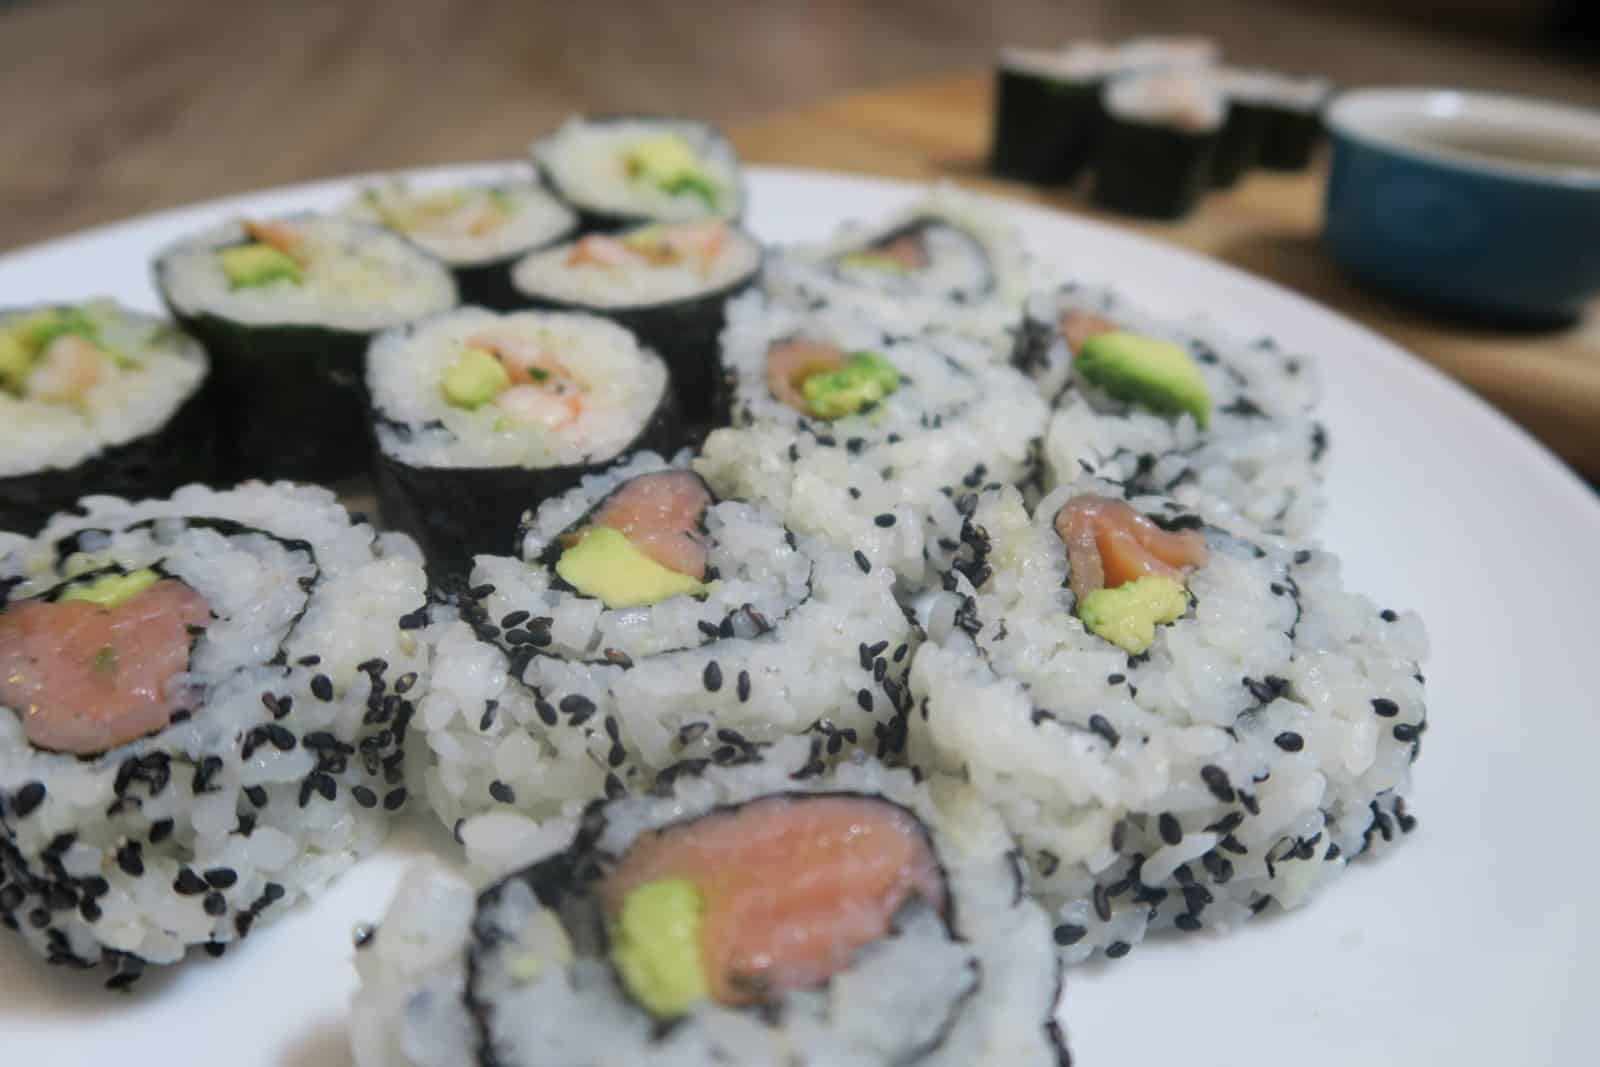
What fillings and flavours you have with your sushi is completely up to you. For Mark & I when we are making gluten free sushi rolls at home we often have:
- Avocado & Salmon (on the whole we always use smoked salmon, it tastes great & we often have it in the fridge anyway!)
- Prawn & Avocado
- Gluten Free Katsu Curry Sauce & Chicken (we usually make these the day after we have made my Gluten Free Katsu Curry for dinner & use the leftovers. The sauce is easy to make & then you just need some cold gluten free breaded chicken.)
- Tuna Mayo & Cucumber (super simple – super delicious!)

Gluten Free Sushi Rice
Ingredients
- 750 g Sushi Rice
- 200 ml Rice Wine Vinegar
- 3 tsp Salt
- 3 tbsp Sugar
Instructions
- Warm your vinegar, salt & sugar in a pan until the sugar & salt have dissolved.
- Leave this to cool as this is your sushi vinegar.
- Wash your rice 3 times in cold water (massage the rice, making the water cloudy) After each wash, empty the water & use fresh for the next wash.
- Leave the sushi rice to stand for about 15 minutes.
- Whilst you are letting your rice stand, bring a pot of cold water to the boil. (about 1 litre for 750g of rice so if using less rice reduce the amount of water accordingly!)
- Add your sushi rice & let it simmer with the lid on for 10 minutes.
- Remove the sushi rice pot from the heat & leave to stand for a further 15 minutes (don't take the lid off)
- Tip the cooked sushi rice into a plastic or wooden bowl and evenly pour your sushi vinegar mixture over it. Mix it in gently using a wooden utensil, this will dry the rice & make sure you have an even spread.
- Allow the rice to cool, you can fan it gently to quicken the process. The rice needs to be at room temp to use & it should be pretty sticky.
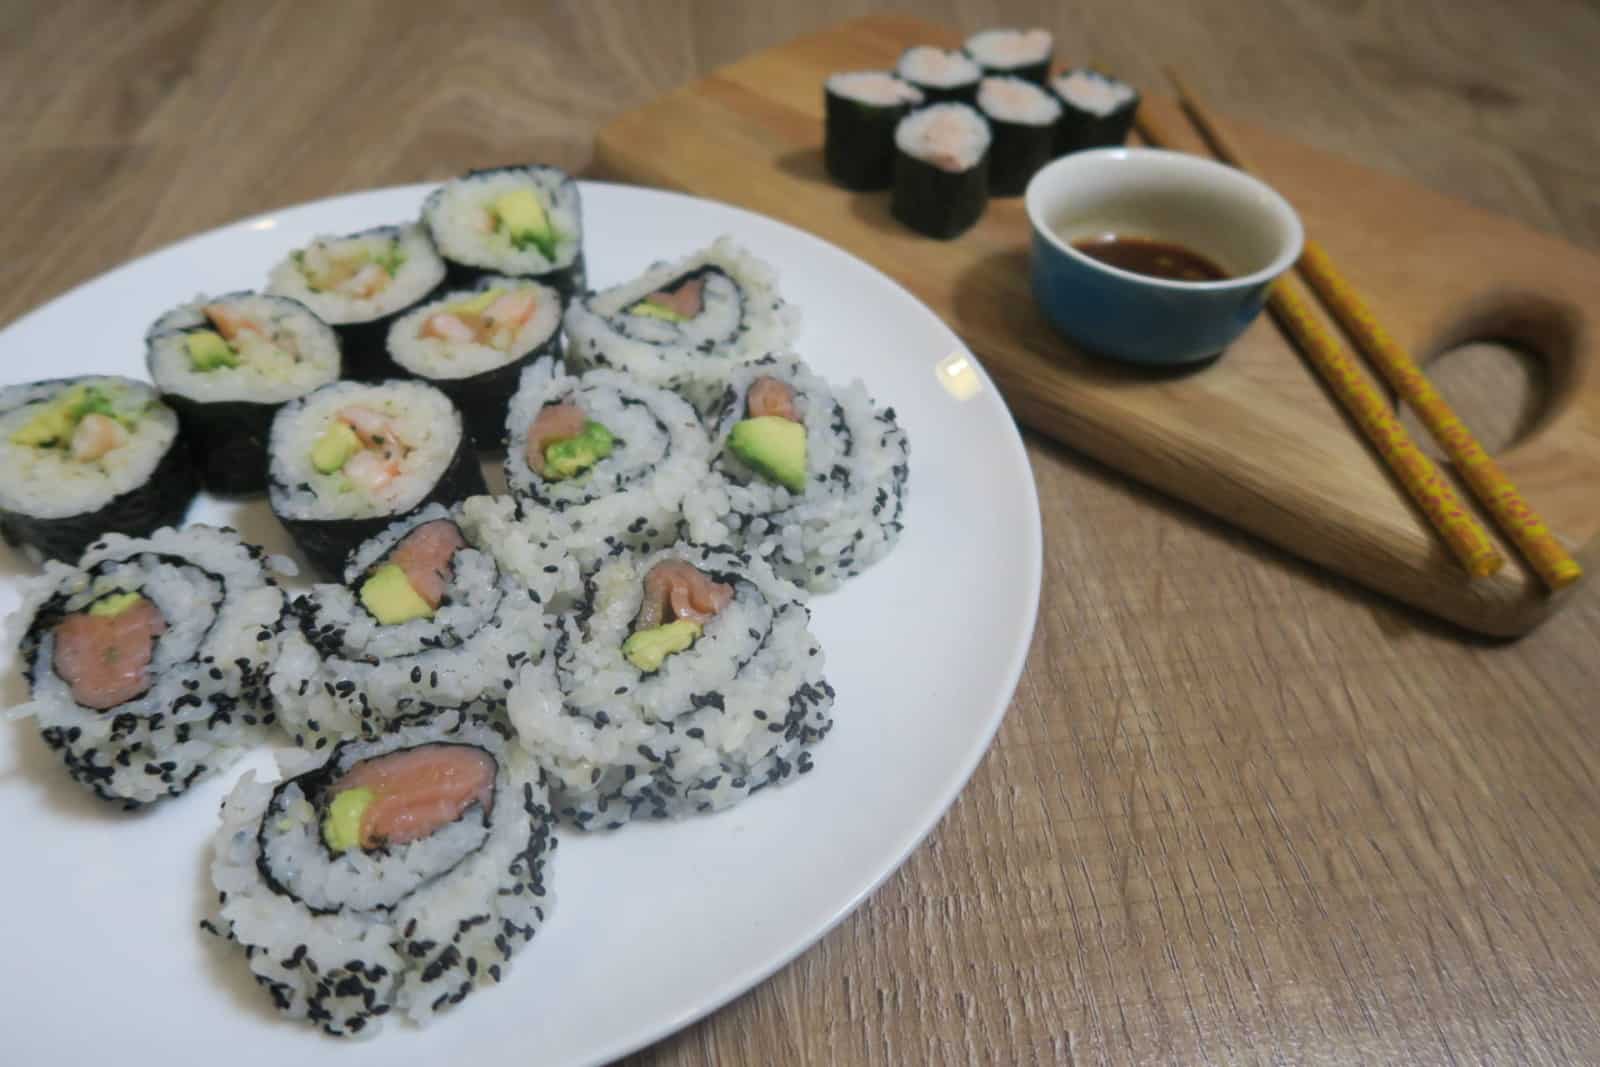

Gluten Free Sushi - Maki
Ingredients
- Bamboo Sushi Mat
- Seedweed/Nori Sushi Sheets
- Sushi Rice cooked
- Fillings - your choice! Cooked Prawns Avocado, Salmon, Cucumber, Tuna etc
- Wasabi Pickled Ginger, Gluten Free Soy Sauce (to serve)
Instructions
- To make the sushi take your bamboo sushi mat and place a sheet of nori on top. (For smaller maki cut the nori sheet in half)
- Make sure you have a small bowl of water to dip your fingers in before you touch the rice. (Do this regularly between touching the rice, it's sticky!)
- Spread some sushi rice over the nori sheet (leave about a 2cm gap border on the edge facing you), do this gradually using a little rice at a time, it should be just under a cm thick (less if you want).
- Place some filling in the centre of the rice in a line (whatever you fancy... prawns & avocado, salmon etc)
- Now for the rolling! Using the sushi mat, start rolling up the ingredients away from you, while keeping the roll tight. The moisture from the rice will help it stick together.
- Make sure you firm the roll up with the mat, press fairly hard to make sure it's tight.
- Remove the sushi mat from around your roll.
- Use a slightly wet & very sharp knife to cut through your roll and into slices.
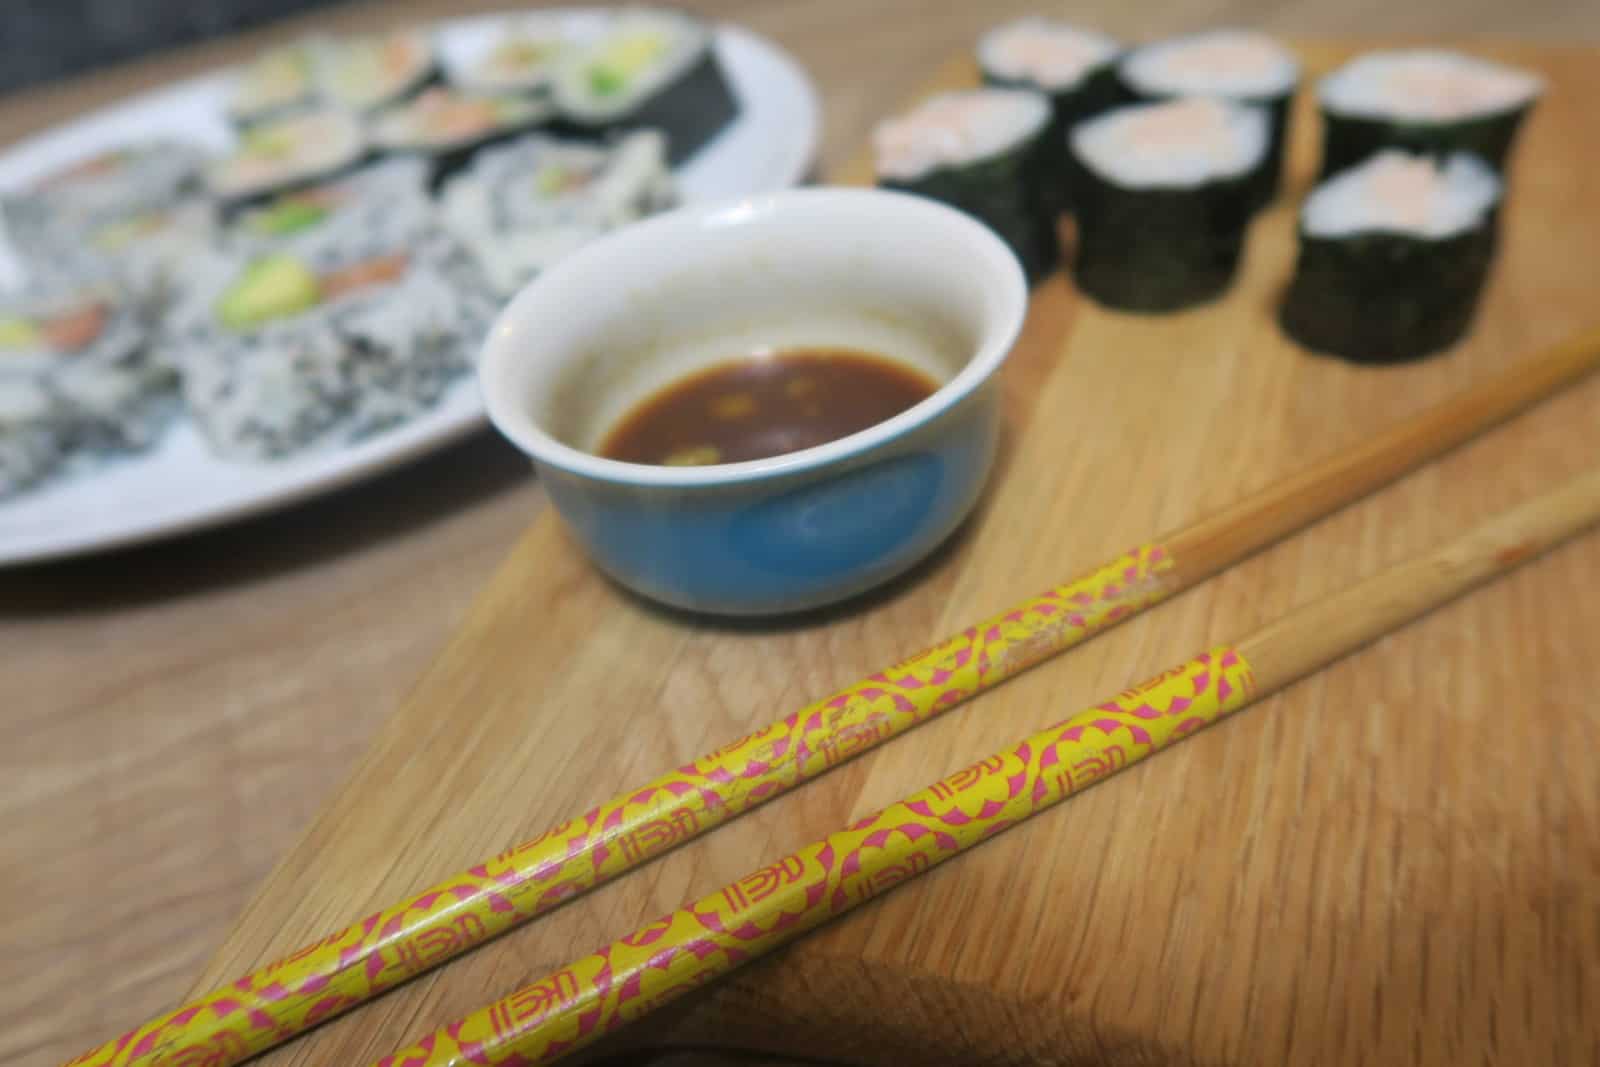
- Serve up with some wasabi, pickled ginger & gluten free soy sauce to dip.
- Enjoy!
I obviously haven’t listed how to make all different types of sushi, that would take forever. What I would recommend however, is to get on YouTube & watch some videos to help with your sushi making. It really helped me understand first time round!
Let me know if you make your own gluten free sushi & what filling you go with. Also, as I said, I’m looking out for a really great sushi restaurant to visit so if you have any recommendations in the UK, please let me know. Just drop me a comment below, or on Facebook/Twitter.
Thanks for reading,
Becky xxx

