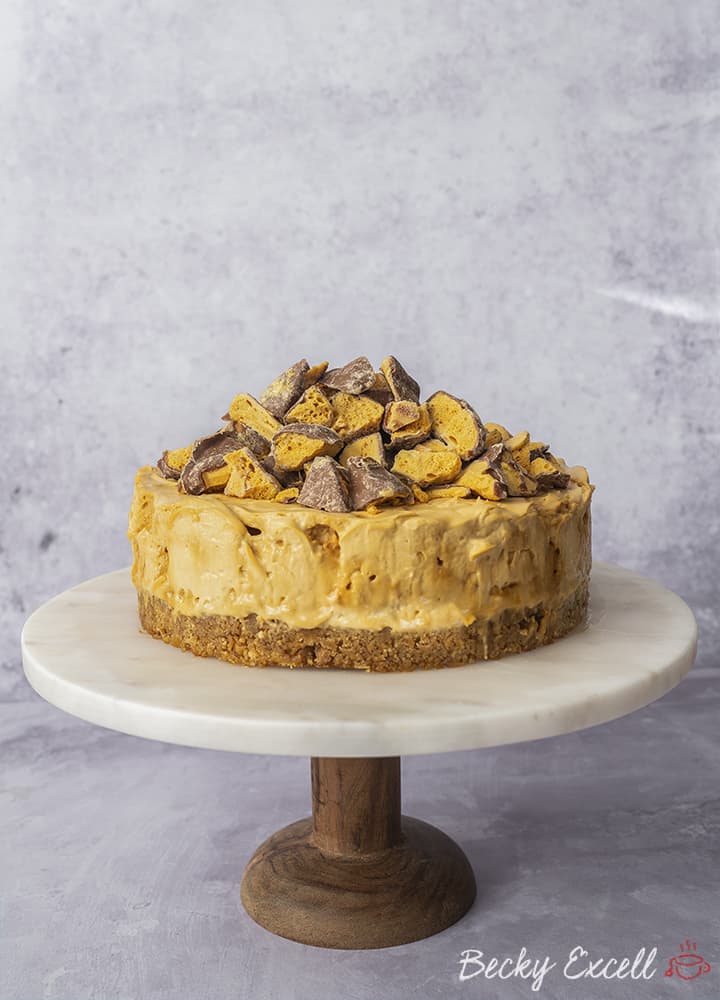
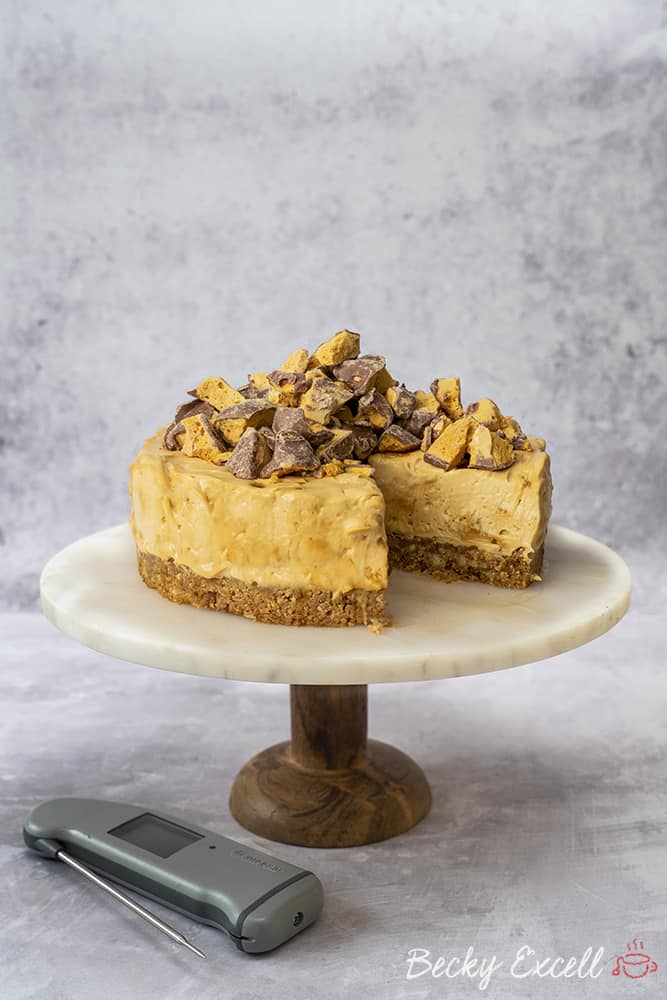
It’s Valentine’s day soon and what says ‘I love you’ more than my gluten free honeycomb cheesecake recipe? As far as romantic gestures go, this has to be pretty high up that list, right?!
I mean, how could anybody resist someone who made their own honeycomb from scratch? Plus, you’ll defo get bonus points if your Valentine is gluten free and you surprise them with this cheesecake… (I hope my boyfriend is reading this!). Ok, here’s my no-bake gluten free honeycomb cheesecake recipe…
If the idea of making your own honeycomb terrifies you, then never fear. It really isn’t all that complicated!
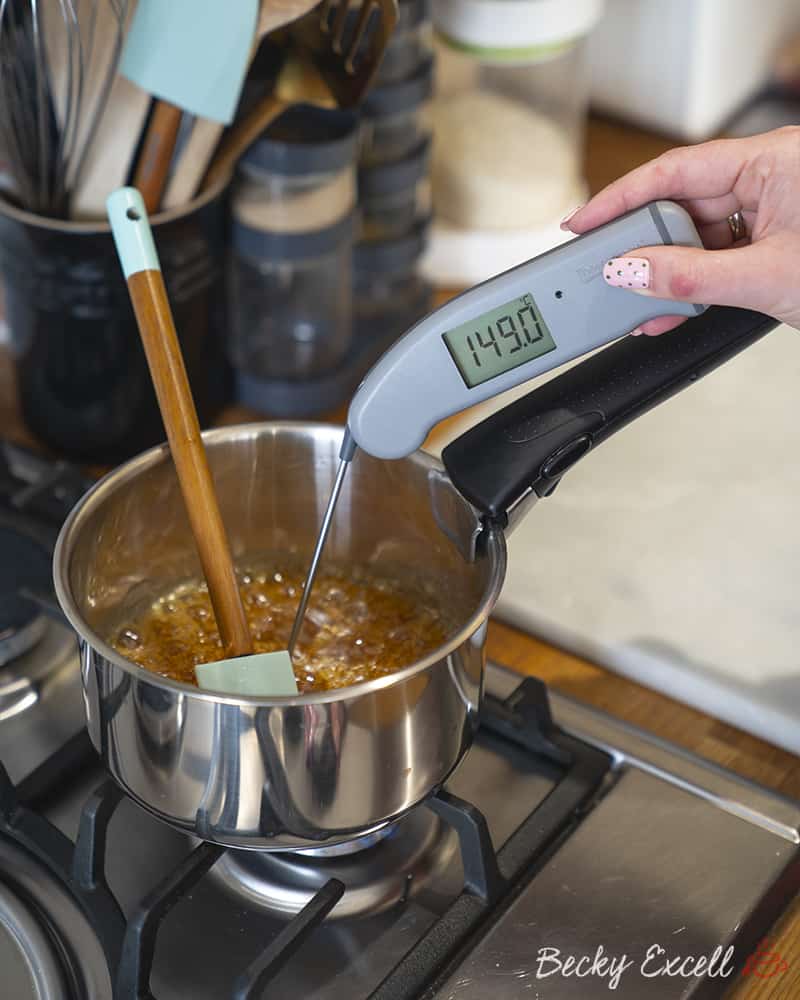
You simply heat up golden syrup and caster sugar and as soon as your mixture hits 149C, you add in your baking powder.
(and watch with slight giddiness as it froths up and foams like crazy!)
But how on Earth are you supposed to know when your mixtures reaches 149C on the dot? ??♀️
That’s where having a digital cooking thermometer like a Thermapen comes in extremely handy.
(or as I have nicknamed mine, Thelma Pen)
And because it’s accurate to within 0.1 of a degree within 3 seconds of probing, that’s why it’s integral for making honeycomb.
After all, we’re aiming for that magic number of 149C – not higher and not lower. Too high and the sugars can easily burn, too low and the honeycomb can just become a massive, sticky mess with no crunch at all.
I mean, no pressure, but the temperature is pretty important in this one!
So once you see that magic number on your Thermapen, just add your baking powder and you can’t go wrong. Having a Thermapen totally eliminates the guesswork out of your day-to-day cooking, but to be quite honest, I’m not sure you should attempt to make honeycomb without one!
Anyway, after it’s cooled, you can bash up your lovely, crunchy honeycomb and begin making your cheesecake.
You’ve basically just got to bash up gluten free digestives, mix them with melted butter then whip your double cream, cream cheese and honeycomb mixture. Throw it all together in a loose-bottom tin and chill.
(and I mean chill the cheesecake, not you!)
There you go, you’ve only gone and made the best Valentine’s day gift ever. Well done, you!
After all, nothing says wife/husband material more than someone who can whip up a cheesecake like this at a moment’s notice, does it?
Plus, there’s definitely massive brownie points to be earned by creating that special gluten free someone a dessert that they can actually eat for once. BUT, how does it taste?
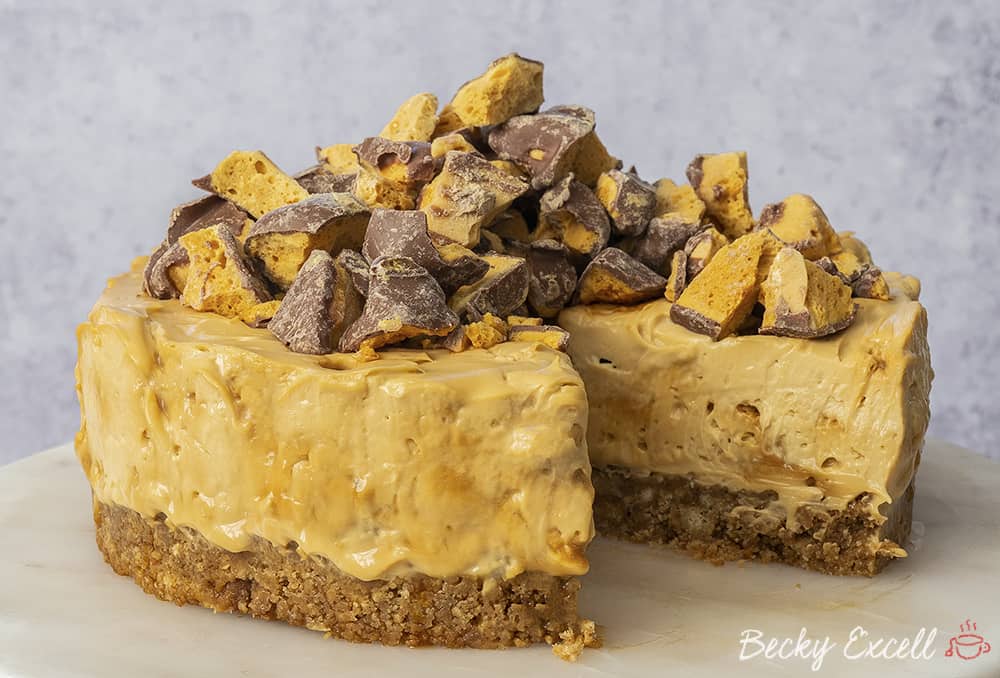
It’s sweet, creamy and indulgent with little crunchy pieces of honeycomb in every bite. And who could forget that buttery biscuit base?
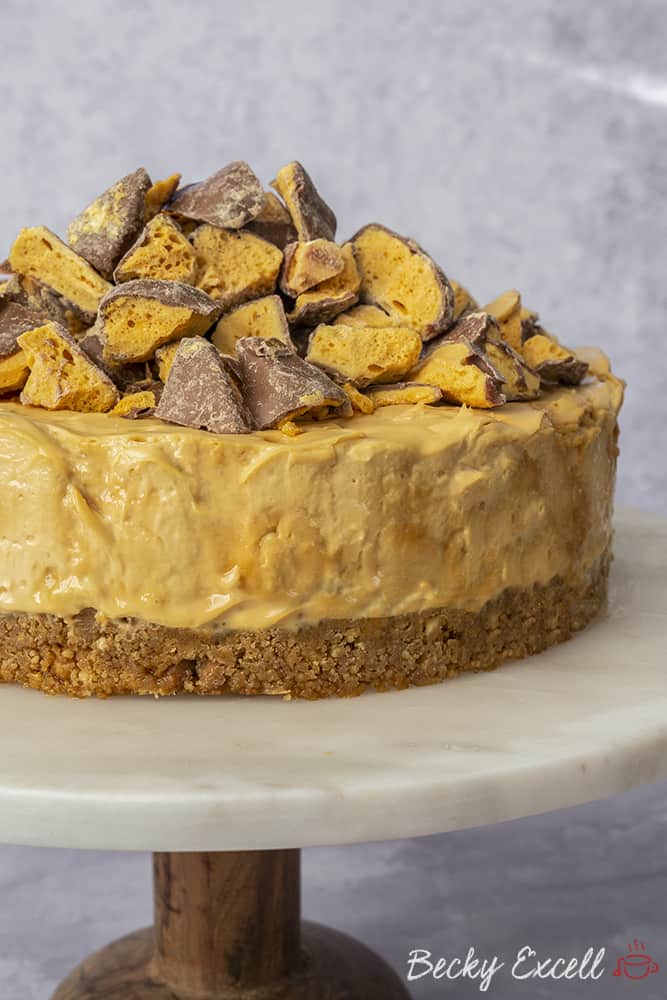
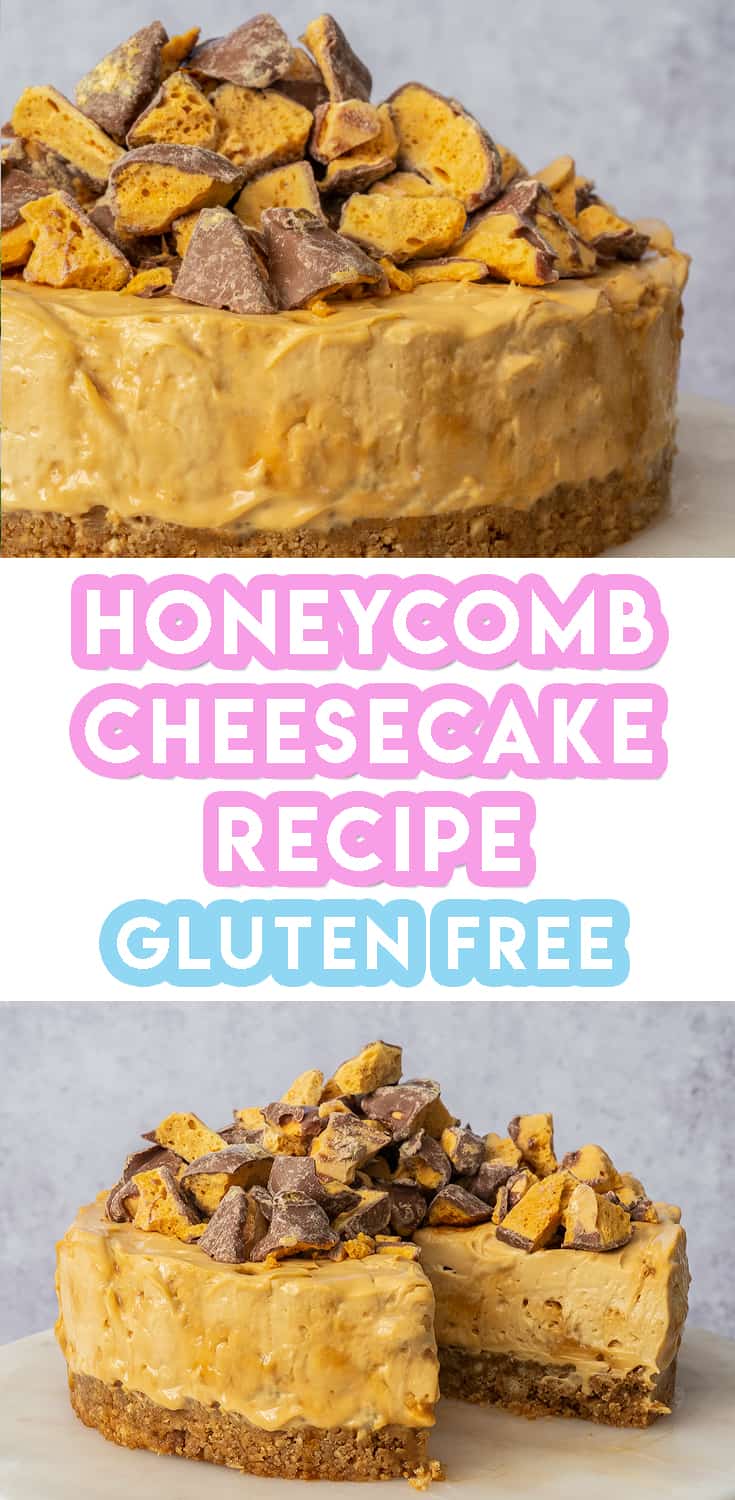
Top with a little chocolate covered honeycomb and you’ve basically put cupid out of a job.
(you can easily coat your own honeycomb with chocolate, by just melting some 70% dark chocolate, adding your honeycomb and allowing it to set)
Oh and can you believe that the golden colour of the cheesecake layer comes entirely from the homemade honeycomb pieces? It just naturally colours the cheesecake layer to be a beautiful, honeycomb colour which was a bit of a surprise to me… but I absolutely loved it!
Ok, so here’s my gluten free honeycomb cheesecake recipe! I should also mention that there’s no shame in making this for yourself on Valentine’s day ? You do you!
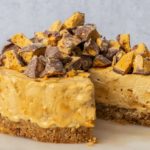
My No-Bake Gluten Free Honeycomb Cheesecake Recipe
Ingredients
For the base
- 320 g gluten free digestive biscuits
- 150 g hard margarine / butter
For the honeycomb
- 250 g caster sugar
- 250 g golden syrup
- 30 g bicarbonate of soda
For the cheesecake
- 560 g cream cheese (for this I use Philadelphia but you could use Mascarpone)
- 100 g icing sugar
- 1 tsp vanilla extract
- 300 ml double cream
- 200 g honeycomb (that you've freshly made - see above in the ingredients)
For the topping
- extra honeycomb (chocolate covered bits look great too, so either make this with your homemade honeycomb or you could buy some Crunchies!)
Instructions
- Firstly the honeycomb. Prepare a high edged baking tin with foil or non stick baking paper (my tin was 22.5cm x 22.5cm x 5cm - but anything will do - any shape really). I always use foil to line my tin and have excess hanging over the edges so I can lift the honeycomb out. I also spray a little oil on the foil to help the non stick. You MUST do this step before you start!
- Add your sugar and golden syrup to a saucepan and place on a medium heat. Allow the sugar to all melt down, give it a stir to help it all mix. Once it's melted keep it on the heat until it has reached 149C. As soon as it does immediately add your bicarbonate of soda, remove from the heat and stir it in as quickly as possible. It should come up like a cloud. Very quickly pour the mixture into your prepared tin. Do not touch it again - it will likely initially continue rising up!
- Leave your honeycomb to sit for at least an hour until it has cooled down and hardened.
- Whilst you wait make your biscuit base. Crush your gluten free digestives. I place mine in a sandwich bag and hit them with a rolling pin. You can make them quite small or have some chunkier bits.
- Melt your margarine or butter - I do this in the microwave. Then pour your melted margarine/butter into your crushed biscuits and mix together.
- Press your biscuit mixture into the tin you are going to be making your cheesecake in. Press it down nice and firmly. Place it in the fridge to chill whilst you make your cheesecake top. (I leave mine in the fridge for at least 30 minutes)
- To make your cheesecake filling mix together your cream cheese, icing sugar and vanilla extract. I use my KitchenAid to do this on a low/medium setting for only about 10-20 seconds. You could you an electric hand mixer too.
- Add in the double cream and keep mixing until it firms up a little. (I had the KitchenAid on a medium setting for just under 2 minutes for this - try not to over mix though... don't let it split!)
- Once your honeycomb is ready, lift it out the tin and get cracking! It should be nice and hard, not bendy in any way. Either break off chunks with your hand or use a rolling pin to hit the honeycomb into much smaller pieces - I did a bit of both. Weigh out 200g worth of broken up pieces of honeycomb. (Any extra honeycomb pop in a Tupperware box and store at cool room temp)
- Fold the honeycomb into the cheesecake mixture.
- Spread your mixture on top of the biscuit base and place in the fridge to set. I always make mine the day before and leave it to chill fully overnight.
- When you are ready to serve, remove the cheesecake from the tin and top with extra shards of honeycomb (and or broken up pieces of Crunchie or some other chocolate coated honeycomb).
- Keep refrigerated if you have any left over
- Enjoy!!
Notes
Thanks for reading all about my gluten free honeycomb cheesecake recipe! If you make it, I’d love to see how it turned out so don’t forget to take a snap of your creations and tag me on Instagram!
Plus, I’m giving away a £50 supermarket voucher every month to my fave pic, so get baking!
Any questions about the recipe? Please do let me know by following me on Instagram and leaving me a comment!
Thanks for reading,
Becky xxx
This is a sponsored post with Thermapen.
Oh and don’t forget to pin this for later!

