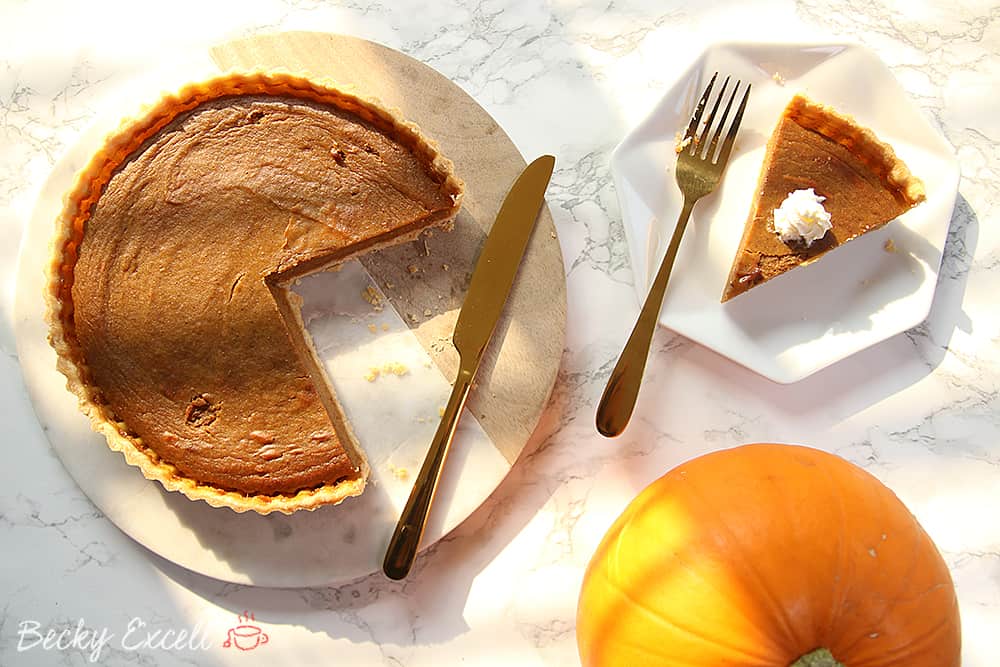
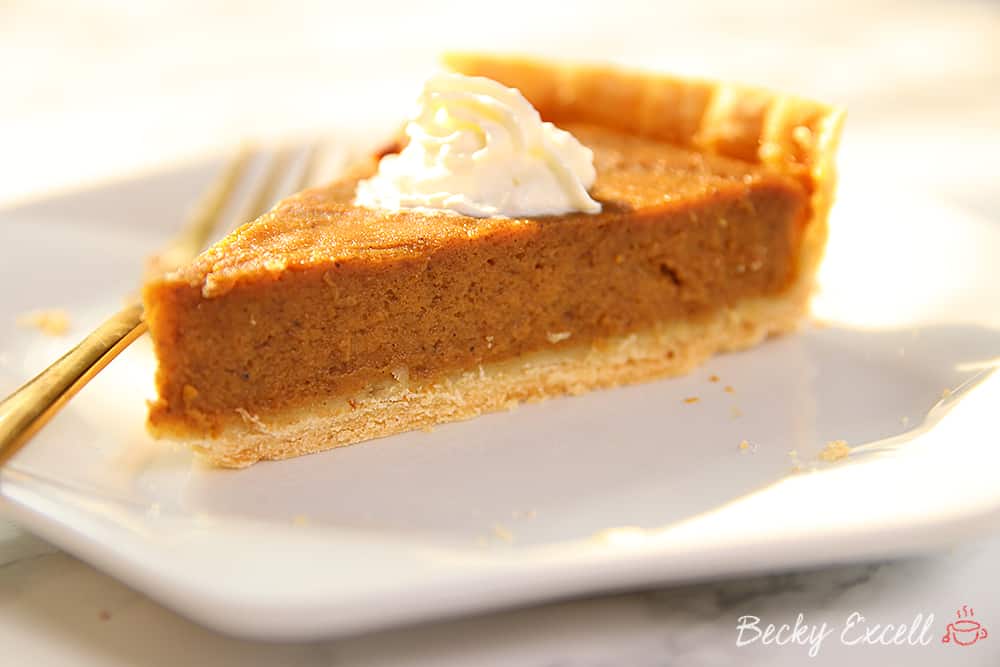
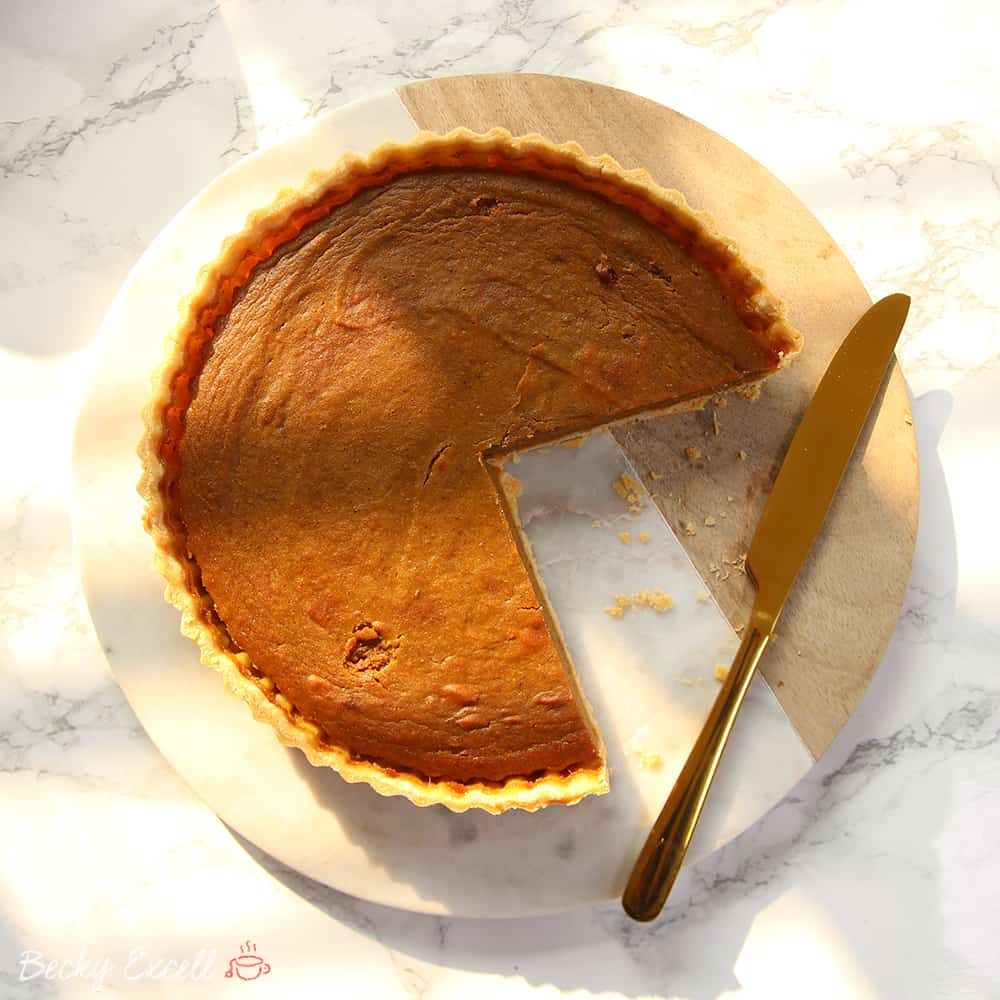
This dairy-free pumpkin pie recipe is my post-Halloween, pre-Thanksgiving favourite! But unlike most recipes, mine is dairy free and low FODMAP too.
You would have thought I’d seen enough pumpkins over the Halloween season, but you’d be surprisingly wrong! The sight of a pumpkin just reminds me that it’s the perfect time to bake a dairy-free pumpkin pie recipe. Who wants a slice?!
THIS IS AN OLD POST! I’ve left it up for those who love it, but the new and improved version is available over here (see the FAQ section for the two simple swaps to make it dairy-free too!)
Now, you’ve got two options here. You can either puree your own pumpkin at home, which is simply a matter of baking it and blending it, or you can just pick up a can of pumpkin puree from the supermarket. I personally prefer to pick up a can, but then tell everyone I pureed it myself. Don’t tell anyone though.
Now that my secret is safe with you, I guess I can tell you a little more about my gluten free pumpkin pie recipe! Of course, it uses my gluten free shortcrust pastry recipe, which I’ve been perfecting for a few months now.
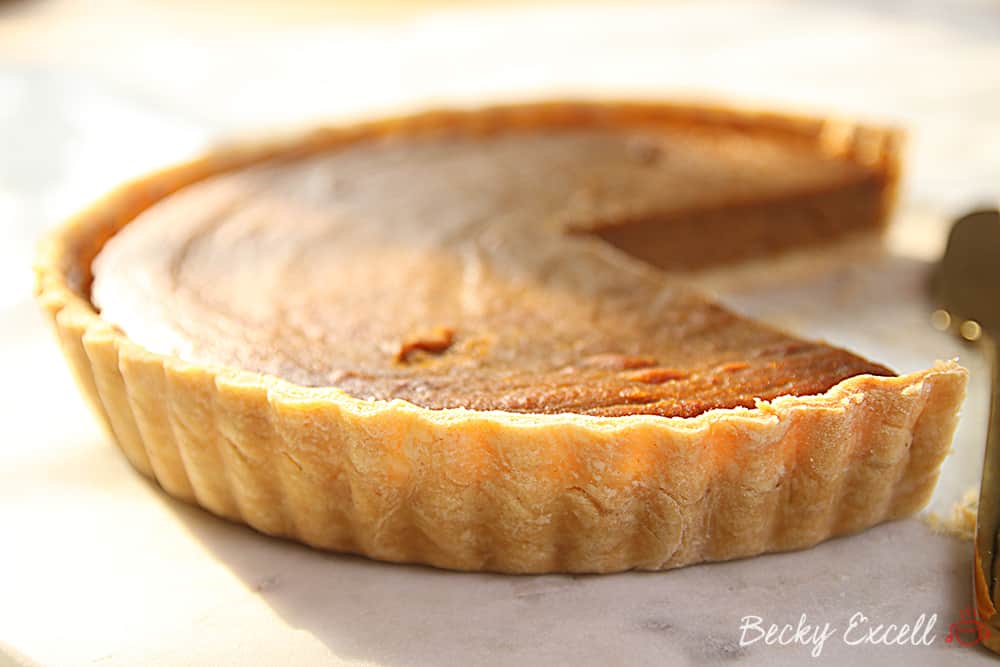
My shortcrust pastry recipe adds a little extra dairy free marg than most recipes, which gives the dough some much needed pliability. Without gluten, shortcrust pastry can become incredibly crumbly and difficult to roll out in one piece – then there’s trauma of transferring it into the baking tin. My gluten free shortcrust pastry recipe isn’t nearly as stressful!
But of course, the most important aspect of my gluten free shortcrust pastry recipe is all in the temperature. So what’s my secret?!
Well, a lot of gluten containing shortcrust pastry recipes call for your dough to be chilled first and then rolled out cold – straight from the fridge. However, no matter how many times I tried this with gluten free dough, the dough would be far too crumbly/dry to roll out. As usual, adapting a recipe to be gluten free isn’t always as simple as substituting regular flour for gluten free flour.
But even if you did manage to roll it out, getting it into the baking tin in one piece was an absolute nightmare. It was possible, but I often had to patch up a lot of holes, resulting in pastry that looked a little sad once baked.
After a while, I found that chilling your dough in the fridge, but then allowing it to return to room temperature instead, resulted in a dough that was much more pliable, stronger and easy to work with. Sorted.
Even still, nobody is perfect and I almost always manage to damage my pastry slightly when upturning the gluten free dough into my baking tin. But as long as your pastry is 90% in tact, a little patching up with spare dough goes a long way. It’s definitely something where practice makes perfect, so don’t give up!
Once you’ve got your gluten free shortcrust pastry into your loose bottom baking tin, you’re already on the road to success! Then, all that’s left is your gluten free pumpkin pie filling. Most pumpkin pie recipes call for dairy, which is of course, not Mark friendly or low FODMAP. So after a little head scratching, I actually asked you guys what a good replacement would be and the resounding answer was…
Coconut milk! So instead, I opted for coconut milk (canned) which worked an absolute treat. Before you start worrying that it’ll make the whole thing taste of coconut – relax, it doesn’t! Coconut milk just has the rich, creamy quality that you’re looking for and a mild taste which goes completely under the radar. I actually think it make’s it taste even better!
If you’ve never tried a pumpkin pie before then don’t worry, you’re definitely not alone! I personally had never tried one until recently and neither had Mark. I guess that sort of makes sense, seeing as it is an American classic after all! Us Brits are too busy here in the UK with crumbles and spotted dick to have time for pumpkin pie, but that changes now. Especially when there’s no gluten or dairy in sight.
So if you’ve never tried a slice of pumpkin pie before, I’ll do my best to describe the taste and texture. If it sounds disgusting, it’s only because I’m terrible at describing!! Ok, let’s give this a go…
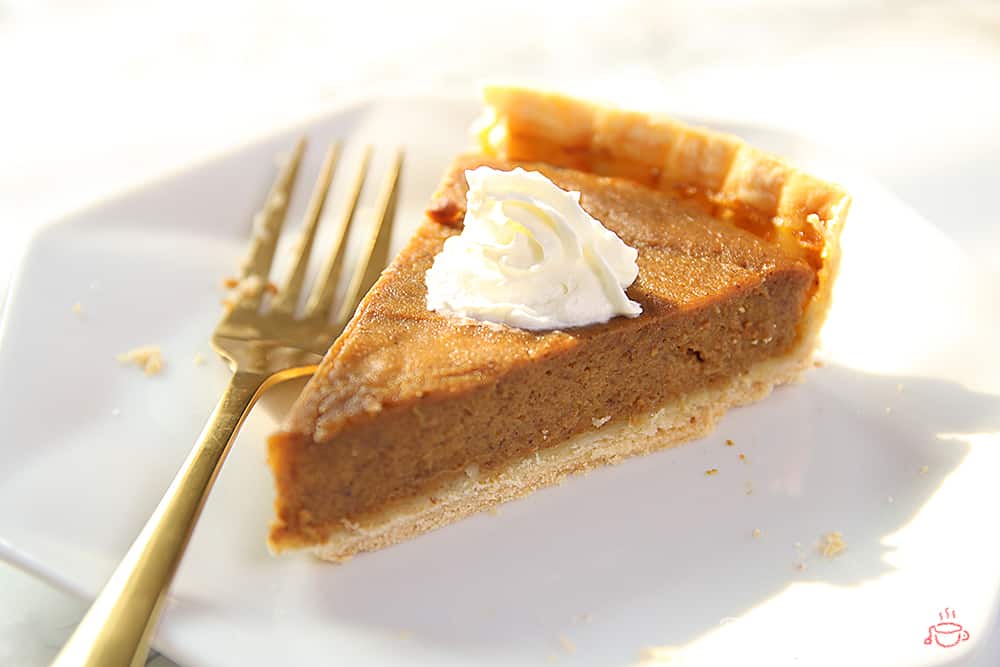
Being a type of squash, pumpkin tastes very similar to butternut squash and it has a comparable texture when pureed too. I know that might sound a little weird in a dessert, but trust me, it just works! Pumpkin has a natural sweetness and a light texture which bakes so well with the rich, smooth coconut milk and caramelised brown sugar. For me it’s almost like an alternative custard tart and I LOVE a custard tart!
I think I did ok with the describing there, don’t you think?!
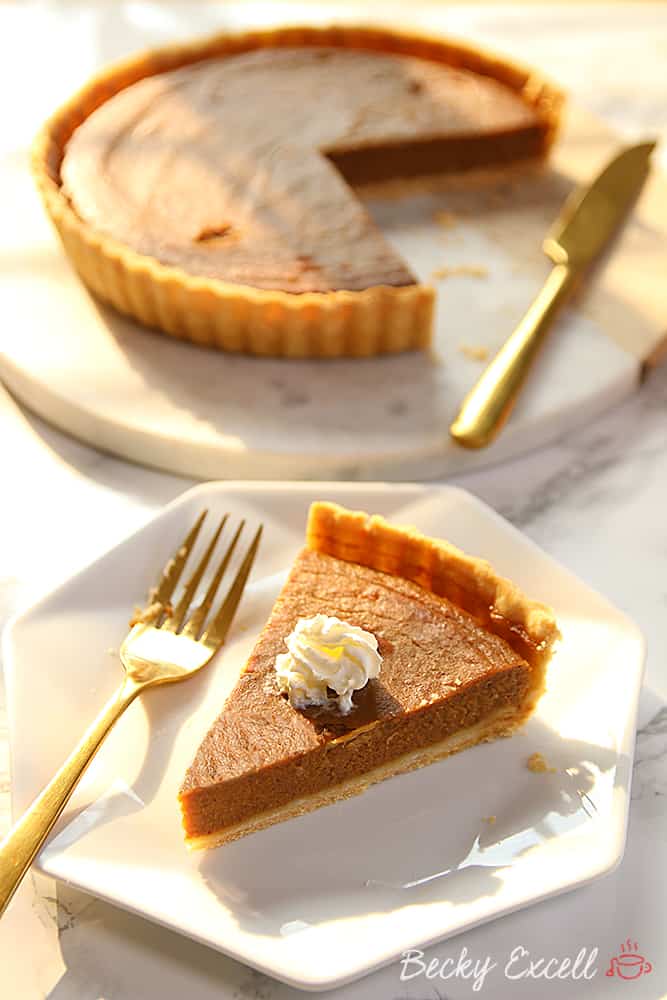
My gluten free pumpkin pie certainly isn’t as scary as most Halloween pumpkins. So make sure you give it a try and let me know what you think. Grab a 9″ loose-bottom baking tin and get stuck in!
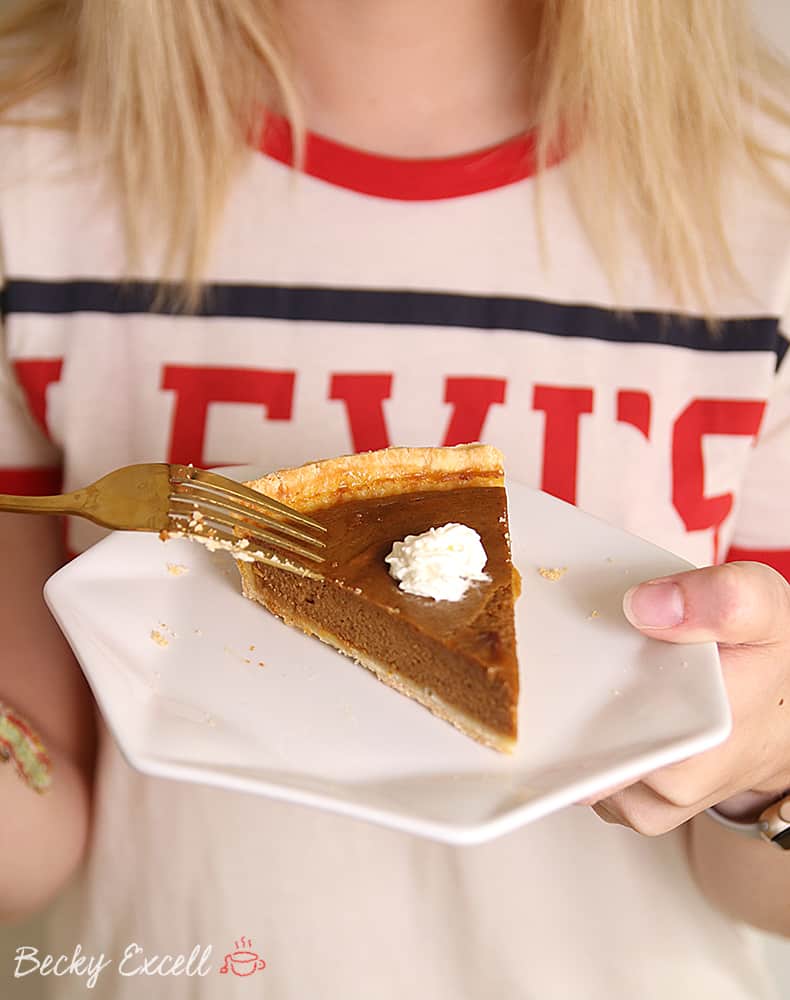
Oh, and in case you’re wondering, I add a little dairy free whipped cream on the top of my gluten free pumpkin pie slices in the photos. I usually find it in small health-food and vegan shops so make sure you check yours. It’s the perfect finishing touch so here’s a link to the brand I used. Happy baking!
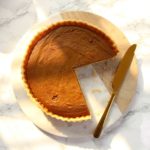
Gluten Free Pumpkin Pie (dairy free)
Ingredients
- For the pastry
- 225g gluten free plain flour
- 1tsp xanthan gum
- 115g dairy free hard margarine I use Stork Baking Block (cut into cubes)
- 1 large egg beaten and mixed with a tsp of water
For the filling
- 110g brown sugar
- 50g caster sugar
- 1 tsp ground cinnamon
- 1/2 tsp ground ginger
- 1/4 tsp ground nutmeg
- 1/4 tsp ground cloves
- 1/2 tsp salt
- 2 large eggs
- 1 can 425g pumpkin puree (you can also make your own puree using fresh pumpkin)
- 1 tsp vanilla extract
- 210 ml coconut milk can of full fat not a light version - make sure you get the creamiest parts
Instructions
- Start by making your pastry. Sieve your gluten free flour, xanthan gum and salt into a bowl.
- Add your cubed margarine and rub in until it basically resembles breadcrumbs.
- Very gradually (1-2 tsp at a time) add in your egg/water mixture using a fork to bring the mix together into a dough. Once all your egg/water mixture is added it should be quite easy to form a ball of dough with your hands. (The mixture shouldn't be really sticky, but a slight stickiness isn't bad at all, it's better than it being too dry).
- Place in the fridge for a short while (20 - 30 minutes should be enough), after that get your pastry out and allow to return to slightly closer to room temp before rolling out.
- Cut a large piece of parchment/baking paper that you can roll the pastry out onto. Sprinkle a little gluten free flour on it and on your rolling pin.
- Roll out your pastry evenly to about the thickness of 0.5cm-1cm. Try to roll it into a more circular shape that is bigger than your tin as you will need it to go up the sides too!
- Next CAREFULLY upturn your pastry into the tin, gently pressing it snug to the baking tin. (I know everyone says it, but really don't worry if there are a few cracks in the pastry or if you need to add extra to the sides. Just patch your pastry up with any extra bits you've got.
- Leave to chill in the tin in the fridge briefly whilst you make your pumpkin filling. At this stage also preheat your oven to 200C.
- Combine your brown sugar, caster sugar, cinnamon, ginger, nutmeg, cloves and salt into a bowl.
- In a separate large mixing bowl beat your eggs together.
- Add your sugar and spice mixture to your beaten eggs followed by your pureed pumpkin and vanilla. Mix until smooth.
- Fold in your coconut milk (as I said in the ingredients, make sure you are using the creamiest parts of a tin of coconut milk, less of the watery parts)
- Pour the filling into the pastry case and put in the oven for 15 minutes at 200C. After 15 minutes reduce the temperature to 180C for a further 50-60 minutes. (After about 45 minutes I tend to cover loosely with foil so that the top doesn't darken too much)
- It can be still slightly wobbly when you remove it from the oven (mainly in the centre) but it will become more firm as it cools.
- Allow to cool completely before serving. (I like it chilled from the fridge)
- Enjoy!
Notes
Thanks so much for checking out my gluten free pumpkin pie recipe! Making gluten free shortcrust pastry definitely takes a little practise at first, but it’s so worth it once you smell this thing baking in the oven. I hope it’s converted you to be a gluten free pumpkin pie convert!
Did you try this recipe? When’s the first time and place you had a slice of pumpkin pie? Any questions? Please do let me know by leaving a comment below or on Facebook / Twitter / Instagram!
Thanks for reading,
Becky xxx
Oh and don’t forget to pin this for later!

