Gluten-free lemon meringue bars recipe using just 6 ingredients? Get out of here! Well, actually stick around because this is a bake you definitely don’t want to miss. Of course, it’s Coeliac-friendly and wheat-free too.
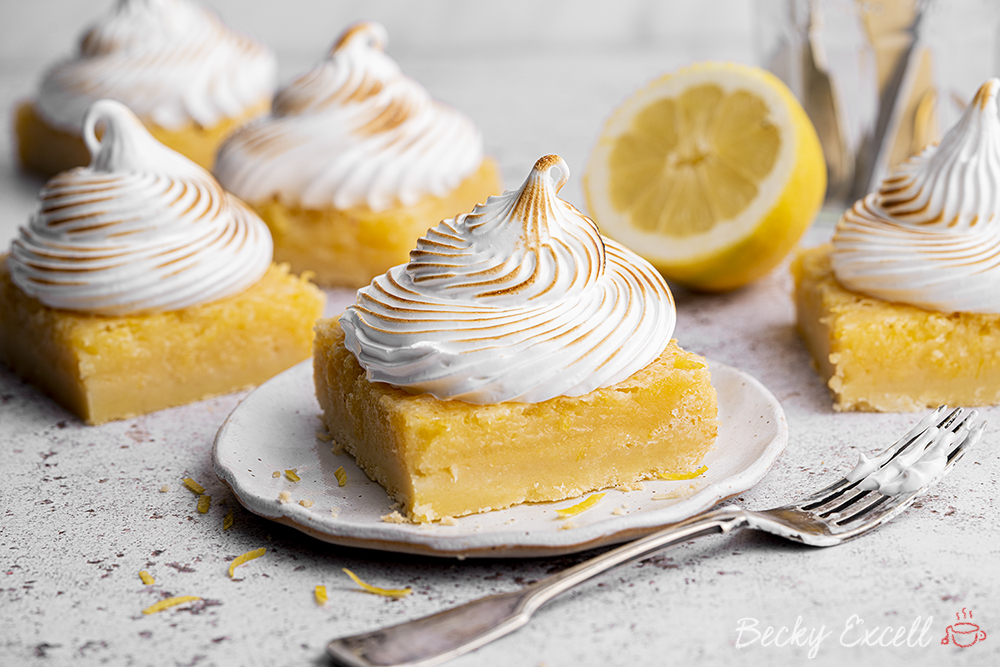
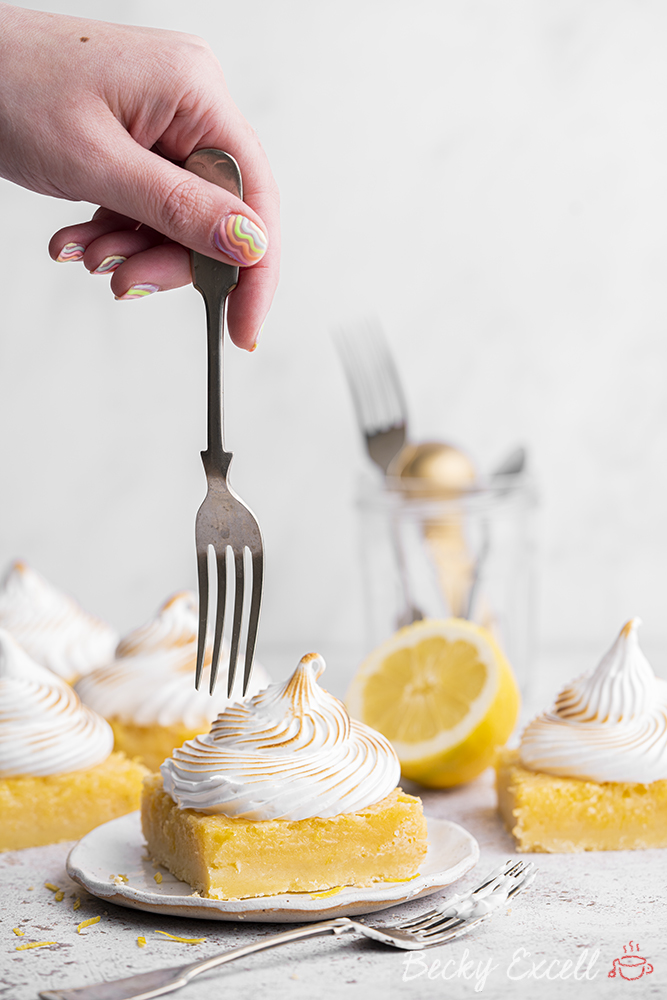
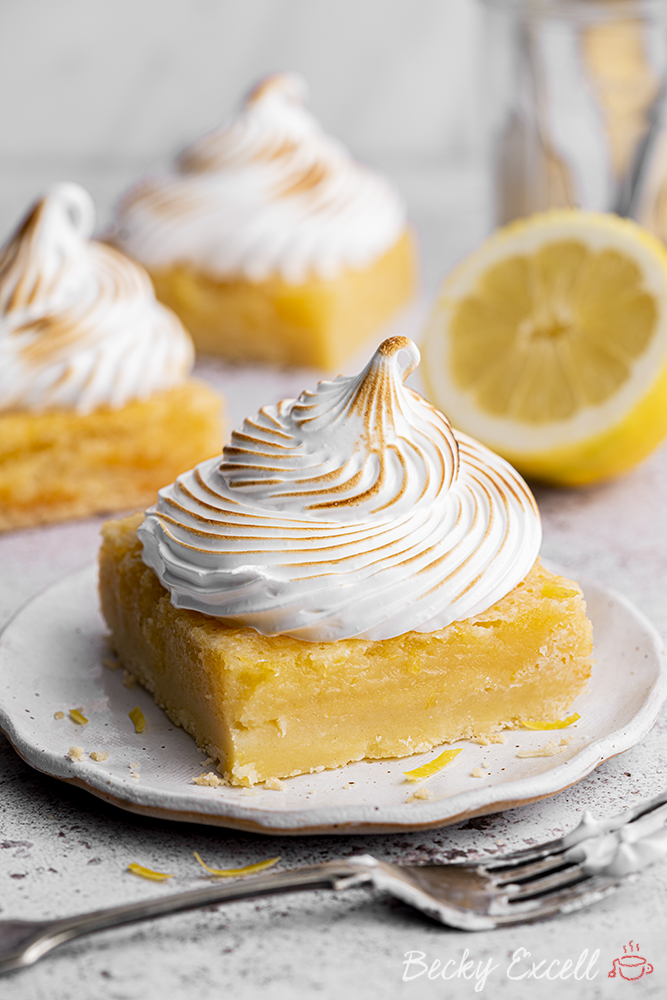
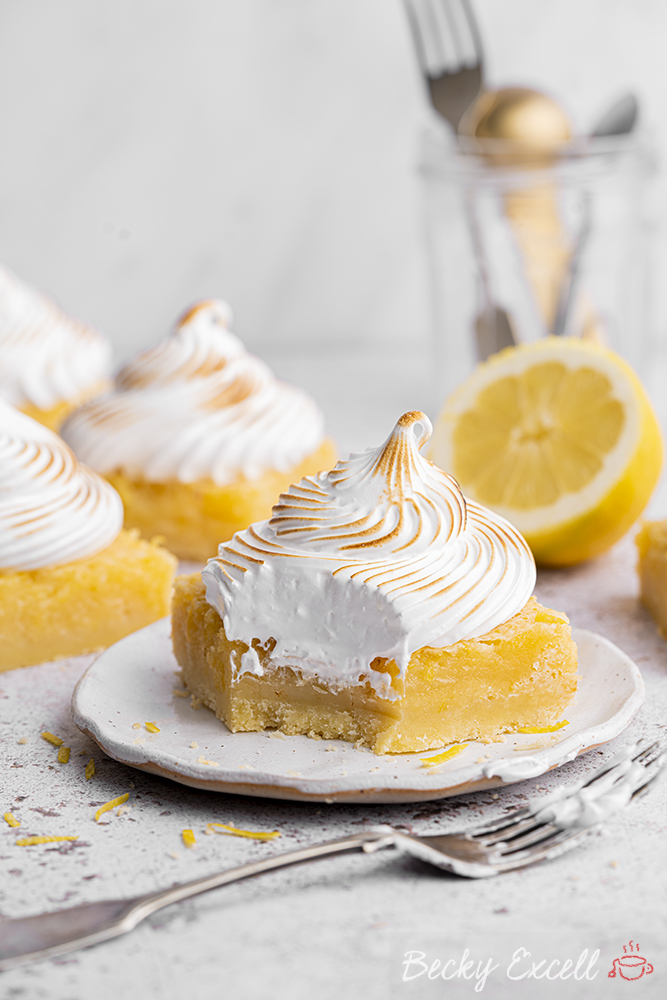
Gluten-free lemon meringue bars recipe – a buttery shortbread base topped with a sweet and sharp lemon filling, topped with a sweet, marshmallow-y soft Italian meringue. What’s not to love?
As much as I love creating fun bakes like Celia the gluten-free Caterpillar, sometimes you’ve got to pull out a little showstopper… and my gluten-free lemon meringue bars most definitely call into that category!
But just because you’re getting a little more ‘Bake Off’ in the kitchen, that doesn’t mean things have to get complicated or stressful.
(I can’t imagine the pressure that comes with baking knowing Paul Hollywood is constantly judging you!)
With just 6 simple ingredients, you can whip these up and everyone who’s lucky enough to get a slice will immediately crown you a star baker. Yet nobody would ever know they’re gluten-free!
Why make my gluten-free lemon meringue bars recipe?
- They don’t taste gluten-free AT ALL – muggles will eat these, so make sure you save a slice for yourself.
- You only need 6 ingredients and yes, one of those are lemons!
- You’ll learn how to make the super fluffy, light and sticky Italian meringue, which is a great little skill to have in your back pocket.
- Believe it or not, you can easily make this recipe dairy-free by making one simple swap.
- One bite of that buttery base, zesty lemon filling and fluffy, sweet meringue is worth every second you spend making these – promise!
So what do my gluten-free lemon meringue bars taste like?
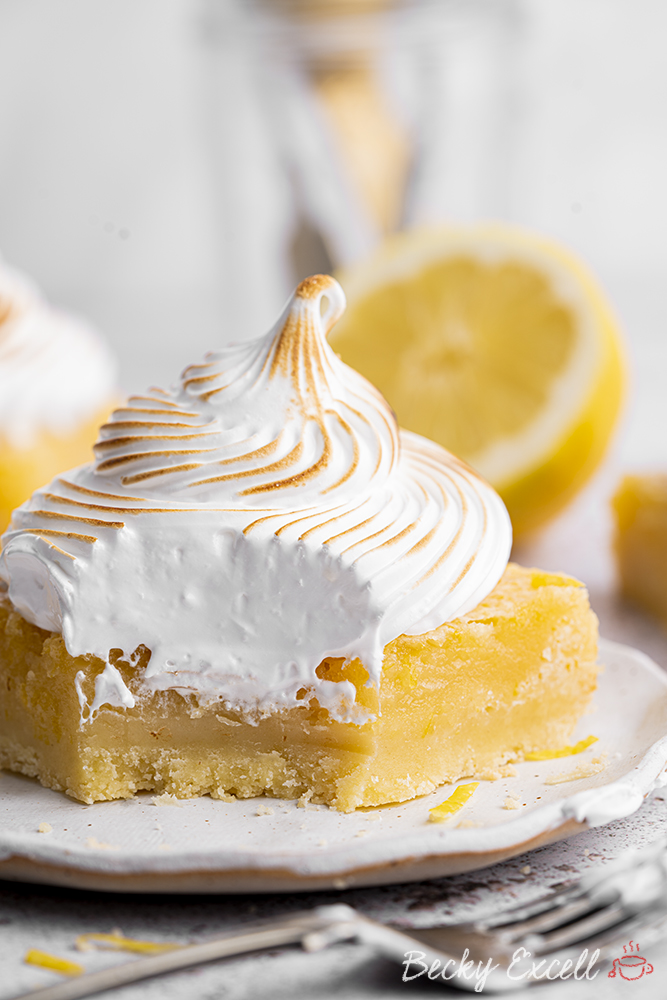
The base is a buttery, slightly crumbly (but never falling to pieces in your hand!) shortbread that almost soaks up all that wonderful zesty flavour.
The lemon filling is basically a set lemon curd – sweet, sharp and incredibly more-ish. Then it’s topped with marshmallow-y, whippy, Italian meringue – my favourite type of meringue by far!
Here’s everything you’ll need for this recipe, keep scrolling until you see the recipe card for the measurements and method…
Gluten-free lemon meringue bars recipe: What you’ll need…
- Gluten-free plain flour – I use Doves Farm’s FREEE flour, which you easily find down the free from aisle in supermarkets. If you can’t find a blend like this where you live, you can always make your own using my gluten-free flour recipe.
- Xanthan gum – This helps to bind the base together so it doesn’t become crumbly, replacing the gluten that would otherwise do the same job.
- Caster sugar – Of course, sugar isn’t just for sweetness – it helps to achieve form a stable consistency and golden finish in the lemon filling. It’s also essential for creating meringue!
- Butter – Ensure yours is softened before you start. You can always use Stork hard margarine if you’re dairy-free too.
- Lemons – You’ll need the zest and juice, meaning no extracts or flavouring required.
- Large eggs – I used large eggs for this recipe, so in the nature of keeping things as similar as possible, I’d recommend that you do too!
- Cream of tartar – This is optional, but if you have it, I’d always recommend adding it. It helps to stabilise your egg white mixture.
So I thought I’d kick things off with a little frequently asked questions section – if you just want the recipe, then keep scrolling.
But I’ve thrown in some tips here that will be really helpful if this is your first time making this, or you want to adapt it. So here they are!
Gluten-free lemon meringue bars recipe: Frequently Asked Questions
Is this recipe gluten-free?
It is gluten-free, though nobody would know just by tasting it – trust me!
Bear in mind that minimising cross-contamination is hugely important if you’re Coeliac or making this for someone who is. Here’s some tips from Coeliac UK on minimising the risk of cross contamination.
Also, make sure that all ingredients used don’t have any gluten-containing ingredients. Then make sure that they also don’t have a ‘may contain’ warning for gluten, wheat, rye, barley, oats (which aren’t gf), spelt and khorasan wheat (aka Kamut).
Here’s some more info from Coeliac UK on identifying safe gluten-free products.
Can I make your gluten-free lemon meringue bars recipe dairy free?
Yep and all you have to do is use a block of Stork hard margarine instead of butter. That’s it!
Can I make your gluten-free lemon meringue bars recipe vegan?
Unfortunately not as this recipe relies a lot on eggs for the fillings and for the meringue too. By the time I adapted this to be vegan, it would basically be an entirely different recipe!
But if you do want an egg-free version, please let me know. If enough people ask, I’ll happily make it.
Are your gluten-free lemon meringue bars recipe low FODMAP?
Yup, this recipe completely low FODMAP and totally safe for the elimination phase of the diet.
Are the eggs cooked in an Italian meringue? I’m worried about raw egg!
Yes, they are completely cooked! The reason we have to be particular about how hot the sugar syrup mixture gets is because it needs to be hot enough to cook the egg whites.
Once it reaches the optimum temperature and you mix it into your whipped egg whites, it’ll cook them without you even knowing. That’s why Italian meringue is hot when it’s finished whisking!
Can I use a food processor or stand mixer to make this?
You can happily use either a food processor, stand mixer or an electric hand whisk to make the shortbread base.
For me, because there isn’t any prolonged mixing periods, I find an electric hand whisk to be more than sufficient for the job!
Can I make your gluten-free lemon meringue bars recipe completely by hand?
Yes, though making meringue by hand can take a while due to the extended whisking periods required. But it is more than do-able, you’ll just need a little extra elbow grease.
Do I need any special equipment to make your gluten-free lemon meringue bars recipe?
As I mentioned, you should definitely make this recipe by hand, so you certainly don’t need any crazy appliances or anything like that.
What you will need however is a 9″ square baking tin – here’s the one I use. Apart from that, you’ll just need a little baking paper too!
Can I use gluten-free self-raising flour instead of plain?
I wouldn’t recommend it – gluten-free plain flour is the way to go for this recipe.
Why? Well, we don’t want the shortbread base to rise at all! It needs to be flat in order to be the perfect base for your caramel.
Otherwise you won’t get those distinctive layers and it can make the shortbread very fragile.
Can I make this recipe using other gluten free flours like buckwheat flour or coconut flour?
There’s a big difference between ‘gluten free plain/self-raising flour’ and a *singular* type gluten free flour.
When I say ‘gluten free plain or self-raising flour’ in a recipe, I mean a BLEND of gluten free flours, not just one, singular flour. I buy mine down the free from aisle of my local supermarket.
Definitely go for a gluten free flour blend.
Do I need weighing scales to make your gluten-free lemon meringue bars?
In short… yes, yes and yes! And I wouldn’t advise attempting any my recipes without them.
A lot of work went into fine tuning ratios and quantities and for me, baking is all about consistency and precision. I want you to make this recipe and for it to turn out EXACTLY like mine did.
I’d recommending using digital cooking scales like these so you know you’re getting an accurate measurement and replicating my recipe as accurately as poss.
How can I tell when my gluten-free lemon meringue bars are done?
You’re looking for slightly golden edges, which are a sure sign that they’re done. Of course, don’t over do it or the lovely golden top will start to brown – they’ll still taste the same, but they won’t look quite as nice!
How long can I keep my gluten-free lemon meringue bars for?
I’ve kept them for about 4-5 days in an air-tight container in the fridge with no problems.
Can I freeze my gluten-free lemon meringue bars?
I wouldn’t recommend freezing these as the meringue is lovely and soft (not like a hard, crunchy meringue) so it can defrost rather unpredictably.
Gluten-free lemon meringue bars recipe: Method
Oh and here’s a printable version of my gluten-free lemon meringue bars recipe. Please remember to give it 5 stars if you tried it and enjoyed it as it helps people know it’s worth trying too! ⭐️

Gluten-free Lemon Meringue Bars Recipe (dairy-free option + low FODMAP)
Equipment
Ingredients
For the shortbread base
- 300 g gluten-free plain flour
- ¼ tsp xanthan gum
- 100 g caster sugar
- 200 g butter softened (use Stork hard margarine if dairy-free)
For the lemon filling
- 270 g caster sugar
- 35 g gluten-free plain flour
- Zest of 3 lemons
- 160 ml lemon juice
- 4 large eggs
For the Italian meringue top
- 100 g egg whites 3–4 eggs worth
- 200 g caster sugar
- 45 ml water
- 1/4 tsp cream of tartar optional
Instructions
For the shortbread base:
- Preheat your oven to 160C Fan / 180C and prepare a 9x9 inch square tin with non-stick baking paper.
- In a bowl cream together your softened butter and caster sugar until light and fluffy.
- Mix in your flour and xanthan gum until it starts to come together. Once it does, get your hands it to finish bringing it all together into a dough - it's fine if it is a little crumbly.
- Press your dough down into your prepared tin. I use my hands to evenly push it to the edges. Then prick all over with a fork.
- Bake in the oven for 20-22 minutes, until the edges are starting to go golden.
For the lemon filling and baking:
- Whilst your base is in the oven, prepare your filling - you want to pour it on as soon as the base comes out so prepare this straight away so you're ready! In a large bowl mix together your sugar and lemon zest so that the zest is evenly dispersed. Then, stir in your flour.
- Next add in your lemon juice and eggs. Mix until completely combined.
- Once your base is cooked, remove from the oven, wait a couple of minutes and then pour your lemon mixture over the cooked base. Put straight back into the oven and bake for a further 20-22 minutes or until the mixture basically doesn't wobble/jiggle anymore.
- Allow to cool fully at room temperature and then pop in the fridge to chill. This should be for no less than 2 hours, but I tend to leave mine overnight.
- Once ready, remove from the tin and cut into even squares with a sharp knife. At this point, you could just dust with icing sugar and eat without the meringue... but the meringue is the best bit!
For the Italian meringue and assembly:
- Place your egg whites and cream of tartar into a stand mixer (or use an electric hand mixer) and mix until they turn white, frothy and just past soft peaks.
- Place your water and sugar into a saucepan and heat them up until it reaches around 118C (no hotter than 120C). I'd recommend using a digital cooking thermometer for this - but if you don't have one, it's a little past boiling point.
- Once your sugar syrup has reached the right temperature, remove it from the heat and with the mixer still going, gradually and slowly pour the sugar syrup into the egg whites. (If you are using an electric hand mixer you will need to mix at the same time as slowly pouring the syrup in... or ask a friend to help!!)
- Once the sugar syrup is all in, you can turn the mixer up and mix for just under 10 minutes. The mixture will be thicker, glossy, smooth and also should have cooled down in this time. It's now ready to use.
- Place your cooled Italian meringue into a piping back with a large star nozzle and pipe a tall swirl into each of your lemon squares - you could just spoon it on top too if you prefer!
- Use a blow torch to get a little colour onto the meringue if you like. (the meringue is already cooked from the hot sugar syrup so this is only for looks!
Notes
- 65g caster sugar
- 130g butter, softened
- 200g gluten free plain flour
- ¼ tsp xanthan gum
Any questions about the recipe? Please do let me know by following me on Instagram and leaving me a comment on a recent photo!
Thanks for reading,
Becky xxx
Oh and don’t forget to pin this for later!

