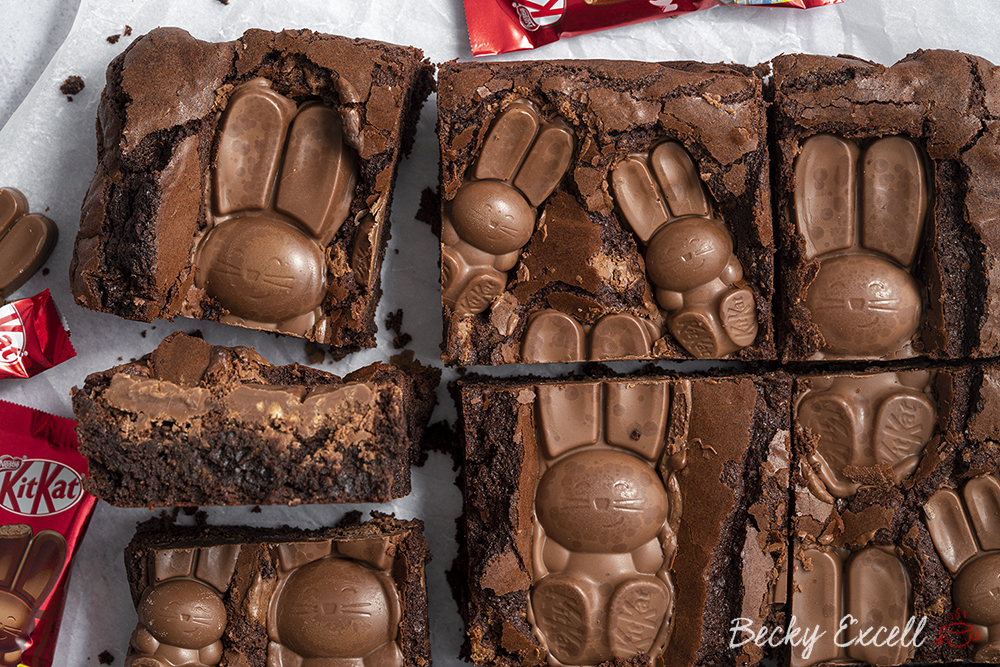
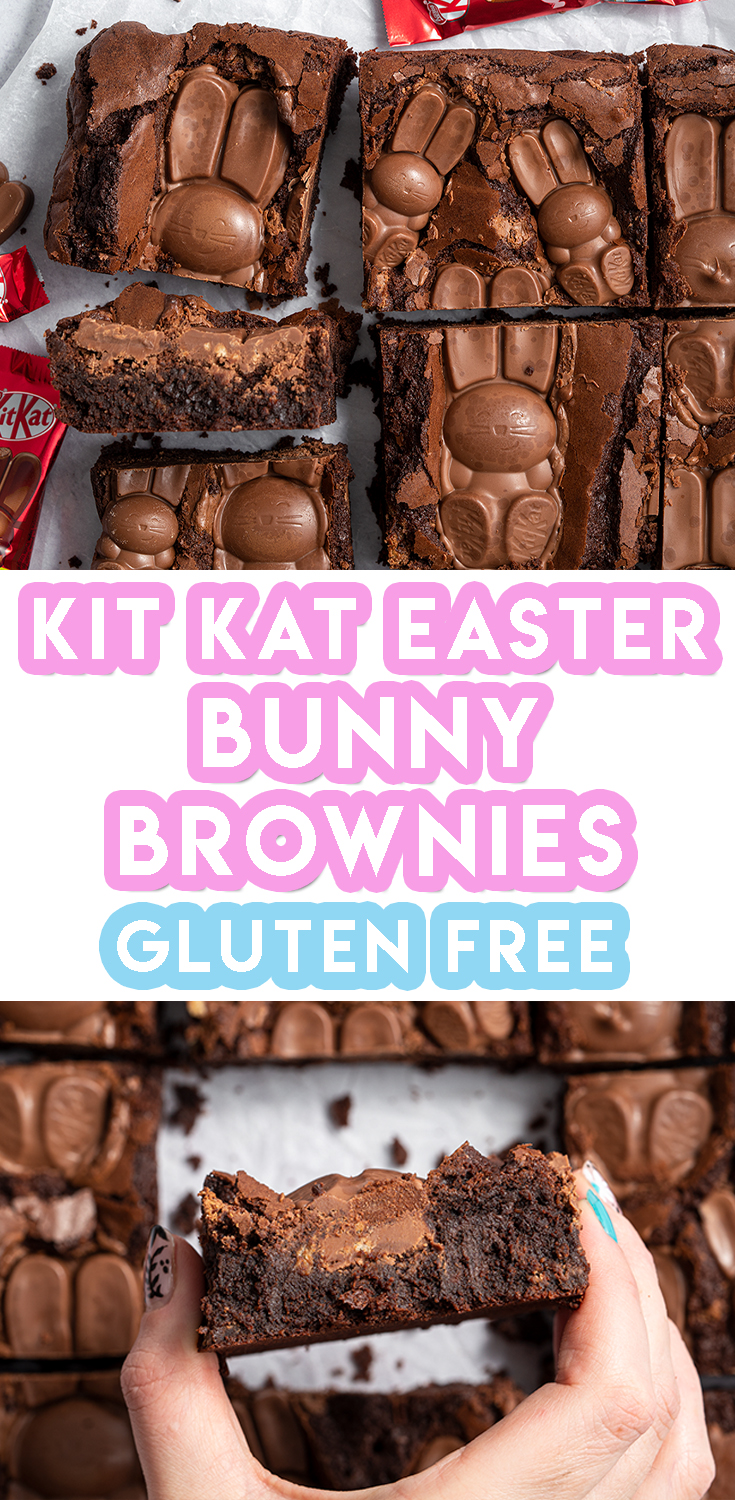
Gluten free Easter bunny brownies recipe – but wait, how?! Yep, that’s right Kit Kat bunnies are gluten free here in the UK and I couldn’t be more… hoppy?
Gluten free Easter bunny brownies recipe, anyone? You guys went mad for it when I first posted a preview on Instagram, so I’m back here with the full recipe! But let’s talk bunnies first of all…
I know what you’re thinking. Since when was anything Kit Kat branded safe for gluten free folks to eat?! Well, since 2020!
And as I always say – don’t just take my word for it! Go check them out for yourself and read the ingredients using the links below. There’s no gluten-containing ingredients and no ‘may contain’ warnings at present!
But erm… what are they besides a chocolate bunny? Are they a Kit Kat somehow? Well, sort of, but not really! These Kit Kat bunnies are made of lovely, creamy milk chocolate and they’re packed with little flecks of cereal and wafer pieces.
Yes, I said wafer and Kit Kat in the same sentence, yet it’s gluten free. I know. Mind blown. So naturally, I had to bake them into my gluten free Easter bunny brownies recipe…
I’m guessing you’d like to know what they taste like before you start baking my gluten free Easter bunny brownies recipe. So here goes…
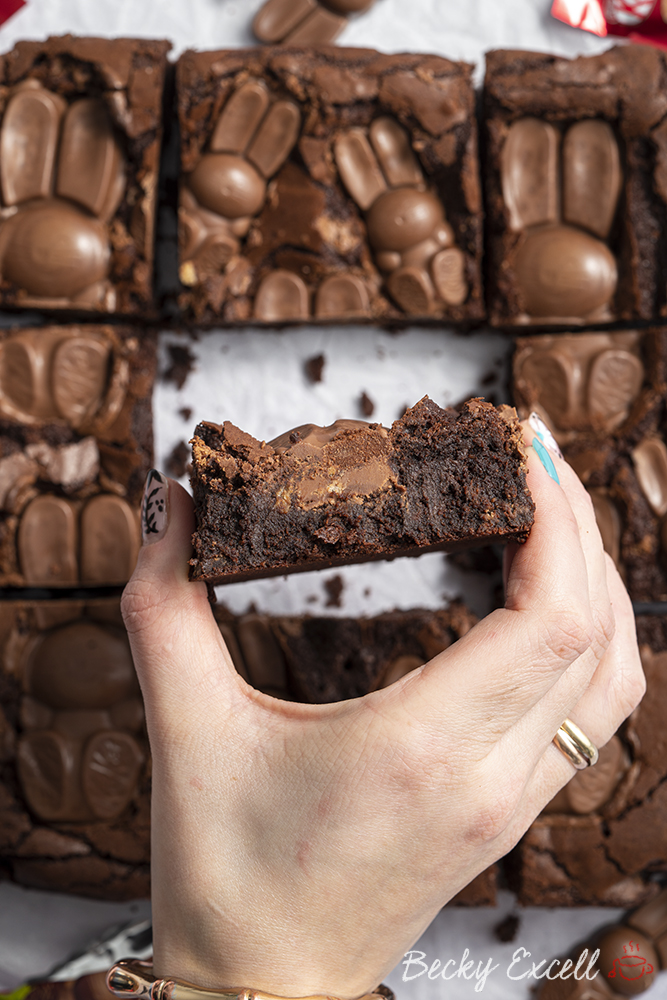
This is a twist on my classic gluten free brownies recipe – super indulgent, chocolatey, fudgy and much more like a dessert you’d have with ice cream instead of being likened to a cake.
So what’s the twist? Well, since these are Kit Kat bunnies and regular KIt Kats aren’t gluten free, I bought a few free from aisle copycat Kit Kats, chopped them up and put them in the brownie. So that’s chunky, crunchy bits of chocolate and wafer in every bite.
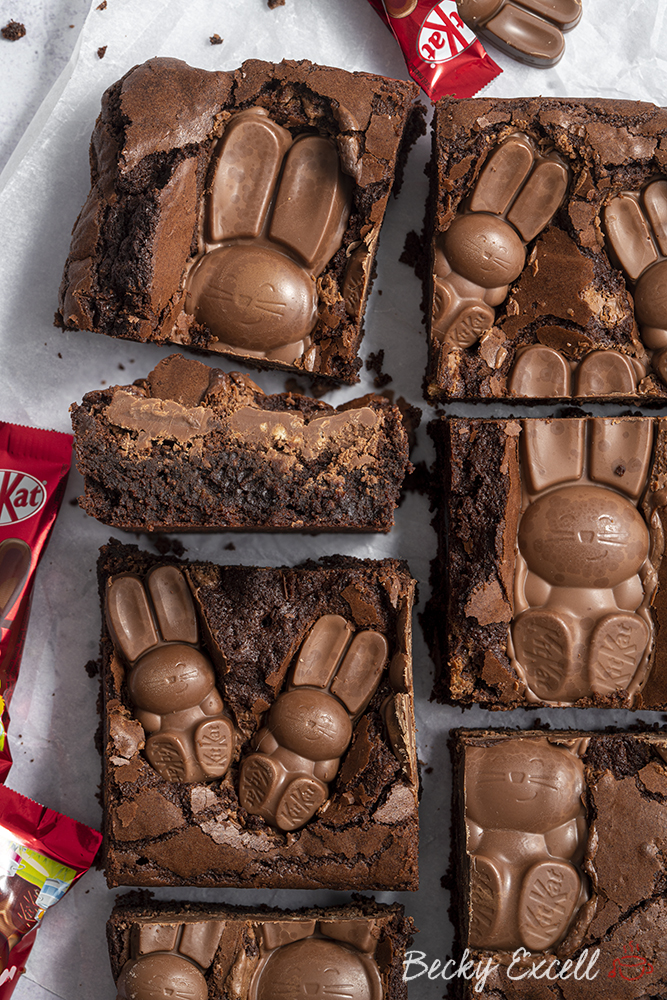
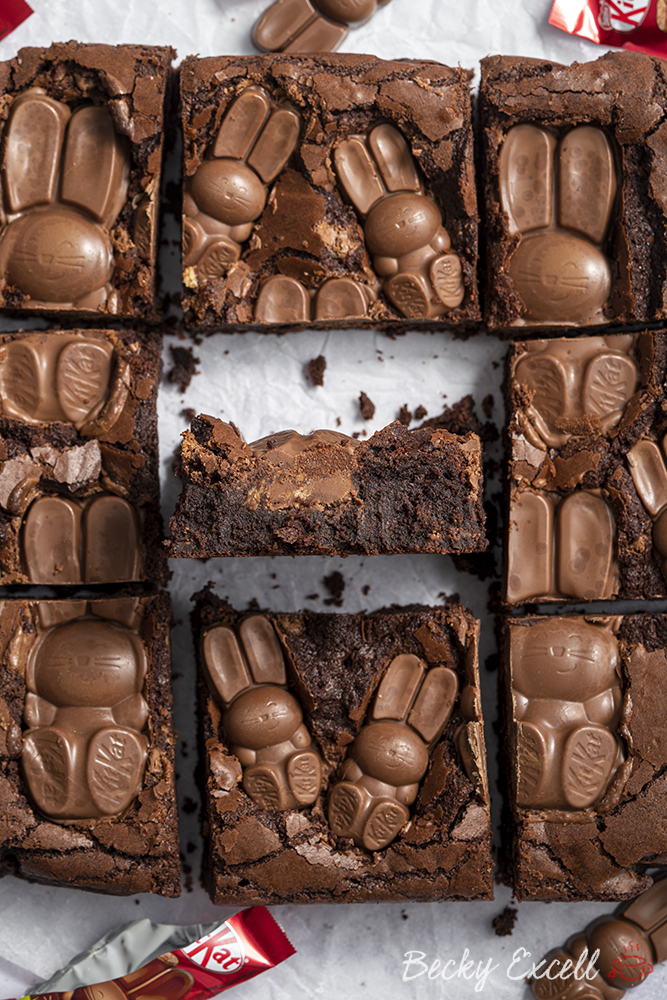
Then, of course, you’ve got those happy little crunchy Kit Kat bunnies on top, adding a lovely, creamy milk chocolate taste and a chunky, crunchy texture. Well, they’re happy until you cut your brownies up and they lose their head ?
Ok, so here’s your shopping list – you’ll find the gluten free chocolate wafer bars down the free from aisle. But the Kit Kat bunnies are currently down the Easter aisle with all the mini eggs and Creme eggs etc.
Ingredients for my gluten free Easter bunny brownies recipe
- 90g gluten free plain flour
- 50g cocoa powder
- 200g butter
- 200g dark chocolate
- 3 eggs
- 280g caster sugar
- 100g gluten free chocolate wafer bars, chopped into small pieces (I get mine from Tesco)
- KitKat Bunnies (mix of regular size and mini size)
Oh and here’s a few frequently asked questions before we get to the method. Trust me, they’re worth reading if you’ve never baked this before!
Can I use different chocolate instead of dark chocolate, like milk chocolate?
You’d think that it’d be a simple swap, but actually it’s a terrible idea I’ve found!! It will massively throw off the fudgy texture of these brownies. Wondering why?
Well, dark chocolate is very low in sugar and high in cocoa butter, whereas milk chocolate is high in sugar and milk and much lower in cocoa butter.
Without the high content of cocoa butter in dark chocolate, you can end up with a very unappealing, cake-like, dry brownie. So it’s best to use dark chocolate at all costs!
Can I make your gluten free Easter bunny brownies without sugar?
I can understand the need to reduce sugar in our foods, but sugar is integral to the structure of this bake. As there’s so little sugar in dark chocolate and no other sources of sugar in the recipe, that makes sugar play a very important role.
It not only adds sweetness to the brownie, but it also helps to achieve the lovely, crisp exterior on the outside of the brownie. So yeah, remove the sugar at your own risk!
How long can I keep your gluten free Easter bunny brownies for?
In an airtight container, they should last 7-10 days. When they start getting a little dry, they’re probably past their best.
Can I freeze my gluten free Easter bunny brownies?
Yep! You can freeze them for up to 2-3 months without a problem – just make sure you put it in an airtight plastic container. It’s probably a good idea to slice it all first so you can defrost a slice at a time.
A single slice should take around 4-5 hours to thaw at room temperature.
My brownies aren’t fudgy and moist in the middle like yours. They’re more like cake. What did I do wrong?
If you followed the recipe to the letter, then it’s likely that your oven was either too hot, or they were in too long. Overbaking brownies will mean they have no moisture to them and become more like a chocolate cake.
Still perfectly edible, but not much of a brownie. Also, make sure you use dark chocolate ALWAYS and never use milk chocolate to make brownies – they won’t work!
My brownies are really wet in the middle instead of being fudgy. What did I do?
Firstly, if you haven’t baked them long enough, they’ll definitely be more on the sloppy side than nice and fudgy. We want them to be moist in the middle, but not so that they fall apart when cut.
When they first come out of the oven, they’ll still be a little moist if you poke them with a skewer, but after allowing them to cool, they should be the perfect fudgy, consistency.
The skewer should come out 95% clean, with a little evidence of brownie on it. That’s perfect!
Ok here’s how to make my gluten free Easter bunny brownies recipe. Keep scrolling to the bottom if you want to get to the recipe card where you can print it off ??
1. Preheat the oven to 180C / 160C Fan. Prepare a 9×9 inch square tin with parchment/baking paper. Allow a little extra paper so you can lift the brownies out once they are cooked.
2. Melt together your butter and dark chocolate over a bain marie or in the microwave until completely melted. Mix together and leave out to cool down to room temp.
3. Sieve together your cocoa powder and gluten free flour in a bowl. Mix briefly until combined, put to one side.
4. In another bowl crack 3 eggs and pour in your caster sugar. Beat together (I use an electric hand whisk) until pale in colour and almost a little frothy.
5. Once the chocolate and margarine mixture is cooled to room temp, pour it into your egg/sugar mixture. Fold it in, it will initially marble and then turn super chocolatey.
6. Next fold in the your gluten free plain flour and cocoa powder mix. Ensure it’s fully folded in.
7. Fold in your chocolate wafer pieces.
8. Pour/spoon your brownie mixture into your prepared tin, smooth it over so it’s even and level.
9. Bake for about 25 mins. Cooking for this amount of time at this temp should create incredible fudgy brownies. (You can check them during cooking they may take a little less time)
10. Remove from the oven and carefully push in KitKat bunnies into your brownies.
11. Allow to completely cool (the chocolate bunnies too!) before removing from the tin and cutting into squares. Enjoy!
Gluten Free Easter Bunny Brownies Recipe with Kit Kat Bunnies
Equipment
Ingredients
- 90 g gluten free plain flour
- 50 g cocoa powder
- 200 g butter
- 200 g dark chocolate
- 3 eggs
- 280 g caster sugar
- 100 g gluten free chocolate wafer bars chopped into small pieces (I get mine from Tesco)
- KitKat Bunnies mix of regular size and mini size
Instructions
- Preheat the oven to 180C / 160C Fan. Prepare a 9x9 inch square tin with parchment/baking paper. Allow a little extra paper so you can lift the brownies out once they are cooked.
- Melt together your butter and dark chocolate over a bain marie or in the microwave until completely melted. Mix together and leave out to cool down to room temp.
- Sieve together your cocoa powder and gluten free flour in a bowl. Mix briefly until combined, put to one side.
- In another bowl crack 3 eggs and pour in your caster sugar. Beat together (I use an electric hand whisk) until pale in colour and almost a little frothy.
- Once the chocolate and margarine mixture is cooled to room temp, pour it into your egg/sugar mixture. Fold it in, it will initially marble and then turn super chocolatey.
- Next fold in the your gluten free plain flour and cocoa powder mix. Ensure it's fully folded in.
- Fold in your chocolate wafer pieces.
- Pour/spoon your brownie mixture into your prepared tin, smooth it over so it's even and level.
- Bake for about 25 mins. Cooking for this amount of time at this temp should create incredible fudgy brownies. (You can check them during cooking they may take a little less time)
- Remove from the oven and carefully push in KitKat bunnies into your brownies.
- Allow to completely cool (the chocolate bunnies too!) before removing from the tin and cutting into squares. Enjoy!
Nutrition
Any questions about the recipe? Please do let me know by following me on Instagram and leaving me a comment on a recent photo!
Thanks for reading,
Becky xxx
Oh and don’t forget to pin this for later!

