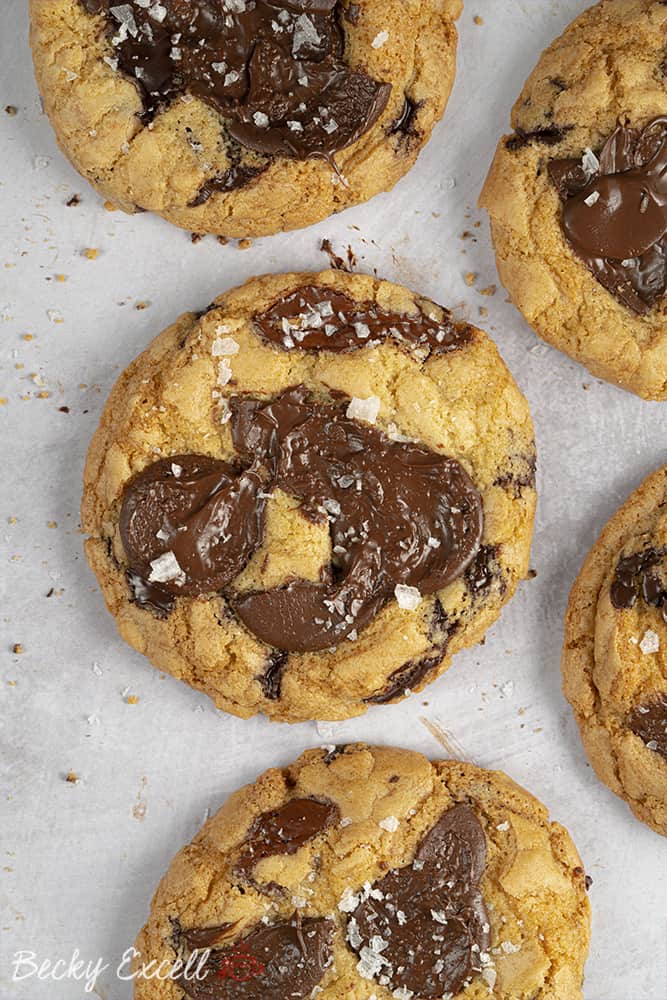
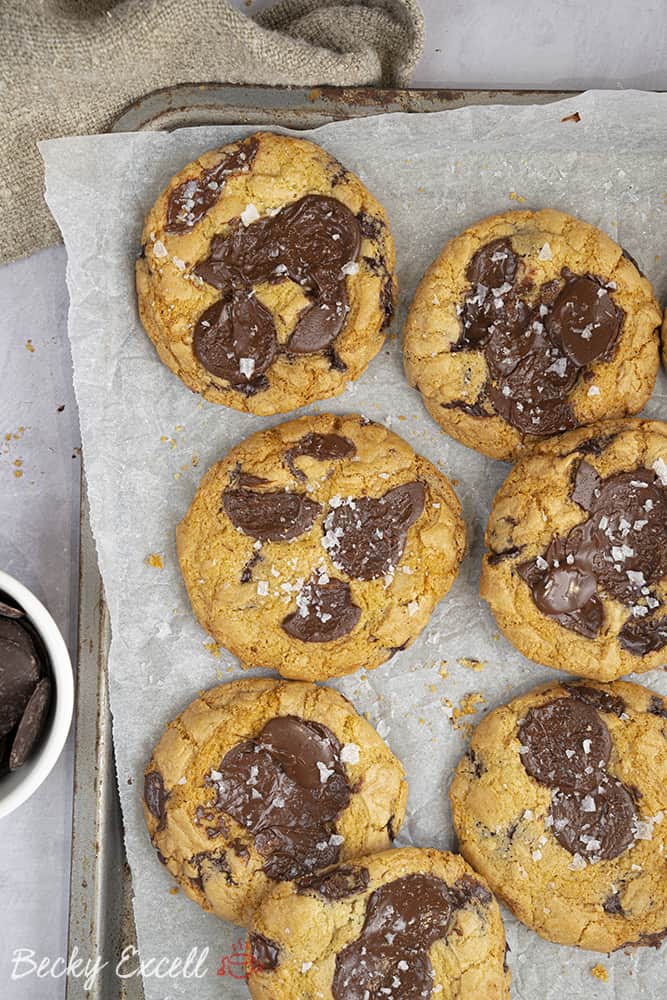
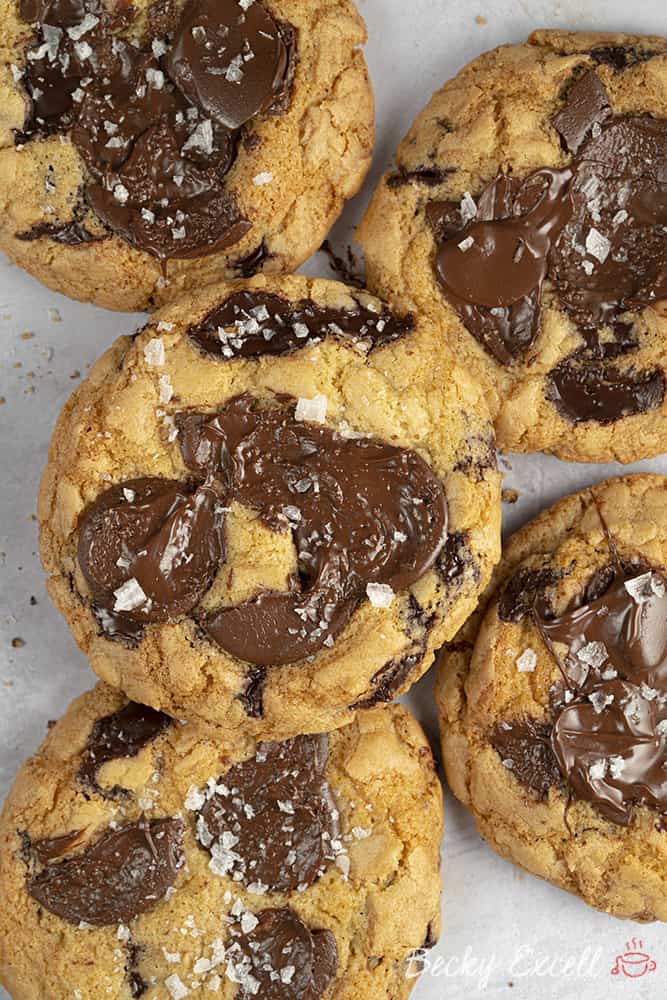
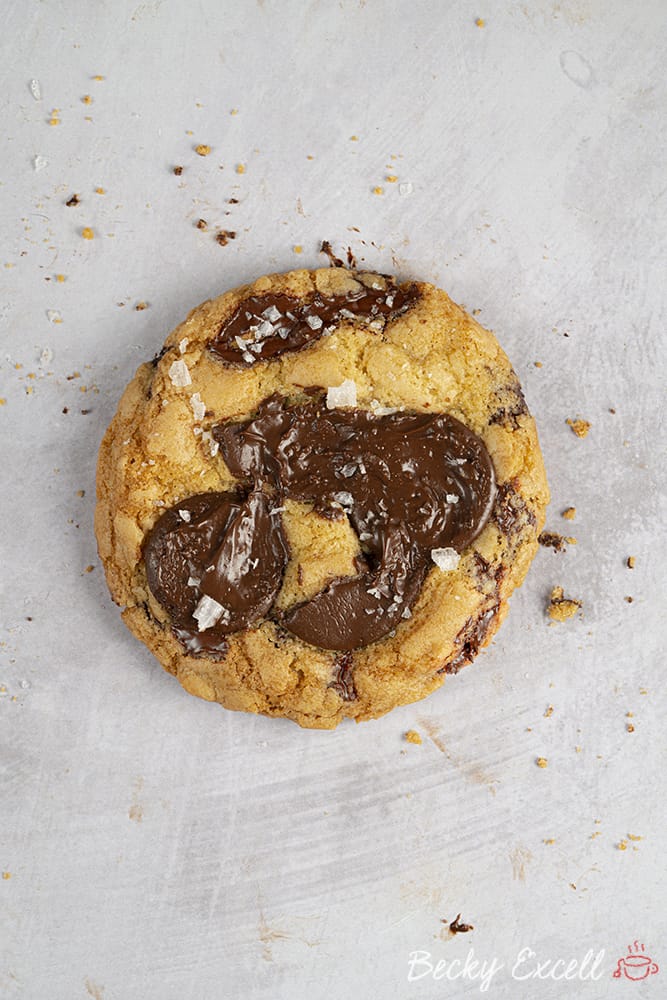
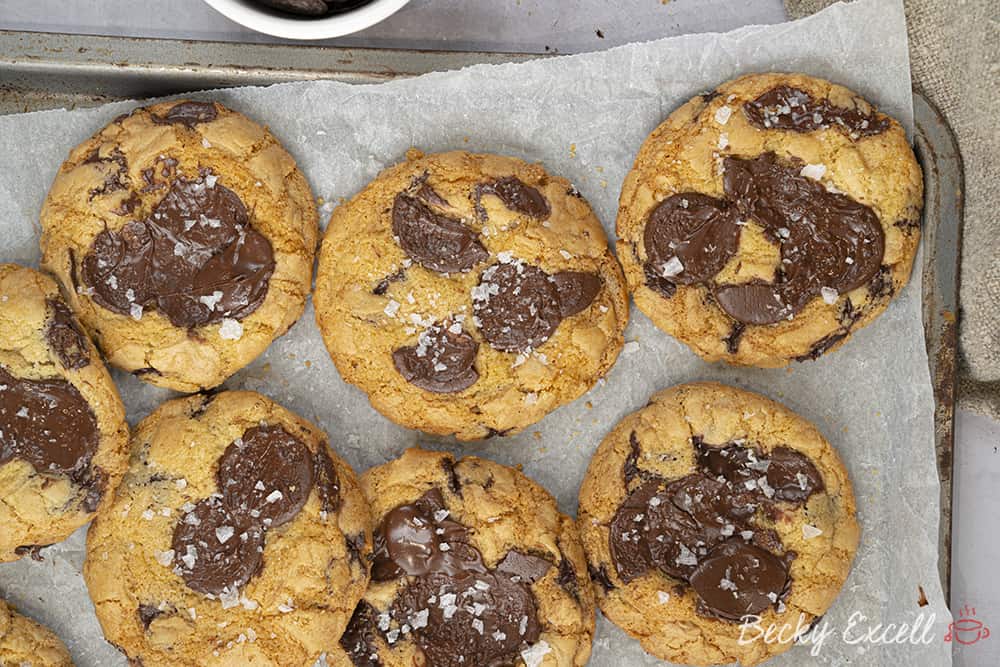
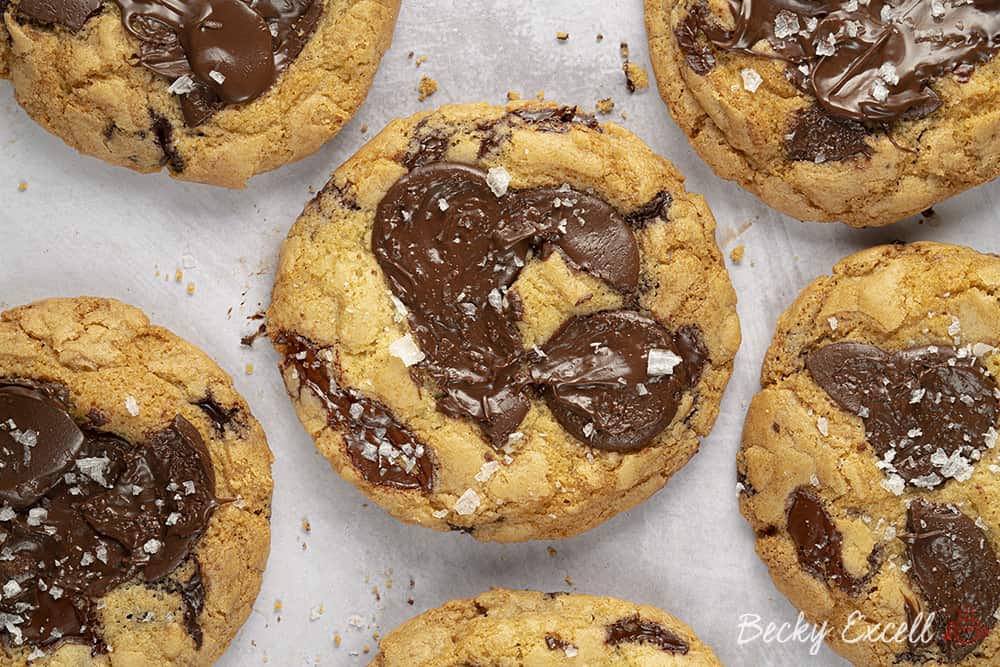
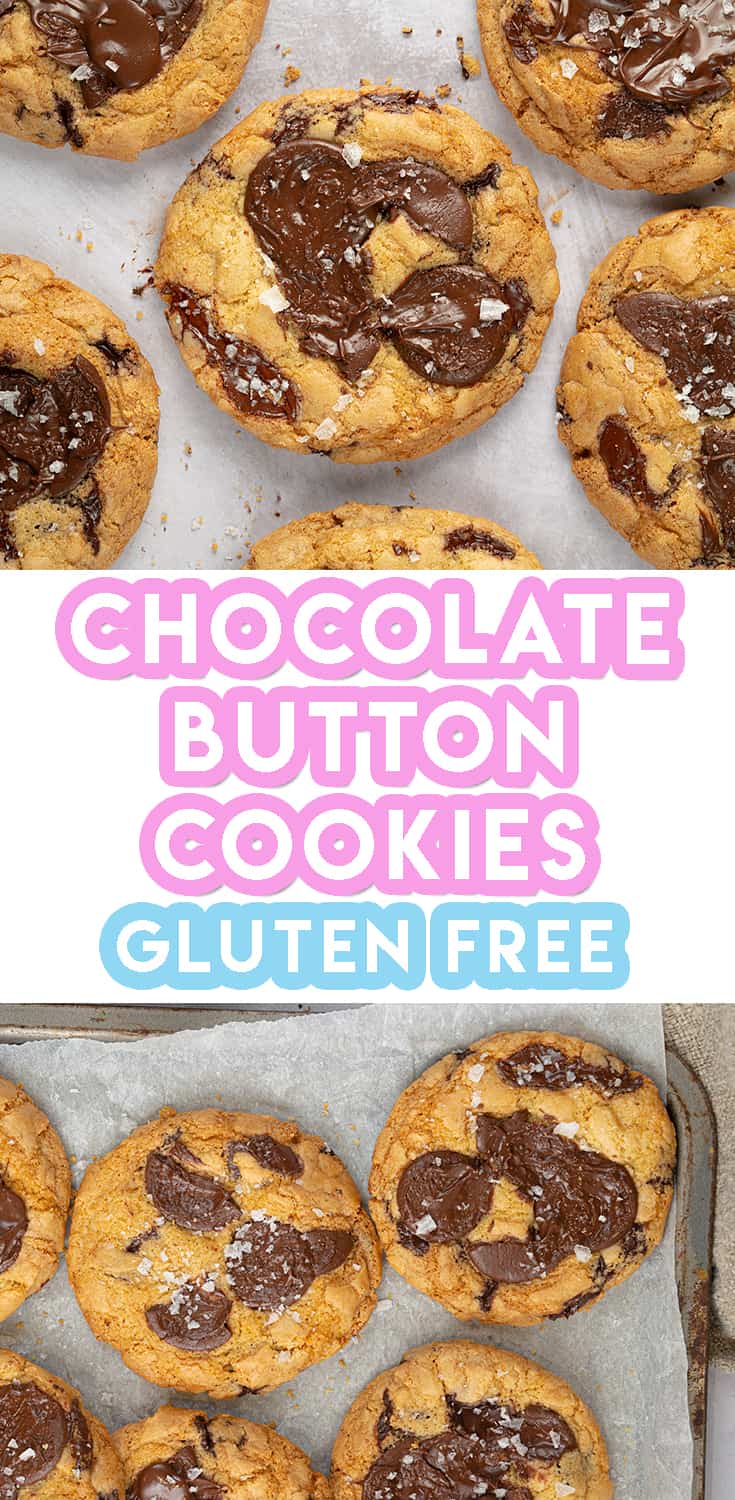
My melted gluten free chocolate button cookies recipe are one deliciously more-ish and so dangerously easy to make! You can also make them dairy free if you fancy too.
You guys know that I love making variations of my choc chip cookies and these are my latest creation: say howdy to my gooey, melted gluten free chocolate button cookies recipe…
Who here has tried my original gluten free cookies recipe before? If not – they’re crisp and golden on the outside but lovely and soft and chewy in the middle.
They’re the type of cookie that you can heat up and enjoy with a dollop of ice cream, or the type you drool over when you walk past a bakery but can NEVER eat.
I know I’m hyping this up a lot, but honestly, it’s a recipe that I’m suuuper proud of (if you couldn’t tell already!)
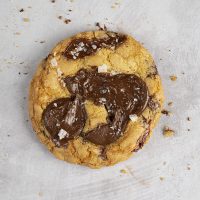
And both that recipe and this one come with this promise – nobody would ever know that these were gluten free in a billion years. I mean, look at them! ??
But how do these differ to my original gf choc chip cookies?
Well, they are those exact same cookies! They still have chocolate chips in them, but then they *also* have giant chocolate buttons placed on top just before baking.
Top with a little Maldon sea salt and you’ve got something totally different. If you eat them freshly baked, you get these lovely gooey, melty chocolate puddles which are amazing!
(you can always warm these up in the microwave before eating to restore that gooey-ness too)
It’s a beautiful (and tasty) mess!
Here’s all the ingredient you’ll need for this recipe:
Ingredients
- 100 g caster sugar
- 100 g light brown sugar
- 120 g butter, melted (or a dairy free alternative such as Stork baking block)
- 1 large egg
- 1/2 tsp vanilla extract
- 300 g gluten free plain flour
- 1/2 tsp salt
- 1/2 tsp bicarbonate of soda
- 120 g chocolate chips, (dairy free if necessary)
- 110g giant chocolate buttons (I used Bournville which are gluten free at the time of writing, but please make sure you check the ingredients just to be doubly safe. You never know when things change!)
Here’s some tips/FAQs for creating the perfect gluten free chocolate button cookies…
Can I make this recipe gluten free?
It is gluten free!
Can I make your gluten free chocolate button cookies dairy free?
Of course you can! All you need to use are dairy free chocolate buttons – I’d recommend using Ombar Coco Mylk chocolate buttons and dairy free chocolate chips – I use Moo Free Chocolate Chips.
The Ombar buttons melt nicely for baking, they taste like actual milk chocolate and though they can be pricy, they’re so worth it.
Bear in mind that they’re smaller than the large buttons I used, so you might need to add more to your cookie dough balls for a similar effect.
Also, you’ll need to use a hard margarine instead of butter – I used a block Stork. Both of these are gluten free too obviously!
Is your gluten free chocolate button cookies recipe nut free?
Yep, this is a nut-free recipe. But of course, make sure you check the ingredients label on all the products you use to bake these cookies.
Even if the products don’t contain nuts, they may have a ‘may contain nuts’ warning due to being produced in a factory that handles nuts.
You can never be too careful so always read the labels on everything first!
Can I make your gluten free chocolate button cookies in a food processor or standing mixer?
Of course you can and to be honest – a standing mixer would probably be easier! I always make this just by hand because I always have – not because it’s better or anything.
But to be honest, there’s something so satisfying about when it comes together and you’re using your hands. And less washing up – hooray!
(just a spatula and a bowl of course)
I’ve never actually tried to make this in a food processor either, but just make sure that the mixture is really well combined and that you scrape the sides down occasionally too. The same goes for a standing mixer.
Do I need any special equipment to bake your gluten free chocolate button cookies?
Certainly not! I literally bake these just using a bowl and a spatula. You need a little more elbow grease, but otherwise, that’s all you need!
You’ll probably need a microwave the butter though (or use a bain marie on the hob) – just some way to melt the butter until completely melted.
You’ll obviously need a fridge also to chill the dough before rolling into balls – not sure if that constitutes being called ‘special equipment’ though!
Do I need weighing scales to bake your gluten free chocolate button cookies?
In short… yes! And I wouldn’t advise attempting any my recipes without them. One of the worst things you can do in any baking recipe is alter the quantities by mistake or on purpose.
(unless you know what you’re doing of course)
Why? Well, you’re sort of just gambling with the recipe and praying that it turns out ok. And I’ve generally already done the hard work there for you!
A lot of work went into fine tuning ratios and quantities so I wouldn’t mess around with them unless you really know your stuff.
What chocolate chips/buttons should I use to bake your gluten free chocolate button cookies?
I’ve already mentioned the Moo Free Chocolate Chips above if you’re dairy free, but if not, I usually use the Dr. Oetker chocolate chunks.
They’re nice a big so they don’t vanish into the mixture as easily and they’re nice a chunky – which is really nice to eat!
Don’t have any chocolate chips? Fear not as you can easily cut up chocolate and use that instead. I’d recommend baking chocolate however as the melting point is usually much better.
In terms of chocolate buttons, I used Bournville which are gluten free at the time of writing, but please make sure you check the ingredients just to be doubly safe. You never know when things change.
Can I bake your gluten free chocolate button cookies with less sugar?
I can definitely understand the need to reduce sugar in our foods, but this is one of the recipes where I wouldn’t advise it at all!
Of course, the sugar isn’t just for sweetness – it’s integral to the structure of the cookies once baked and is sooo important.
The sugar caramelises to produce a nice, crispy exterior on the outside and without that… they’re not gonna be nice, crisp out the outside, soft in the middle cookies at all are they?!
How long can I keep your gluten free chocolate button cookies for?
I’ve kept my cookies for around a week and they still taste as good as they day they were made. Obviously store them in an air-tight container too.
You can always reheat them for 20-30 seconds in the microwave at 900W for the ‘fresh out of the oven’ feel too. A great idea because you’ll restore all the melty-ness of those chocolate button puddles!
When they lose the crispiness on the outside, they’re probably starting to get past their best.
Can I freeze your gluten free chocolate button cookies?
Of course! I’ve frozen them for up to a month and after allowing them to full thaw, you’d never know they were frozen.
After thawing, I’d recommend baking them in the oven for 5 minutes or so just to remove any excess moisture before enjoying them warm though.
Can I make your gluten free chocolate button cookies vegan?
Yep! If you follow the instructions above to make these cookies dairy free (using Moo Free Chocolate Chips, Ombar Coco Mylk chocolate buttons and Stork hard margarine instead of butter) then all you’ve got left to contend with is the eggs.
Here’s a few ideas you can use as egg replacements, so each of these = 1 egg.
- 3 tablespoons of aquafaba – water from a can of chickpeas. Keep the chickpeas for a future dinner!
- Egg replacement powder – I’d recommend using Orgran as it’s gluten free.
- 1 tablespoon of chia/flax seeds mixed with 2 tablespoons of water and left for 10 minutes in the fridge.
- 3 tablespoons of applesauce.
So use one of those egg replacement options and you’ve got gluten free AND vegan chocolate button cookies!
Can I eat your gluten free cookie dough?
Well, I suppose the sensible answer is that they contain egg and eating raw egg isn’t the most advisable thing in the world…
But yes, I do eat some when I’m making it and it tastes great! ?
It’s probably more advisable to use one of the vegan egg replacements I just listed above to make it a little more of a good idea!
How can I tell when my gluten free chocolate button cookies are done?
They should look nice and golden, but not actually browned or browning at the edges.
Poking them doesn’t help much because they won’t be nice and crisp until they’ve cooled a little. So just aim for how mine look in the photos and if you take them out early – no bother!
Just pop them back in until you’re happy with the colour. Oh and make sure you leave them to cool before sampling them!!
Troubleshooting
My gluten free chocolate button cookies weren’t soft – they were hard and crunchy.
Sounds like they were over-baked. So either your oven is way too hot or you’re leaving them in too long.
Remember, that we just want a slightly crisp outside, leaving them soft and chewy in the middle. We’re not aiming for hard biscuits here so don’t over-bake them!
My gluten free button cookies spread too much and were flat like pancakes!
You might not have allowed enough time for the dough to chill in the fridge.
This is a really important stage in the recipe as it not only allows the dough to harden up a bit so they’re easier to roll into balls, but it’s also important for baking them.
If the dough is warm before it goes in the oven, it’ll spread a lot quicker and result in flatter cookies!
My gluten free chocolate button cookies were too thick, what did I do wrong?
When the cookies come out of the oven, it’s a good idea to give the track a swift but gentle tap on a hard surface a couple of times.
While the cookies are still soft, this will encourage them to flatten – otherwise you can end up with cookies that are fairly thick.
My cookies don’t look as good as yours – I can’t see any chocolate chips!
It’s easy for your choc chips to get lost in your cookies when they bake, but it’s not the end of the world because they still taste exactly the same!
But if you want to go for that perfect finished look, do what I do: once you’ve rolled your cookie dough into balls, add a few extra choc chips into the top of each ball.
That way, when they spread, you can at least guarantee that there will be a few choc chips on top after baking.
My batter was still quite wet when it went in the fridge… what did I do wrong?
That means you didn’t mix the dough for long enough! You need to mix it until it comes together like cookie dough, there’s a photo up earlier in this blog post of my dough which should help.
My batter was still wet after chilling and when I was rolling the balls?
If you did mix your dough until it came together well, then it’s likely that you didn’t chill your cookie dough long enough.
So whack it back in the fridge and be patient! The temperature of the dough is quite important so that it’s easy to roll and also doesn’t spread too quickly when baking into flat pancakes.
Can I print your gluten free chocolate button cookies recipe?
Of course! Just hit the print button located on the recipe below ?? (otherwise you might end up printing this entire post which would probably make your printer go into early retirement)
My Melty Gluten Free Chocolate Button Cookies Recipe (dairy free option)
Equipment
Ingredients
- 100 g caster sugar
- 100 g light brown sugar
- 120 g butter melted (or a dairy free alternative such as Stork baking block)
- 1 large egg
- 1/2 tsp vanilla extract
- 300 g gluten free plain flour
- 1/2 tsp bicarbonate of soda
- 1/2 tsp salt
- 120 g chocolate chips (dairy free if necessary)
- 110 g chocolate buttons I used Bournville buttons - these are may contain milk
Instructions
- In a bowl, mix together both your light brown sugar and caster sugar with your melted butter. Mix until it all comes together and is fully combined.Add your egg and vanilla extract to the bowl and continue to mix (with a wooden spoon) until combined once more.
- In a separate bowl, add your gluten free flour, bicarbonate of soda, salt and briefly mix.
- Add your flour mix to your original bowl and mix till combined. Make sure your mixing bowl is big as this is quite a lot of flour. It can be hard work and takes time to really combine it all but it'll form a perfect cookie dough (you could use a stand mixer but I prefer to do cookie dough by hand).
- Add the chocolate chips and give them a good mix in so they are dispersed evenly.
- Cover your mixing bowl with clingfilm and chill in the fridge for about 45 minutes (you can make the cookie dough ahead of time also and keep it in the fridge until you need it).
- Heat your oven to 170C and prepare a couple of baking trays with good quality, non-stick baking paper.
- Remove your cookie dough from the fridge and roll your dough into balls (about the size of a golf ball). Add some whole or broken up pieces of chocolate buttons to the top of the cookie balls and place them on your trays - this means that the chocolate buttons will not get hidden in the dough! The cookies will spread a little so leave some gaps between them - I usually cook mine in a couple of batches.
- Pop into the preheated oven for about 7 minutes.
- Remove from the oven, hit the baking sheet onto your worktop and place 1 or 2 whole chocolate buttons in the top of each cookie. Then put back into the oven for a further 7 minutes to finish cooking - this will ensure you have a lovely melty button top!
- Remove from the oven and leave to cool on the baking tray before moving them. (Optional - sprinkle with salt for a salted chocolate flavour)
- Enjoy!
Video
Nutrition
Any questions about the recipe? Please do let me know by following me on Instagram and leaving me a comment on a recent photo!
Thanks for reading,
Becky xxx
Oh and don’t forget to pin this for later!

