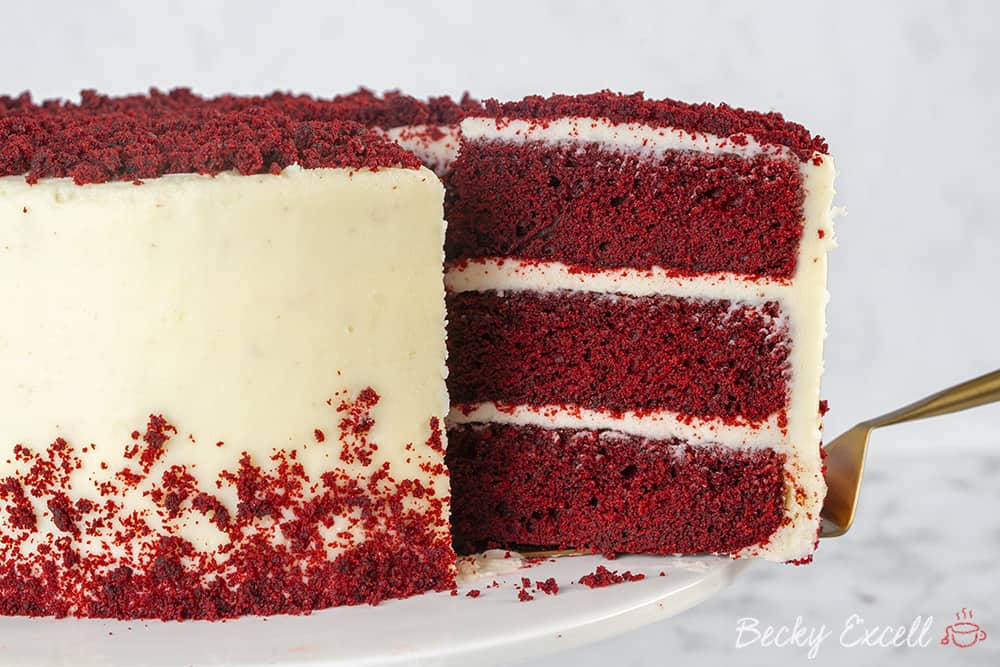
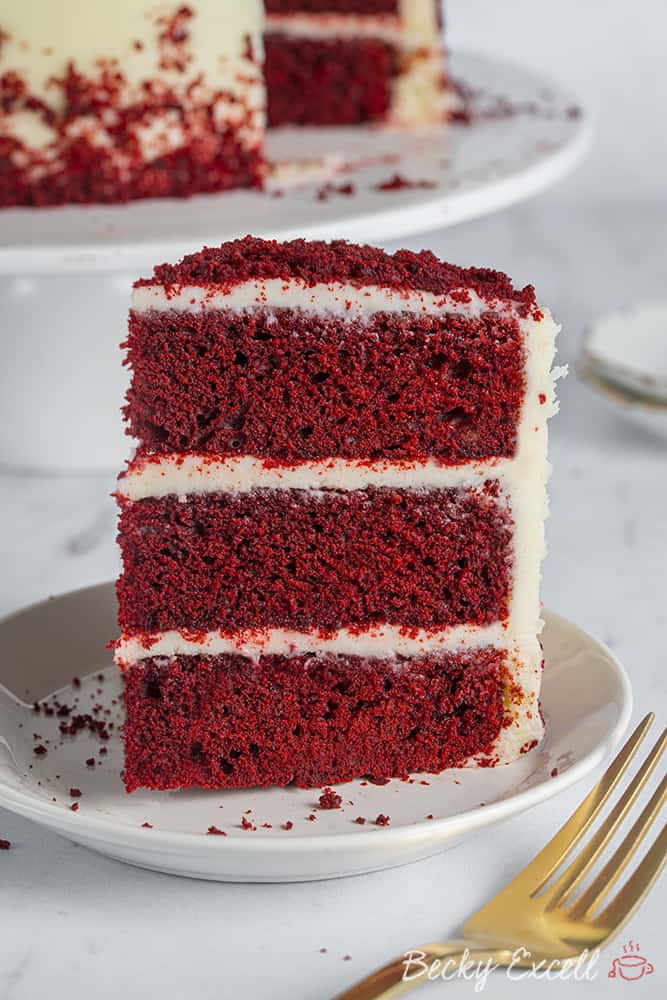
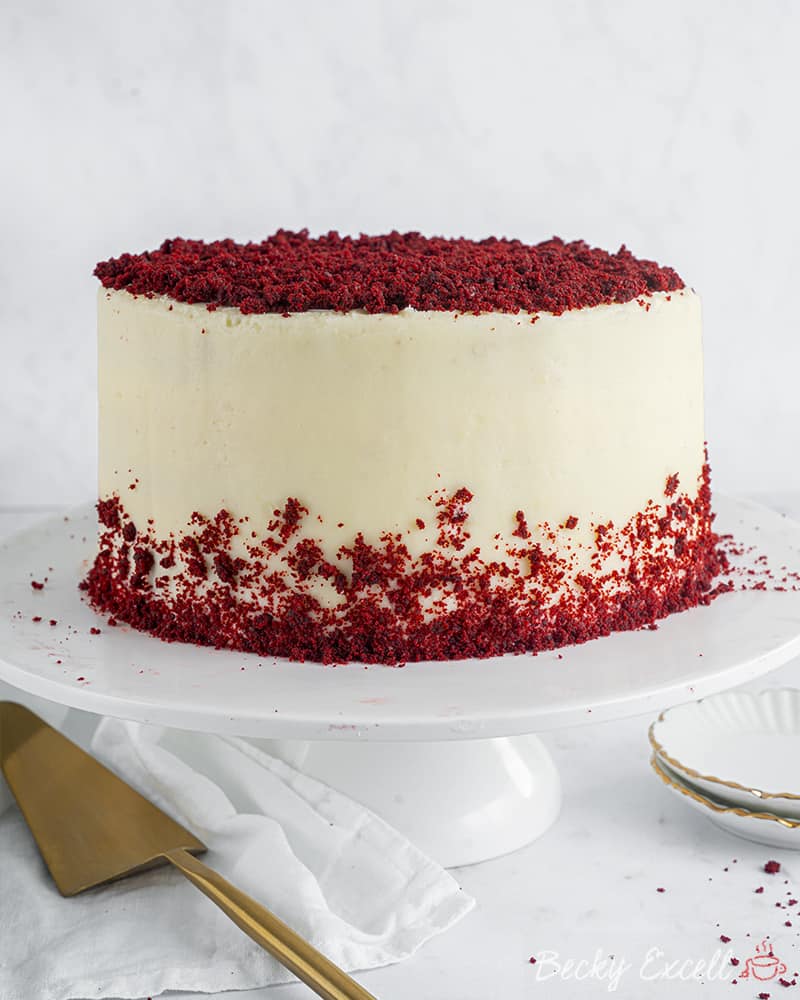
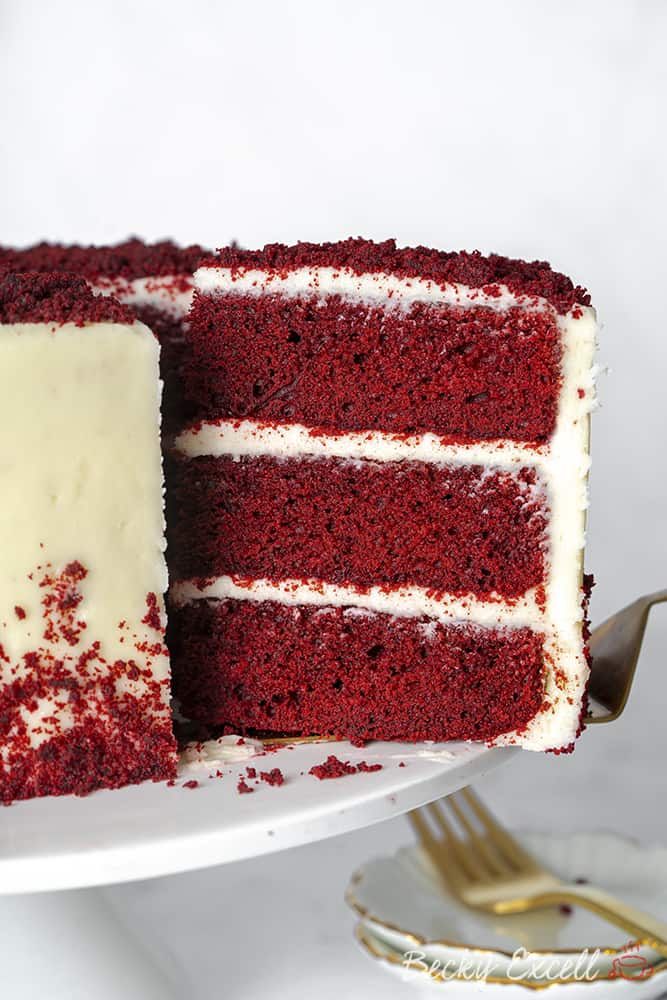
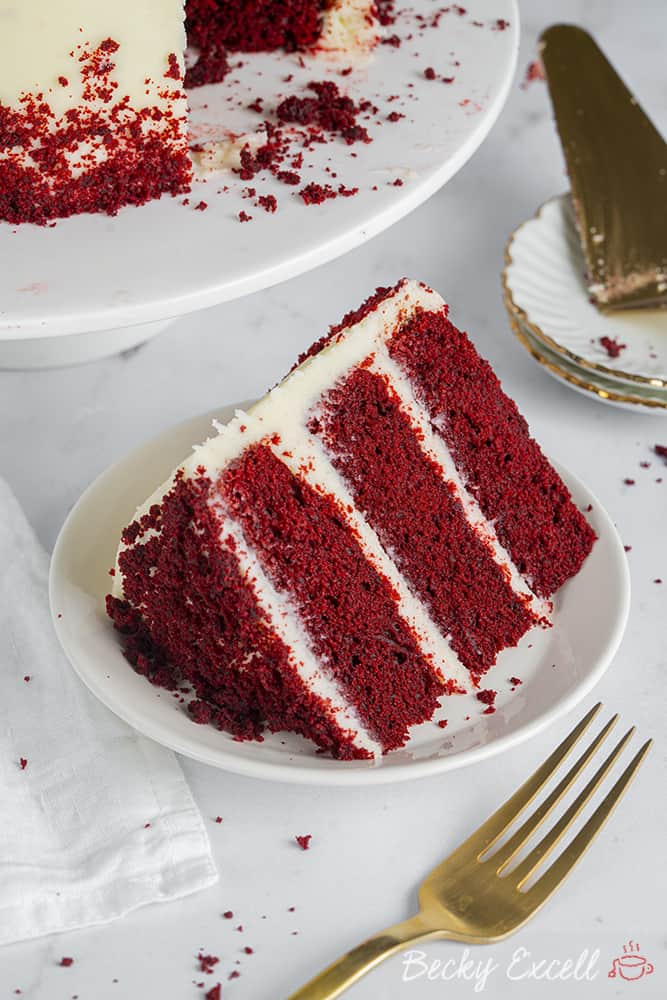
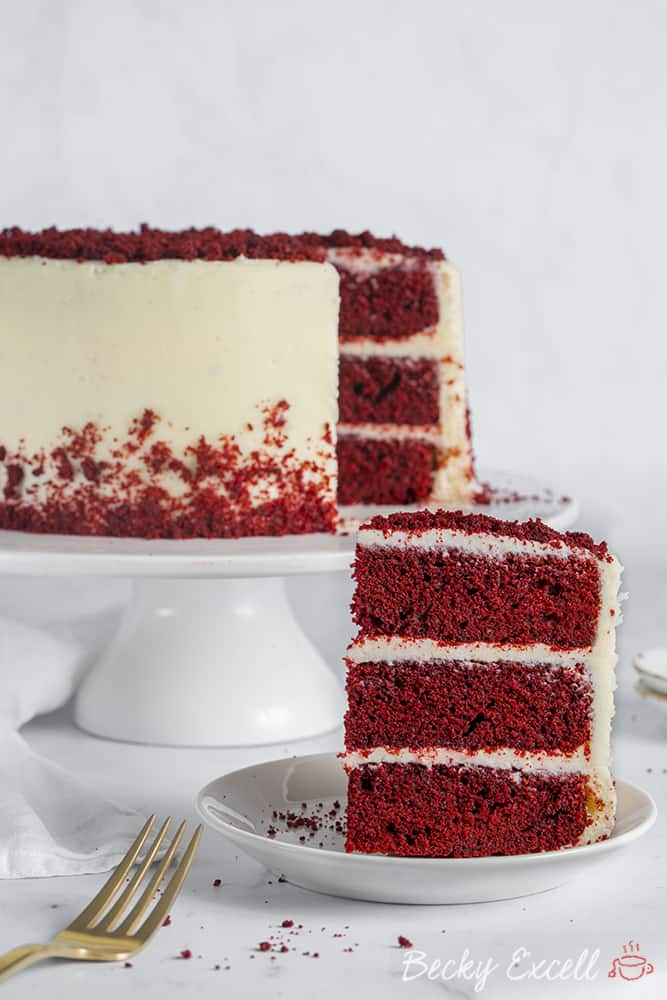
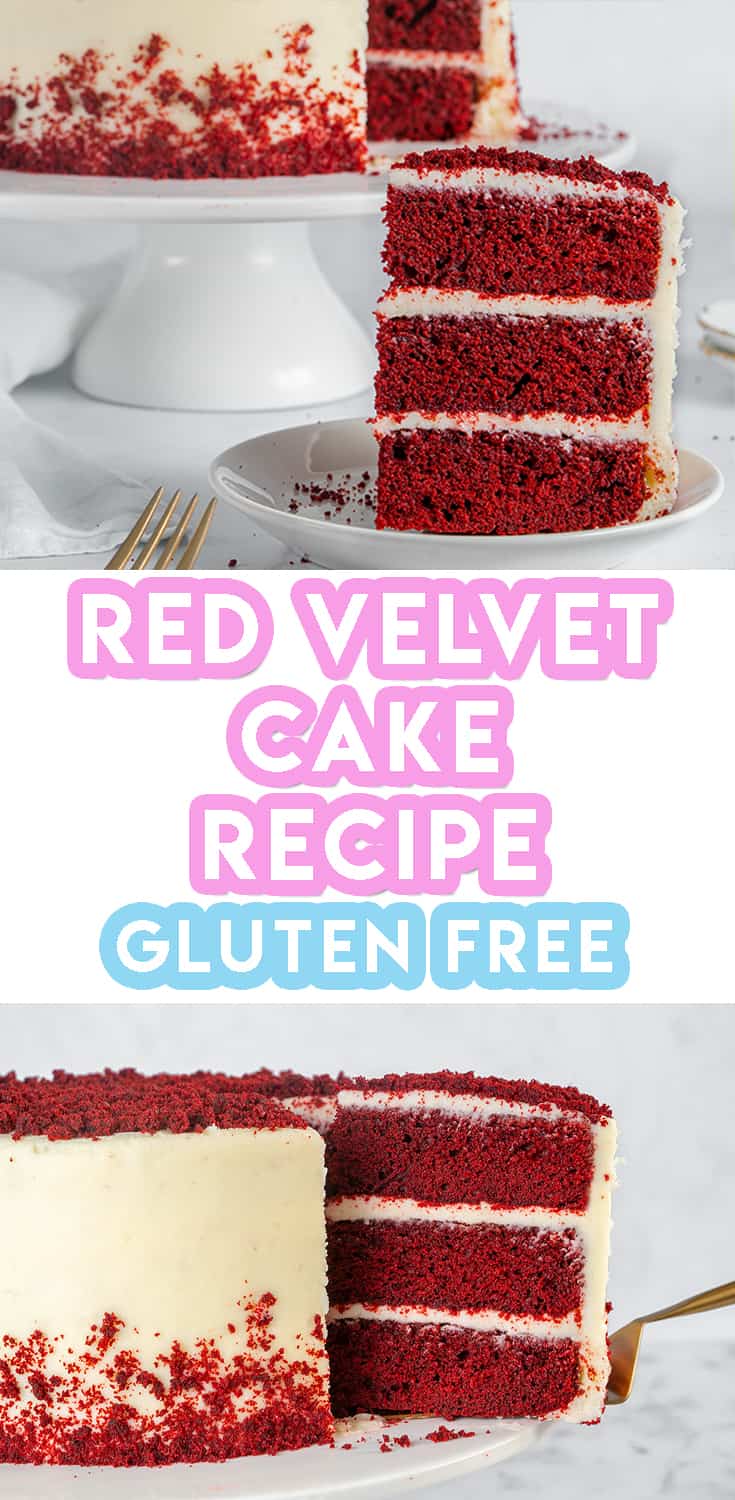
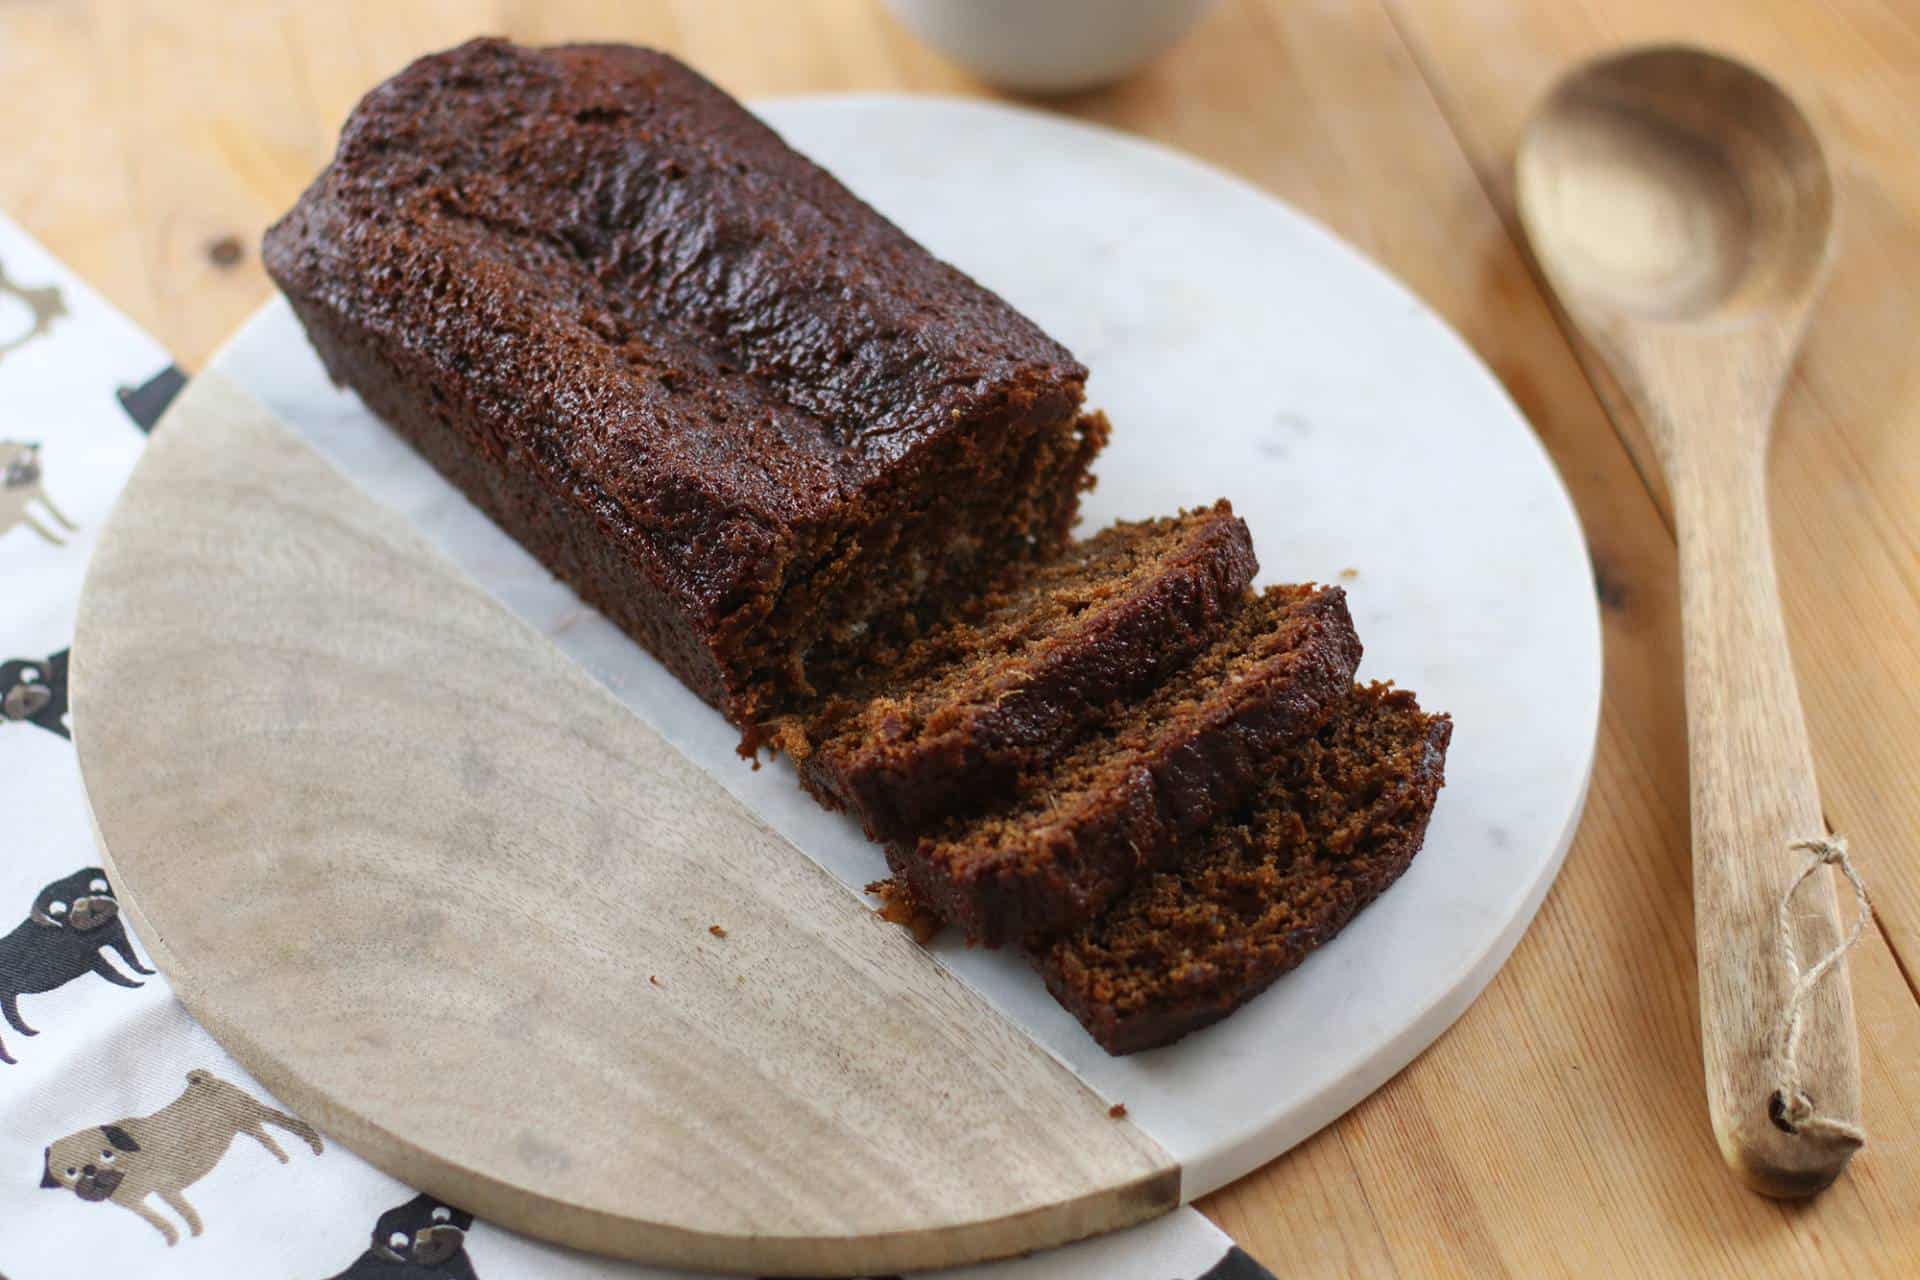
Gluten free red velvet cake recipe anybody? It’s a cake that needs no introduction, yet here I am introducing it to you! So here ya go – meet my red velvet cake. Red velvet cake, meet erm… you! Oh, it’s dairy free and low FODMAP too.
My gluten free red velvet cake recipe is back and better than ever! Yep, I first posted this back in 2017 and two years later, it’s now my BEST EVER red velvet. But I’ll let you be the judge when you hopefully make it, eat it and enjoy it. You’d NEVER know that this was gluten free.
I must say, it’s a strange ol’ life when you can’t eat 90% of all foods whilst you’re out and about. On the one hand, it’s a total pain and it can really get you down.
But for me, it just motivates me and inspires me to get into the kitchen and recreate everything I’m constantly missing out on. Like this recipe!
No longer do I have to simultaneously drool and cry over that amazing red velvet cake that I keep seeing in the windows of bakeries in Brighton.
And neither do you! Because if my baking all goes well, I’ll always share it with you guys here on my blog, like my gluten free red velvet cake.
Whilst not being able to eat anything is an absolute pain at the best of times, in a weirdly ironic way, I probably wouldn’t be doing what I love right now if I could just eat anything.
So in a round-a-bout way, I guess I should be grateful that nothing agrees with me?!
I hope you know understand what I mean! I guess what I’m trying to say is that this gluten free red velvet cake recipe absolutely epitomises that rather confusing, rather odd notion.
At the very least, it shows that any negative can be somehow turned into a positive if you keep plugging away. Anyway, let’s get started with all the important questions about my gluten free red velvet cake recipe…
Here’s what you’ll need for the recipe:
My Gluten Free Red Velvet Cake Ingredients
For the sponge
- 150 butter, softened (dairy free alternative if necessary)
- 320g caster sugar
- 4 eggs
- 40g cocoa powder (ensure dairy free if necessary)
- 2 tsp red food paste (ONLY use the food colouring I recommend above, supermarket ones aren’t good enough)
- 2 tsp vanilla extract
- 300ml buttermilk (you can make your own dairy free if necessary using milk and lemon juice/vinegar)
- 360g gluten free plain flour
- 1/4 tsp xanthan gum
- 1 1/2 tsp bicarbonate of soda
- 3 tsp vinegar (either white wine vinegar or cider vinegar)
For the cream cheese frosting
- 170g butter, softened (dairy free alternative if necessary)
- 270g cream cheese (dairy free alternative if necessary)
- 930g icing sugar
Ok, so here’s a few frequently asked questions before we get started…
Here’s some tips/FAQs for creating the perfect gluten free red velvet cake…
Can I make this recipe gluten free?
It is gluten free!
Can I make your gluten red velvet cake dairy free?
Of course you can! Here’s three easy things you need to do:
- You’ll need to use Stork hard margarine instead of butter for the sponge cake and the icing. Just bear in mind that you might need to add a little extra icing sugar for the buttercream just to bring it together, as hard margarine can be a little looser than when using butter.
- For the cream cheese in the icing, you can easily substitute it for any supermarket own-brand soya cream cheese. Just make sure you chill the icing before applying it as it can be a little more loose.
- For the buttermilk, you can easily substitute this with 300ml of dairy free milk and 1 tbsp of lemon juice or vinegar. Stir thoroughly and then allow to sit for 5 minutes.
Also, make sure your cocoa powder is dairy free too, just to be sure.
Is your gluten free red velvet cake recipe nut free?
Yep, this is a nut-free recipe as far as ingredients go, but of course, make sure you check the ingredients label on ALL the products you use to bake this cake just to be safe.
Even if the products don’t contain nuts, they may have a ‘may contain nuts’ warning due to being produced in a factory that handles nuts.
You can never be too careful so always read the labels on everything first!
Can I make this cake in a food processor or standing mixer?
Of course you can – and it’ll save you on elbow grease! I don’t use a standing mixer or food processor to make the cake mixture personally – I use an electric whisk. Just because I’m used to it.
(here’s a link to the electric whisk I use)
You can of course, bake this without any assistance from any appliance – just a good ol’ fashioned wooden spoon will do. Just make sure you give it a lot of welly, otherwise your mixture won’t be consistent and might not bake properly.
When it comes to the cream cheese frosting, I prefer to use my standing mixer though. As you have to mix it for a longer period of time (around 10 minutes) it’s much easier to just let the mixer do the hard work.
Can I make this recipe without any kind of electric mixer at all?
As it’s such a large quantity of mixture for the sponges and cream cheese frosting, it might take you a while!
It will take a lot longer and you must make sure you’re not leaving any dry mixture left in the bottom of the bowl.
Also, when creaming together butter and sugar, make sure your butter is at room temperature to give you a good head start.
In terms of icing, it can be a bit of a mission as 15 minutes in a standing mixer probably translates to a lot more with a wooden spoon. But it is possible!
Do I need any special equipment to bake this?
Certainly not! As I mentioned, a food processor, standing mixer or electric whisk will cut down on prep time, but they’re not mandatory.
If you really want to nail the presentation of this cake, you’ll need a plastic icing scraper to get the icing smooth like mine in the photos.
And whilst it’s not technically ‘special equipment’, you will need a good quality baking tin (I used 3) so here’s a link to the one I use.
You don’t necessarily need a springform or a loose-bottom tin to make this, but those would be fine too.
Can I bake this using the all-in-one method?
In case you didn’t already know, the all-in-one method involves bunging all your sponge ingredients into a bowl at once and mixing them together. That’s instead of adding them gradually.
Since there’s a lot of ingredients (at varying temperatures) that actually go into making the sponge cakes, I wouldn’t recommend using this method to do so!
You could use the all-in-one method up to a point – so that would mean adding your butter, sugar, eggs and dry mixture into your bowl all in one go. But… why would I still advise against using the all-in-one method?
Well, adding the eggs separately helps to ensure that the cake mixture doesn’t split, plus, creaming the butter and sugar ensures a nice, light and airy sponge.
It really doesn’t take you that long to do all the separate stages, so I’d recommend giving it a go that way first. It really doesn’t take much longer as you’ll have to do a hell of a lot more mixing with the all-in-one method!
Can I make this recipe without xanthan gum?
You’ll see xanthan gum in a lot of my recipes as it’s an essential ingredient in gluten free baking.
Without gluten to bind the cake together, you can be left with a very loose and crumbly cake texture which is far from ideal. But what if you didn’t have any, or simply wanted to remove xanthan gum from the recipe entirely?
Well, I definitely wouldn’t recommend removing xanthan gum from the recipe if you can really avoid doing so! I understand if you struggle to tolerate it for some reason, but otherwise, it’s a vital ingredient not to be missed.
Some people have asked if they can use psyllium husk powder instead of xanthan gum, but I’ve found that it definitely results in a denser sponge so I wouldn’t overly recommend it.
So TLDR; definitely use xanthan gum if you can!!
Do I need weighing scales to bake your gluten free red velvet cake?
In short… yes, yes and yes! And I wouldn’t advise attempting any my recipes without them. One of the worst things you can do in any baking recipe is alter the quantities by mistake or on purpose.
(unless you know what you’re doing of course)
Why? Well, you’re sort of just gambling with the recipe and praying that it turns out ok, don’t you think? And I’ve generally already done the hard work there for you, so you don’t have to do the guesswork with measurements!
A lot of work went into fine tuning ratios and quantities so I wouldn’t mess around with them unless you really know your stuff.
I’d recommending using digital cooking scales like these so you know you’re getting an accurate measurement.
What red food colouring should I use to bake this recipe?
The only food colouring you should attempt this recipe with is Sugarflair Colouring’s Red Extra – I bought mine on Amazon. Do NOT attempt this recipe without it!
And the best thing about it is that it’s a concentrated paste, not liquid food colouring.
It’s super-important that you do NOT use liquid food colouring (the kind you find in the supermarkets) for this recipe.
Why? Well, by the time you add enough food colouring to this to make the mixture red (and trust me, you’ll need several tubes or more) the consistency of the cake batter will be way too wet – basically ruined.
How do I ice my red velvet cake like yours?
Once your cake is constructed, all you need to do is apply a modest amount of icing and then scrape it all back off until its nice and smooth. I did this using a plastic cake scraper like this one.
That’ll be your crumb coat. You then need to chill the entire cake in the fridge for 30 minutes.
Once your crumb coat is chilled, you can then continue with icing your cake for real! That’s where I’d recommend checking out this video below. It’s way too hard to explain in writing!
If you don’t wanna watch the video (you definitely should!) then you basically need to slap on all your remaining icing using a palette knife.
Then, using your plastic cake scraper, scrape it all off until you’ve got a nice, smooth, even layer of icing. It’s a real skill doing this, so practise and ideally watch the video above for tips!
Can I bake this recipe with less sugar?
I can definitely understand the need to reduce sugar in our foods, but this is one of the recipes where I wouldn’t advise it.
Of course, the sugar isn’t just for sweetness – it’s integral to the structure of the cake once baked and is sooo important.
If you wanted to tone things down a bit sugar-wise, you could use a boat-load less icing by just putting icing in between each layer and on top – not on the sides.
I’ll leave the choice up to you.
How long can I keep this red velvet cake for?
I’ve kept my gluten free red velvet cake for about 4-5 days in an air-tight container with no problems. If you need it any longer than that, I’d highly recommend freezing it (see advice below for doing that)
When the cake starts getting a little dry, it’s probably starting to get past its best.
Can I freeze your red velvet cake?
Of course! I’ve frozen it for up to 2-3 months, but make sure you slice up the cake first – that helps with defrosting massively.
An individual slice will thaw much quicker too – it should take around 4 hours at room temperature.
Can I make your gluten free red velvet cake vegan?
Yep! If you follow the instructions above to make this recipe dairy free, then all you’ve got left to contend with is the eggs.
Here’s a few ideas you can use as egg replacements, so each of these = 1 egg.
- 3 tablespoons of aquafaba – water from a can of chickpeas. Keep the chickpeas for a future dinner!
- Egg replacement powder – I’d recommend using Orgran as it’s gluten free.
- 1 tablespoon of chia/flax seeds mixed with 2 tablespoons of water and left for 10 minutes in the fridge.
- 3 tablespoons of applesauce.
So use one of those egg replacement options and you’ve got a gluten free AND vegan red velvet cake! The Sugarflair Red Extra food colouring paste is vegan too.
I haven’t tested all of these egg alternatives so let me know how you get on in the comments below ??
How can I tell when my sponges are done?
Grab a skewer and give it a poke in the centre. If it comes out clean, then it’s done! It should look like it has a nice, slightly golden, crisp outer crust too.
If the skewer comes out moist and cake batter-like, it’s best to pop it back in for a bit longer.
The more you get used to using your own oven, the more likely your cake will come out perfectly cooked first time. Oh and also make sure your oven is fully pre-heated before putting your sponges in too.
Troubleshooting
Why did my cake batter split or curdle?
Firstly, I never worry when my batter has split or curdled! It may not look the best, but generally it doesn’t affect the bake in way that you’d notice.
But basically, a mixture can split or curdle when the eggs AND butter/margarine aren’t both room temperature. So make sure you get the butter/margarine out of the fridge a few hours early, BEFORE you start baking!
Over-mixing your batter can split the mixture too, so once you’ve got a nice, smooth cake batter without lumps, stop mixing!
My sponges didn’t rise or were totally flat in the middle!
There’s actually quite a few reasons, but here’s a few common ones:
- Too much raising agent – eg. baking powder. Anything that causes your cake to rise too fast, will inevitably sink by the time the cake it done. The cake won’t be cooked enough to hold it’s own weight!
- Split or curdled mixture. Whilst this can have a bit of a role in a sunken cake, I’ve found that it’s never too drastic.
- Opening the oven door. Never open the oven door while a cake is baking if you can avoid it! Not only does this result in a sudden drop in temperature, but it will interrupt the circulation of air in the oven.
- Over mixing the batter. If you whisk too much air into the batter, it’ll probably sink under the weight of the cake.
Why is my sponge cake dry with a tough outer crust?
If the sponges come out looking and feeling dry, hard with a tough outer crust, it’s probably over-baked.
That either means it had too long in the oven, or the oven temperature was too hot.
Oven temperatures can vary massively, so it’s best to keep an eye on your sponge around 15 minutes before it should be done.
Can I print your gluten free red velvet cake recipe?
Of course! Just hit the print button located on the recipe below ?? (otherwise you might end up printing this entire post which would probably make your printer go into early retirement)
Gluten Free Red Velvet Cake Recipe (dairy free option)
Equipment
Ingredients
For the sponge
- 150 butter softened (dairy free alternative if necessary)
- 320 g caster sugar
- 4 eggs
- 40 g cocoa powder ensure dairy free if necessary
- 2 tsp red food paste ONLY use the food colouring I recommend above, supermarket ones aren't good enough
- 2 tsp vanilla extract
- 300 ml buttermilk you can make your own dairy free if necessary using milk and lemon juice/vinegar
- 360 g gluten free plain flour
- 1/4 tsp xanthan gum
- 1 1/2 tsp bicarbonate of soda
- 3 tsp vinegar either white wine vinegar or cider vinegar
For the cream cheese frosting
- 170 g butter softened (dairy free alternative if necessary)
- 270 g cream cheese dairy free alternative if necessary
- 930 g icing sugar
Instructions
- Preheat your oven to 160C Fan / 180C and grease and line x3 20cm circular baking tins.
- Beat together caster sugar and butter in a bowl under combined, light and fluffy.
- Add in your eggs one at a time, beating in between each one briefly so just combined.
- Follow this by adding your cocoa powder (ensure it's sifted or else it will go lumpy). Mix it in.
- Next add your vanilla and red food paste. Firstly get a small bowl and combine the vanilla and red food paste together. Add it and mix until fully combined.
- Measure out your flour and mix in your xanthan gum.
- Add in your flour and buttermilk gradually. Start with half your flour and then half your buttermilk. Mix it together thoroughly, but briefly, before adding in your second half of flour and then your buttermilk. Make sure you don't mix this too much either. Just enough to ensure the wet and dry mixtures are fully combined.
- Mix together your bicarbonate of soda and vinegar and add to the cake mix immediately - don't over mix.
- Spoon / pour your mixture equally into the three tins and place in the preheated oven for about 30 minutes. I don't have a big enough oven to equally bake all 3 at once, so I do two and then do the third one afterwards. Check with a skewer that the cakes are fully cooked.
- Remove from the oven and allow to cool initially in the tin (about 10-15 minutes) before finishing the cooling on a cooling rack.
- For your cream cheese frosting get your softened butter and cream cheese into a stand mixer and mix together on a medium speed for about a minute until combined.
- Next add in your icing sugar. There is a lot of icing sugar so add this in 3 to 4 stages, mixing until combined between each addition. Also, always start your mixer very slow to ensure the icing doesn't go everywhere! Then your icing should be done - it should be the right consistency and a lovely pale white colour.
- To construct the cake, start by trimming the tops of each sponge using a sharp knife. Aim to remove the most risen part of each sponge to make them all as flat as possible. Keep the trimmings for later.
- Spread icing between each sponge layer as you build the cake up. It's up to you how you finish the cake from this point onwards. You can either just ice the top and keep it simple, or if you want to make it look like how I did in the photos, this next step is for you!
- To ice the cake like I did in the photos, I'd recommend watching this video or scroll up until you see the question 'How do I ice my red velvet cake like yours?' for text instructions. This will will let you know how to do a crumb coat and use a plastic icing scraper for the perfect finish.
- Finish the cake by crumbing the red velvet cake trimmings on top.
- Enjoy!
Notes
Nutrition
Let me know if you get the chance to give it a try by leaving a comment below or on Facebook / Twitter / Instagram.
Thanks for reading and happy baking,
Becky xxx
Oh and don’t forget to pin this before you leave!

