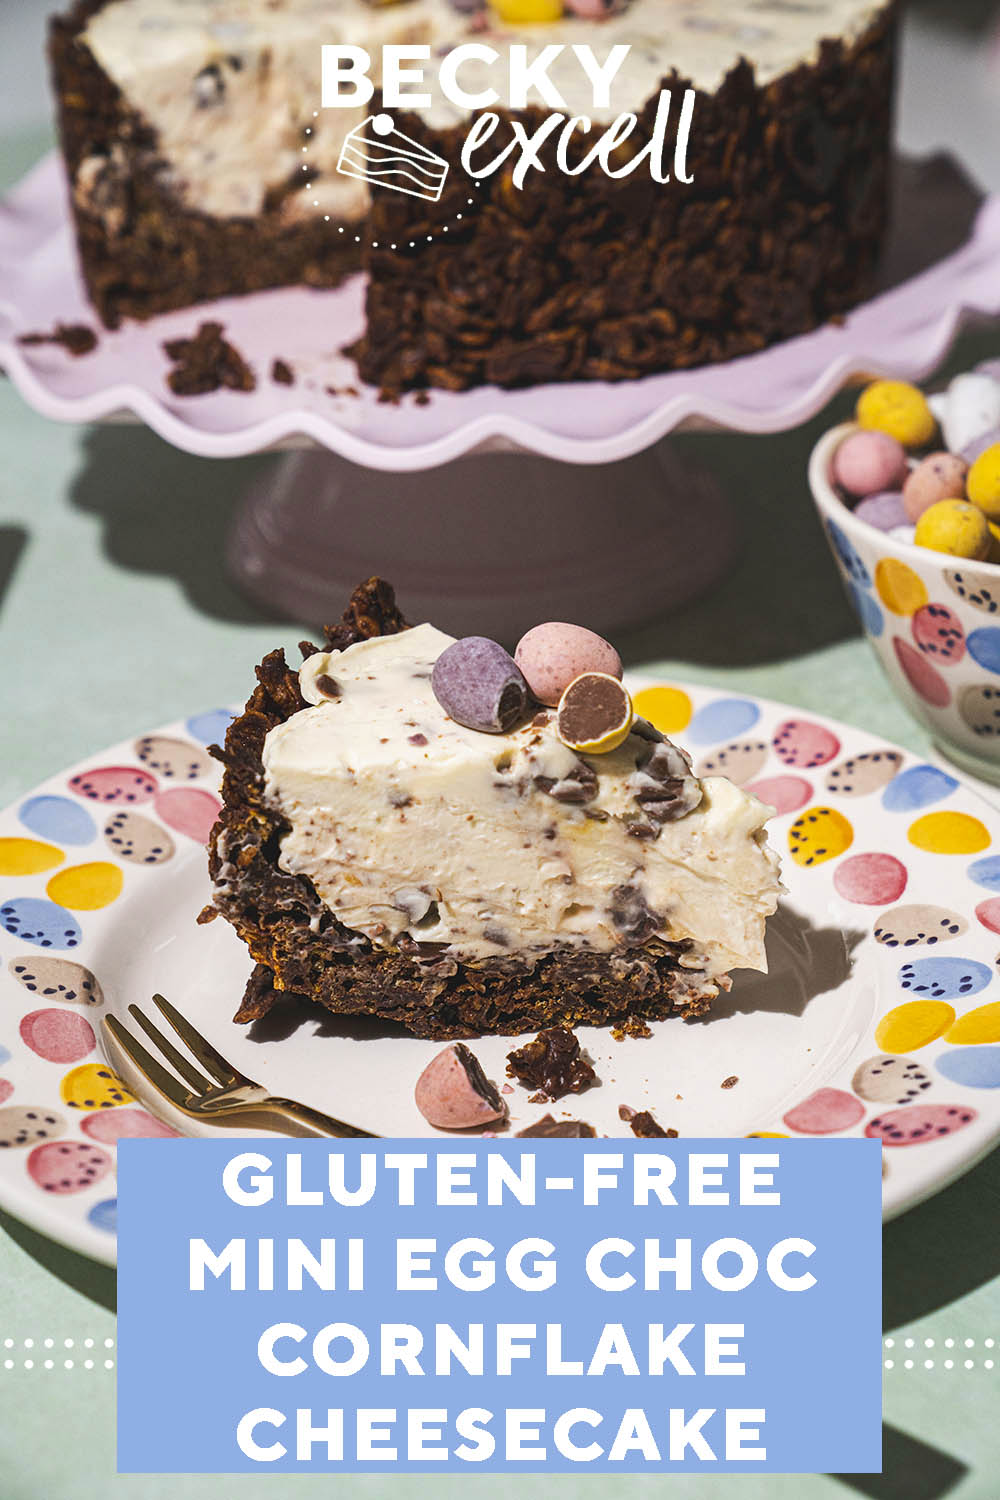
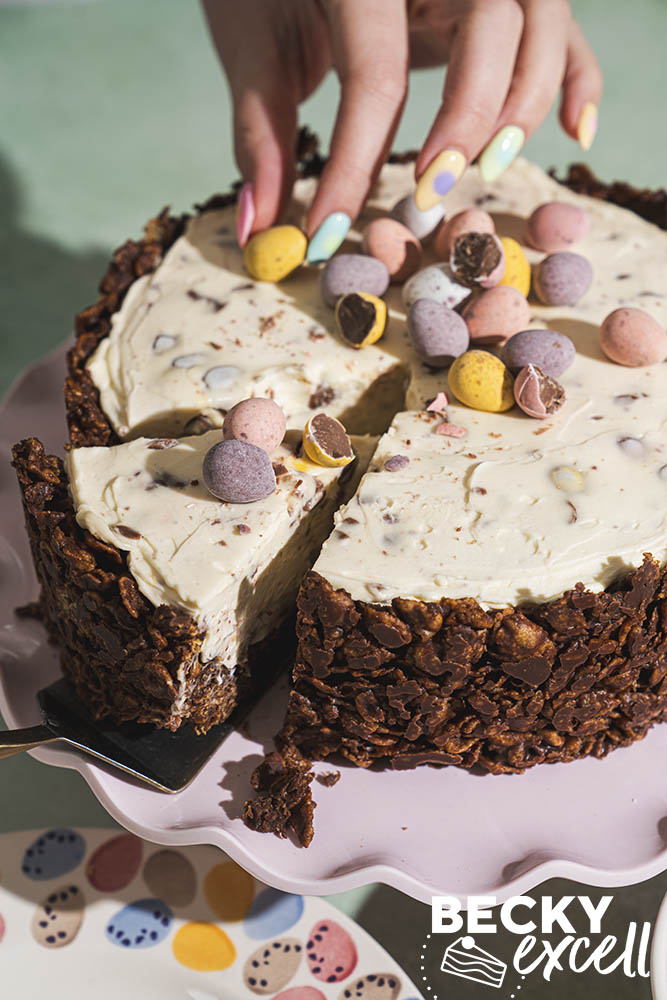
My new favourite Easter show-stopper: no-bake gluten-free Chocolate Cornflake Mini Egg Cheesecake
If you’re looking for a fun Easter dessert that looks top notch but is secretly very low effort, this gluten-free Chocolate Cornflake Mini Egg Cheesecake was written for you! It’s got a crunchy chocolate cornflake base, a thick and creamy no-bake cheesecake filling, and plenty of crushed Mini Eggs hidden inside and piled on top for good measure.
Basically, it’s part cheesecake, part Easter nest, part chocolate-fuelled-dessert-of-my-dreams… and I’m so happy to be able to share it with you!
I also love that it doesn’t feel like a ‘gluten-free version’ of anything, nor should anyone see it that way. It’s just a really good cheesecake that happens to be gluten-free. No sad substitutions, no compromise; just proper, creamy, crunchy, Mini Egg-packed joy.
It’s super simple to make: no oven, no baking, no worrying about whether the middle is still wobbling or if the top is about to crack. Just a bit of mixing, a bit of pressing, then into the fridge it goes to chill – that’s when you can chill and put your feet up too!
It’s also perfect for making ahead, which is always a little Easter miracle in itself.
Why you’ll love my gluten-free Chocolate Cornflake Mini Egg Cheesecake
- First of all, it’s no-bake! No oven, no stress, no anxiously peering through the glass door like when you’re waiting for a delivery to arrive! This is very much a mix-it, chill-it, let-the-fridge-work-its-magic kind of dessert, which makes it perfect for Easter when you really can’t be bothered with extra faff.
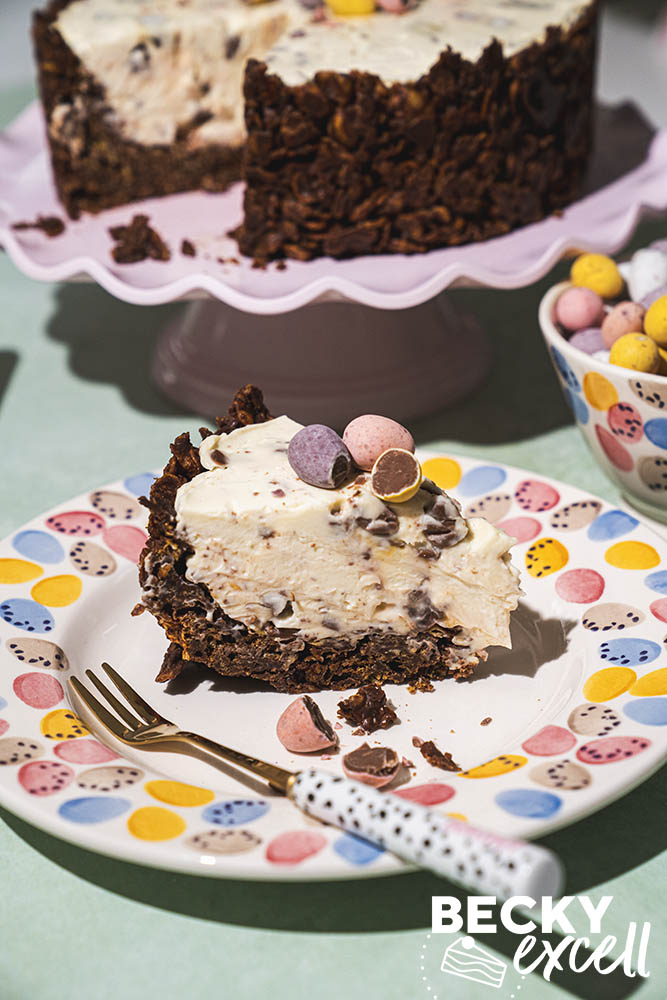
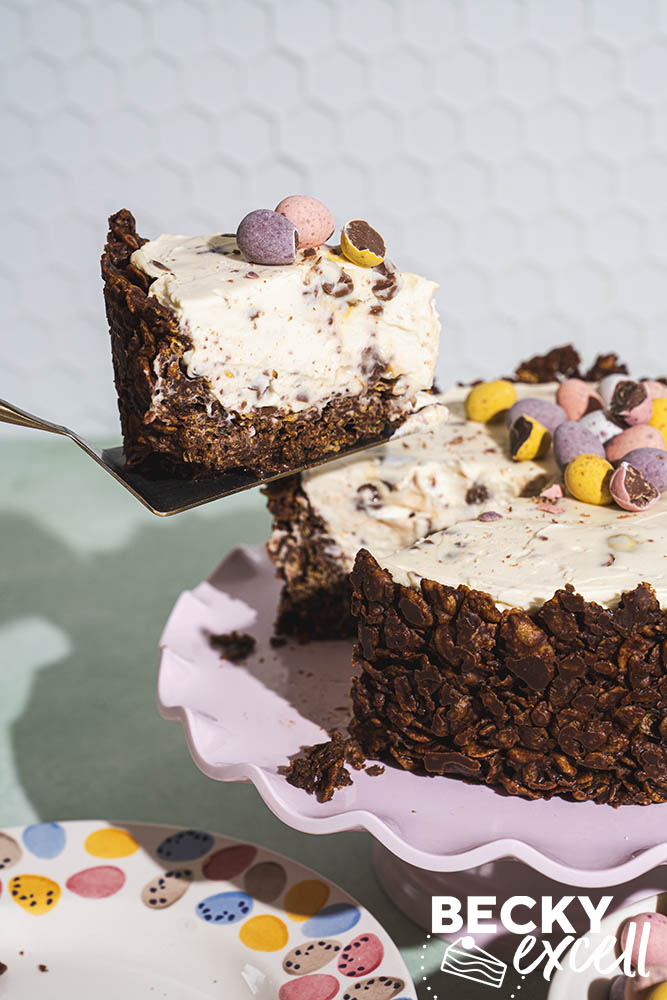
- It tastes out of this world. The base has that gloriously nostalgic chocolate cornflake nest, all crunchy and chocolatey with a little chew from the golden syrup; the filling is same thick, creamy and fluffy one you might know from my gluten-free Mini Egg cheesecake. Then you get the Mini Eggs running through the middle like little chocolate jewels, adding tiny pops of crunch in every bite!
- It’s low effort! It’s one of those desserts that looks like you’ve gone all-out, when actually it’s wonderfully easy. The sort of dessert that lets you swan in looking smug, even though the fridge did most of the heavy lifting.
- It’s made ahead, making it ideal for Easter entertaining too. Make it the day before, let it chill overnight, then bring it out the next day like the domestic goddess you absolutely are. No last-minute whisking, no chaos, no drama… just cheesecake on a plate!
Ingredients for my gluten-free Chocolate Cornflake Mini Egg Cheesecake
The big gluten-free thing to mention here is the cornflakes! Not all cornflakes are gluten-free, so this is the one ingredient you really do need to check carefully and source properly.
For the base, you melt together butter, golden syrup and chocolate until everything is silky and glossy, then pour that over the cornflakes so they get completely coated. The golden syrup gives that lovely sticky, slightly chewy edge, which is exactly what you want here. It helps hold everything together and gives the base that classic chocolate cornflake-cake magic!
The filling is a dreamy no-bake cheesecake mix of full-fat cream cheese, icing sugar, vanilla extract and double cream. Then in go the crushed Mini Eggs (yes, they’re gluten-free in the UK!), which are really the crown jewels of the whole thing! You want them broken up enough to scatter through the filling, but not smashed into oblivion. Little chunks are what make each slice so good!
And as always with gluten-free baking, do your usual ingredient check before you start. Trust no product unless it’s been inspected!
How to make gluten-free Chocolate Cornflake Mini Egg Cheesecake
- You start by making the base. Melt the butter, golden syrup and chocolate together until smooth, then pour it all over the gluten-free cornflakes and mix until every last flake is glossy and chocolate-coated. It already smells dangerously good at this point, so try not to ‘taste test’ half of it before it gets into the tin!
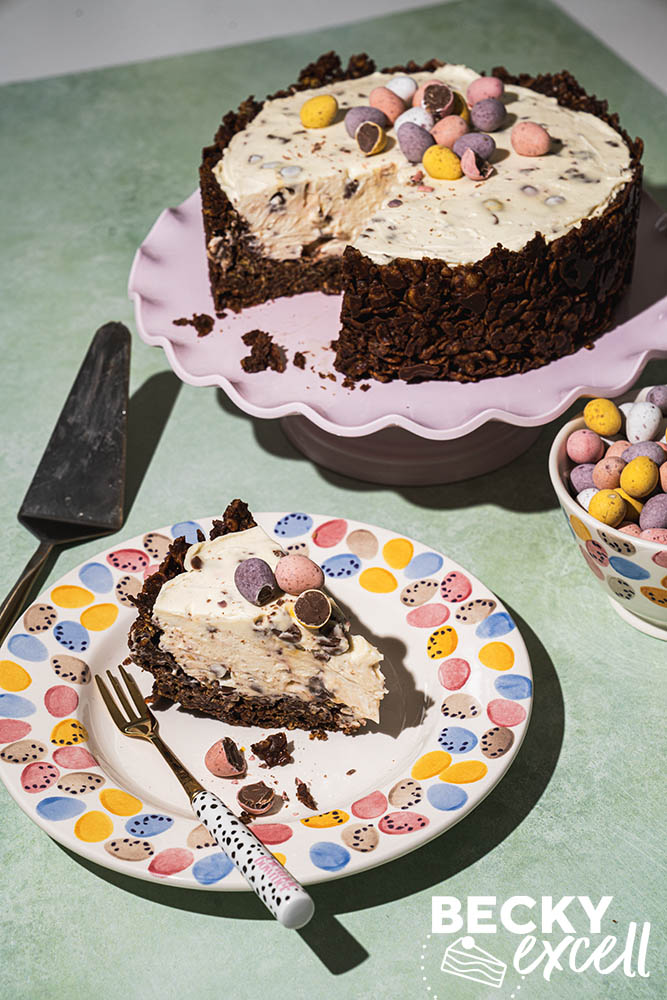
- Once it’s mixed, press it into your tin. I like to press it over the bottom first, then build it up the sides as well so you get a proper cheesecake shell. It’s a bit like building a big ol’ chocolate nest instead of my small ones!
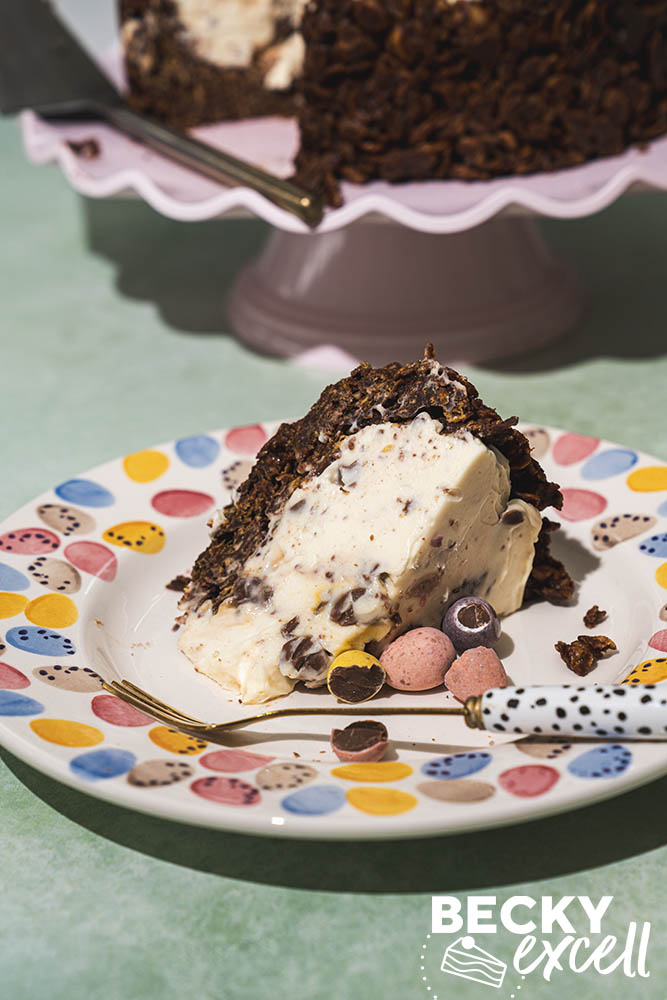
- Then it’s onto the filling. Mix the cream cheese, icing sugar and vanilla together first, then add the double cream and whisk until it thickens up. You want it thick and pillowy, not runny. Once it’s looking lovely, fold through the crushed Mini Eggs, spoon it into the chilled base and smooth the top.
- Then comes the hardest part… leave it alone! It needs at least 5 hours in the fridge, but overnight is even better. This is a cheesecake, not a race to the finish line – it needs a little time!
A few tips before you start
Because this is a no-bake cheesecake, the chill time really does matter! This isn’t one of those desserts you can rush into readiness and hope for the best. Give it long enough and you’ll get lovely neat slices and a filling that actually holds its shape.
Don’t worry if the cornflake base looks a bit rough and craggy as you press it in. That’s part of the charm! It’s meant to look a little rustic – like an Easter nest!
And when you crush the Mini Eggs, don’t go too wild. You want crunchy little nuggets all the way through the filling, not pastel coloured chocolate dust!
Storage and leftovers
This is a brilliant make-ahead dessert! In fact, I think it’s even better when made the day before. The filling firms up beautifully, the base settles nicely, and the whole thing slices much more cleanly once it’s had a proper overnight chill.
Just make sure you use a sharp knife to carefully cut through the base as it’ll be super crisp and set after chilling!
Any leftovers can be kept in the fridge for a couple of days. The base will soften a little over time, but it’ll still taste fantastic. Just keep it covered so it stays nice and fresh and nobody starts mysteriously ‘just trimming a little bit off the edge’ every time they walk past!
Recipe tips, swaps and FAQs
Can I make this dairy-free?
Yes, but obviously be prepared for many swaps! Here’s how to do it:
- For the cream cheese: Violife Free From Cream Cheese (free from chiller sections)
- For the cream: Elmlea Plant Double (not stocked as widely as in the past, but still available in Sainsbury’s and Morrisons)
- For the butter: Stork hard margarine
- For the chocolate in the base: use a dairy-free chocolate you like the taste of
- For the Mini Eggs swap: use Mummy Meegz Chickee Eggs, which are dairy-free, vegan and gluten-free
A couple of little notes here too! I’d really stick as closely to those products as possible, because this is the sort of cheesecake where the fat content matters if you want it to set properly.
For the cream, aim for something with at least 31% fat. Anything much lower can leave you with a filling that stays too soft in the fridge. The same goes for the cream cheese too, where you want it to be around 23% fat or higher.
At the time of writing all the above swaps are gluten-free and dairy-free but please check with your own eyes in case things ever change!
Can I make this vegan?
If you follow the dairy-free swaps above, then you’ll have just made it vegan too!
Is this low FODMAP?
No, sadly not!
Where do I find gluten-free cornflakes?
Most big supermarkets sell them, usually in the free from aisle. They’re not usually hard to find once you know to look for them, but definitely don’t assume all cornflakes are gluten-free, because they absolutely are not!
Why hasn’t my cheesecake set?
Usually it just needs more chilling time, or the filling wasn’t quite thick enough before it went into the tin. It should look thick and fluffy before chilling, not loose and sloshy. No-bake cheesecakes are easy, but they do still demand a tiny bit of care when mixing the filling!
Why did my filling split?
That usually happens if it’s been over-mixed once the cream goes in. As soon as it thickens nicely, stop mixing! If you keep going, it can go grainy and have a bit of a strop.
What tin did you use?
I used an 8-inch loose-bottomed tin, which I love for cheesecakes like this because it gives you nice deep slices and makes the whole thing easier to lift out. A springform tin is absolutely fine too if that’s what you have.
Gluten-free Chocolate Cornflake Mini Egg Cheesecake
Equipment
Ingredients
For the base:
- 75 g butter
- 75 g golden syrup
- 300 g chocolate chopped
- 200 g gluten-free cornflakes
For the cheesecake filling:
- 500 g full-fat cream cheese
- 100 g icing sugar
- 1 tsp vanilla extract
- 300 ml double cream
- 250 g mini eggs crushed + extra for the topping
Instructions
- Place your butter, golden syrup and chocolate into a glass bowl over a saucepan of simmering water and allow to gradually melt. Stir together so the mixture is combined and smooth. Remove the bowl from the heat.
- Place your gluten free cornflakes into a large bowl and then pour the melted chocolate mixture all over the top of the cornflakes. Mix it together so they are well coated.
- Press the cornflake mixture into a 8 inch / 20cm loose bottomed tin (you can use a spring form one if you prefer, loose bottom is just my preference. You can also use a 9 inch / 23cm tin, the base will just be thinner and the cheesecake shorter).
- Press the cornflakes initially into the bottom of the tin, pressing them down to compact and then start to build up the sides with the cornflakes too. Once you have, place in the fridge to firm up and chill for at least 30 minutes.
- For the filling, mix together the cream cheese, icing sugar and vanilla extract. An electric hand mixer on a medium speed for about 20 seconds is fine for this, by hand is an option too, just ensure everything is well mixed before continuing.
- Add in the double cream and keep mixing until the mixture firms up a little. I use my eclectic hand mixer for this for about 1-2 minutes until it thickens up – try not to over mix though, otherwise it can split and won’t set in the fridge! If you are worried about splitting, only mix with an electric mixer to combine for about 20 seconds, then continue by hand until it has properly thickened.
- Fold in the crushed mini eggs by hand and then spoon and spread the filling onto the cornflake base. Place into the fridge to set for a minimum of 5 hours. I like to make mine the day before and leave it to chill fully overnight.
- When you are ready to serve, remove the cheesecake from the tin carefully and top with extra mini eggs. If the cheesecake feels like it won’t come out of the tin easily, leave it a few minutes out of the fridge as that will help it come out no problem. Cut into slices using a sharp knife and keep any extra in the fridge.
Notes
Nutrition