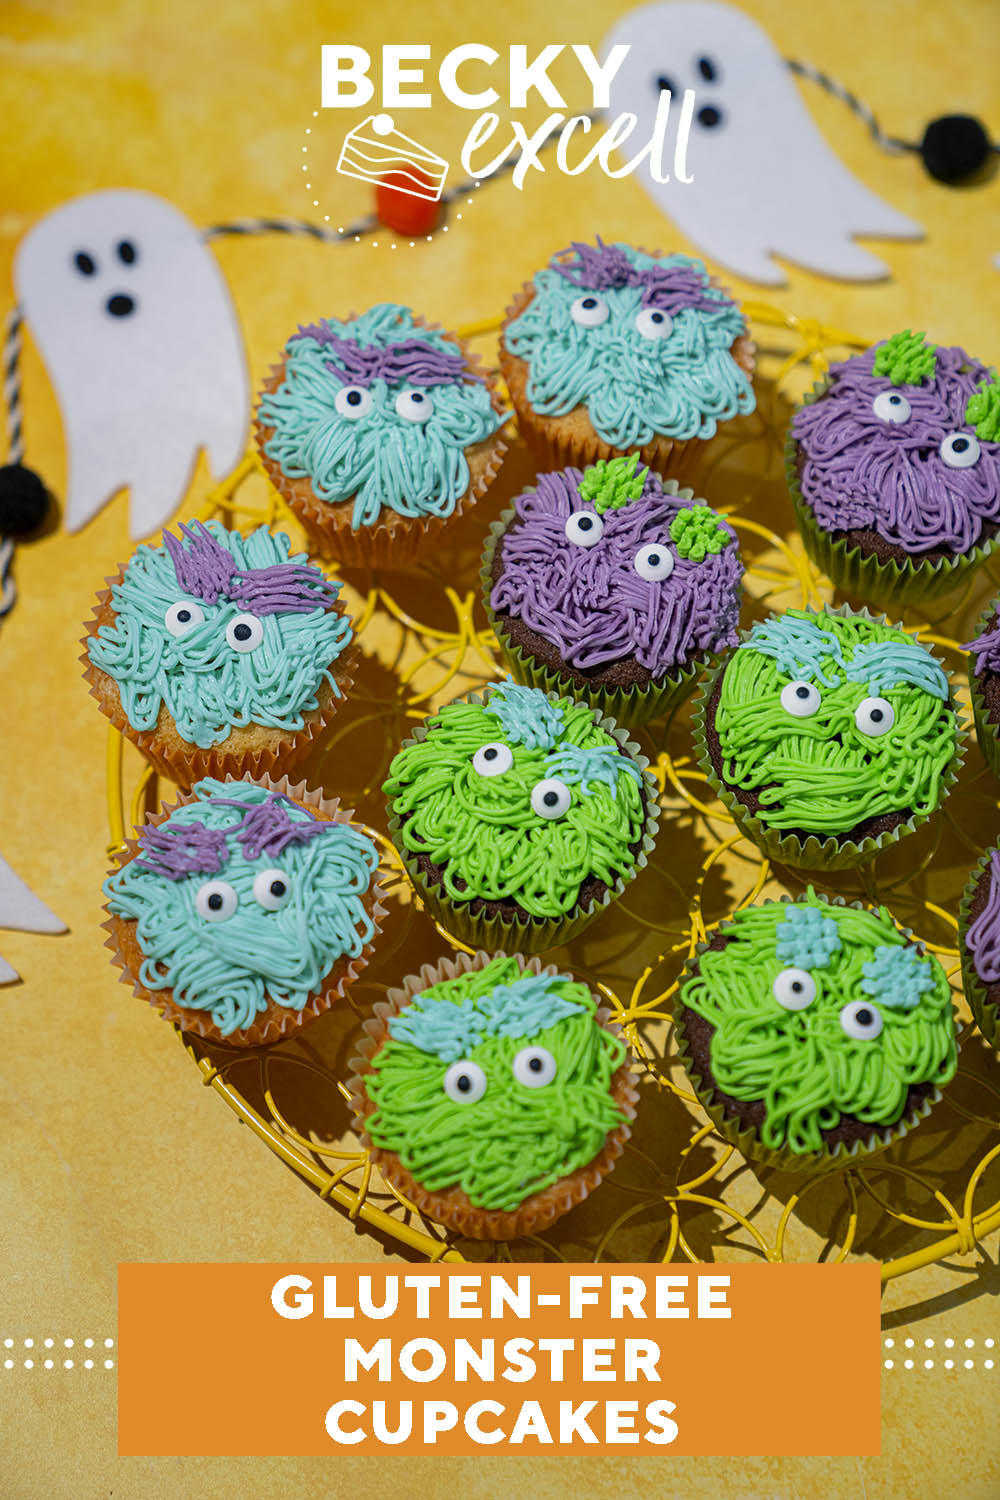
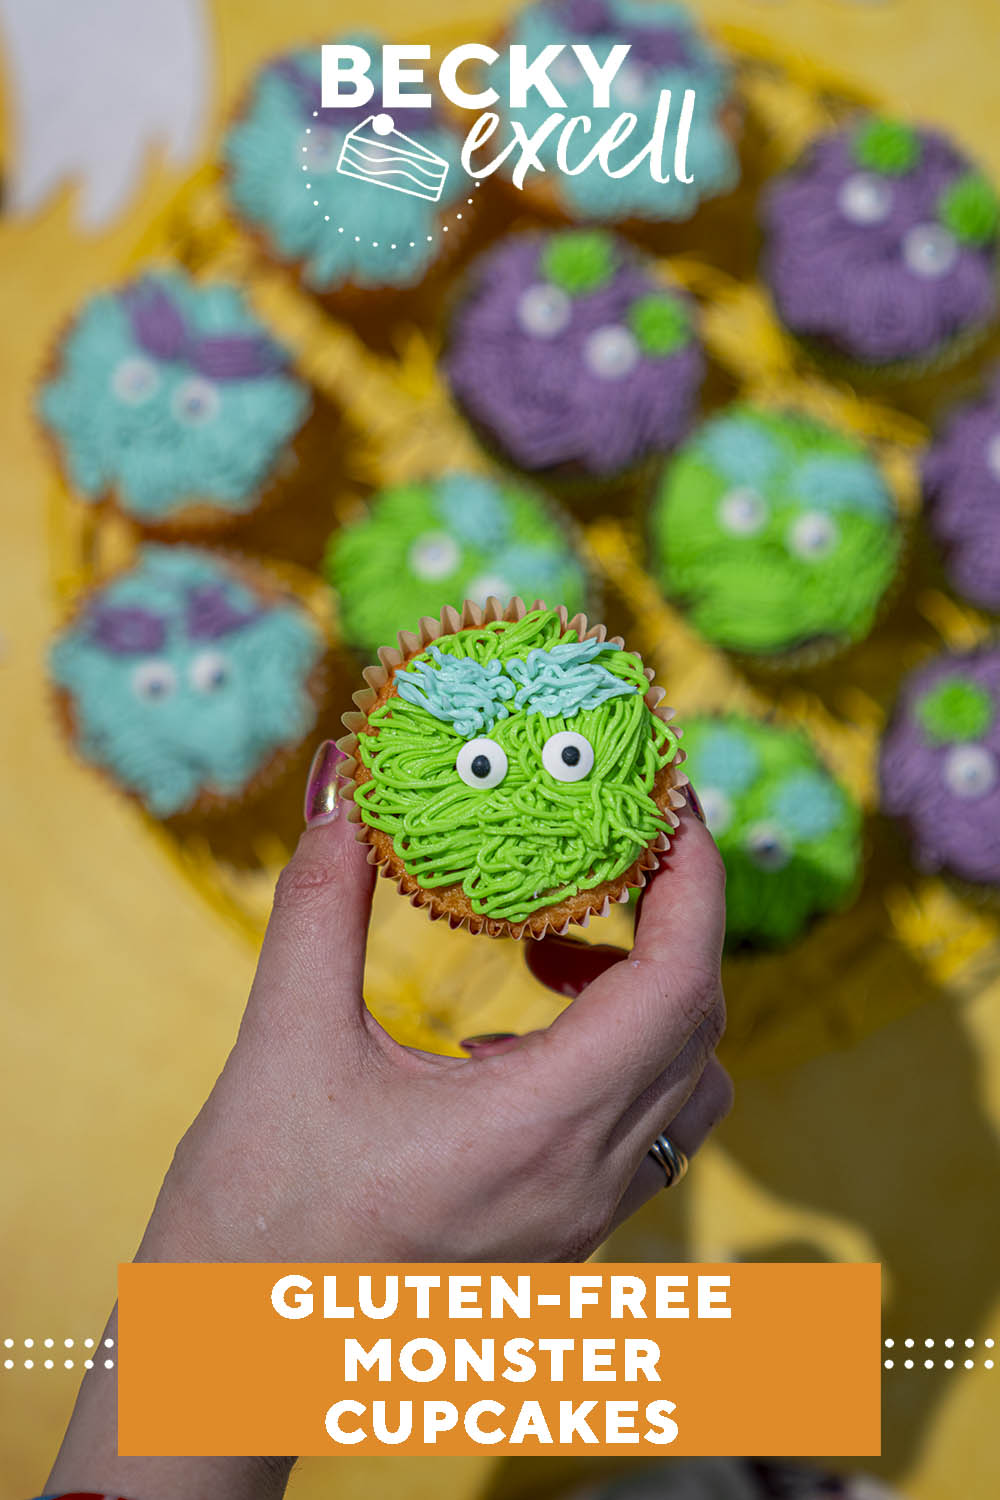
Gluten-free Halloween monster cupcakes recipe – yet another spooky bake that’s scarily easy to throw together! Scariest of all, nobody could EVER tell that they’re Coeliac-friendly and wheat-free.
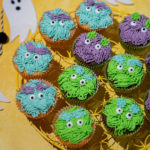
Gluten-free Halloween monster cupcakes recipe – bake your choice of either vanilla or chocolate cupcakes, then decorate with three vibrant shades of vanilla buttercream and adorn with edible eyes. Without a doubt, these will bring back the fun that’s so often absent from a gluten-free diet!
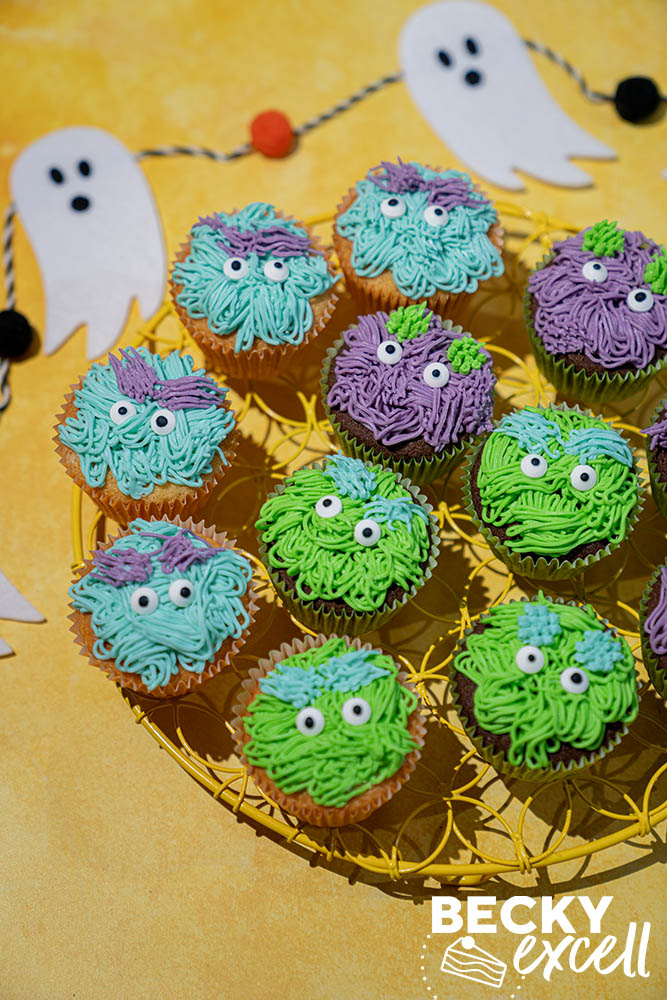
Yes, that’s right, I’m continuing to end the five year drought of Halloween recipes on the blog with yet another easy-peasy spooky bake.
So far this month we’ve had Halloween mummy brownies and shortbread Witches’ fingers, both of which not only look the part, but can easily achieved by beginners, kids and well… anyone! And this recipe is no different.
Essentially, what you’ve got here is my classic gluten-free vanilla and cupcake recipe that’s been a book/blog favourite for years and years, but in its very own Halloween costume.
And of course, my decoration is sort of a simple, fun suggestion in terms of colour and style – feel free to make it your own with other crazy colour combos and icing finishes. Oh and for those who have asked, the Halloween garland in my photos for the last three spooky recipes is from M&S!
Gluten-free Halloween monster cupcakes recipe: What you’ll need…
- Butter: Salted or unsalted is totally fine (I use unsalted), but whichever you go for, make sure it’s softened first.
- Caster sugar: Sugar isn’t just for sweetness – it helps to achieve a lovely crisp exterior and helps the cupcakes to form a perfect crumb.
- Eggs: I use medium eggs for this recipe, but large works fine too. If you can’t tolerate egg, check the vegan section of the FAQ for some simple swaps you can try.
- Gluten-free self-raising flour: I use a simple commercial blend from the free from aisle in the supermarket – my go to is FREEE. If you can’t find a blend like this where you live, you can always make your own using my gluten-free flour recipe.
- Cocoa powder: In the photos you’ll see both chocolate and vanilla cupcakes if you look close enough. Though the recipe assumes you’re making vanilla cupcakes, you can easily make them chocolate cupcakes by replacing a small measurement of the flour with cocoa powder – see the note next to the flour in the recipe card for the measurements! Ideally sieve your cocoa powder before using or it can be quite lumpy and hard to mix in.
- Gluten-free baking powder: Not all baking powder is gluten-free so make sure you read the ingredients list on the product first!
- Xanthan gum: This helps to bind the cake crumb together so it doesn’t become crumbly, replacing the gluten that would otherwise do the same job. You’ll find this down the free from aisle.
- Raspberry or strawberry jam (optional): This is in case you want to core each cupcake and fill the middle with jam for a hidden ‘bloody’ finish. I didn’t do this in the photos, but you can get an idea of how it’ll look/work from this recipe.
- Vanilla extract: The better quality yours is, the better your buttercream and cupcakes will taste.
- Icing sugar: You’ll need this for the buttercream as caster sugar won’t work here.
- Green, blue and green food colouring gel: Notice the inclusion and importance of the word ‘gel’! Regular watery food colouring won’t give you the colour you see in the photos at all and if you add tons of it, you’ll dilute the cake batter/buttercream and ruin it. You can buy food colouring gel on Amazon but I usually get mine when I stop past Hobby Craft.
- Edible eyes: Fortunately, you can find these in supermarkets and they’re usually gluten-free – just ensure you check the ingredients first! I used these from Tesco.
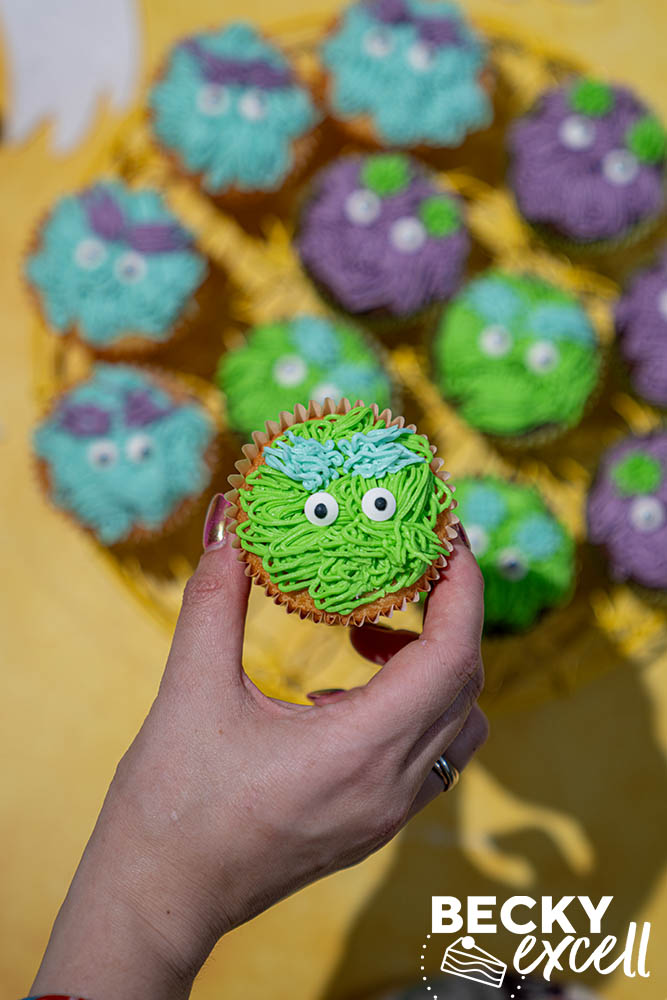
So here’s the fun part for me: describing what my gluten-free Halloween monster cupcakes taste like!
The sponge is delightfully chocolatey, soft, light, moist and sweet – and chocolatey if you opt to make chocolate cupcakes, of course. Something that I very rarely find when I eat a gluten-free cupcake that I haven’t baked myself!
Then, they’re topped with vibrant shades of vanilla buttercream which is, quite literally, the icing on the cake! My Dad was over when I made these and tried one; he particularly liked the edible eyes, though that’s the only thing I can’t take the credit for ?
So basically, they look cute and spooky, but basically taste like a Victoria sponge, especially if you opt for the hidden ‘bloody’ jam centre ? Here’s answers to all the questions I so often get asked about my cupcake recipes:
Gluten-free Halloween monster cupcakes recipe: Frequently Asked Questions
Can I make this recipe gluten-free? Is it suitable for Coeliacs?
It is gluten-free, though nobody would know just by tasting it – trust me!
Bear in mind that minimising cross-contamination is hugely important if you’re Coeliac or making this for someone who is. Here’s some tips from Coeliac UK on minimising the risk of cross contamination.
Also, make sure that all ingredients used don’t have any gluten-containing ingredients. Then make sure that they also don’t have a ‘may contain’ warning for gluten, wheat, rye, barley, oats (which aren’t gf), spelt and khorasan wheat (aka Kamut).
Here’s some more info from Coeliac UK on identifying safe gluten-free products.
How do I make this recipe dairy-free?
Easily, with two simple swaps!
- Use Stork hard margarine instead of butter.
- Ensure your cocoa powder is dairy-free.
Can I make your gluten-free Halloween monster cupcakes recipe vegan?
Yep! If you follow the instructions above to make this recipe dairy free, then all you’ve got left to contend with is the eggs.
Here’s a few ideas you can use as egg replacements in the cupcakes, so each of these = 1 egg.
- 3 tablespoons of aquafaba – water from a can of chickpeas. Make sure you whisk it up until frothy before adding.
- Egg replacement powder – I’d recommend using Orgran as it’s gluten free.
- 1 tablespoon of chia/flax seeds mixed with 2 tablespoons of water and left for 10 minutes in the fridge.
- 3 tablespoons of applesauce.
I haven’t tested all of these egg alternatives so let me know how you get on in the comments below.
Is this recipe low FODMAP?
Yes, this recipe is low FODMAP!
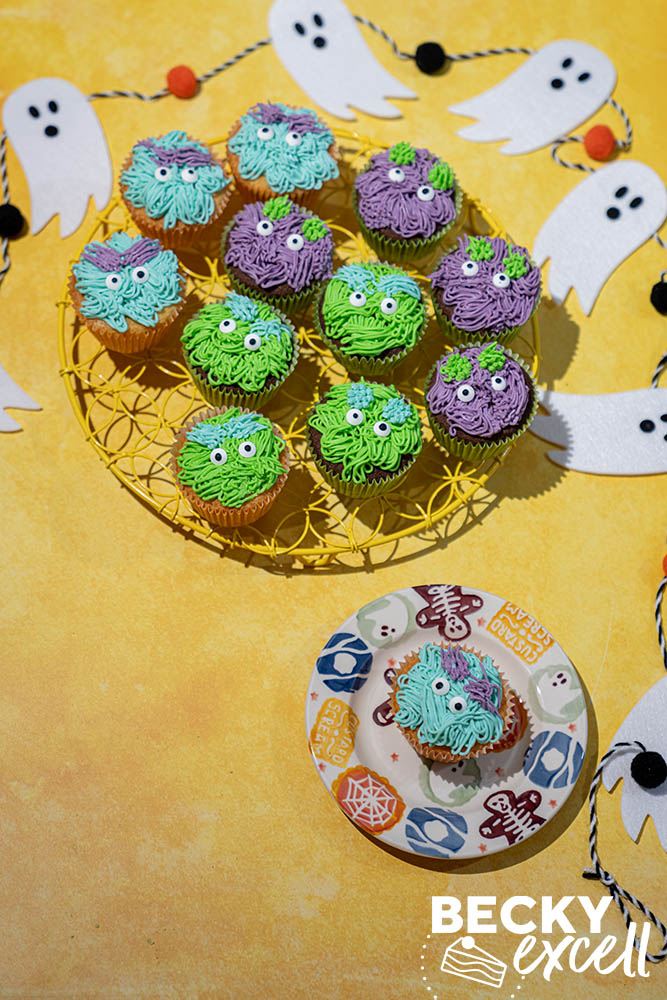
Do I need any special equipment to bake your gluten-free Halloween monster cupcakes? Which piping nozzle did you use?
Certainly not! You will need a good quality muffin tray, so here’s a link to the one I use.
The piping nozzle I used for the monster effect is a 233 ‘grass’ effect piping nozzle from Amazon. Bear in mind that you’ll need three of them if you intend to pipe three different colours. Otherwise you’ll need to keep washing the nozzle after piping each icing colour like I did, which is quite time consuming!
I also used piping bags like these.
Which food colouring should I use?
I’ve already touched on this on the ingredients info above, but please make sure you use a food colouring gels! Regular watery food colouring won’t give you the colour you see in the photos at all and if you add tons of it, you’ll dilute the cake batter/buttercream and ruin it.
You can buy food colouring gel on Amazon but I usually get mine when I stop past Hobby Craft. I used to use food colouring paste like this (which would still work fine) but it’s a little harder to mix in as it’s thicker and more gloopy.
And yes, all these food colourings mentioned are gluten-free!
How do I get the icing to look like yours? Any tips?
Firstly, you’ll need the grass piping nozzle I linked above, to get that furry monster texture.
Simply start by piping around the outside of each cupcake, but wiggle it inwards every now and then. Then continue to rather haphazardly do the same in the middle of the cupcakes.
Try to pipe each cupcake continuously so that the icing never breaks until you’ve covered the entire cupcake and you’re done. This will get you lots of long spaghetti-like stands that make each decorated cupcake look great.
For the eyebrows, simply pipe a short line of ‘grass’ eyebrows in a contrasting colour and gently whip the nozzle away to break the stands when you’re done. More angled eyebrows makes them look angrier which is always funny!
Also please remember that I am by no means an expert cake decorator, so if I can do it, you definitely can too!
Can I use gluten-free flours like almond flour or coconut flour to make this recipe?
Certainly not using this recipe. This recipe uses FREEE gluten-free self raising flour which is easily available in supermarkets here in the UK.
If you can’t find it where you live, you can always make your own using my gluten-free flour recipe.
The reason you can’t use flours like almond or coconut in this recipe is because gluten-free plain flour is a blend of lots of different gluten-free flours and starches.
So to ditch a carefully made blend and try to substitute them all for ONE flour… it’s just not going to work!
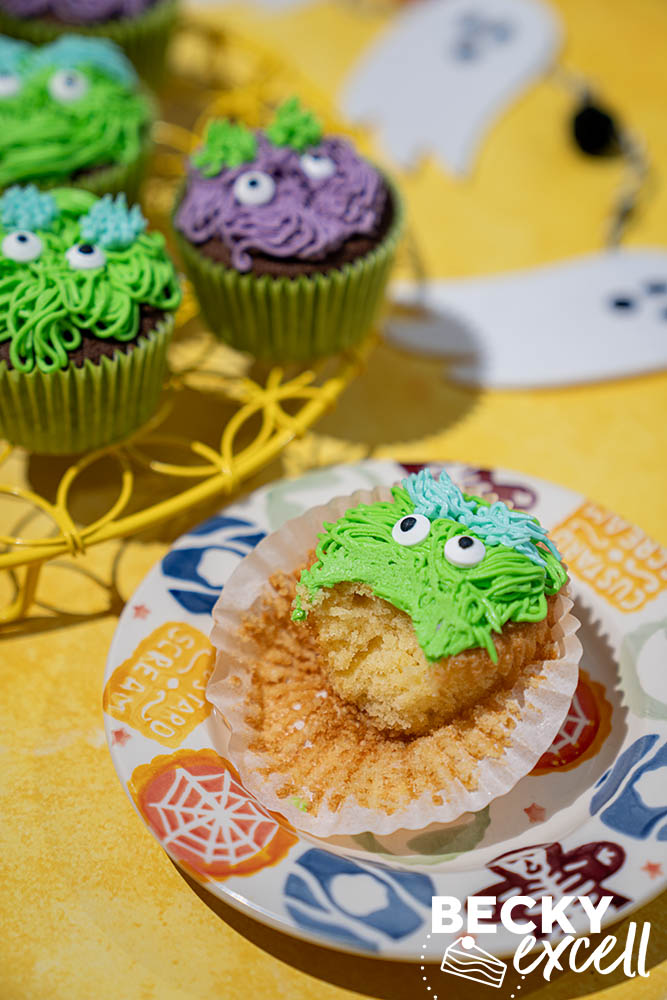
Gluten-free Halloween monster cupcakes recipe: Tips for perfection!
- Spoon an even amount of cupcake batter per cupcake case – that way, they’ll all bake at the same speed.
- Don’t overdo the baking powder, or it can make your cupcakes sink in the middle. Be careful when measuring it out!
- Once you’ve made the cupcake batter, bake it ASAP. The rising power of the baking powder will degrade quickly, resulting in denser, less risen cupcakes.
- Allow your cupcakes to fully cool before piping on the cream or buttercream – it will melt otherwise!
- Use Halloween coloured paper cupcake cases if you can. I used orange and green from this set.
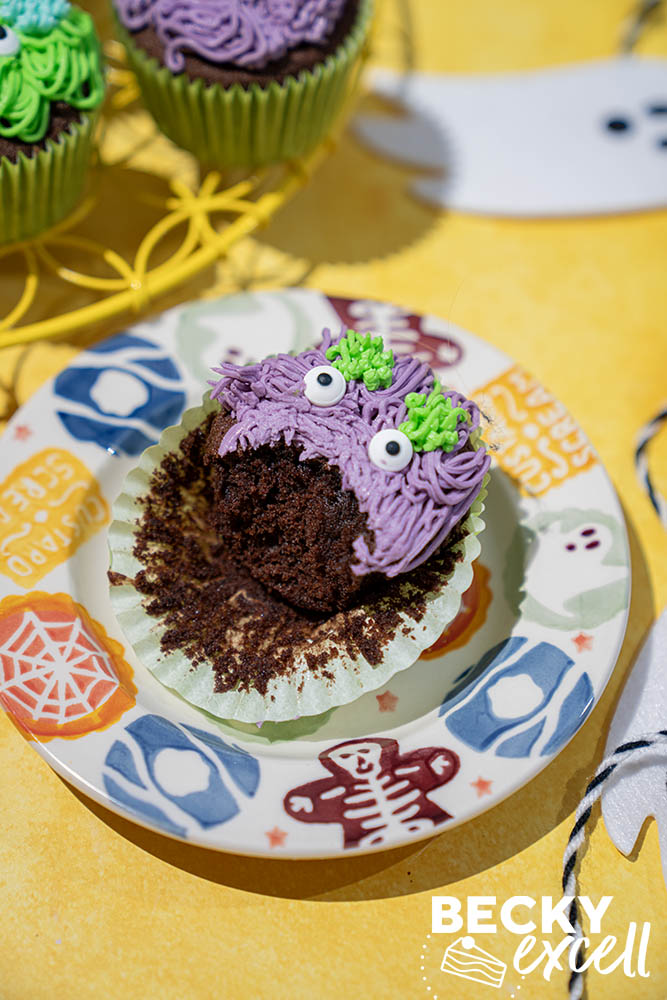
Gluten-free Halloween monster cupcakes recipe
Ingredients
For the cupcakes:
- 225 g butter softened
- 225 g caster sugar
- 4 eggs
- 1 tsp vanilla extract
- 225 g gluten-free self raising flour (for chocolate cupcakes reduce the flour to 190g and add 30g cocoa powder)
- 1 tsp gluten-free baking powder
- 1/4 tsp xanthan gum
- raspberry or strawberry jam (optional)
For the buttercream:
- 200 g butter softened
- 400 g icing sugar
- 1 tsp vanilla extract
- food colouring gel I used purple, blue and green
- 32 edible eyes linked in FAQ section
Instructions
- Preheat your oven to 160C Fan / 180C and prepare a cupcake / muffin tin with cases.
- Place all your sponge ingredients into a large mixing bowl and whisk until well combined and thoroughly mixed (1 minute should do it). If making chocolate cupcakes, don't forget to reduce the flour measurement and replace it with sieved cocoa powder – see the ingredients list above for measurements.
- Divide the mixture between the cases. I fill mine just over 2/3 full.
- Place in the oven for about 22 minutes. To check if the cupcakes are cooked, insert a skewer and if it comes out clean, it’s done!
- Allow the cupcakes to cool completely on a cooling rack.
- For the buttercream:
- For the buttercream, place your softened butter into a bowl of a stand mixer and mix on a medium speed for about 5 minutes until the butter has gone a lot paler in colour. You can also do this by hand using a silicone spatula, but you'll need to mix for longer!
- Add your icing sugar gradually. I add it in 2-3 stages and beat for about 3 minutes between each addition. Start mixing slowly to save your kitchen from a real icing sugar mess, but then increase the speed to medium / high for each of your 3 minutes.
- Add your vanilla extract and mix once more.
- Split your buttercream into 3 separate bowls equally. Colour each with a different colouring gel (using concentrated gel means you only need a drop or two – refrain from using liquid colourings).
- For assembly of the cupcakes:
- Once the cupcakes are cool, if you wish to have a jammy (bloody!) centre, use something circular (like the wide end of a metal piping nozzle) to make a small hole and spoon a little jam into the centre. This is only optional though.
- Spoon your different coloured buttercream into three piping bags with grass piping tips (linked above in the FAQ section) or any tip you fancy, if you don't have one. Then pipe your buttercream on top – use different colours however you wish – I used contrasting colours for the base and eyebrows.
- Finish with edible eyes.
Nutrition
Thanks for reading all about my gluten-free Halloween monster cupcakes recipe! If you make it, I’d love to see how it turned out so don’t forget to take a snap of your creations and tag me on Instagram!
Any questions about the recipe? Please do let me know by following me on Instagram and leaving me a comment on a recent photo!
Thanks for reading,
Becky xxx
Don’t forget to pin this for later!
