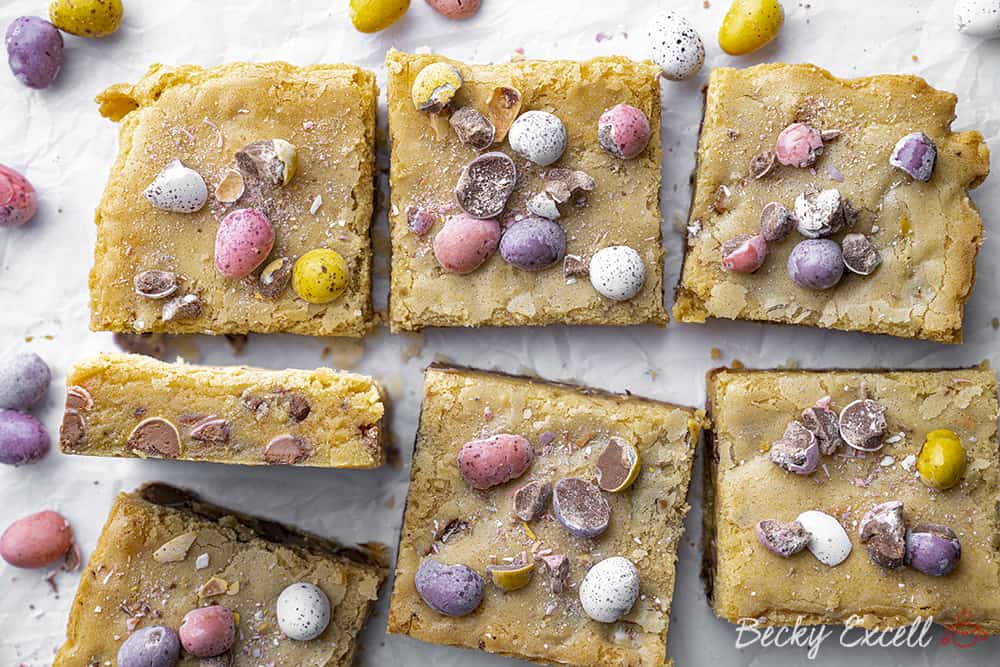
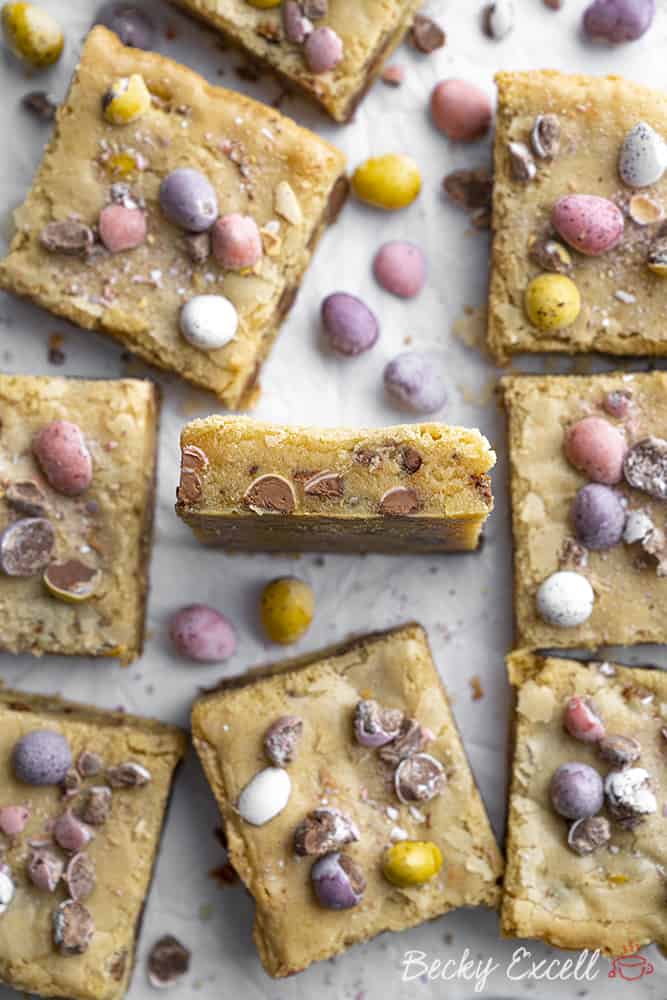
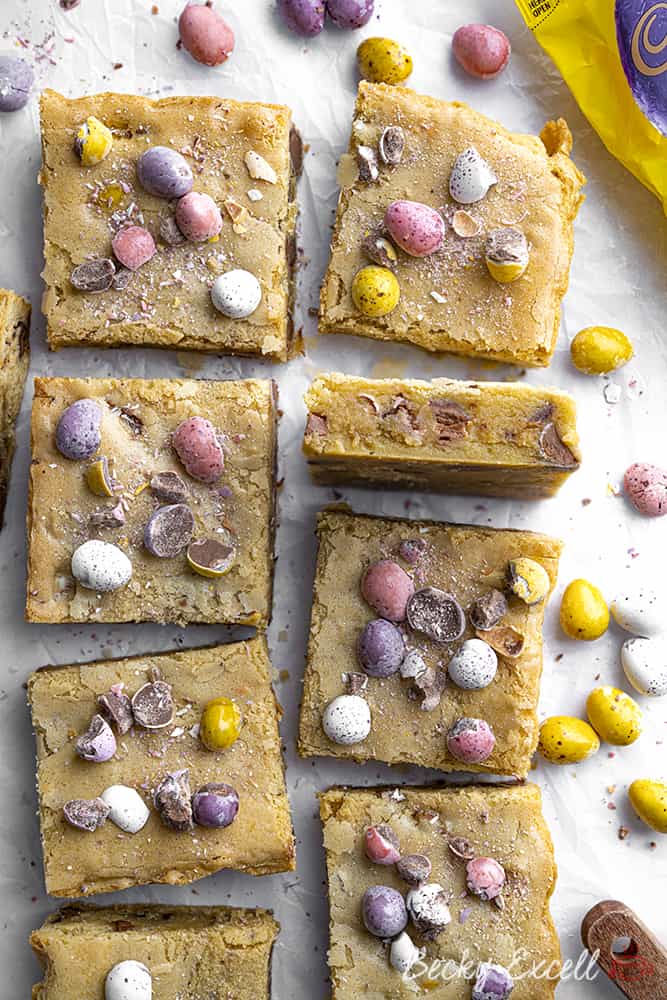
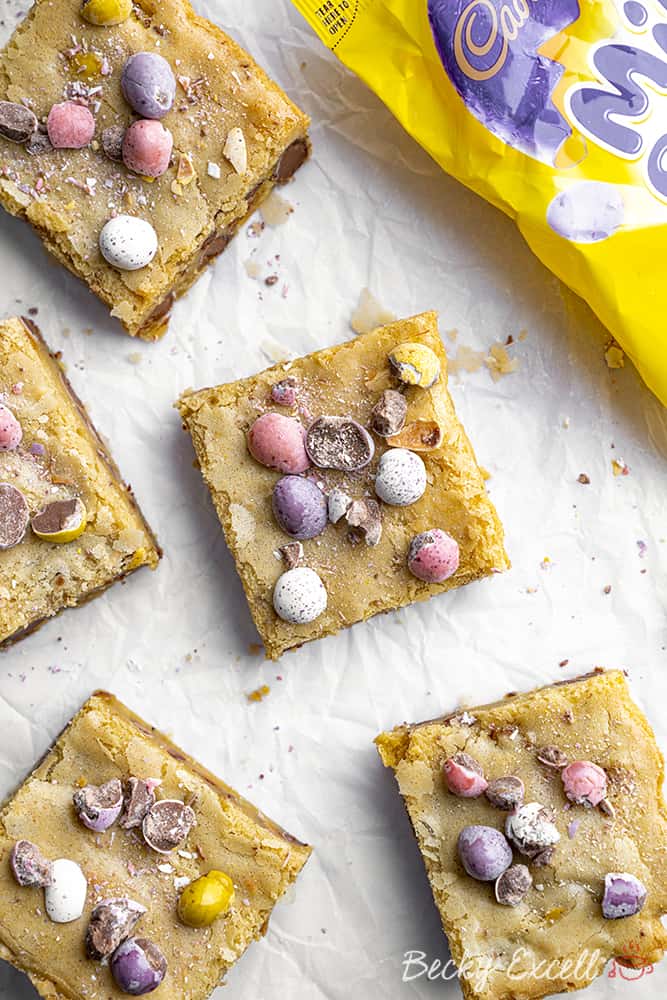
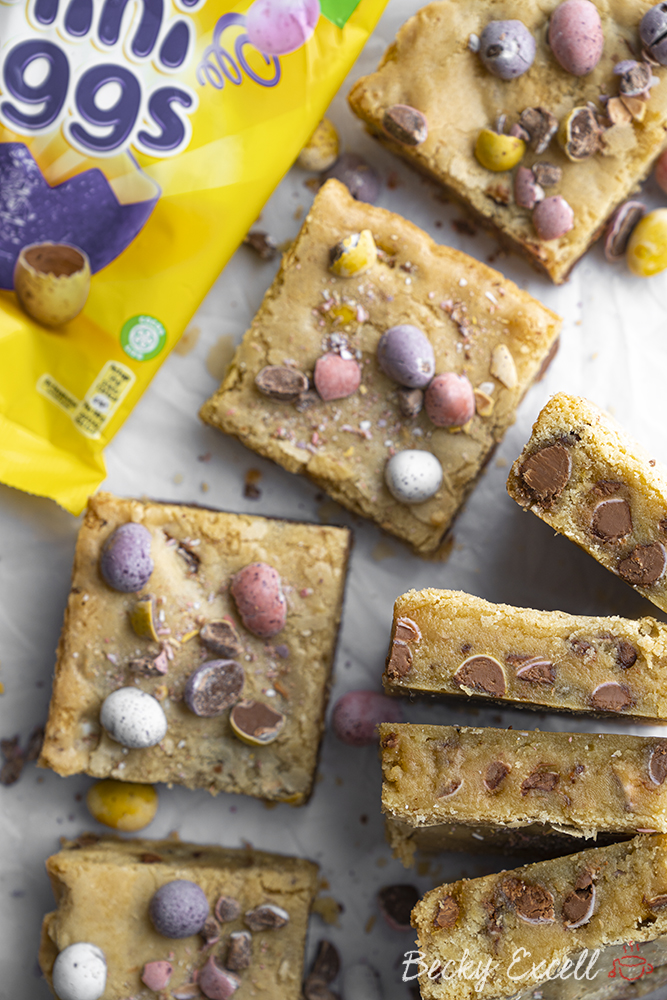
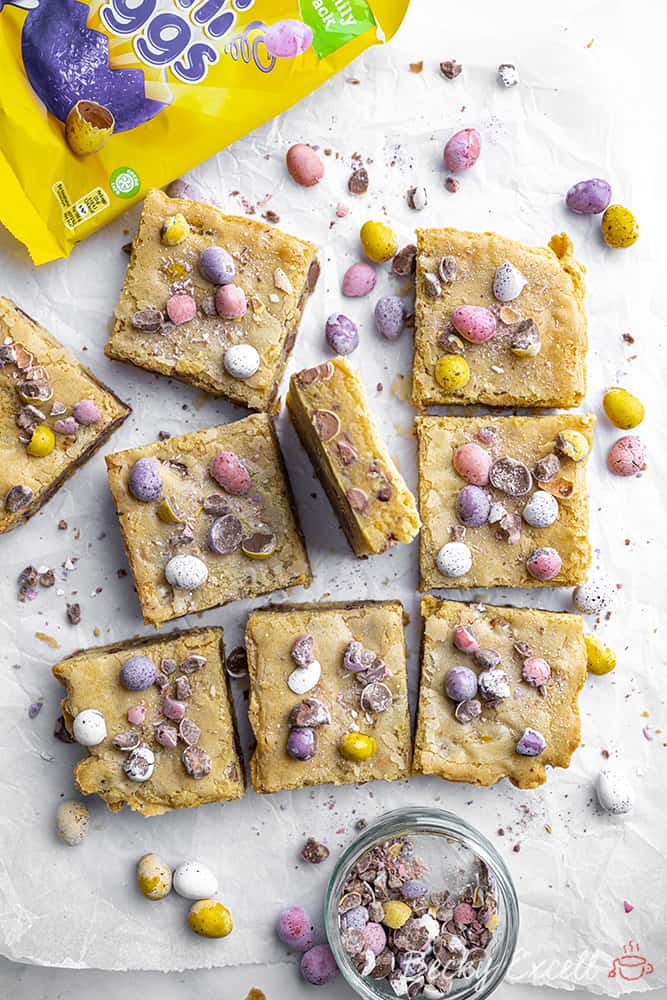
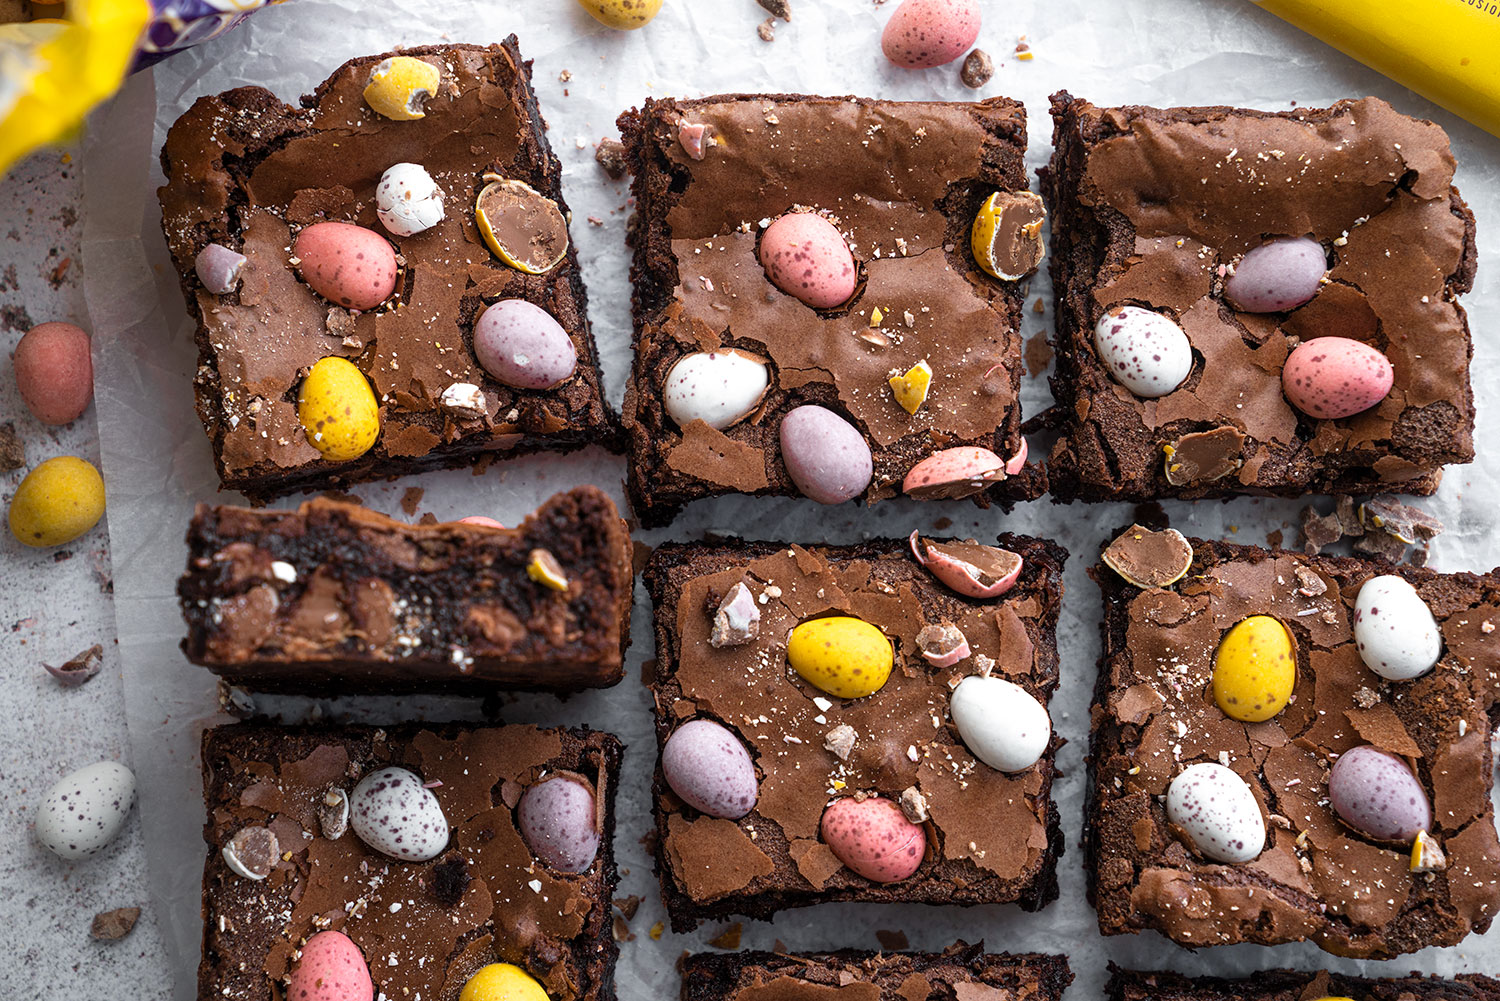
Mini Egg blondies recipe – the ultimate Easter treat thats sweet, packed with chunky mini eggs inside and out with a fudgy texture and kiss of vanilla. Just mix it all up in one bowl, pour into your tin and bake!
Mini Egg blondies recipe, anyone? Yep, it’s that time of year again and Mini Eggs are back – but more importantly, they’re gluten-free in the UK! So naturally, I absolutely had to remix my classic one-bowl blondies recipe to create these beauties.
If you’ve never tried a blondie before, then now’s the time to change that!
Whilst a brownie has an intensely chocolatey taste, with a gooey middle and fudgy texture, blondies are a close cousin, having a sweet vanilla flavour instead.
But of course – that makes ALL the difference and transforms them into something entirely new. Plus, they’re actually easier and quicker to make, which is never a bad thing.
And then when you cram them full of mini eggs? It only gets better!
Why make my Mini Egg blondies recipe?
- They’re super easy to make – they actually only require 10 minutes of effort, then put your feet up while they bake in the oven.
- You only need one mixing bowl to make this, so that means less washing up and less faff!
- The taste is absolutely *out of this world*. The texture is like a fudgy brownie… but they look and taste like nothing else.
- You’d NEVER know these were gluten-free… you’ll have to fight the muggles to keep them away from these!
- Mini Eggs are gluten-free in the UK, so celebrate that fact by making these!
So what do my Mini Egg blondies taste like?
Every bite is full of fudgy, sweet, vanilla, packed with chunky, mini eggs. It’s gooey, super moist and has a lovely crisp top, studded with even more mini eggs.
Here’s everything you’ll need for this recipe, keep scrolling until you see the recipe card for the measurements and method ??
Mini Egg blondies recipe: What you’ll need…
- Butter: This humble ingredient is the secret to a super fudgy texture and a buttery taste.
- Light Brown Sugar: Light brown sugar gives my blondies a subtle, almost caramelised flavour.
- Caster Sugar: This isn’t just for sweetness – along with the brown sugar, it gives the blondies their distinctive crisp, paper-like finish on top.
- Large Eggs: I always tend to use large eggs, so I’d recommend you do for this one as well!
- Vanilla Extract: Good quality vanilla extract tastes so much stronger, so use one that’s ideally nice and thick.
- Gluten-free Plain Flour: I use the FREEE by Doves Farm blend available in the UK, but any blend should do just fine.
- Xanthan Gum: A little goes a long way as a gluten replacer!
- Cornflour (cornstarch): This lightens the otherwise heavier flour to help give my blondies their trademark, heavenly texture.
- Mini Eggs: You won’t get far in making Mini Egg blondies without Mini Eggs! Fortunately, they’re gluten-free in the UK.
So I thought I’d kick things off with a little frequently asked questions section – if you just want the recipe, then keep scrolling!
But I’ve thrown in some tips here that will be really helpful if this is your first time baking this, or you want to adapt it. So here they are!
Mini Egg blondies recipe: Frequently Asked Questions
Can I make this recipe gluten free?
It is gluten free, though nobody would know just by tasting it – trust me!
Bear in mind that minimising cross-contamination is hugely important if you’re Coeliac or making this for someone who is. Here’s some tips from Coeliac UK on minimising the risk of cross contamination.
Also, make sure that all ingredients used don’t have any gluten-containing ingredients. Then make sure that they also don’t have a ‘may contain’ warning for gluten, wheat, rye, barley, oats (which aren’t gf), spelt and khorasan wheat (aka Kamut).
Here’s some more info from Coeliac UK on identifying safe gluten free products. Double check your sprinkles to make sure they’re gf too.
Can I make your Mini Egg blondies recipe dairy free?
Whilst the blondies are easy to make dairy-free – Mini Eggs aren’t dairy-free. Sadly, there’s no dairy-free alternative available.
However, feel free to substitute the mini eggs for whatever colourful dairy-free Easter chocolate you can find!
Then, simply use a hard dairy-free margarine instead of butter and you’re good to go.
Can I make your Mini Egg blondies recipe vegan?
Yes! Follow the advice above to make these dairy-free, then all you’re left to contend with is two large eggs.
Here’s a few ideas you can use as egg replacements, so each of these = 1 egg. I’d recommend using banana, aquafaba or an egg replacement powder.
- 3 tablespoons of aquafaba (pre-whisked until frothy) water from a can of chickpeas. Keep the chickpeas for a future dinner!
- Egg replacement powder – I’d recommend using Orgran as it’s gluten free.
- 1 tablespoon of chia/flax seeds mixed with 2 tablespoons of water and left for 10 minutes in the fridge.
- 1 small, ripe banana (mashed)
I haven’t tested all of these egg-replacements so let me know how you get on in the comments below this post.
Is your Mini Egg blondies recipe low FODMAP?
Unfortunately, because Mini Eggs contain dairy, this recipe isn’t low FODMAP.
However, if you replace the Mini Eggs with lactose-free Easter chocolate (ensure it has no high FODMAP ingredients) then you can easily make an elimination phase-safe alternative.
Are Mini eggs gluten-free?
Yes, they are in the UK! They don’t have any gluten-containing ingredients or a ‘may contain’ warning for gluten.
Tap here to read the ingredients label for yourself – it never hurts to double-check! You’ll find them down the seasonal aisle in the supermarket.
I also used mini eggs chocolate for this recipe (you can feel free to use dark/milk choc instead), you can find it in Tesco at the mo.
Do I need any special equipment to make your Mini Egg blondies recipe?
In terms of kitchen gadgets, an electric hand mixer would make life a little easier, but these are actually really easy to make entirely by hand.
What you will need however is a 9″ square baking tin – here’s the one I use. Apart from that, you’ll just need a little baking paper too!
Do I need weighing scales to make your Mini Egg blondies?
In short… yes, yes and yes! And I wouldn’t advise attempting any of my recipes without them.
A lot of work went into fine tuning ratios and quantities and for me, baking is all about consistency and precision. I want you to make this recipe and for it to turn out EXACTLY like mine did.
I’d recommending using digital cooking scales like these so you know you’re getting an accurate measurement and replicating my recipe as accurately as poss.
Can I make this recipe without xanthan gum?
You’ll see xanthan gum in a lot of my recipes as it’s an essential ingredient in gluten free baking – in cakes and biscuits, it helps to replace gluten by binding the texture together.
As we’re using gluten free plain flour which has no xanthan gum added, I’d always recommend leaving it in. But if you struggle to tolerate it, feel free to omit it from this recipe.
Can I make your Mini Egg blondies without/with less sugar?
I can understand the need to reduce sugar in our foods, but sugar is integral to the structure of this bake – it’s not just for adding a sweet taste.
Sugar helps to achieve that nice crisp finish on the top of your blondies – so definitely remove/reduce at your own risk!
Can I use other sugar apart from brown sugar in this recipe?
Brown sugar not only adds a distinct taste, but it’s unrefined and contains molasses which will greatly contribute to the lovely gooey, fudgy finish of your blondies.
You’re welcome to substitute it for caster sugar, but I’d always recommend using brown sugar for these if you can.
Can I make this recipe using other gluten free flours like buckwheat flour or coconut flour?
There’s a big difference between ‘gluten free plain/self-raising flour’ and a *singular* type gluten free flour. When I say ‘gluten free plain or self-raising flour’ in a recipe, I mean a BLEND of gluten free flours, not just one, singular flour.
Most gluten free flour you buy in the supermarket typically contains a blend of rice flour, potato flour, maize flour, tapioca flour AND buckwheat flour. That’s a lot of different flours!
In gluten free self-raising flour, there’s usually even a little baking powder and xanthan gum in it too which always helps. So to replace it with just one specific type of flour… that’s not going to cut it at all. Definitely go for a gluten free flour blend.
How long can I keep your Mini Egg blondies for?
In an airtight container, they should last up to 3-4 days. If you intend to keep them any longer than that, see the info below on how to freeze them.
Can I freeze my Mini Egg blondies?
Yep! You can freeze them for up to 2-3 months without a problem – just make sure you put it in an airtight plastic container. It’s probably a good idea to slice it all first so you can defrost a slice at a time.
A single slice should take around 3-4 hours to thaw at room temperature.
Mini Egg blondies recipe: Troubleshooting
My blondies aren’t fudgy and moist in the middle like yours. They’re more like cake. What did I do wrong?
If you followed the recipe to the letter, then it’s likely that your oven was either too hot, or they were in too long. Over-baking blondies will mean they have no moisture to them and become more like a cake.
Still perfectly edible, but not much of a blondie.
Also, remember, that if you use a bigger baking tin than mine, your mixture will be spread thinner. Which means they’ll cook faster!
My blondies are really wet in the middle instead of being fudgy. What did I do?
Firstly, make sure that you allow them to fully cool. They’re still ‘baking’ as they cool!
When they first come out of the oven, they’ll still be a little moist if you poke them with a skewer, but after allowing them to cool, they should be the perfect fudgy, consistency.
If you allowed them to fully cool, then it’s likely that you haven’t baked them long enough – in that case, they’ll definitely be more on the sloppy side. Instead of being nice and fudgy whilst holding their shape.
Mini Egg blondies recipe: Method
Oh and here’s a printable version of my Mini Egg blondies recipe. Please remember to give it 5 stars if you tried it and enjoyed it as it helps people know it’s worth trying too! ⭐️
Mini Egg Blondies Recipe (gluten-free)
Ingredients
- 250 g butter melted
- 130 g light brown sugar
- 130 g caster sugar
- 2 large eggs
- 1 tsp vanilla extract good quality makes all the difference!
- 285 g gluten-free plain flour
- 1/4 tsp xanthan gum
- 1 tbsp cornflour cornstarch
- 200 g mini eggs crushed
- extra mini eggs for decorating the top
Instructions
- Preheat your oven to 160C Fan / 180C and prepare a 9x9 inch square tin with non stick baking paper - it needs to be fairly deep.
- In a large bowl mix together your melted (and cooled) butter with your caster sugar and light brown sugar. Mix until properly combined and you no longer see the yellow of the liquid butter.
- Add in your eggs and vanilla extract, mix until combined.
- Add in your gluten free flour, cornflour and xanthan gum. Briefly mix until just combined and the mixture is smooth without any visible flour or lumps.
- Fold in your crushed mini eggs.
- Spoon / pour the mixture into your tin, spreading the mixture to the edges so it's nice and evenly flat.
- Bake in the oven for around 30 minutes. The very centre might still seem a little wobbly but the outer edges should be fairly cooked through. If you cook it for not long enough, it will still be liquid, if you cook it for too long it will be like a cake, not a blondie!
- Remove from the oven and carefully push in some extra mini eggs for decoration.
- Once fully cooled, slice into 9 large slices or 16 smaller slices and enjoy. I quite like to place my blondies into the fridge before slicing them to get them even more fudgy, but this is optional.
Nutrition
Thanks for reading all about my Mini Egg blondies recipe! If you make it, I’d love to see how it turned out so don’t forget to take a snap of your creations and tag me on Instagram!
Any questions about the recipe? Please do let me know by following me on Instagram and leaving me a comment on a recent photo!
Thanks for reading,
Becky xxx
Don’t forget to pin this for later!

