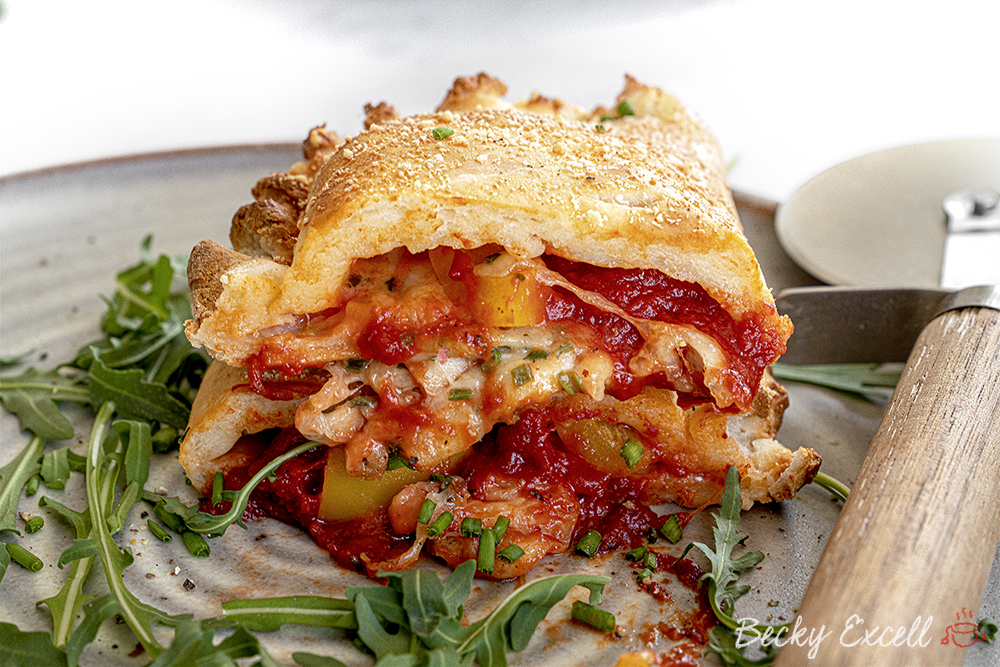
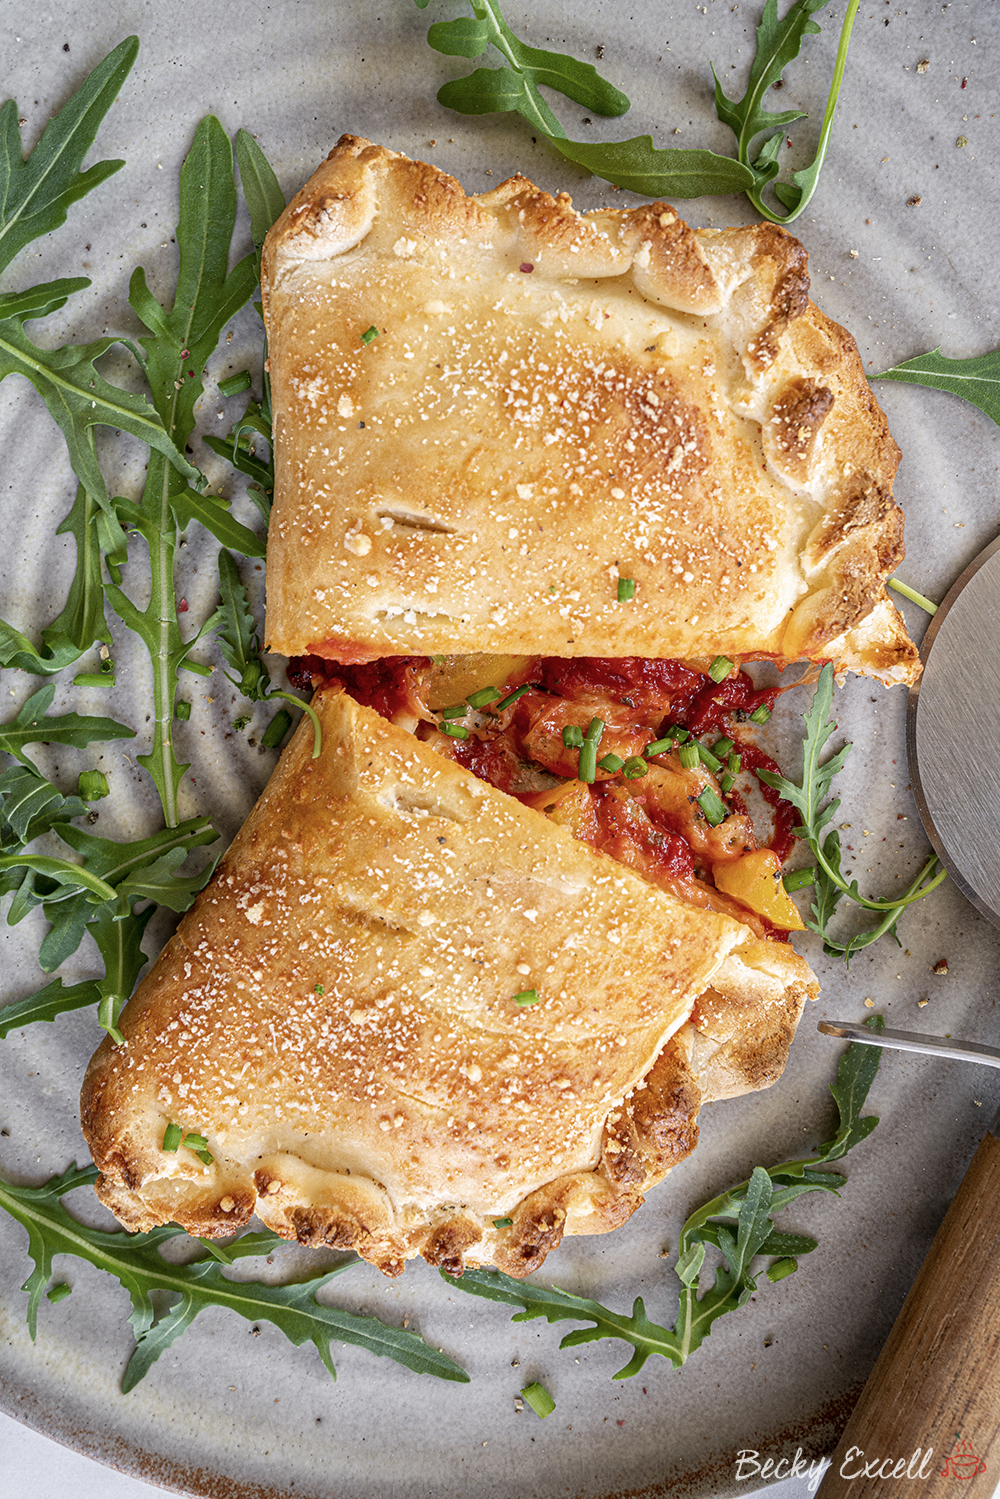
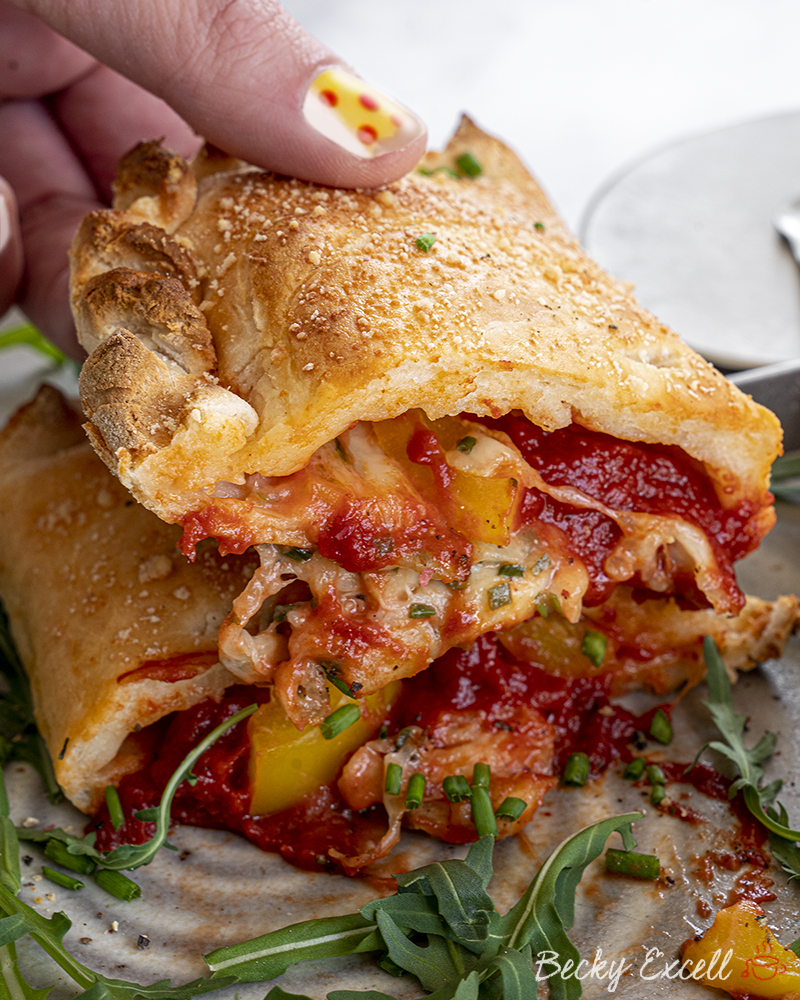
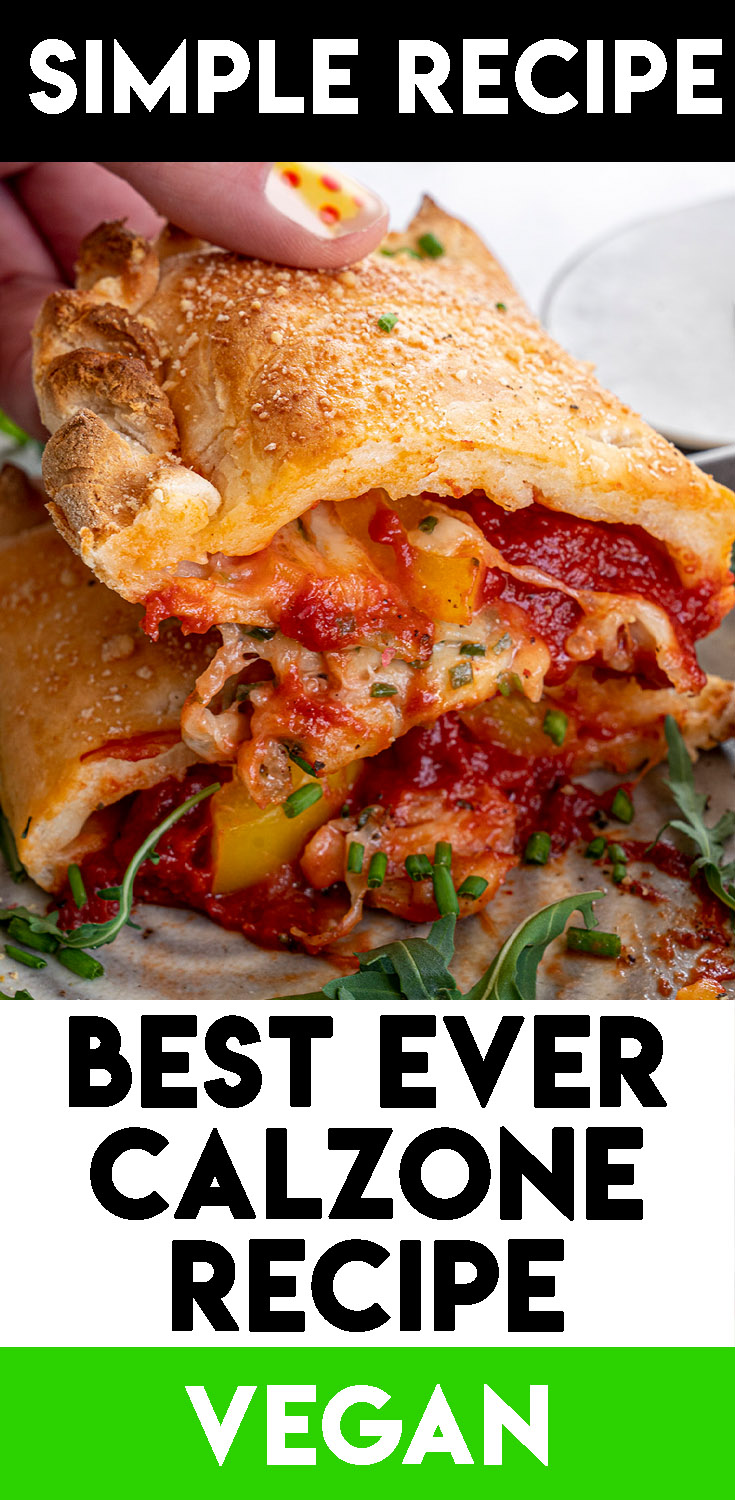
Gluten free calzone recipe – this is my BEST EVER version that nobody would ever know was gf! You can easily make this low FODMAP or vegan/dairy free if you fancy. Plus, the dough only needs 3 simple ingredients!
Gluten free calzone recipe, anyone? This super simple recipe has no yeast, doesn’t need any proving and you can make it in about 25 minutes. I’ve also included tons of step-by-step photos in this one so you absolutely can’t go wrong!
Who else here has craved a gluten free calzone for years? Me! Before I had an amazing gluten free calzone in Rome last year, I think that last time I had one was in 2009… back when I could still eat gluten!
So to say this recipe is long overdue would be a bit of an understatement!! But better late than never, hey?
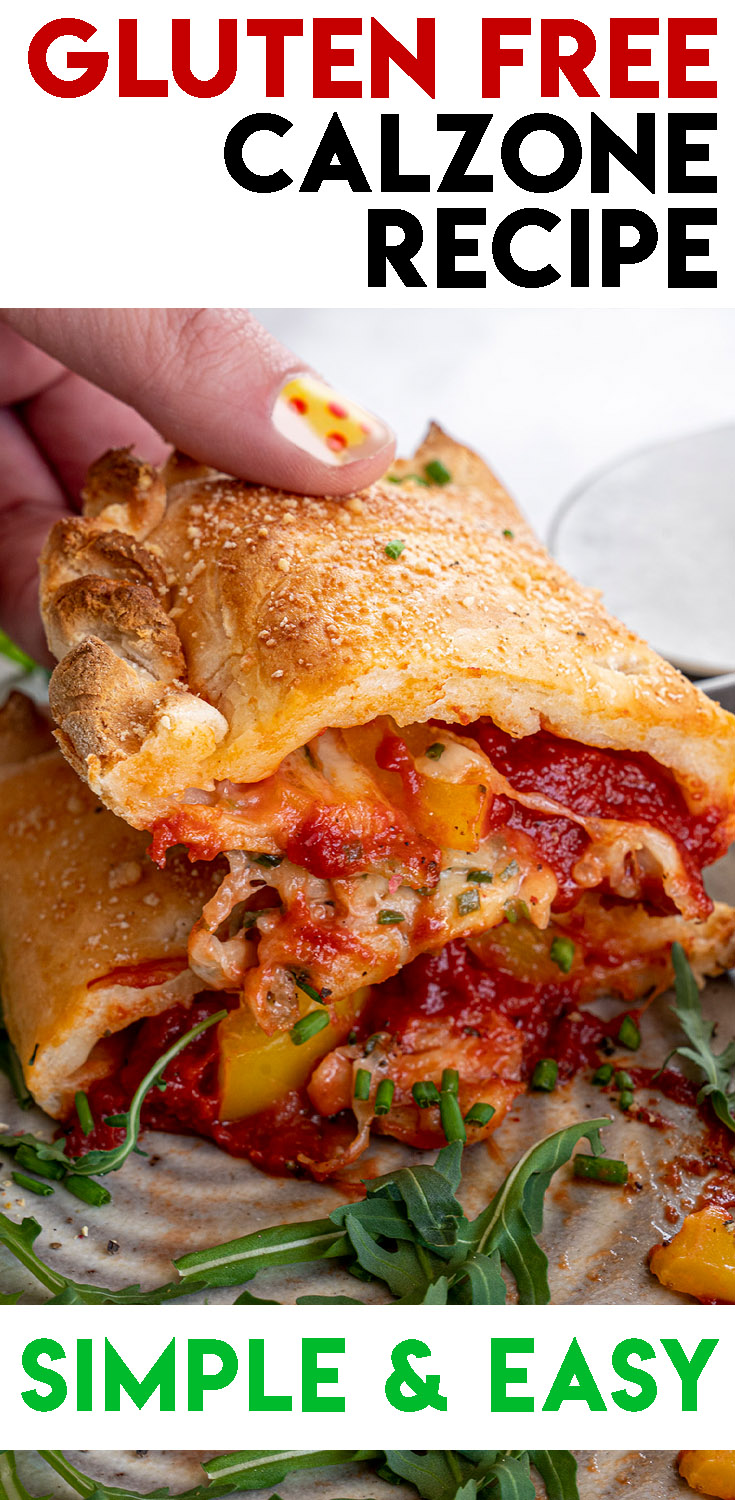
If you’ve never had one before, it’s sort of like a pizza pasty. Think lovely, light, crisp pizza dough on the outside, concealing the contents of an oozing, melty pizza in the middle. You just can’t beat it!
I’ve made a few suggestions of what you might like in your calzone, but you really can throw whatever you like into it toppings-wise.
Here’s a few frequently asked questions before we get started. You’ll hopefully find these especially helpful if you want to adapt the recipe to be dairy free, vegan or low FODMAP etc.
Gluten free Calzone recipe: Frequently asked questions
Is your gluten free calzone recipe dairy free?
Yep, this recipe can easily be made dairy free! Simply use dairy free yoghurt – I use Koko dairy free plain yoghurt – to make it dairy free and dairy free cheese as well.
Can I make this recipe vegan?
It is vegan if you use dairy free yoghurt, dairy free cheese and of course, instead of using egg-wash, use a little soy milk instead. Easy!
Is your gluten free calzone recipe low FODMAP?
Yes! You can easily make this low FODMAP by using lactose free plain or greek yoghurt – that way, it’s suitable for the elimination phase of the FODMAP diet and all other phases too.
Mozzarella and pecorino cheese are both naturally low in lactose and low FODMAP btw.
I can’t find any yoghurt, can I use anything else?
Although yoghurt is my preferred choice you can actually use sour cream too, just ensure it’s a similar thickness to yoghurt.
Is this recipe nut free?
Yep, this is a nut-free recipe as far as ingredients go, BUT make sure you check the ingredients label on ALL the products you use just to be safe.
Even if the products don’t contain nuts, they may have a ‘may contain nuts’ warning due to being produced in a factory that handles nuts.
You can never be too careful so always read the labels on everything first.
I can’t buy gluten free self-raising flour where I live, can I use gluten free plain flour?
If you use gluten free plain flour, then the extra baking powder and xanthan gum go from being optional to mandatory.
Gluten free self-raising flour naturally has a little xanthan gum and baking powder (usually) in it but gluten free plain flour doesn’t, so make sure you add your own.
Can I make this recipe without xanthan gum?
As I said, there’s a little xanthan gum in self-raising flour already that will help to replace the gluten in regular flour. So in a sense, yes you can skip adding more xanthan gum, though I always make mine with it just to be safe. It really helps the flexibility of the dough!
But if you wanted to make this with gluten free plain flour and no xanthan gum, then you’re on your own – I wouldn’t recommend it!
Can I make this recipe using other gluten free flours like buckwheat flour or coconut flour?
There’s a big difference between ‘gluten free self-raising flour’ and a *singular* type gluten free flour. When I say ‘gluten free self-raising flour’ in a recipe, I mean a BLEND of gluten free flours, not just one, singular flour.
Most gluten free flour you buy in the supermarket typically contains a blend of rice flour, potato flour, maize flour, tapioca flour AND buckwheat flour. That’s a lot of different flours!
So to replace it with just one specific type of flour… that’s not going to cut it at all. Definitely go for a gluten free flour blend.
Do I need weighing scales to bake your gluten free calzone recipe?
In short… yes, yes and yes! And I wouldn’t advise attempting any of my recipes without them. One of the worst things you can do in any baking recipe is alter the quantities by mistake or on purpose.
A lot of work went into fine tuning ratios and quantities so I wouldn’t mess around with them unless you really know your stuff. I’d recommending using digital cooking scales like these so you know you’re getting an accurate measurement.
What yoghurt should I use for this recipe?
It’s totally up to you – if making this vegan, I’d recommend Koko dairy free plain yoghurt.
But if you don’t mind it being NOT dairy free or vegan, feel free to use plain natural yoghurt or greek yoghurt too – I used Greek yoghurt in this recipe.
Lactose free plain yoghurt is the best for the elimination phase of the low FODMAP diet.
How long can I keep your gluten free calzone for?
They’re best eaten fresh as they will start to lose their crisp, freshly baked exterior unless eaten a few hours after baking. Especially with all that gooey, melted filling inside.
However, you can keep the raw dough in an airtight container in the fridge for up to 3-5 days before rolling it out.
Can I freeze your gluten free calzone?
Yes you can, but for best results, I’d freeze the dough in balls, then defrost the balls to proceed with the recipe from that point.
If you freeze the calzone after it’s fully-cooked, once reheated, it’ll likely have lost its lovely crisp exterior. It’s possible but I don’t overly recommend it.
Can I freeze your gluten free pizza dough?
Yes you can! And to be honest, this is probably better than freezing the finished product as it will ALWAYS come out better when freshly baked.
Simply pop your dough into an airtight container and freeze for up to 2-3 months. I like to freeze my dough ready-portioned out in 2 separate containers so I have the option of defrosting as much or as little dough as I like at a time.
Simply pop in the fridge and allow to defrost overnight, or leave at room temperature for 5 hours. If you freeze one huge ball of dough without portioning it out, it will of course take much longer to defrost.
Ok, so here’s everything you’ll need for this recipe – you actually only need 3 ingredients for the dough. Those being, yoghurt, gluten free self-raising flour and salt.
But if you do have xanthan gum and a little baking powder hanging around, feel free to add those too as it’ll only help your dough become more workable.
Everything you’ll need for the filling is totally changeable too, so feel free to add or subtract whatever ‘pizza toppings’ you like!
Gluten free Calzone Recipe: Ingredients
For the dough
- 350g yoghurt (natural yoghurt, greek yoghurt or a lactose free or dairy free alternative)
- 340g gluten free self raising flour
- 1/2 tsp salt
- 1/4 tsp xanthan gum (can omit if your flour contains it, but if you have it, add it in anyway!)
- 1/2 tsp gluten free baking powder (optional)
For the filling (it’s your choice but here’s an idea!)
- passata
- tomato puree (important to help the sauce be lovely and thick)
- oregano
- garlic infused oil
- salt and pepper
- chives
- cheese (regular mozzarella, dairy free, vegan or lactose free – whatever you usually have)
- chopped veggies (such as peppers)
Extras
- 1 egg (milk, butter or oil could work alternatively for egg free – it’s for an egg wash)
- grated cheese (to sprinkle on top – a pecorino works fab, but any hard grated cheese that suits your diet works!)
And here’s how to make my gluten free calzone recipe! I’ve included step-by-step photos to hopefully help you along the way.
It’s not especially tricky, but I always feel like having those extra photos helps when constructing the calzone. Keep scrolling down the post if you’d prefer to follow the more condensed recipe card at the bottom.
Gluten free Calzone Recipe: Method
Preheat your oven to a very hot temperature! For me that was 240C Fan (we want it to be hot like a pizza oven!)
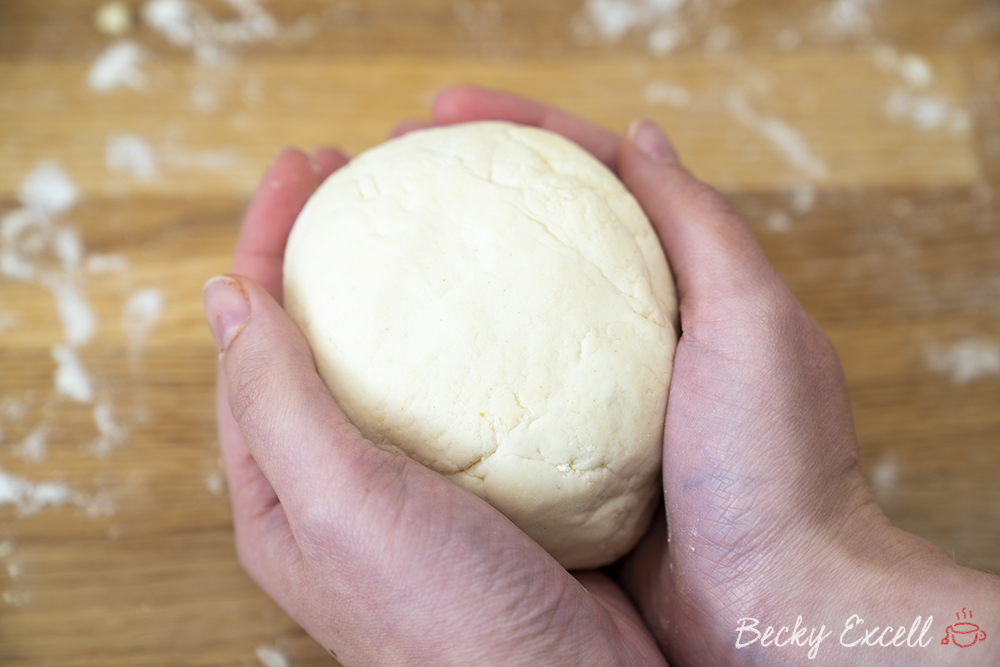
Add all your ingredients into a bowl and mix together. I initially just do this with a spatula and then as it starts to come together I use my hands to ensure it’s all pushed into a big ball. It should look a little like this:
Knead the dough briefly so it’s smooth and combined (you might need a little flour if it’s a bit sticky, it shouldn’t be).
Cut the dough into 2-4 pieces – it can make either 2 huge calzone, 3 medium calzone or 4 smaller sized ones). I usually split mine into 2.
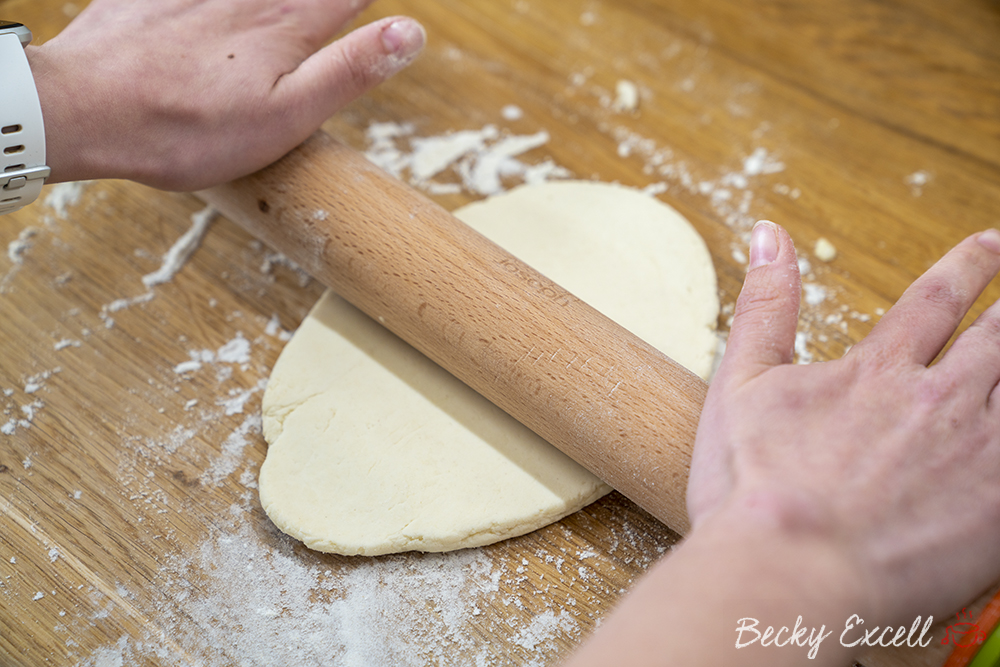
On a lightly floured surface use a rolling pin to roll out your first dough portion. I roll mine to 0.4cm. Try to do this in an oval shape.
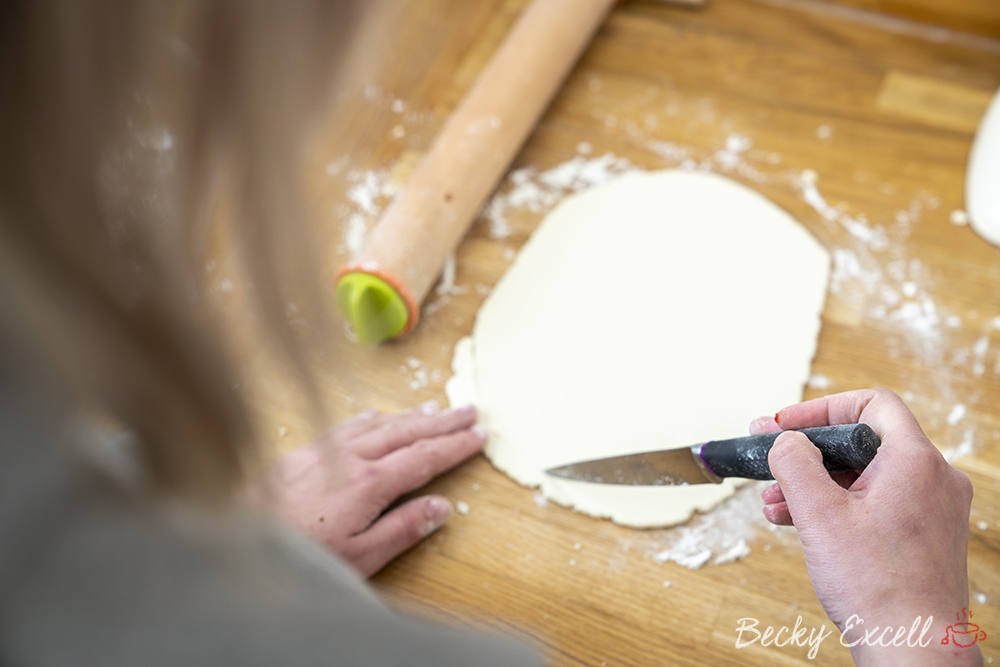
If you need to, you can cut round the edges to make it more oval. Also make sure it isn’t sticking to the worktop at this point.
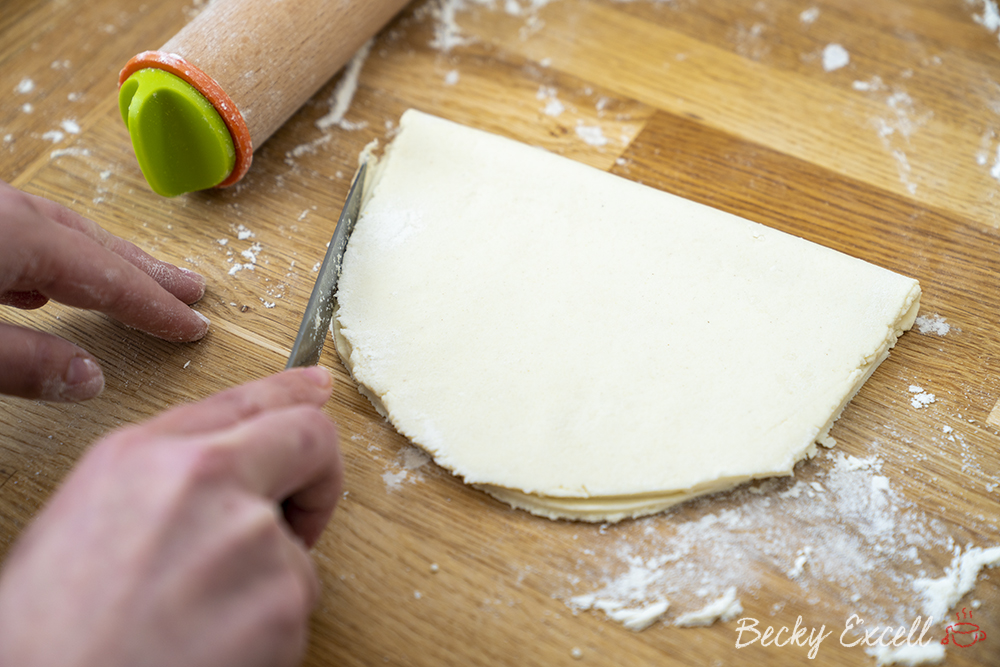
Sometimes I find it helps to fold over the dough to make sure both ends are the same shape. You can then trim of any excess at this point if not.
Sort out your fillings. So for the tomato sauce, mix together your tomato puree (1 tsp), passata (200ml), herbs (1 tsp) , garlic oil (1 tsp), salt and pepper in a small bowl until it has a nice, thick consistency.
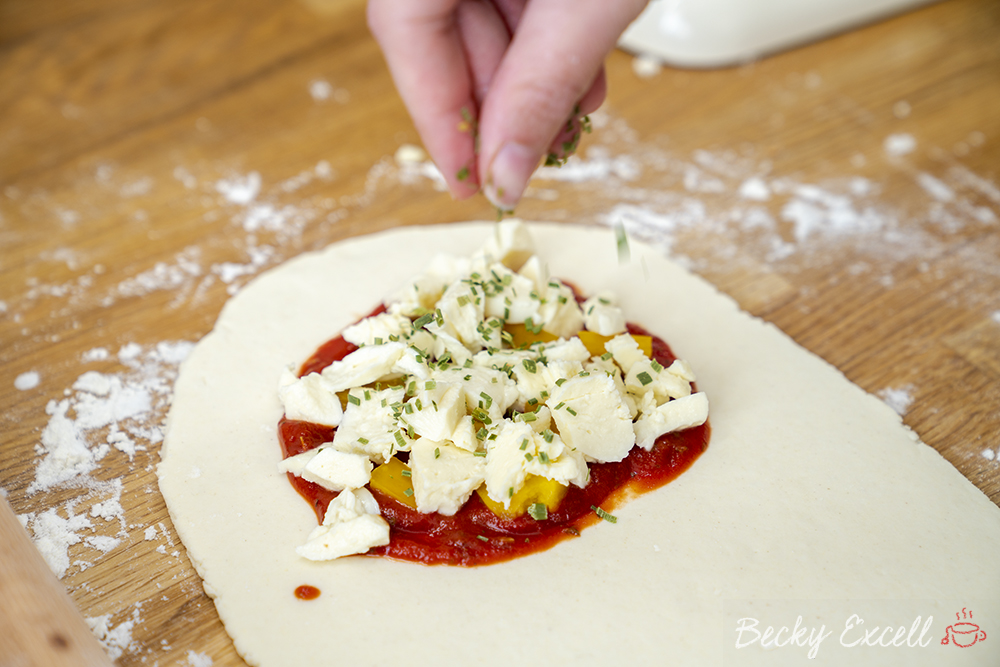
Chop up your mozzarella into small pieces as well as any veg you’re using – I used a yellow bell pepper.
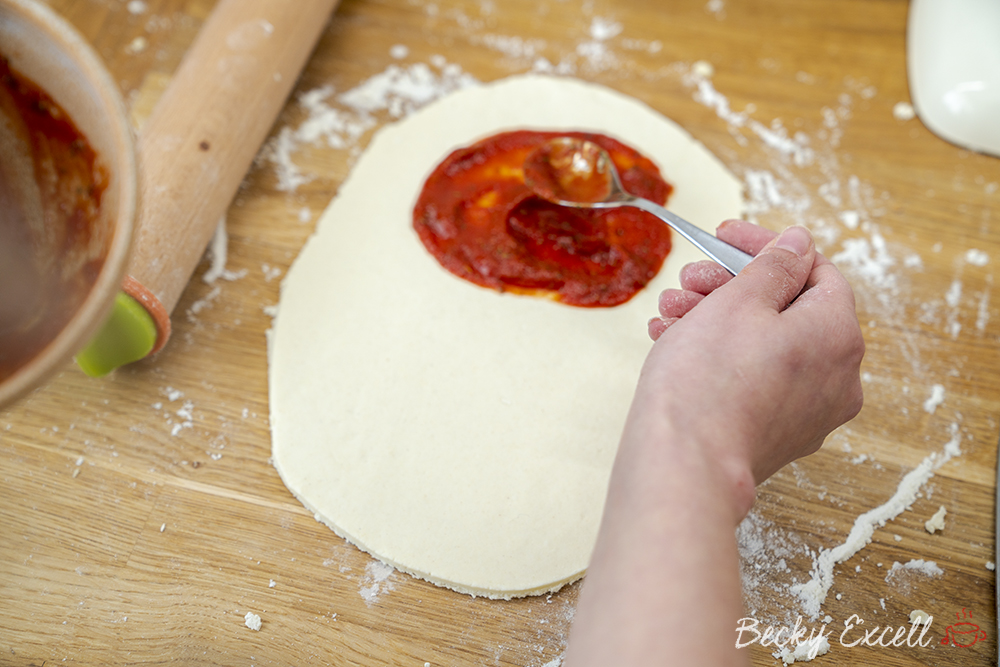
Spoon on and spread a small portion of your sauce, followed by toppings and then cheese on half of your calzone. Make sure you leave a good amount of space around the edge (about 1.5cm) as you need to fold the other-side over and you don’t want filling to ooze out.
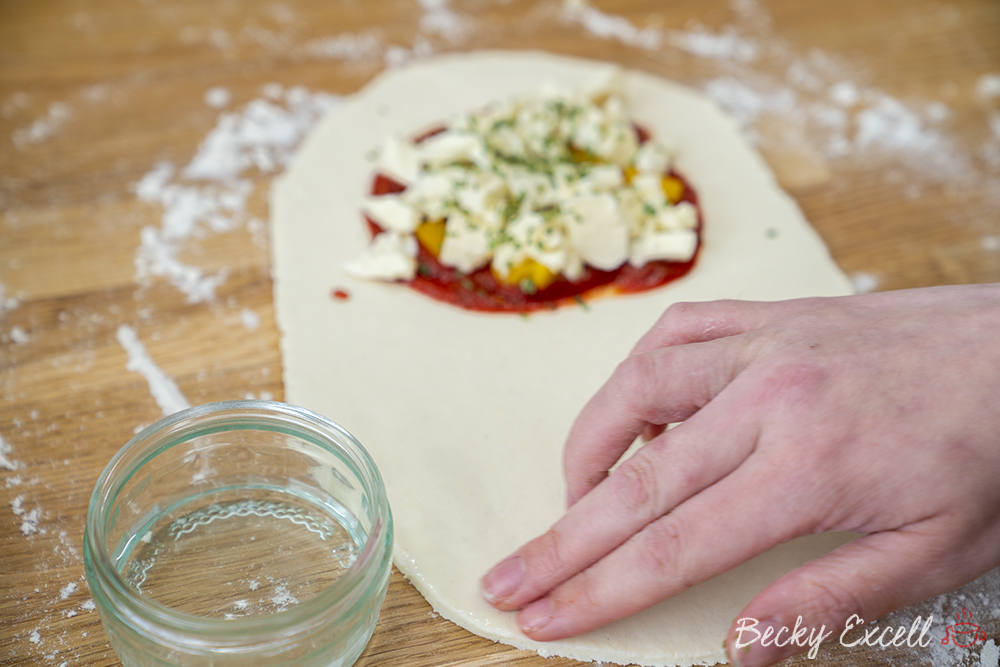
Brush the edge of your dough lightly with a little water to help it stick together. I actually just dabbed this on using my fingers all around the edges.
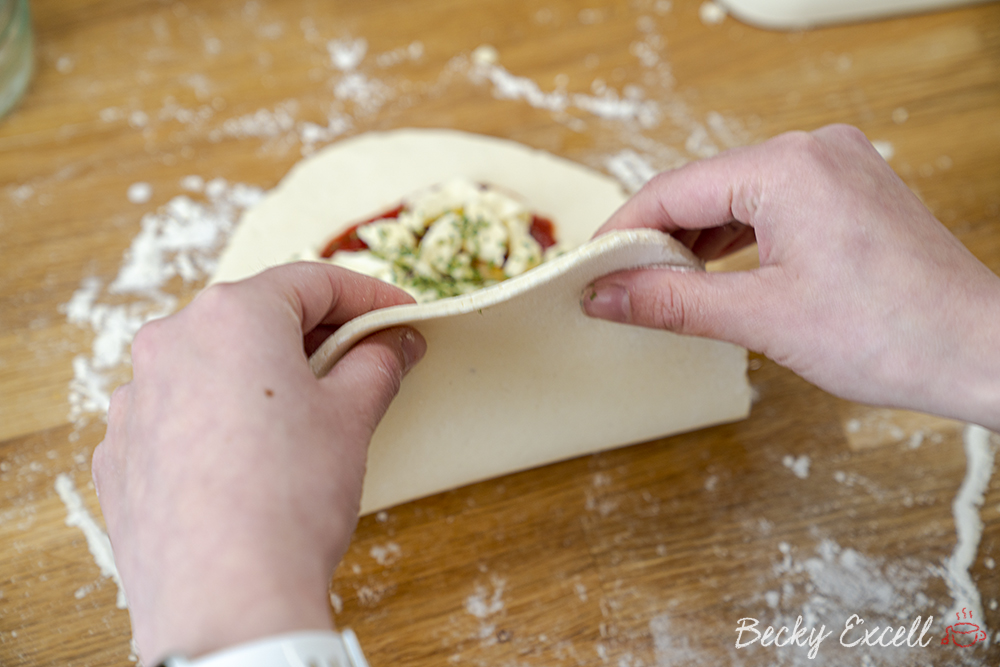
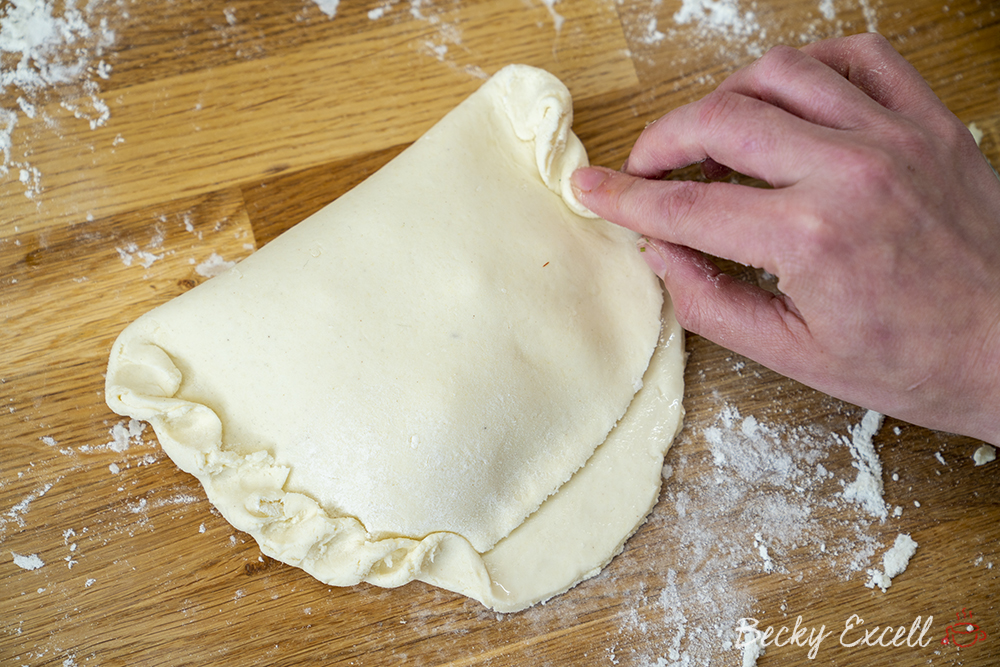
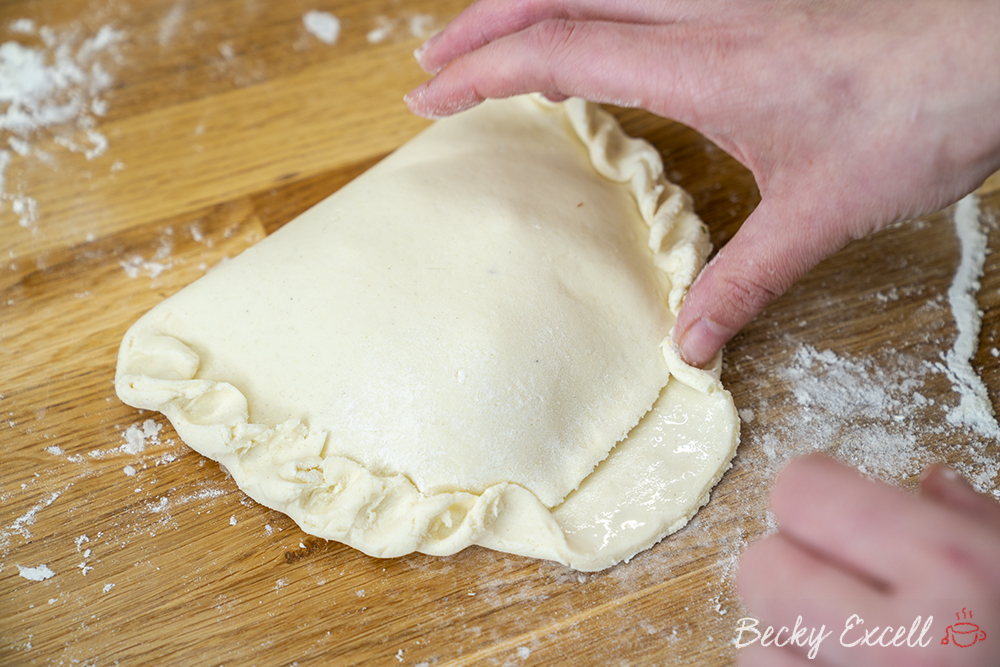
Fold over your empty side of dough to go over the top of your filled side. Fold over so it’s just over the filling and there is still the spare 1.5cm of dough left like in the second photo below….
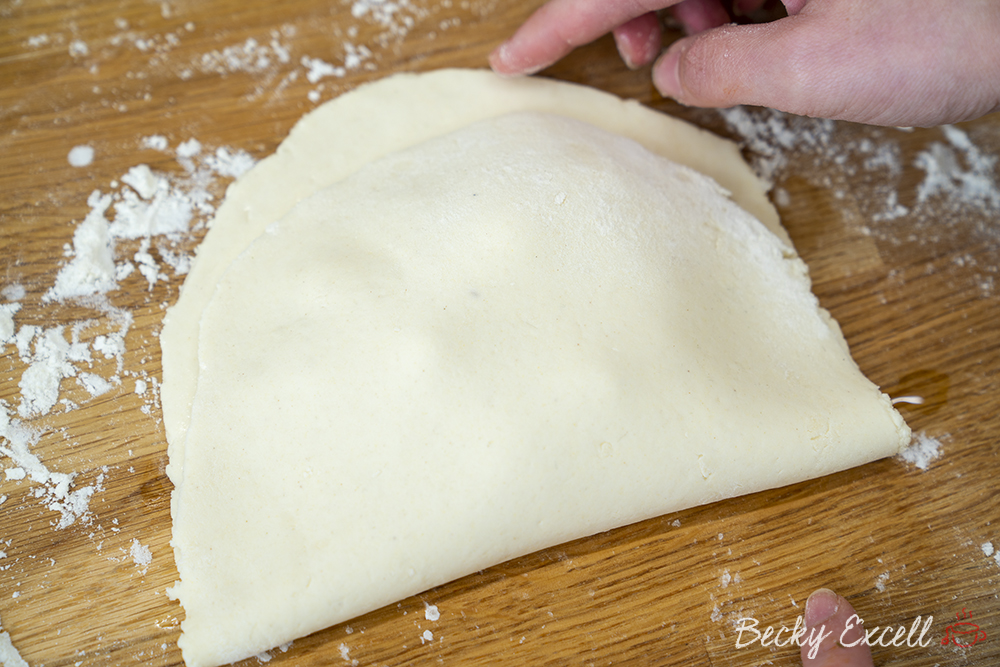
Now, you can pinch this together to fully seal the calzone so the filling doesn’t come out. Basically just fold over a little section at a time to create a crimped look.
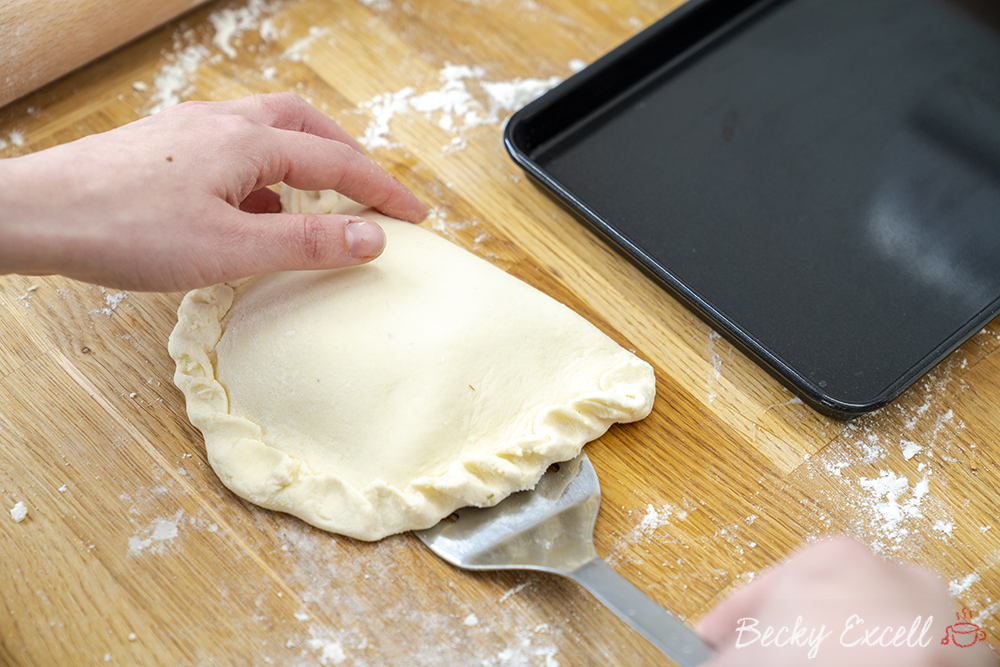
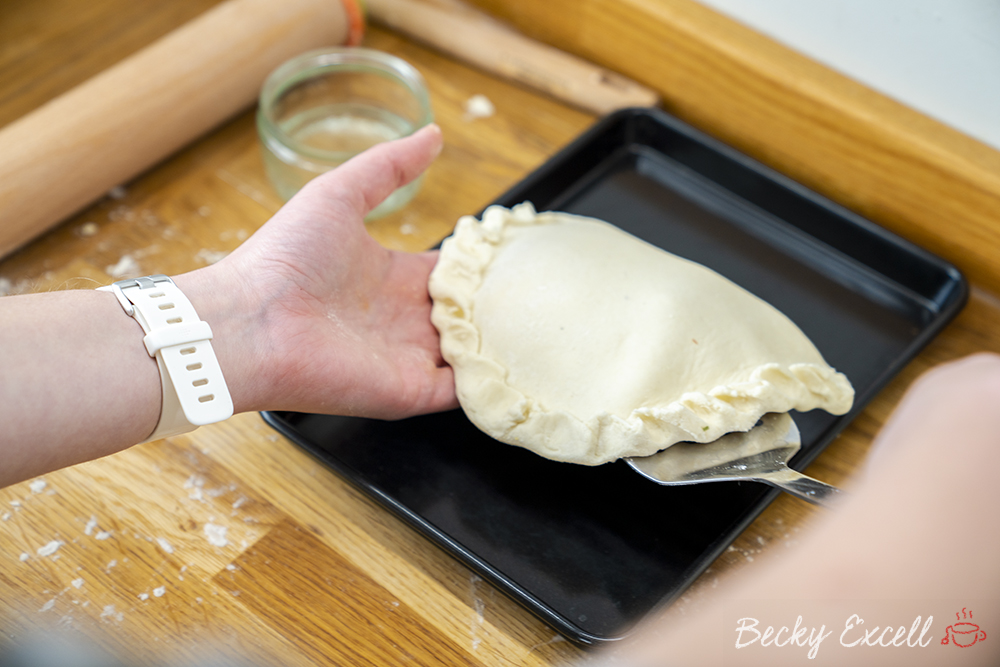
Transfer your calzone onto a baking sheet – make sure that you use parchment paper if it’s not non stick.
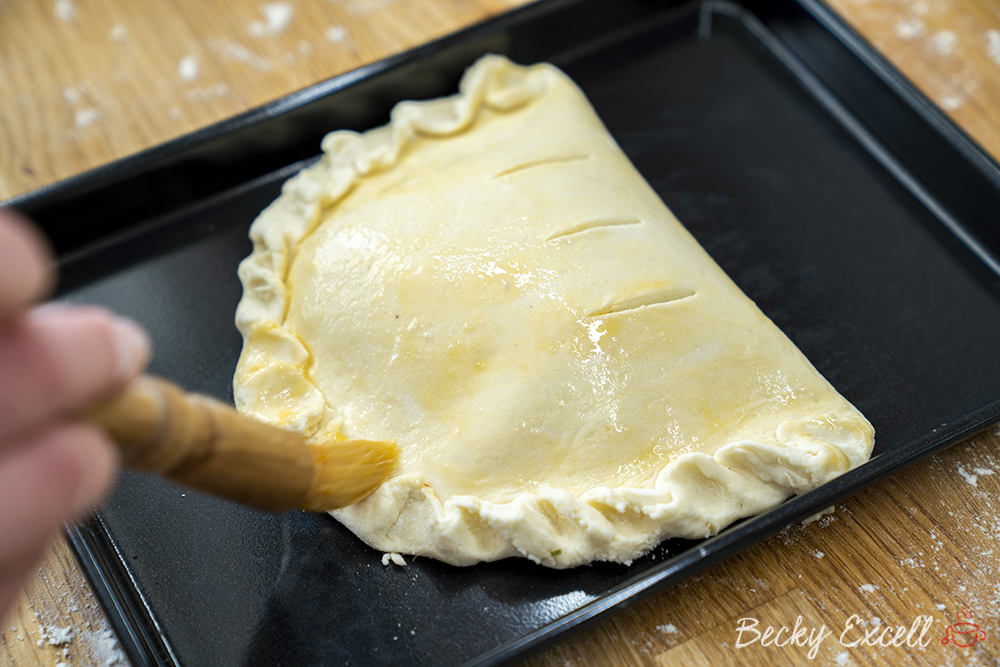
Use a sharp knife to cut 3 slits into the calzone. This will allow any excess moisture to get out and stop it from wanting to explode!
Beat your egg in a separate bowl, then brush your gluten free calzone with the egg wash (or milk, melted butter, oil etc) all over the top. This will help to give it a lovely golden colour.
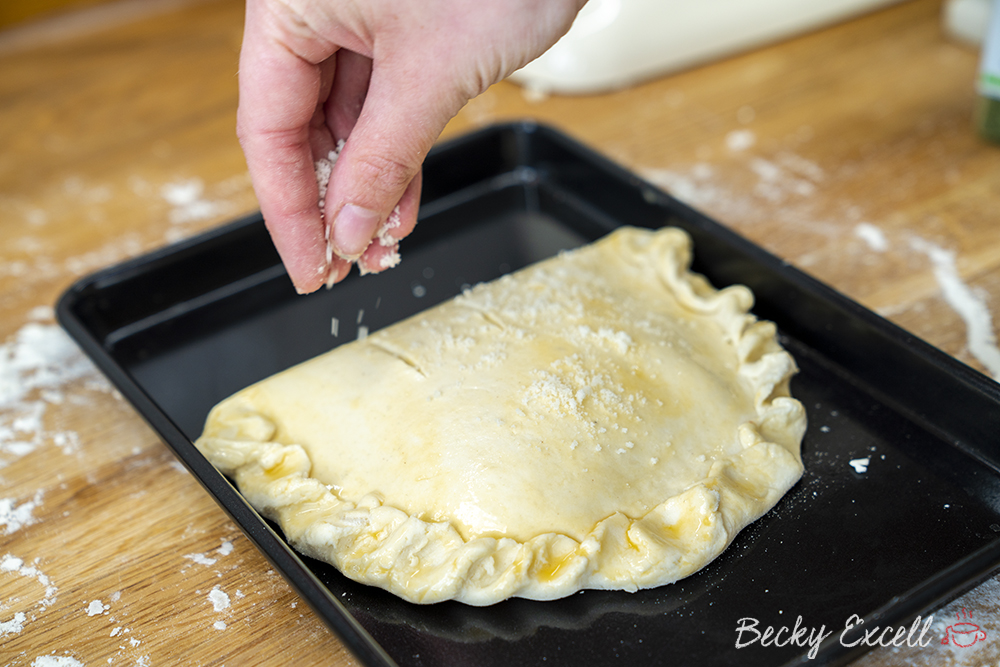
Finish by sprinkling with a little pecorino cheese or parmesan. Repeat with any leftover portions of dough to create more calzones. You can also freeze any leftover dough you have at this point too.
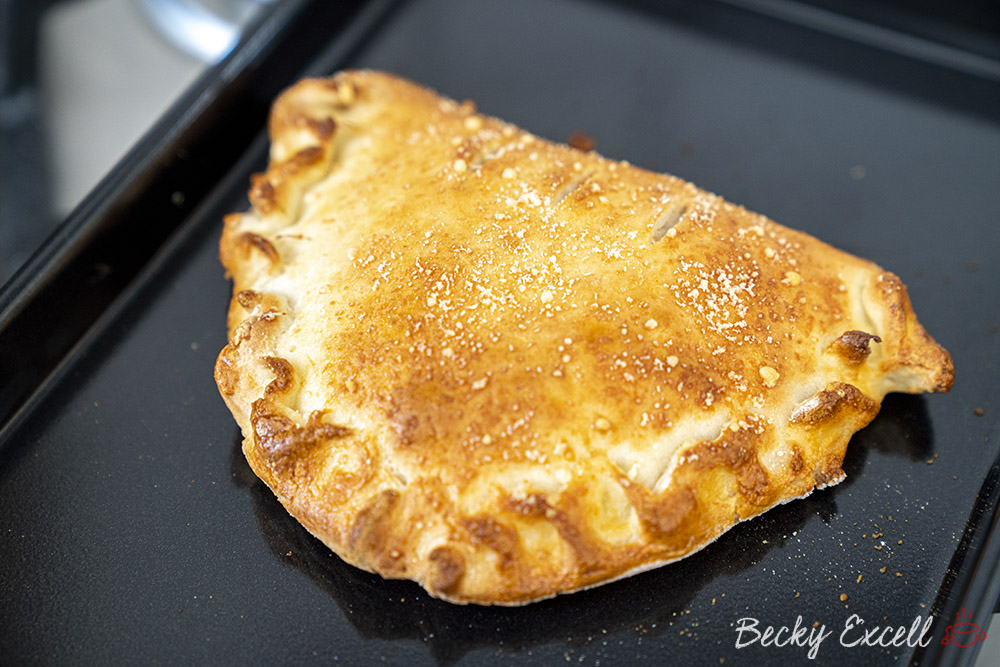
Place in the oven for 10 minutes until golden and crisp. If your oven is slightly lower in temperature than mine it may take a little longer!
Remove from the oven and serve up, enjoy!
Oh and here’s the recipe in a more condensed format that you can easily print off too. If you liked the recipe, please rate it 5 stars as it helps people to know it’s a recipe worth trying – thank you!
Gluten Free Calzone Recipe (low FODMAP & vegan/dairy free option)
Ingredients
For the dough
- 350 g yoghurt natural yoghurt, greek yoghurt or a lactose free or dairy free alternative
- 340 g gluten free self raising flour
- 1/2 tsp salt
- 1/4 tsp xanthan gum can omit if your flour contains it, but if you have it, add it in anyway!
- 1/2 tsp gluten free baking powder optional
For the filling (it's your choice but here's an idea!)
- passata
- tomato puree important to help the sauce be lovely and thick
- oregano
- garlic infused oil
- salt and pepper
- chives
- cheese regular mozzarella, dairy free, vegan or lactose free – whatever you usually have
- chopped veggies such as peppers
Extras
- 1 egg milk, butter or oil could work alternatively for egg free - it's for an egg wash
- grated cheese to sprinkle on top - a pecorino works fab, but any hard grated cheese that suits your diet works!
Instructions
- Preheat your oven to a very hot temperature! For me that was 240C Fan (we want it to be hot like a pizza oven!)
- Add all your ingredients into a bowl and mix together. I initially just do this with a spatula and then as it starts to come together I use my hands to ensure it's all pushed into a big ball.
- Knead the dough briefly so it's smooth and combined (you might need a little flour if it's a bit sticky, it shouldn't be)
- Cut the dough into 2-4 pieces (it can make 2 huge calzone, 3 medium calzone or 4 smaller ones).
- On a lightly floured surface use a rolling pin to roll out your dough. I roll mine to 0.4cm. Try to do this in an oval shape. If you need to you can cut round the edges to make it more oval. (Also make sure it isn't sticking to the worktop)
- Sort out your fillings. So for the tomato sauce, mix together your tomato puree (1 tsp), passata (200ml), herbs (1tsp) , garlic oil (1 tsp), salt and pepper in a small bowl until it has a nice, thick consistency. Chop up your mozzarella into small pieces as well as any veg you're using - I used a yellow bell pepper.
- Put your sauce, followed by toppings and then cheese on half of your calzone. Make sure you leave a good amount of space around the edge (about 1.5cm) as you need to fold the other-side over and you don't want filling to ooze out.
- Brush the edge of your dough lightly with a little water to help it stick together.
- Fold over your empty side of dough to go over the top of your filled side. Fold over so it's just over the filling and there is still the spare 1.5cm of dough left - you can then pinch this together to fully seal the calzone so the filling doesn't come out. (Check out the pictures if my explanation isn't enough!)
- Transfer your calzone onto a baking sheet (use parchment paper if it's not non stick).
- Use a sharp knife to cut 3 slits into the calzone (this will allow any excess moisture to get out).
- Brush with an egg wash (or milk, melted butter, oil) all over the top. Finish by sprinkling with a little pecorino cheese or parmesan.
- Repeat for all the calzones you want to do!
- Place in the oven for 10 minutes until golden and crisp (if your oven is slightly lower in temperature than mine it may take a little longer)
- Remove from the oven and serve up, enjoy!
Nutrition
Any questions about the recipe? Please do let me know by following me on Instagram and leaving me a comment on a recent photo!
Thanks for reading,
Becky xxx
Oh and don’t forget to pin this for later!

