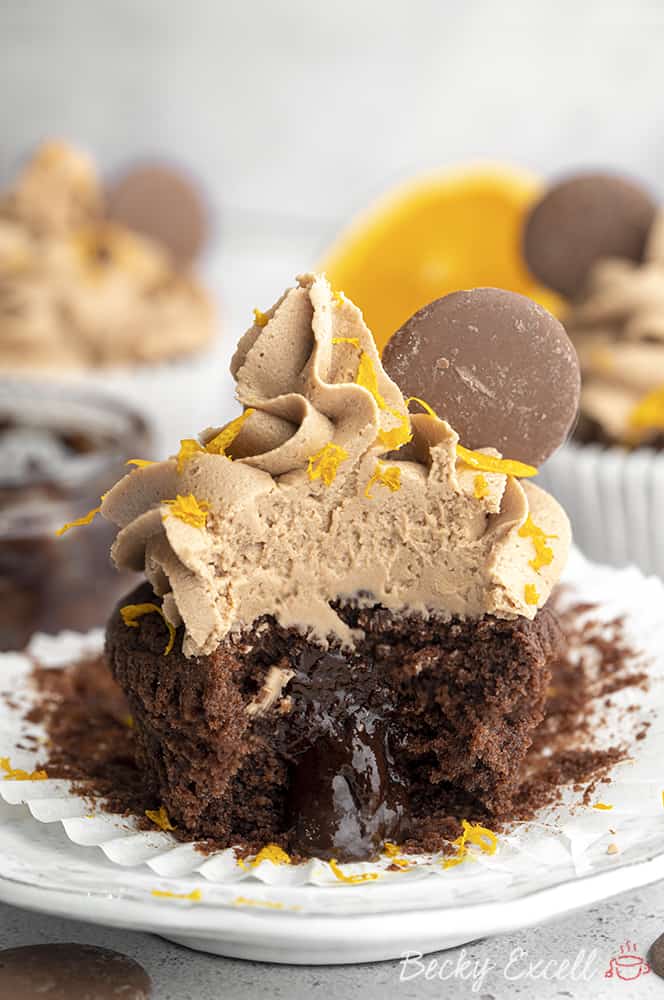
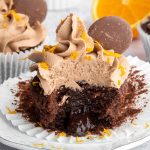
Gluten-free chocolate orange cupcakes recipe – this is for everyone craving a Terry’s chocolate orange right now… then remembering that they have a ‘may contain’ warning! This recipe is also easily dairy free and low FODMAP too.
Gluten-free chocolate orange cupcakes recipe, anyone? Honestly, these will satisfy every chocolate orange craving you could possibly ever have – especially when finished with a Cadbury chocolate orange button! Best of all, nobody would ever know they’re Coeliac-friendly and wheat-free.
Sometimes you just can’t beat that classic combo of chocolate and orange, especially when baking!
But stopping at a cute little cupcake wasn’t enough for me – I HAD to fill them with a chocolate orange ganache too.
After all, us gluten-free folks always get so little choice when it comes to stuff like this… so why not just go all out when baking at home?
You wouldn’t believe how easy these are to make – just whip up some cupcakes, core them, fill them and pipe on some icing. Easy peasy!
So what does a gluten-free chocolate orange cupcake taste like?
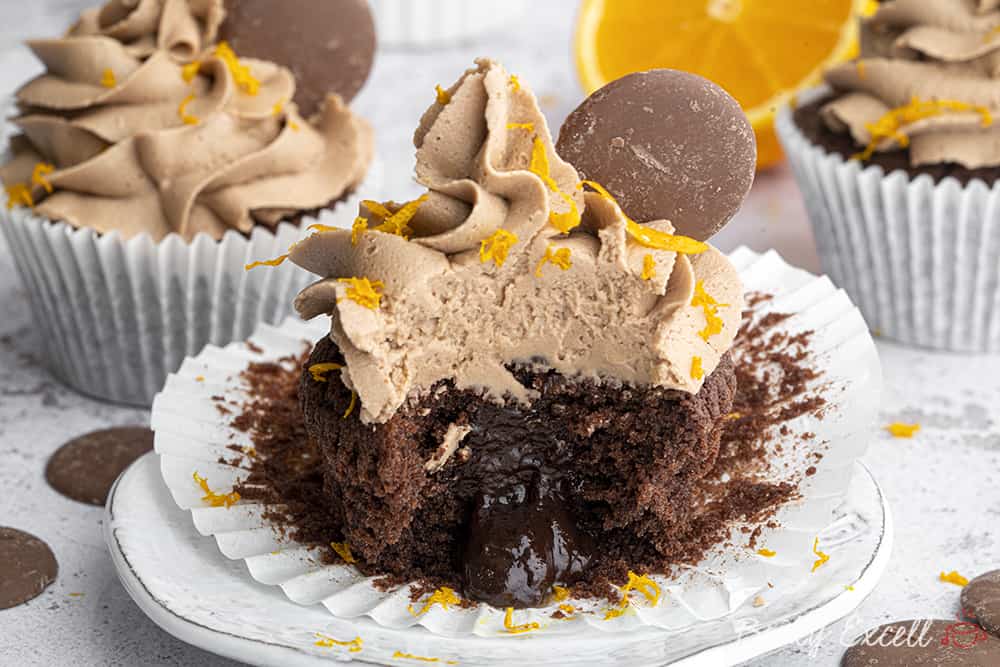
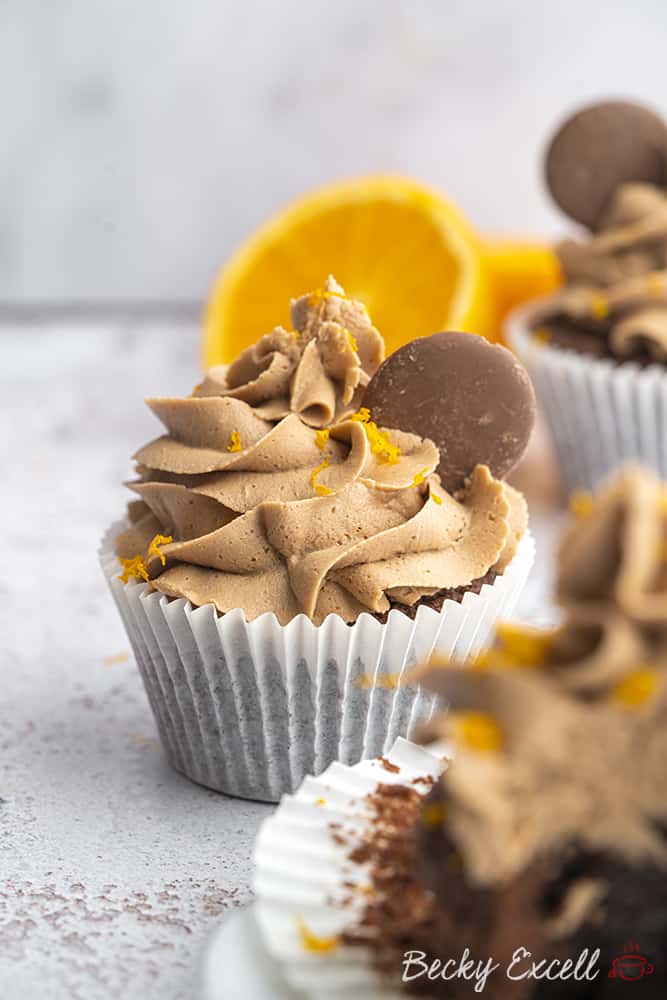
Well, you’ve got lovely, light and fluffy chocolate orange buttercream on top of a moist, rich choc orange cupcake.
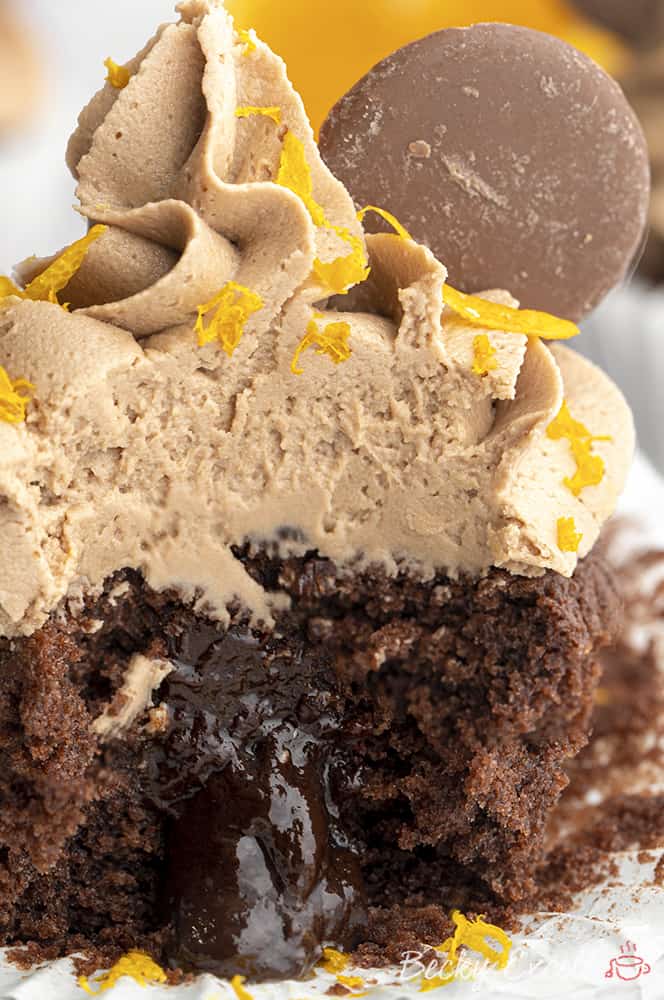
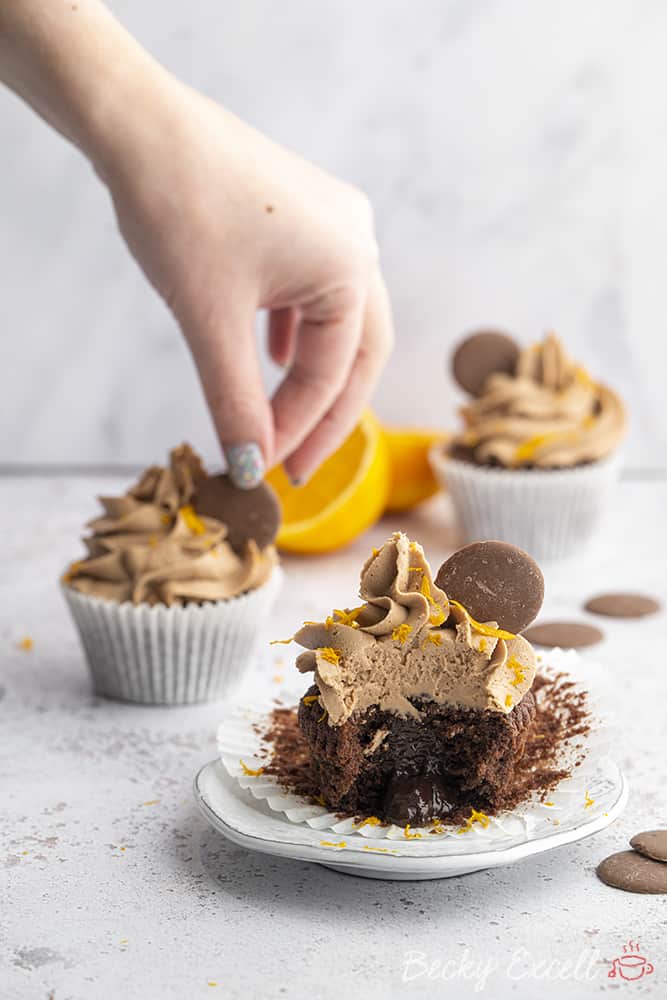
But that’s not all! Inside each cupcake, they’re filled with sticky, sweet chocolate orange ganache. Of course, they’re then finished with a milk chocolate orange button.
I mean, that just sounds like pure heaven to me!
Here’s everything you’ll need for this recipe – consider it your shopping list! Keep scrolling until you see the recipe card for the measurements and method ??
Gluten-free chocolate orange cupcakes recipe: Ingredients
- Butter: This is used in each component of this recipe – the cupcakes, the ganache and the buttercream too. Make sure you leave some out to soften before starting, ready for the cupcakes and the buttercream icing.
- Caster sugar: Whilst you can happily use caster sugar to make the cupcakes and ganache, don’t use this for buttercream – it won’t work.
- Medium eggs: Get medium eggs for this recipe if you can – using large eggs is a little overkill and can result in cupcakes that are a little too loose in texture.
- Orange extract: This is the key to getting an instant injection of orange flavour in your cupcakes, filling and buttercream.
- Gluten-free self raising flour: This has added xanthan gum and baking powder that results in perfect gluten-free cupcakes.
- Cocoa powder: You’ll need this for the cupcakes and the ganache – I’d recommend always sifting it first, otherwise it can become lumpy.
- Gluten-free baking powder: Ensure this is gluten-free as cheaper brands like to add wheat flour to it for some reason.
- Xanthan gum: Though there’s a little xanthan gum in gluten-free self-raising flour, this acts as a gluten-replacer, helping to ensure your cupcakes aren’t too crumbly.
- Milk: Any milk will do – I used semi-skimmed for this recipe.
- Dark and milk chocolate: I like to use both dark and milk chocolate for the ganache filling so it’s not too ‘dark’ in taste or appearance. Only use dark for the buttercream though.
- Icing sugar: You’ll need this to whip up my chocolate orange buttercream.
- An orange: This is optional as it’s just for zesting, but it goes a long way in terms of visual finish.
- Cadbury Chocolate Orange Buttons: Yes, they’re gluten-free and they finish off the cupcakes perfectly. I’ve linked them in FAQ section below.
So I thought I’d kick things off with a little frequently asked questions section – if you just want the recipe, then keep scrolling ??
But I’ve thrown in some tips here that will be really helpful if this is your first time making this, or you want to adapt it. So here they are!
Gluten-free chocolate orange cupcakes recipe: Frequently asked questions
Can I make this recipe gluten-free?
Yes to both. It is gluten-free, though nobody would know just by tasting it – trust me!
Bear in mind that minimising cross-contamination is hugely important if you’re Coeliac or making this for someone who is. Here’s some tips from Coeliac UK on minimising the risk of cross contamination.
Also, make sure that all ingredients used don’t have any gluten-containing ingredients. Then make that that they also don’t have a ‘may contain’ warning for gluten, wheat, rye, barley, oats (which aren’t gf), spelt and khorasan wheat (aka Kamut).
Here’s some more info from Coeliac UK on identifying safe gluten-free products.
Can I make your gluten-free chocolate orange cupcakes recipe dairy-free?
Of course you can – and this recipe is actually really simple to make dairy free.
- Substitute butter for Stork hard margarine in the cupcakes, ganache and buttercream. Chill the buttercream before piping as it’ll be softer.
- Use dairy free chocolate instead of regular chocolate. Also, just double-check that your cocoa powder is dairy free.
- Don’t forget to use dairy free milk in the chocolate orange ganache filling.
- Instead of using Cadbury chocolate orange buttons, use dairy-free chocolate orange buttons to finish your cupcakes.
That’s it!
Can I make your gluten-free chocolate orange cupcakes vegan?
Yep! If you follow the instructions above to make this recipe dairy free, then all you’ve got left to contend with is the eggs.
Here’s a few ideas you can use as egg replacements, so each of these = 1 egg.
- 3 tablespoons of aquafaba (pre-whisked until frothy) – water from a can of chickpeas. Keep the chickpeas for a future dinner!
- Egg replacement powder – I’d recommend using Orgran as it’s gluten-free.
- 1 tablespoon of chia/flax seeds mixed with 2 tablespoons of water and left for 10 minutes in the fridge.
- 3 tablespoons of applesauce.
So use one of those egg replacement options and you’ve got a gluten-free AND vegan chocolate orange cupcakes! I haven’t tested all of these egg alternatives so let me know how you get on in the comments below.
Is your gluten-free chocolate orange cupcakes recipe nut-free?
Yep, this is a nut-free recipe as far as ingredients go, BUT make sure you check the ingredients label on ALL the products you use to bake this cake just to be safe.
Even if the products don’t contain nuts, they may have a ‘may contain nuts’ warning due to being produced in a factory that handles nuts.
You can never be too careful so always read the labels on everything first.
Is your gluten-free chocolate orange cupcakes recipe low FODMAP?
No – but it can be!
- Firstly, ensure your chocolate is lactose-free – most dark chocolate doesn’t actually contain milk so you should be able to easily source some.
- Use lactose-free milk in the ganache filling and ensure the cocoa powder is lactose-free.
- I’d recommend omitting the chocolate orange buttons as the dairy-free ones recommended above contain inulin in unknown quantities.
Make those changes and one cupcake will be suitable during the elimination phase of the low FODMAP diet.
Are Cadbury chocolate orange buttons gluten-free?
Yes, Cadbury chocolate orange buttons are gluten-free! That’s right, no gluten-containing ingredients and no ‘may contain’ warning for gluten, wheat, barley etc.
According to Coeliac UK, that makes them safe for us to eat!
Please ensure you check the ingredients when buying them in case things change, but as of the time of writing, these are suitable for a gluten-free diet.
Where can I find Cadbury chocolate orange buttons?
You can find them in any supermarket down the confectionary aisle with all the sharing bags of chocolate. I bought mine in Tesco.
Can I make your gluten-free chocolate orange cupcakes in a food processor or standing mixer?
Of course you can – and it’ll save you on elbow grease! I use an electric whisk for the cake batter and a stand mixer to whip up the icing as it requires longer mixing periods.
(here’s a link to the electric whisk I use)
Can I make your gluten-free chocolate orange cupcakes without any kind of electric mixer at all?
Of course you can! But especially when it comes to the buttercream, it might take you a while.
You’re much more likely to under-mix things when making things by hand, so ensure everything is consistently mixed throughout.
Do I need any special equipment to bake your gluten-free chocolate orange cupcakes?
If you really want to nail the presentation of this cake, you’ll need some piping bags and a star-shaped nozzle – I use the 1M nozzle in this set.
And whilst it’s not technically ‘special equipment’, you will need a good muffin/cupcake tray, so here’s what I used to make this recipe.
Oh and don’t forget your cupcake cases too.
Can I bake this using the all-in-one method?
In case you didn’t already know, the all-in-one method involves bunging all your sponge ingredients into a bowl at once and mixing them together. That’s instead of adding them gradually.
This is one of those recipes where the all-in-one method would probably work quite well – here comes the ‘but’… ?
BUT I personally always think that taking a few extra minutes to cream your butter and sugar is so worth it. Adding the eggs separately helps to ensure that the cake mixture doesn’t split, plus, creaming the butter and sugar ensures a nice, light and airy sponge without fail.
With the all-in-one method, I always think that the time you save by bunging everything at once, is almost cancelled out by then having to spend more time mixing to make sure it’s all well-combined. I’ll leave it up to you!
Can I make this recipe without xanthan gum?
You can get away with it with this recipe, because there’s already a little added xanthan gum in gluten-free self-raising flour.
However, if you can add it I would always recommend it – the texture of the cupcakes will only be more loose and potentially crumbly without it.
Some people have asked if they can use psyllium husk powder instead of xanthan gum, but I’ve found that it definitely results in a denser sponge so I wouldn’t overly recommend it.
Do I need weighing scales to bake your gluten-free chocolate orange cupcakes?
In short… yes, yes and yes! And I wouldn’t advise attempting any my recipes without them.
A lot of work went into fine tuning ratios and quantities and for me, baking is all about consistency and precision. I want you to make this recipe and for it to turn out EXACTLY like mine did.
For example, adding too much flour can make things dry and crumbly, whereas not adding enough sugar means it’ll lose its crisp exterior. I don’t want you to be disappointed, so please weigh your ingredients!
I’d recommending using digital cooking scales like these so you know you’re getting an accurate measurement and replicating my recipe as accurately as poss.
Can I top these cupcakes with Terry’s chocolate orange segments instead of making my own?
I always make this very clear just in case – Terry’s chocolate orange is not gluten-free!
Though it has no gluten-containing ingredients, it has a ‘may contain wheat’ warning which isn’t safe for Coeliacs.
I personally wouldn’t risk it – especially not when you can buy Cadbury chocolate orange buttons so easily.
Can I bake your gluten-free chocolate orange cupcakes with less sugar?
I can definitely understand the need to reduce sugar in our foods, but this is one of the recipes where I wouldn’t advise it.
Of course, the sugar isn’t just for sweetness – it’s integral to the structure of the cake once baked and is sooo important.
If you wanted to tone things down a bit sugar-wise, you could use a boat-load less icing by just spreading a little on top of each cupcake – though obviously, they won’t look as fancy.
Not filling these cupcakes in the centre would also reduce the amount of sugar in each cupcake too. I’ll leave the choice up to you!
How long can I keep your gluten-free chocolate orange cupcakes for?
I’ve kept my gluten-free chocolate orange cupcakes for about 3-5 days in an air-tight container with no problems. If you need to keep them any longer than that, I’d highly recommend freezing them (see advice below for doing that)
When the sponge starts getting a little dry, it’s probably starting to get past its best.
Can I freeze your gluten-free chocolate orange cupcakes?
Of course! I’ve frozen them for up to 2-3 months no problem. It’s a great idea to do this if you’ve making a huge batch and can’t eat them.
When you want to eat them, they should take around 3 hours to defrost at room temperature.
How can I tell when my cupcakes are done?
Grab a skewer and give it a poke in the centre. If it comes out clean, then it’s done! Each cupcake top should look like it has a nice, crisp, outer crust too.
If the skewer comes out moist and cake batter-like, it’s best to pop it back in for a bit longer.
The more you get used to using your own oven, the more likely your cake will come out perfectly cooked first time. Oh and also make sure your oven is fully pre-heated before putting your sponges in too.
Troubleshooting
Why did my cake batter split or curdle?
Firstly, I never worry when my batter has split or curdled! It may not look the best, but generally it doesn’t affect the bake in way that you’d notice.
But basically, a mixture can split or curdle when the eggs AND butter/margarine aren’t both room temperature. So make sure you get the butter/margarine out of the fridge a few hours early, BEFORE you start baking!
Over-mixing your batter can split the mixture too, so once you’ve got a nice, smooth cake batter without lumps, stop mixing!
My cupcakes didn’t rise or were totally flat/sunk in the middle!
There’s actually quite a few reasons, but here’s a few common ones:
- Too much raising agent – eg. baking powder. Anything that causes your cake to rise too fast, will inevitably sink by the time the cake it done. The cake won’t be cooked enough to hold it’s own weight!
- Split or curdled mixture. Whilst this can have a bit of a role in a sunken cake, I’ve found that it’s never too drastic.
- Opening the oven door. Never open the oven door while a cake is baking if you can avoid it! Not only does this result in a sudden drop in temperature, but it will interrupt the circulation of air in the oven.
- Over mixing the batter. If you whisk too much air into the batter, it’ll probably sink under the weight of the cake.
- Under-mixing the batter. If your cake mixture isn’t well-combined, it won’t work as well!
Why are my cupcakes dry with a tough outer crust?
If the cupcakes come out looking and feeling dry, hard with a tough outer crust, it’s probably over-baked.
That either means it had too long in the oven, or the oven temperature was too hot.
Oven temperatures can vary massively, so it’s best to keep an eye on your cupcakes around 5-10 minutes before they should be done.
Gluten-free chocolate orange cupcakes recipe: Method
Oh and here’s a printable version of my gluten-free lemon meringue cupcakes recipe. Please remember to give it 5 stars if you tried it and enjoyed it as it helps people know it’s worth trying too! ⭐️ Feel free to leave your written reviews in the comments below this post.
Gluten-free Chocolate Orange Cupcakes Recipe (dairy-free option)
Ingredients
For the cupcakes
- 200 g butter softened (use Stork hard margarine if dairy-free)
- 200 g caster sugar
- 4 medium eggs
- 2 tsp orange extract
- 165 g gluten-free self raising flour
- 25 g cocoa powder ensure dairy free if necessary
- 1/4 tsp gluten-free baking powder
- 1/4 tsp xanthan gum
For the cupcake filling
- 50 g caster sugar
- 100 ml milk dairy-free if necessary
- 30 g cocoa powder ensure dairy free if necessary
- 2 tsp orange extract
- 100 g dark/milk chocolate dairy-free if necessary
- 40 g butter use Stork hard margarine if dairy-free
For the buttercream
- 300 g icing sugar
- 150 g butter softened (use Stork hard margarine if dairy-free)
- 100 g dark chocolate melted (dairy-free if necessary)
- 1 tsp orange extract
To finish
- 1 orange for zesting
- Cadbury Chocolate Orange Buttons linked in FAQ section
Instructions
For the cupcakes:
- Preheat your oven to 180C (160C Fan) and place cupcake cases into your cupcake tin.
- Cream together your softened butter and sugar using an electric hand whisk. Do so until lighter in colour and fluffier in texture.
- Gradually add your eggs (I whisk briefly in between each one), mix in alongside your orange extract.
- Sift your gluten free flour, cocoa, baking powder and xanthan gum and then mix with your electric hand whisk until combined.
- Spoon your mixture into your cupcake cases and place in the preheated oven for 20 minutes.
- After 20 minutes they should be cooked, remove from the oven and allow to cool briefly in the tin and then move the cases to a cooling rack.
For the chocolate orange ganache filling:
- Place your sugar, cocoa powder, milk, orange extract and 50g of your chocolate into a saucepan. Heat and mix on a low/medium heat until everything is melted.
- Remove from the heat and add your butter and the other 50g of your chocolate. Mix until everything is melted and smooth.
- Allow to cool down. This will allow the sauce to thicken.
For the chocolate orange buttercream:
- Place your butter in a stand mixer (or electric hand whisk if you don't have a stand mixer), mix on its own on a high speed for about 5 minutes. The butter should change from a more yellow colour to being a lot more pale.
- Melt your dark chocolate (I do this is the microwave, stirring in between 20 seconds blasts until melted), put to one side to cool whilst making the rest of the buttercream.
- Add your icing sugar gradually to the butter (I do this in two stages). I mix each addition of icing sugar for around 3-5 minutes before adding the second half.
- Now add in your melted dark chocolate and orange extract - mix briefly to combine. It should be lovely and fluffy at this point. If you think it's too thick and clumpy you can add a tsp of milk. If too thin you can add more icing sugar to reach the desired consistency. I've never needed to do either though.
To assemble your cupcakes:
- Once the cupcakes and chocolate ganache filling are cool you need to make little holes in your cupcakes so you can fill them. I use one of my piping nozzles to gently push into the centre of the cupcake and remove the core. You could also use a knife to carefully remove a little too. Just make sure you don't go too deep as you need some of the cake beneath to hold the filling!
- Spoon a decent amount of your sauce into the hole you've made in each cupcake until its level with the top of the cupcake.
- Spoon your buttercream into a piping bag with a closed star nozzle - I use a 1M nozzle, which is linked in the FAQ section and below. Then pipe your buttercream on top.
- Finish with a little orange zest on top and of course a Cadbury chocolate orange button (also linked in the FAQ section). Enjoy!
Nutrition
Any questions about the recipe? Please do let me know by following me on Instagram and leaving me a comment on a recent photo!
Thanks for reading,
Becky xxx
Oh and don’t forget to pin this for later!

