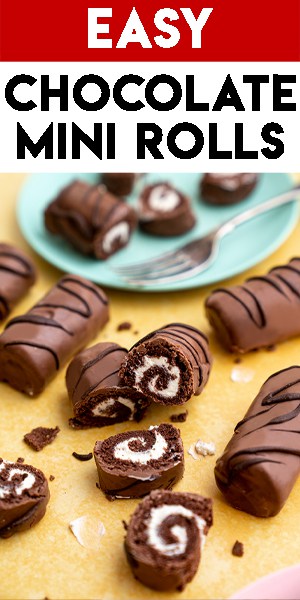
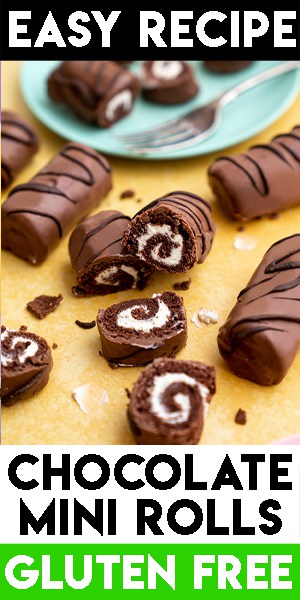
Gluten-free mini rolls recipe – a must for every gluten-dodger out there! Best of all, nobody would ever know they’re Coeliac-friendly and 100% wheat-free.
Gluten-free mini rolls recipe – super simple to make and require less than 30 minutes of effort. Plus, if you fancy making them dairy-free – it’s incredibly simple!
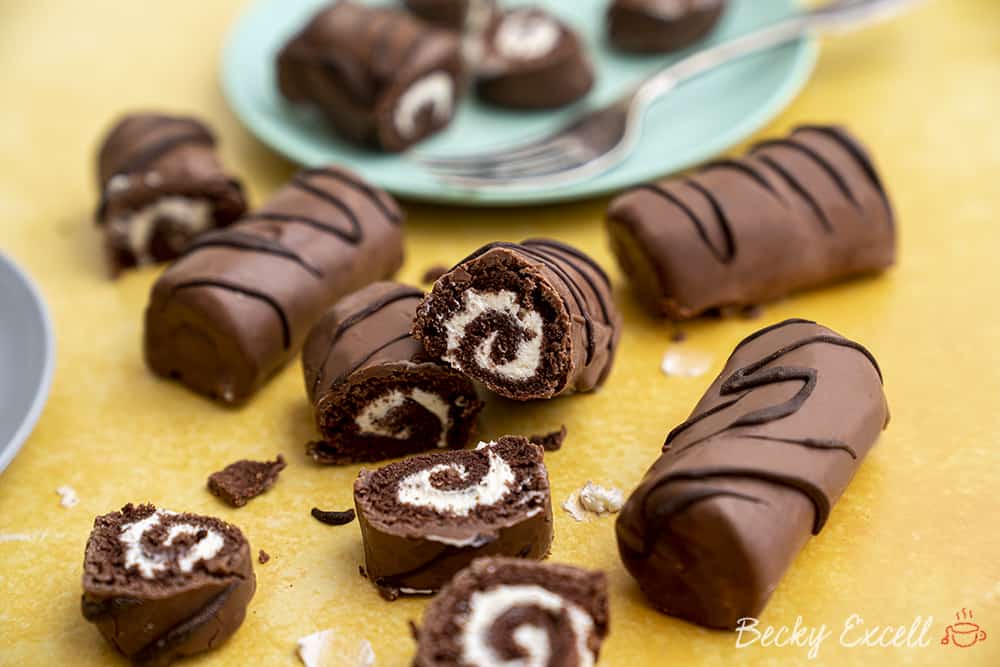
My earliest memory of mini rolls was probably piling about three of them onto a paper plate at a birthday party along with tons of party rings.
(yep, I also made a gluten free version of party rings here too!)
But then I’d also have one in my lunchbox every day at school and it was the one thing I’d never trade for anything else!
Notice how all my memories of mini rolls are when I was a kid? Well, it’s mainly because I don’t think I’ve ever eaten one since then! But that all changes now…
Gluten-free Mini Rolls recipe: What you’ll need…
- Medium eggs: I used medium eggs, so to ensure yours turns out the same, I’d recommend you do too (though large eggs should be fine). Unfortunately, you cannot make this recipe egg-free due to the amount of eggs required and the fact that they’ll need to be separated.
- Caster sugar: In a swiss roll sponge, sugar is incredibly important, so don’t reduce the amount, or even worse, remove it entirely – it won’t work!
- Vegetable oil: Vegetable oil keeps the sponge super moist and is incredibly important considering there’s actually no butter in the sponge.
- Vanilla extract: A little goes a long way when combined with cocoa powder in terms of flavour – a good quality one helps massively too.
- Milk: The protein in milk helps give a gluten-free sponge structure, so don’t skip this even though it might seem like you can!
- Gluten-free plain flour: I use Doves Farm’s FREEE gluten-free plain flour blend that you can find in the supermarket. Can’t find it in your part of the world? You can always use my homemade gluten-free plain flour blend.
- Cocoa Powder: This is what makes the sponge chocolatey!
- Xanthan Gum: This is a binder and incredibly integral to ensuring that a gluten-free sponge can be rolled up without cracking or breaking. Don’t even think about leaving this out!
- Butter: Make sure yours is softened when making buttercream. Do not substitute for a spreadable margarine you’d put in a sandwich! If using margarine, it must be a hard block.
- Icing sugar: Of course, you can’t use caster sugar for the icing – that’s what icing sugar is for!
- Milk and dark chocolate: Milk chocolate is perfect for the coating of each mini roll and dark chocolate is just for contrasting decoration – you could also use white chocolate too.
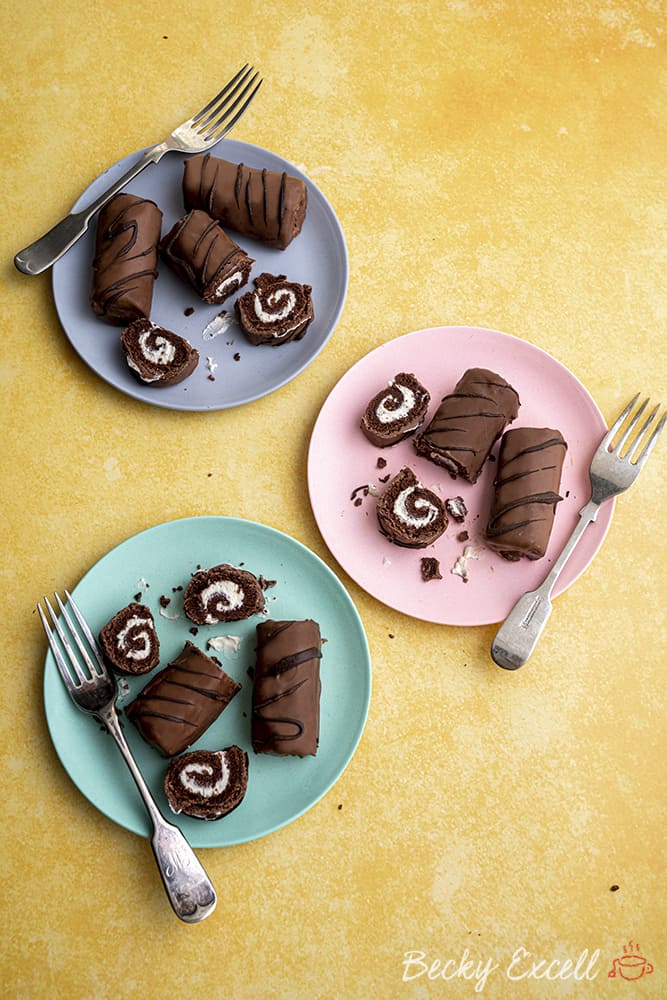
First of all, what on Earth is a mini roll? Well, it’s sort of like a mini swiss roll cake bar that you can easily buy in supermarkets here in the UK.
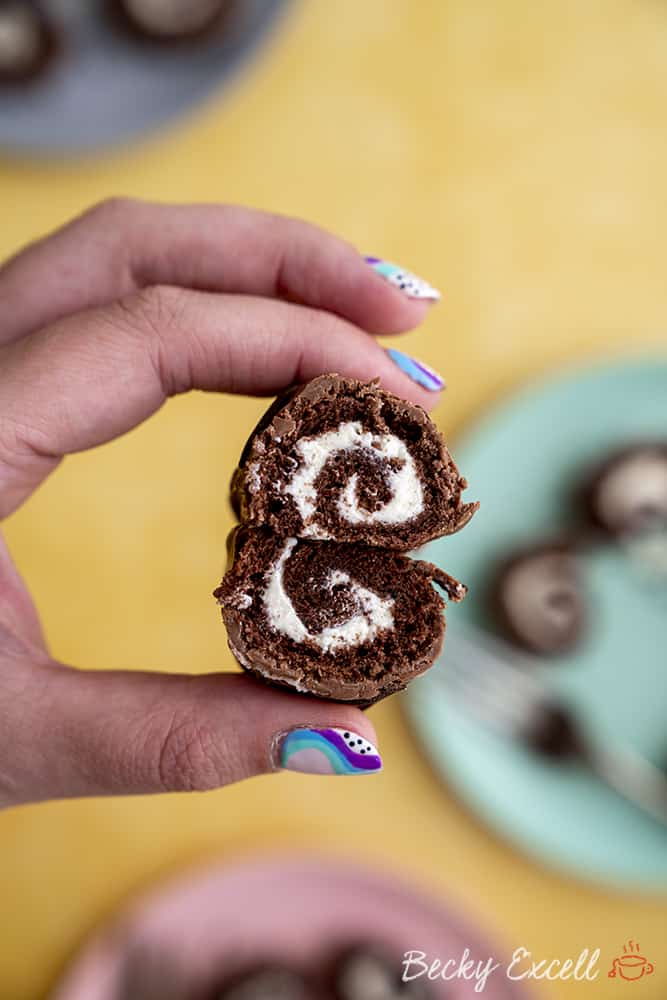
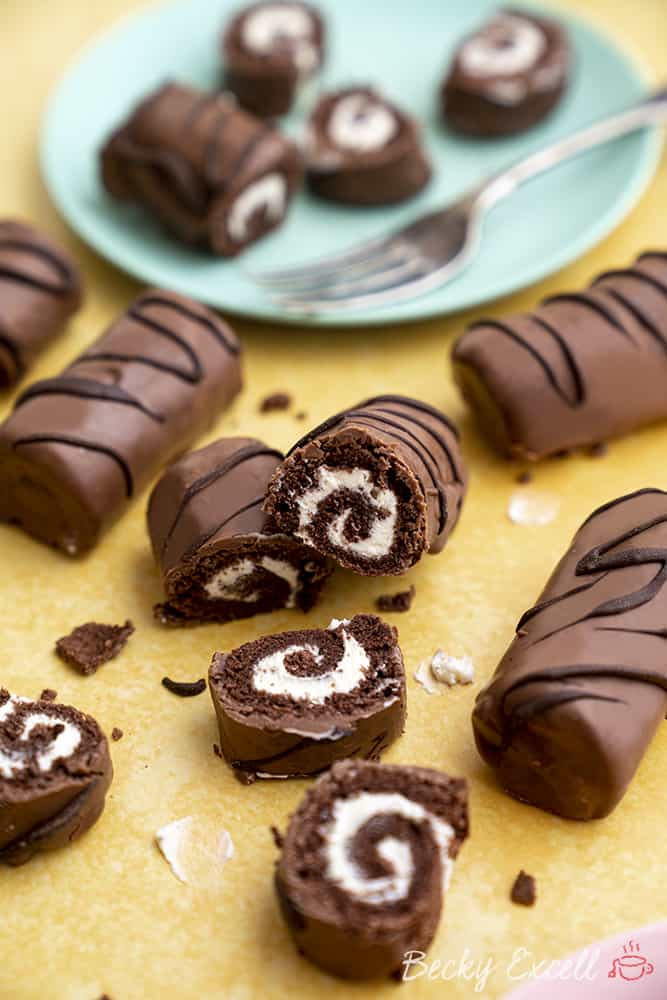
Essentially, it’s a super light and moist chocolate sponge with a white cream filling, covered in milk chocolate. Or in my own words: nostalgic awesome in every bite.
There’s just one problem… they’re not gluten-free!
But fortunately, they’re super easy to make at home and honestly… baking your own ensures that they taste even better than the real deal.
Gluten-free Mini Rolls recipe: Frequently Asked Questions
Can I make this recipe gluten-free? Is it suitable for Coeliacs?
It is gluten-free, though nobody would know just by tasting it – trust me!
Bear in mind that minimising cross-contamination is hugely important if you’re Coeliac or making this for someone who is. Here’s some tips from Coeliac UK on minimising the risk of cross contamination.
Also, make sure that all ingredients used don’t have any gluten-containing ingredients. Then make sure that they also don’t have a ‘may contain’ warning for gluten, wheat, rye, barley, oats (which aren’t gf), spelt and khorasan wheat (aka Kamut).
Here’s some more info from Coeliac UK on identifying safe gluten-free products.
Can I make your gluten-free Mini Rolls recipe dairy-free?
Yes! Here’s the simple swaps you need to make:
- Use dairy-free milk
- Use dairy-free hard margarine (like a Stork baking block) instead of butter for the icing – do NOT use margarine like you’d spread on toast for icing.
- Use dairy-free milk/dark chocolate for the decoration.
Can I make you gluten-free Mini Rolls recipe vegan?
Unfortunately, because this recipe involves separating eggs, egg replacements aren’t possible here and it cannot be made vegan.
Is this recipe low FODMAP?
To make this low FODMAP, simply use lactose-free milk and lactose-free milk/dark chocolate. Then, this recipe is suitable for the elimination phase of the diet.
Do I need any special equipment to bake your gluten-free Mini Rolls recipe?
Certainly not! What you will need however is a swiss roll tin – I use this one by Mary Berry and Lakeland, it’s 35cm by 25cm.
If you’re in a bit of a pinch and don’t have a swiss roll tin, you can easily use a baking tray instead as long as it’s roughly the same size and sides aren’t too low.
Oh and make sure you have some baking paper – I use Bacofoil. You’ll definitely need this to successfully roll up your sponge.
Does this recipe need xanthan gum?
You’ll see xanthan gum in a lot of my recipes as it’s an essential ingredient in gluten-free baking. And that’s exactly the case here.
How else would a gluten-free sponge be able to perform the miraculous feat of rolling up without breaking? Xanthan gum is the star here!
So yes, if you can tolerate xanthan gum, please ensure that you use it.
Can I make this recipe using other gluten-free flours like buckwheat flour or coconut flour?
There’s a big difference between ‘gluten-free plain/self-raising flour’ and a *singular* type gluten-free flour. When I say ‘gluten-free plain or self-raising flour’ in a recipe, I mean a BLEND of gluten-free flours, not just one, singular flour.
Most gluten-free flour you buy in the supermarket typically contains a blend of rice flour, potato flour, maize flour, tapioca flour AND buckwheat flour. That’s a lot of different flours!
In gluten-free self-raising flour, there’s usually even a little baking powder and xanthan gum in it too which always helps. So to replace it with just one specific type of flour… that’s not going to cut it at all. Definitely go for a gluten-free flour blend.
Do I need weighing scales to bake your gluten-free Mini Rolls recipe?
In short… yes, yes and yes! And I wouldn’t advise attempting any of my recipes without them.
A lot of work went into fine tuning ratios and quantities and for me, baking is all about consistency and precision. I want you to make this recipe and for it to turn out EXACTLY like mine did.
I’d recommending using digital cooking scales like these so you know you’re getting an accurate measurement and replicating my recipe as accurately as poss.
Gluten-free Mini Rolls recipe: Tips for perfect bake every time
- You must roll up the sponge when it’s still warm, fresh out of the oven. When it’s warm, it’s more malleable, if you let it cool, then try to roll it… well… you don’t want to find out!
- Ensure you spread your buttercream on your sponge evenly. There shouldn’t be tons of buttercream in one place, then a thin scraping of buttercream in another.
- Be gentle when peeling off the baking paper. It’s likely that the outer layer of the sponge will stick to the paper as you peel it off, but if you’re too violent, you might take more than just the outer layer!!
- Once coated in chocolate, place each mini roll onto a cooling rack set over a baking tray. This will catch all the melted chocolate that drips through.
- If you’ve got space, placing your mini rolls into the fridge will help the chocolate to set faster.
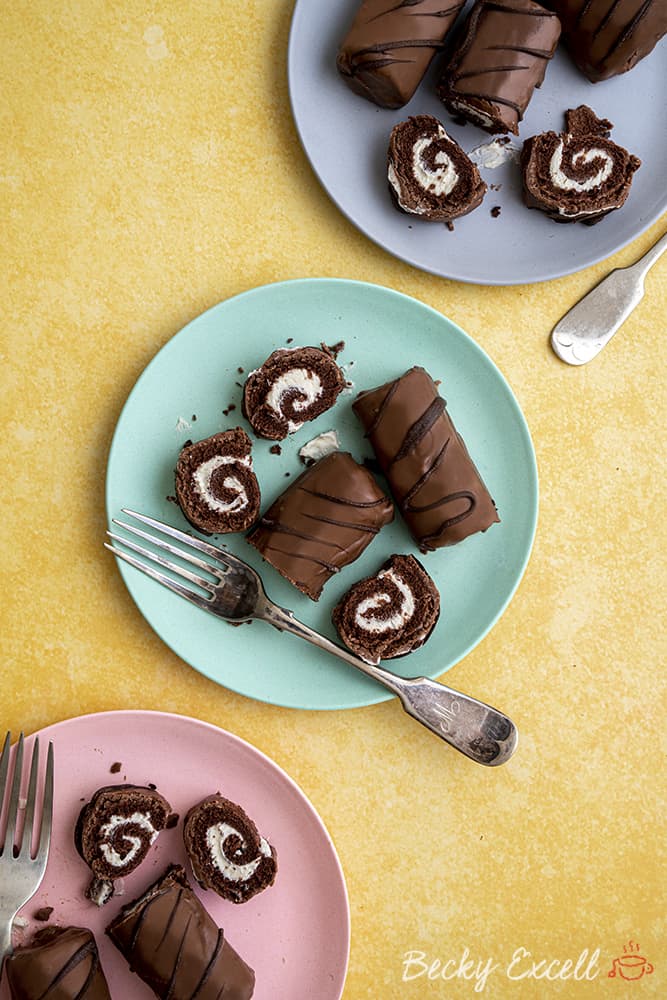
So I can guarantee that your average muggle will absolutely adore these too! Here’s how to make them…

Gluten-free Mini Rolls Recipe (dairy-free + low FODMAP option)
Equipment
Ingredients
For the sponges:
- 2 medium eggs separated
- 50 g caster sugar
- 1 tbsp vegetable oil
- 1 tsp vanilla extract
- 1 tbsp milk dairy-free if necessary
- 20 g gluten-free plain flour
- 10 g cocoa powder ensure dairy-free if needed
- pinch of xanthan gum
For the filling
- 100 g butter softened (use Stork hard margarine if dairy-free)
- 100 g icing sugar
For the coating
- 200 g milk chocolate melted (dairy-free if necessary)
- 30 g dark chocolate melted (dairy-free if necessary)
Instructions
For the sponge:
- Preheat your oven to 180°C fan / 200°C. Lightly grease your Swiss roll tin and line with non-stick baking paper.
- Separate your eggs into two small bowls – egg whites in one and yolks in the other.
- In a larger mixing bowl, add your egg yolks and half the caster sugar (25g). Whisk together until combined, then add your vanilla extract, milk and oil and whisk once more. Sift in the flour, cocoa powder and xanthan gum, and mix in until well combined, thick and glossy.
- In a separate bowl, whisk your egg whites (using an electric hand whisk or stand mixer ideally) until they start to turn white and frothy. Gradually add the remaining caster sugar (25g), whisking until you have medium peaks.
- In 2-3 stages, add your egg white mixture to your egg yolk mixture, folding it in carefully between each addition using a silicone spatula. Once all the egg white mixture is fully folded in, pour your mixture into your prepared tin. Spread it out gently to make sure it’s nice and even and bake in the oven for 8 minutes until cooked through.
- Place a piece of non-stick baking paper on your work surface and dust it with the icing sugar.
- While your sponge is still warm, loosen it from the tin and flip it out onto the baking paper. Carefully peel off the baking paper on top that once lined the tin – don’t worry if you lose the outer layer of the cake because it sticks to the paper as you peel it off, that’s totally normal, but do be more careful as its a very thin sponge. Using your baking paper, roll the sponge up from the long end – the paper should be inside it as you roll. Try to roll fairly tightly, then leave the sponge to cool fully while rolled up. I prop something up against it to stop it from unrolling itself.
For the filling:
- Place your softened butter in a mixing bowl, mix on its own on a high speed for about 5 minutes. The butter should change from a more yellow colour to being a lot more pale.
- Add your icing sugar into the butter until fully combined. This is a slightly softer buttercream than I usually do but works the best in this. You can also add a drop of vanilla extract too if you like.
To assemble:
- Carefully unroll your sponge. Fortunately I never find the sponge cracks using my recipe, but if it does a little, it doesn’t matter – it will all be covered in chocolate – just be delicate!
- Spread a very thin layer of of your filling on the unrolled sponge (I leave about a half cm gap on the long edges – otherwise you will have too much filling in your mini rolls.
- Tightly roll your sponge up again (from the long side once more) but this time, stop half way. Then, roll the opposite long side to meet the part you just rolled. Then use a sharp knife to cut down the middle so you have two long rolls.
- Cut each roll into 5 smaller mini rolls – push them to be a bit more round if they have flattened slightly from your cutting. Place them on a board and chill briefly in the fridge (this isn’t super necessary but I think it helps a little).
- Take each mini roll one by one and dunk them into the melted milk chocolate, put them on a cooling rack and spoon over a little extra chocolate to fill any gaps you see. Allow to set either at room temp or in the fridge.
- Finish by drizzling a pattern of dark chocolate over each – the contrast looks really nice. You could also use white chocolate or leave them plain. Allow to set once more so your chocolate solidifies.
- Carefully remove them from the cooling rack and enjoy!
Notes
Nutrition
Thanks for reading all about my gluten-free Mini Rolls recipe! If you make it, I’d love to see how it turned out so don’t forget to take a snap of your creations and tag me on Instagram!
Any questions about the recipe? Please do let me know by following me on Instagram and leaving me a comment on a recent photo!
Thanks for reading,
Becky xxx
Don’t forget to pin this for later!

