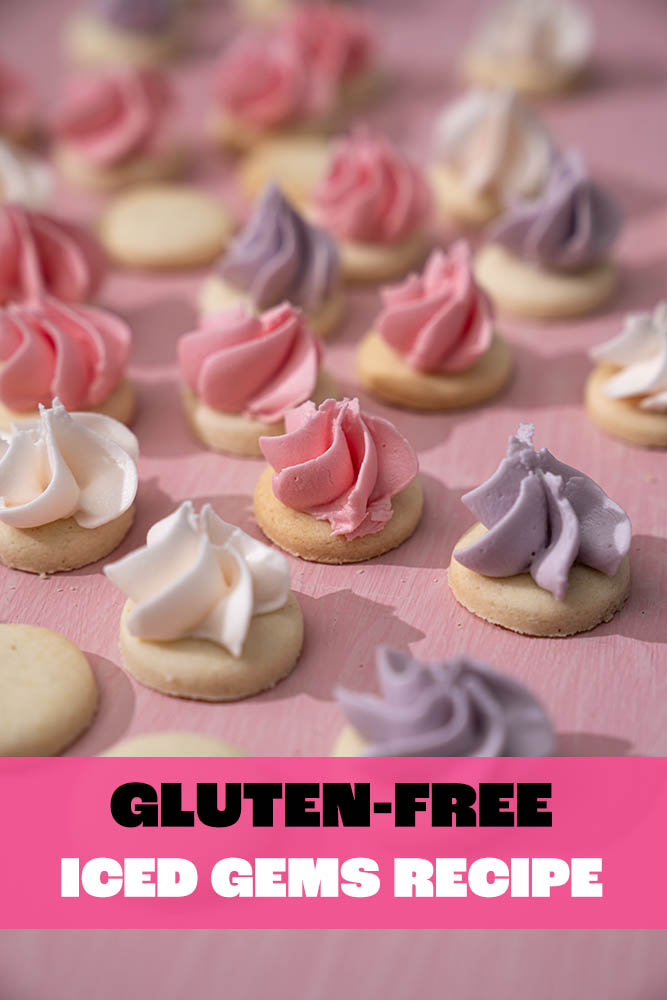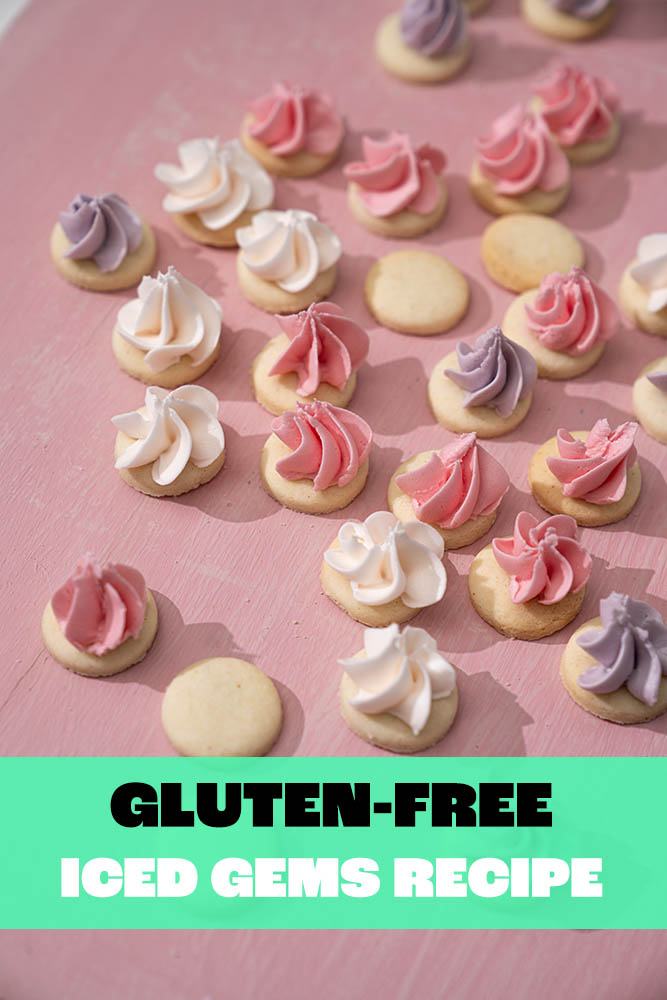

Introducing my nostalgia-tinged gluten-free Iced Gems recipe! See the FAQ for advice on adapting this to other dietary requirements.
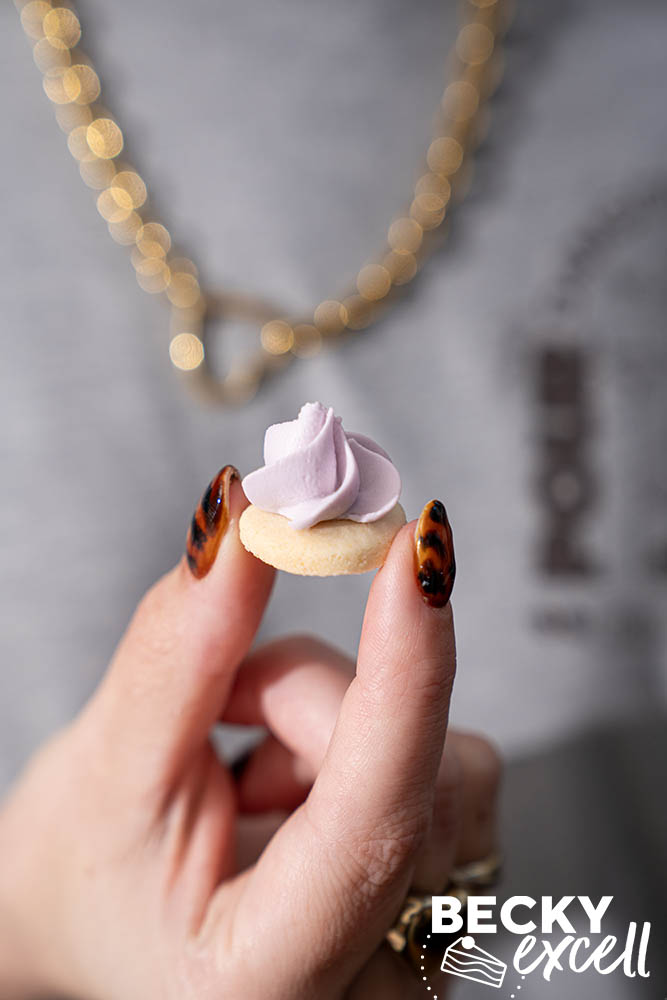
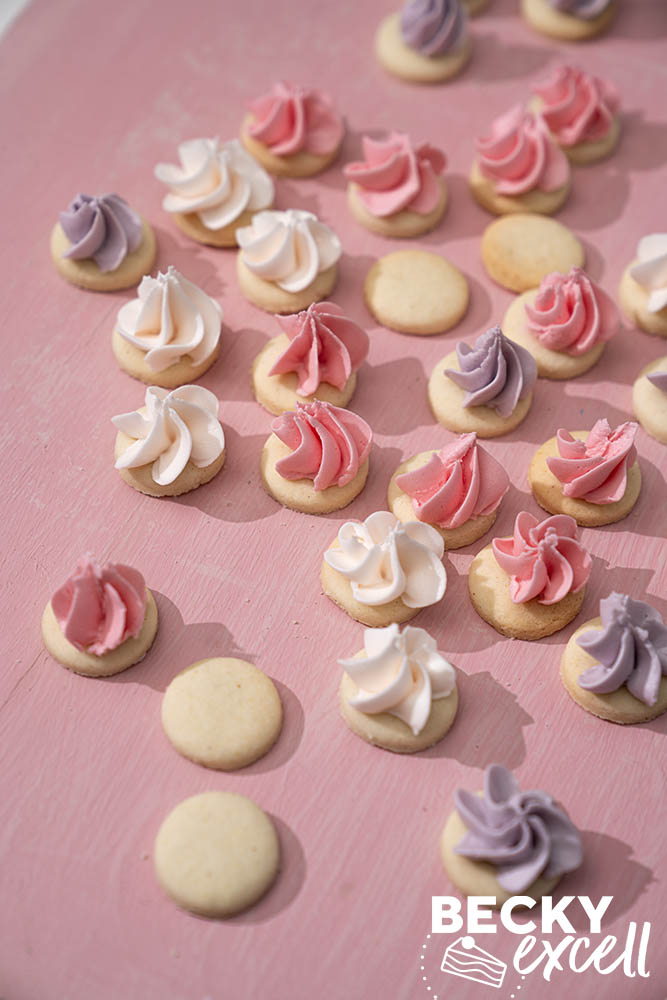
If you grew up eating Iced Gems by the handful, then these probably need very little introduction… My gluten-free Iced Gems are comprised of tiny, crisp vanilla biscuits topped with crunchy royal icing in three flavours: vanilla (white), raspberry (pink) and blackcurrant (purple).
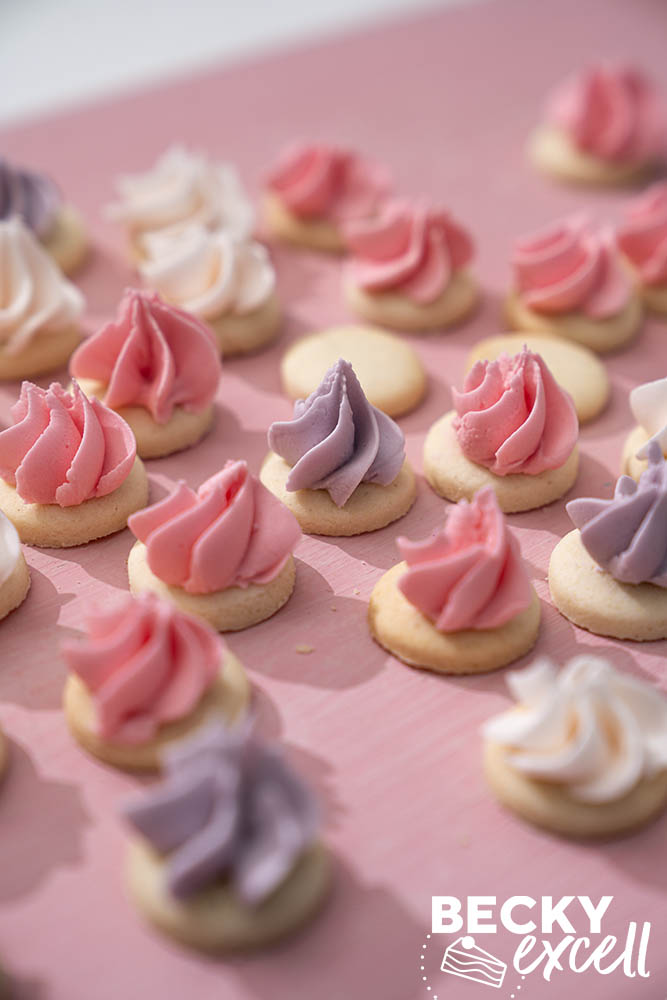
This recipe was inspired by episode 2 of this year’s Great British Bake Off, where the bakers were tasked with making Iced Gems during Biscuit Week. But obviously, I had to make mine gluten-free!
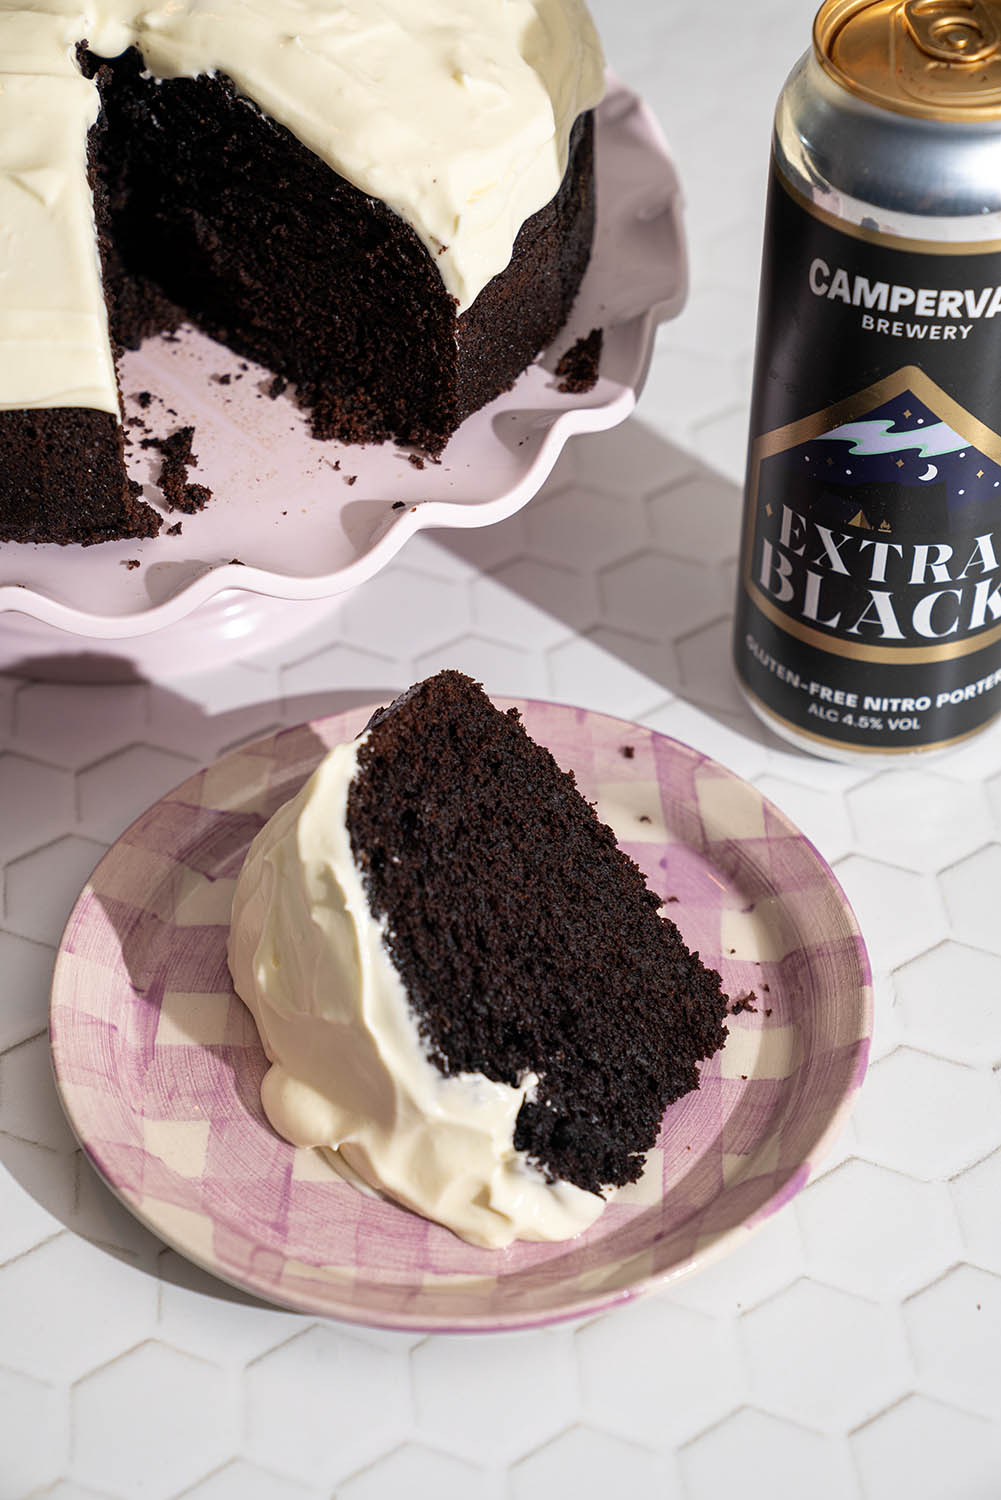
Last week, I kicked off this little Bake Off series with my gluten-free chocolate stout cake, so this week it only seemed right to give another nostalgic bake the gluten-free treatment. The plan is simple: one bake inspired by each week’s episode, made entirely gluten-free. So yes, I’ll be back again next week with something inspired by episode 3 if you guys enjoy these recipes!
Being gluten-free means getting very used to walking past all sorts of nostalgic biscuits and sweet treats you used to eat and then feeling uncontrollably ‘hangry’. Iced Gems are definitely one of those. They’re still everywhere (even can’t avoid them on TV now!), but finding gluten-free Iced Gems that are suitable for us just isn’t happening: that’s exactly why I’m sharing my own coeliac-safe, wheat-free recipe instead.
And considering they’re basically just a tiny crisp biscuit topped with royal icing, it felt slightly ridiculous that I’d gone more than two decades without eating any! So naturally, once they appeared on Bake Off, making a homemade gluten-free version shot straight to the top of my list. This recipe was simply made by combining the vanilla biscuits and royal icing recipe from ‘How To Bake Anything Gluten Free‘. So if you like this recipe, definitely check out that book!
Why you’ll love my Gluten-free Iced Gems
- They’re just like the nostalgic little biscuits I remember… but better! You’ve got a crisp, vanilla biscuit underneath with that unmistakably crunchy royal icing peak sitting on top. However, mine are a little bigger than the ‘real deal’ and taste far better than I remember…
- The different coloured icing on each gem is actually a different flavour, much like the real deal. After all, isn’t that half the fun of iced gems? On Bake Off, they made iced gems that were all the same flavour… so we’ve made a little upgrade here!
- They’re surprisingly straightforward to make. There’s a little rolling, cutting and piping involved, but nothing is particularly complicated and they’re incredibly satisfying once you’ve got a whole tray lined up. This recipe is very kid-friendly in my opinion.
- And of course, they’re gluten-free! Which means there’s no need to stand staring longingly at a packet of regular Iced Gems ever again. Plus, they’re extremely easy to make dairy-free, lactose-free, egg-free and vegan if you want (see FAQ section for how to do that).
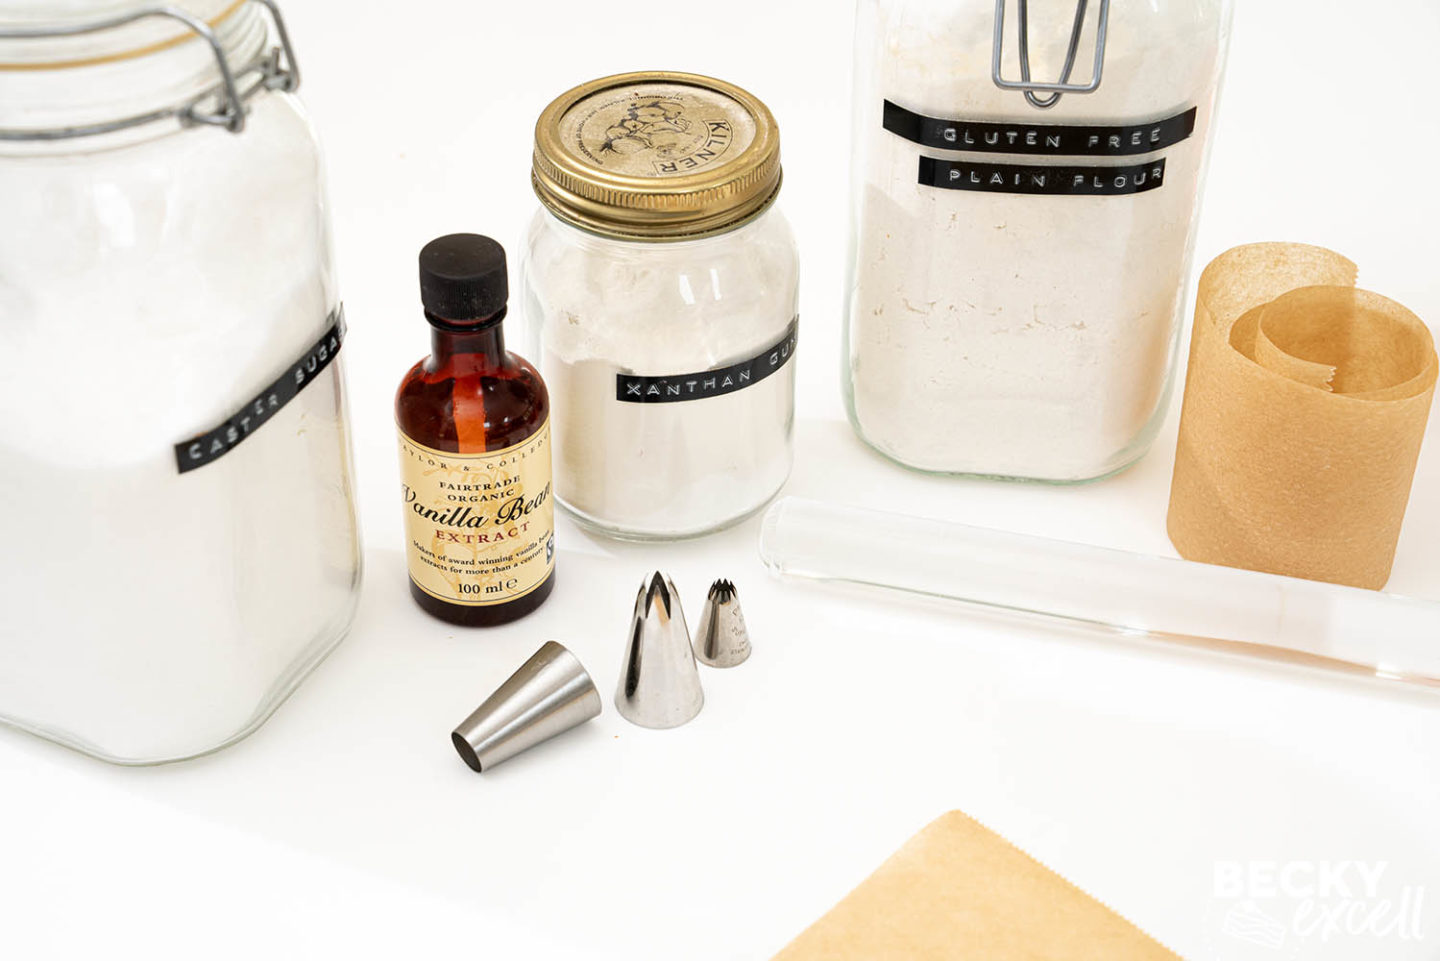
Ingredients for my Gluten-free Iced Gems
The biscuit part of this recipe is intentionally very simple. You’ll need butter, caster sugar, milk, vanilla extract, gluten-free plain flour and xanthan gum.
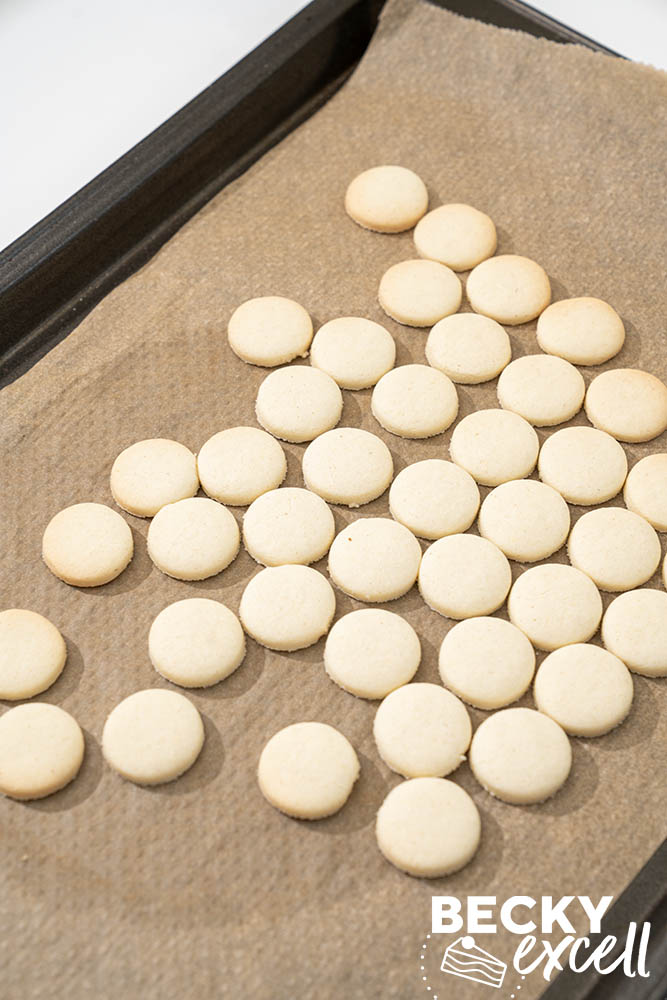
The aim is a firm dough that can be rolled out, cut into tiny 2cm-ish rounds which bake without spreading at all. Once cooled, they should be crisp rather than soft and cookie-like.
For the topping, you’ll need egg white and icing sugar to make a thick royal icing. It needs to be stiff enough to hold those characteristic ridges and peaks, but not so stiff that it refuses to stick to the biscuit when piped.
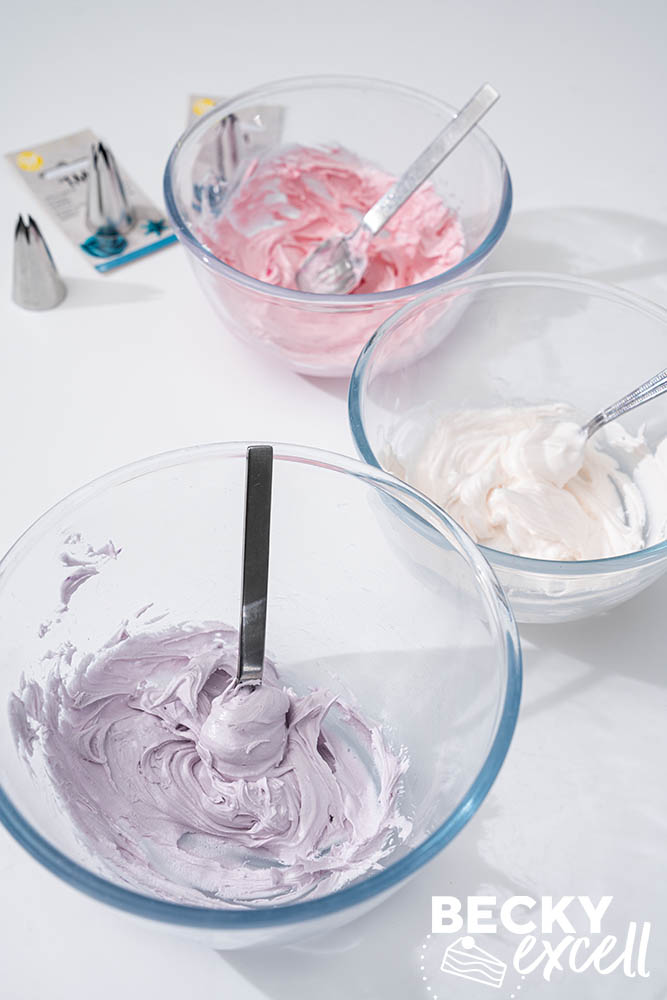
I split the icing into three: white vanilla, raspberry pink and blackcurrant purple. Make sure you use food colouring paste rather than lots of liquid colouring, as you don’t want to unnecessarily loosen the royal icing to achieve your desired colour.
How to make my Gluten-free Iced Gems
- Start by making the biscuit dough. Cream together the butter and caster sugar, then mix in the milk and vanilla. Add the gluten-free flour and xanthan gum and mix until everything comes together into a rollable dough.
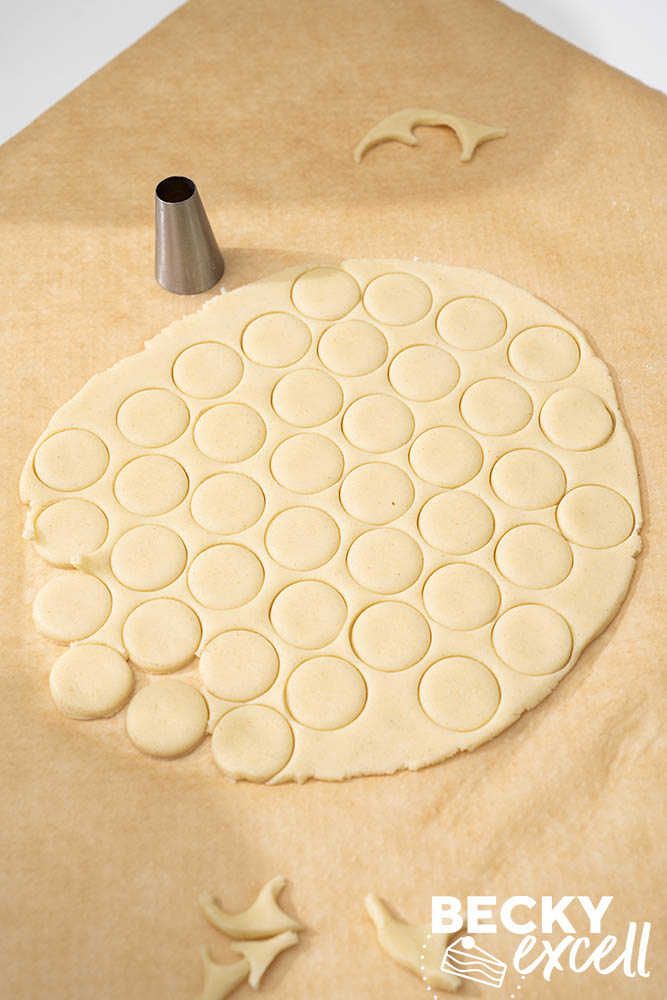
- Roll the dough out to around 6mm thick, then use a 2cm round cutter (or the wide end of a piping nozzle) to cut out all those tiny biscuit bases. Re-roll the scraps until you’ve used up as much dough as possible, then bake until set and only very lightly golden.
- Once the biscuits are completely cool, make the royal icing using egg white and icing sugar. Divide it into three, leaving one white and colouring the other two pale pink and purple. The white gets vanilla extract, pink gets raspberry flavouring and the purple gets blackcurrant.
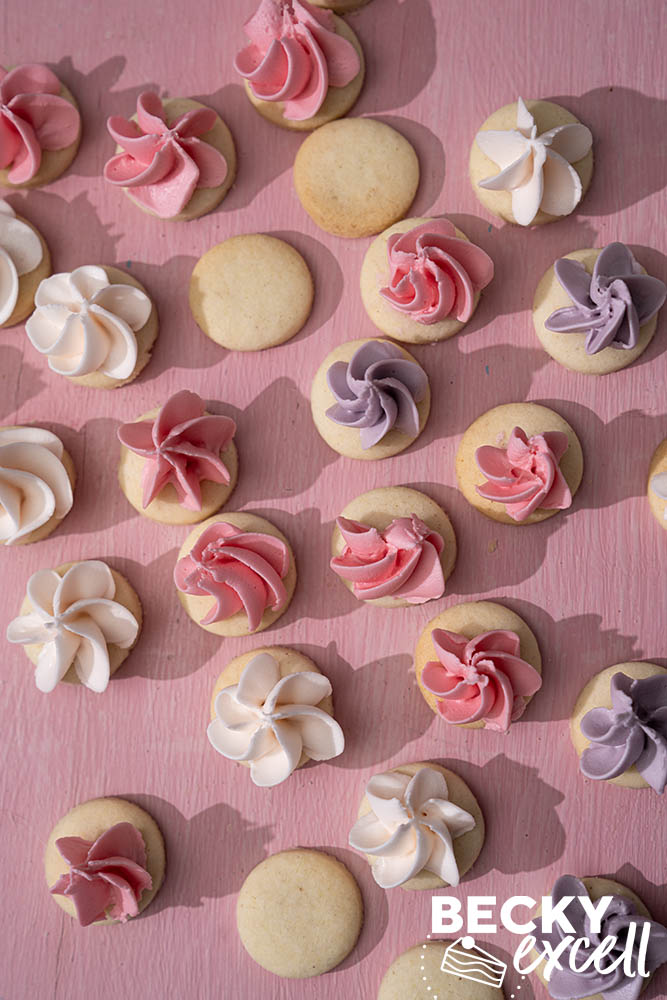
- Pipe a little ridged peak onto every biscuit using a small open-star nozzle. Let the icing make proper contact with the biscuit, stop squeezing, then lift the nozzle straight upwards.
- Finally, place them into a very low oven until the royal icing is completely hard and crisp. Once cool, they’re ready for some very nostalgic snacking!
A few tips before you start
The main piece of equipment that makes these instantly look like proper Iced Gems is a 2cm round cutter. Go much bigger than that and you start wandering into normal iced biscuit territory! In the absence of this, you can always use the wide end of a piping nozzle.
When rolling the dough, aim for an even 6mm thickness. Because the biscuits are so tiny, differences in thickness become surprisingly obvious once they’re all lined up together.
For the royal icing, you’re looking for something thick enough to hold a firm peak but still easy enough to pipe. If it feels extremely stiff once mixed, add ¼ tsp water at a time before putting it into the piping bag until it pipes comfortably whilst still holding its shape.
When piping, let the bottom of the icing actually touch the biscuit and establish a little base. Stop squeezing, then lift the nozzle straight upwards. This helps stop the entire icing peak coming back off with the piping bag.
And don’t skip the low oven at the end. This helps the royal icing dry until it becomes properly hard and crisp, which is exactly what you want from an Iced Gem.
Storage and leftovers
Once the royal icing is completely dry and the Iced Gems have cooled, store them in an airtight container at room temperature for up to 5 days.
I wouldn’t recommend freezing the finished Iced Gems, as condensation when they defrost can soften the biscuits and affect the royal icing.
If you want to get ahead, you can always freeze the plain baked biscuit bases before icing for up to 1 month. Defrost them completely at room temperature, then pipe and dry the royal icing as normal.
Recipe tips, swaps and FAQs
Is this recipe gluten-free? Is it suitable for people with coeliac disease?
Yes! This recipe is completely gluten-free and suitable for people with coeliac disease, provided all the ingredients you use are gluten-free too.
As always, make sure you check ingredient labels for any may contain warnings for wheat, rye, barley or oats that aren’t labelled gluten-free, and take care to avoid cross-contamination when preparing and baking them.
If you’re cooking for someone with coeliac disease, you can find Coeliac UK’s advice on avoiding cross-contamination here.
Can I make these dairy-free?
Yep! Simply use a hard dairy-free alternative to butter and dairy-free milk in the biscuits.
Can I make these vegan? Or egg-free?
Yep! The biscuit dough is already egg-free, so simply follow the dairy-free advice above to make those vegan. That’s one part sorted.
For the royal icing, replace the 40ml egg white with 40ml aquafaba, which is the liquid from a tin of chickpeas. Combine the aquafaba with the icing sugar and whisk for around 5 minutes, just as you would with the egg white, until thick, smooth and able to hold a firm peak.
Finally, check that your food colourings, flavourings and vanilla extract are suitable for vegans.
Can I make this low in lactose or lactose-free?
Yep, easily! For the biscuits, simply use lactose-free milk; also butter is naturally very low in lactose. However, if you need them strictly lactose-free, use a suitable lactose-free butter or dairy-free alternative instead.
Is this low FODMAP?
It can be! For the simplest low FODMAP version, use lactose-free milk in the biscuits. That’s it!
As always, ensure that you check the ingredients in your gluten-free flour blend, as some blends can contain higher-FODMAP additions such as inulin or chicory root fibre. It’s also worth checking the specific flavourings and food colourings you use.
I haven’t had the finished recipe tested for FODMAP content, so anyone following the strict elimination phase should stick to ingredients and serving sizes they already know they tolerate.
What food colouring and flavour did you use?
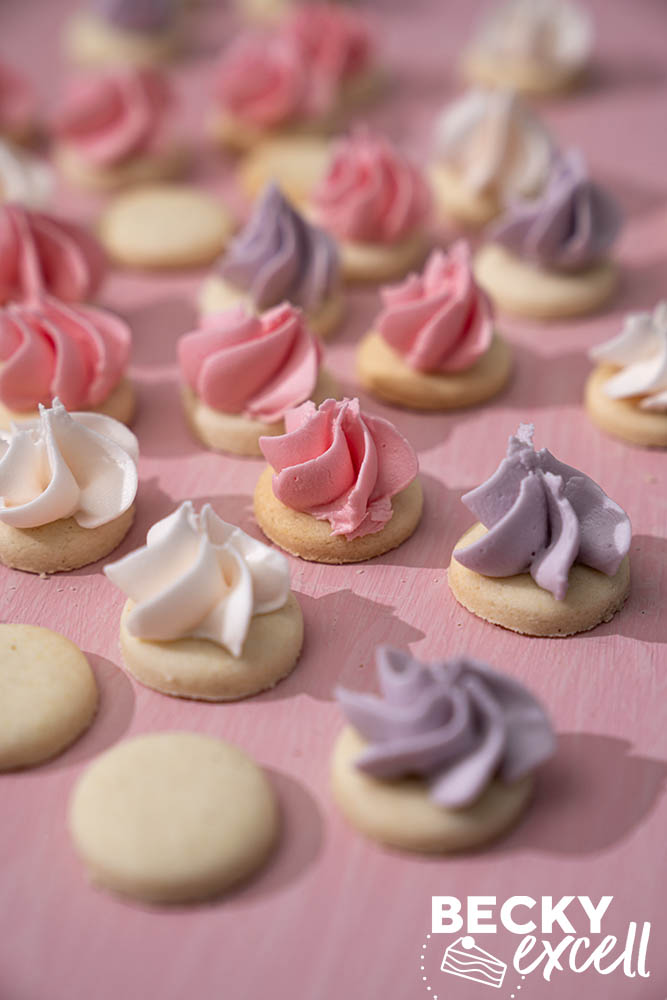
For the colours, I used the pink and purple gels from the Rainbow Dust ProGel set. I’d definitely recommend using gel or paste food colouring rather than liquid food colouring, as royal icing needs to stay thick enough to hold that classic Iced Gem shape. Gel gives you plenty of colour without adding unnecessary liquid.
I used:
- Rainbow Dust ProGel food colouring set on Amazon – I used the pink and purple gels
- Foodie Flavours Natural Raspberry Flavouring, High Strength 15ml – for the pink icing
- Foodie Flavours Natural Blackcurrant Flavouring, High Strength 15ml – for the purple icing
- Nielsen-Massey Vanilla Extract – for the white icing
The raspberry and blackcurrant flavourings are high-strength, so you genuinely only need a drop or two.
What size biscuit cutter do I need?
I use a 2cm-ish round cutter from this round cutter set on Amazon. You could also use this fluted cutter set for fancier edges too. The wide end of a piping nozzle also works but can be a little annoying when one circle gets stuck in it!
The small size is important because once the royal icing is piped on top, the finished biscuit suddenly looks much more substantial. Using a normal-sized biscuit cutter would give you something considerably bigger than an Iced Gem!
What piping nozzle and piping bags do I need?
I used this Wilton 1M open-star piping nozzle on Amazon. I actually used 3 of them, 1 for each piping bag.
That’s what creates those familiar ridges running up the sides of the icing and gives you the little pointed peak on top.
You’ll also need some piping bags like the ones I used on Amazon.
Why is my royal icing not sticking to the biscuits?
Your icing is probably slightly too stiff, or you’re pulling the piping nozzle away before the icing has properly attached itself to the biscuit.
If the royal icing feels overly stiff once mixed, add ¼ tsp water at a time before transferring it to your piping bag, until it’s easier to pipe but still holds a firm peak.
When piping, make sure the icing makes contact with the biscuit first. Stop squeezing, then lift the nozzle directly upwards.
Why do the Iced Gems go back into the oven?
This helps dry the royal icing until it becomes completely hard and crisp.
Air drying will eventually firm royal icing up too, but gently drying the finished Iced Gems gives you that proper crunchy topping much more reliably. I also prefer that the egg white in the icing gets a little heat rather than being left completely raw.
Can I make these ahead of time?
Absolutely – the biscuits, that is. Once cooled, store them in an airtight container until you’re ready to make the icing and pipe it on. Royal icing starts to crust and thicken once mixed and exposed to the air, so I’d strongly advise making it when you’re ready to pipe.

Gluten-free Iced Gems
Equipment
Ingredients
For the biscuits
- 30 g butter softened
- 30 g caster sugar
- 15 ml milk
- 1 tsp vanilla extract
- 90 g gluten-free plain flour
- 1/4 tsp xanthan gum
For the royal icing
- 1 medium egg white mine weighed around 40g
- 225 g icing sugar
- 1/4 tsp vanilla extract
- 1 drop pink food colouring gel
- 1 drop purple food colouring gel
- 1-2 drops raspberry flavouring
- 1-2 drops blackcurrant flavouring
Instructions
- Preheat the oven to 170°C fan / 190°C and prepare a large baking tray by lining it with non-stick baking paper.
- In a large mixing bowl, cream together the softened butter and caster sugar until light and well combined. I use an electric hand whisk.
- Add the milk and vanilla extract, then mix again.
- Add the gluten-free plain flour and xanthan gum. Mix until all of the flour is incorporated and the dough begins to come together. If it still seems too dry to form a workable dough, add up to 1 tsp extra milk.
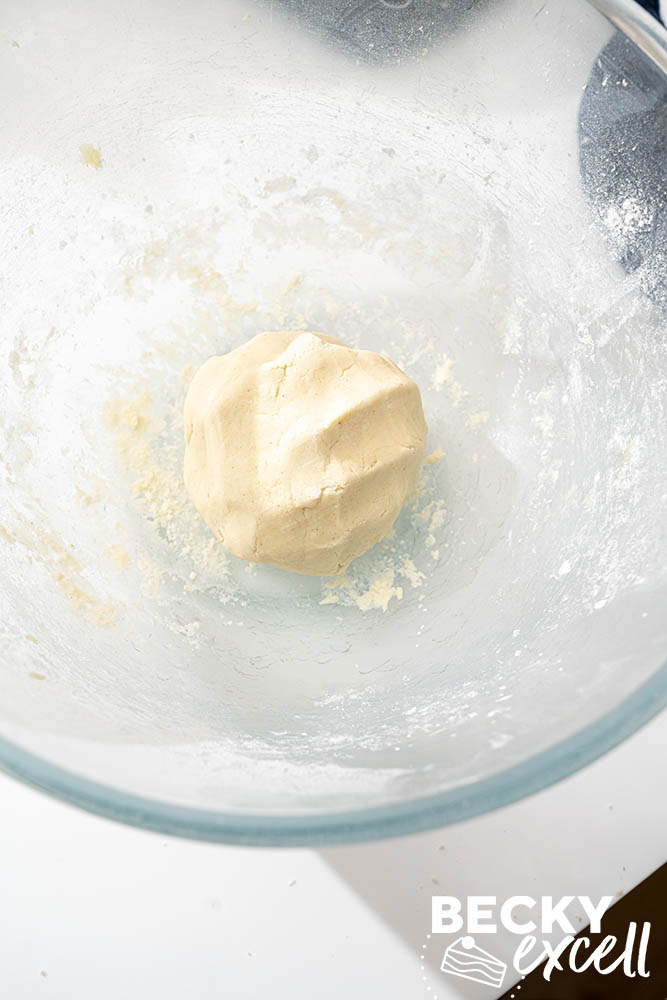
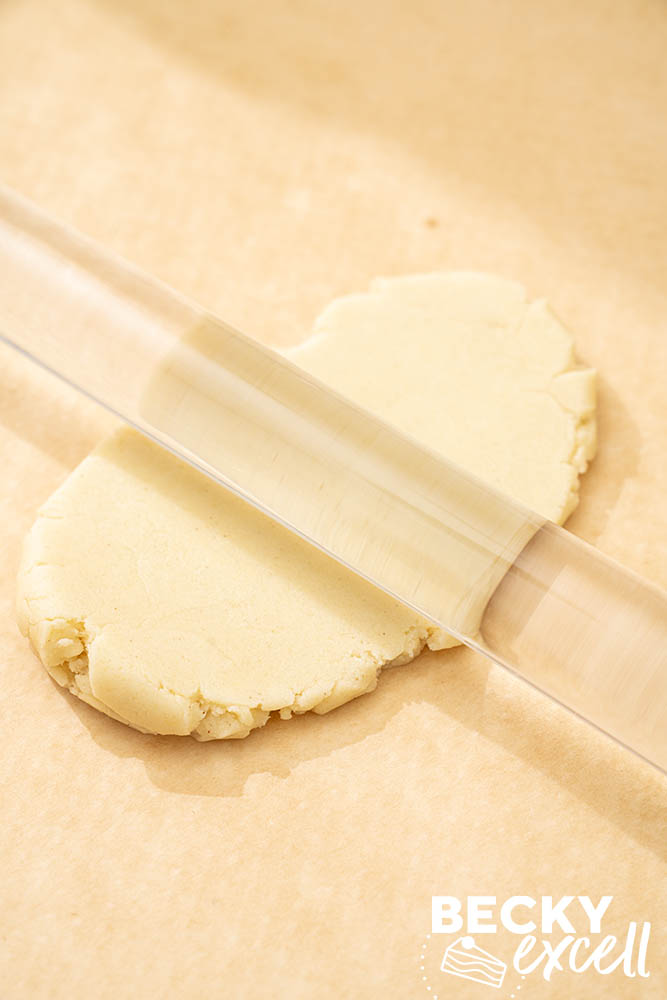
- Lightly flour a large sheet of non-stick baking paper and the rolling pin, then roll the dough out to around 6mm thick.
- Use a 2cm round cutter (or the wide end of a piping nozzle) to cut out as many little biscuits as possible. Re-roll the scraps and continue cutting until all of the dough is used.
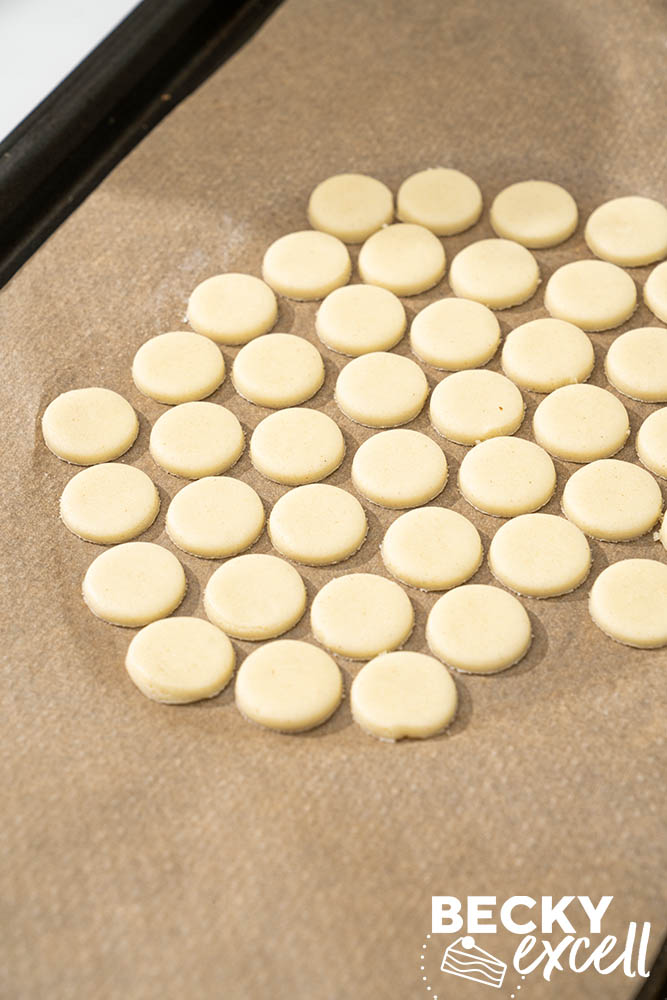
- Transfer the biscuits to the prepared baking tray, ideally using a small palette knife.
- Place into the preheated oven for around 8-10 minutes, until set and only very slightly golden around the edges. Keep a close eye on them as their small size means they can colour quickly.
- Allow the biscuits to cool briefly on the tray before transferring them to a cooling rack to cool completely.
Make the royal icing
- Add the egg white and icing sugar to the bowl of a stand mixer fitted with the whisk attachment. Alternatively, an electric hand whisk and a (clean) large mixing bowl is fine too.
- Starting on a low speed, mix for around 5 minutes until thick, smooth and roughly toothpaste-like in consistency.
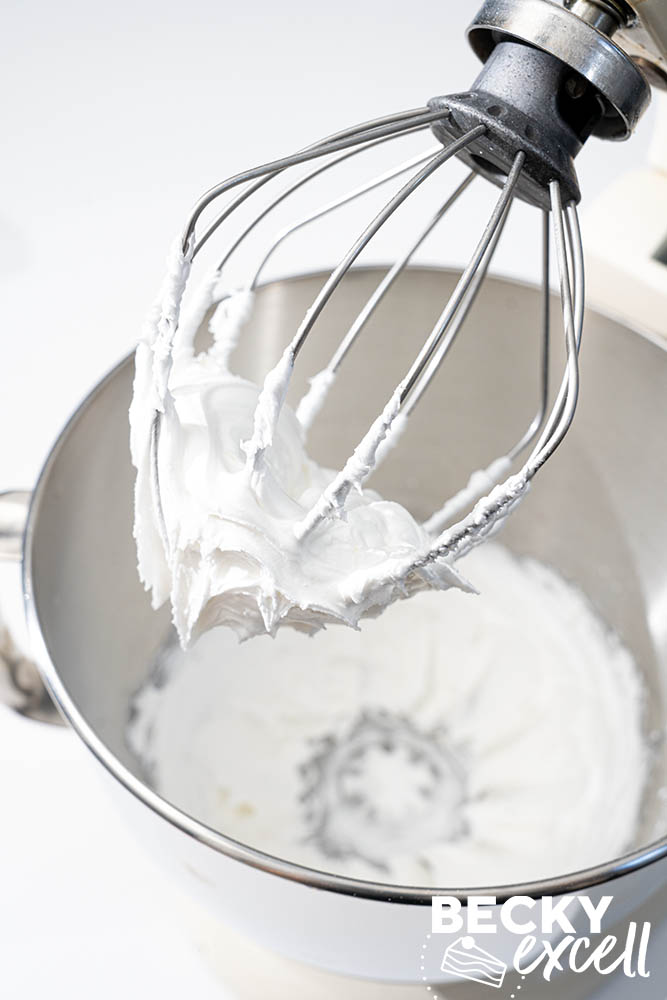
- If the royal icing feels very stiff, mix in ¼ tsp water at a time before transferring it to the piping bag, until it still holds a firm peak.
- Divide the icing equally between three small bowls.
- Leave the first portion white and mix in ¼ tsp vanilla extract.
- Colour the second portion pale pink using a drop of pink food colouring gel. Add 1 drop raspberry flavouring, mix thoroughly and taste. Add a second drop if a stronger raspberry flavour is wanted.
- Colour the third portion pale purple using a drop of purple food colouring gel. Add 1 drop blackcurrant flavouring, mix thoroughly and taste. Add a second drop if needed. Keep the flavourings restrained as they’re high-strength.
Pipe the Iced Gems
- Prepare the three piping bags with an open-star nozzle.
- Fill the piping bags with each icing. Working with one colour at a time, pipe a small ridged peak directly into the centre of each completely cooled biscuit. I like to gently twist the piping bag as I do it. When piping, allow the base of the icing to make contact with the biscuit, stop squeezing, then lift the nozzle straight upwards. Repeat with the other two colours.
Dry the icing
- Reduce the oven temperature to 70°C fan / 90°C.
- Arrange the finished Iced Gems on a baking tray lined with non-stick baking paper and place them into the oven for 45–60 minutes, until the royal icing is completely hard and crisp.
- Allow the Iced Gems to cool completely before transferring them to an airtight container.
Nutrition