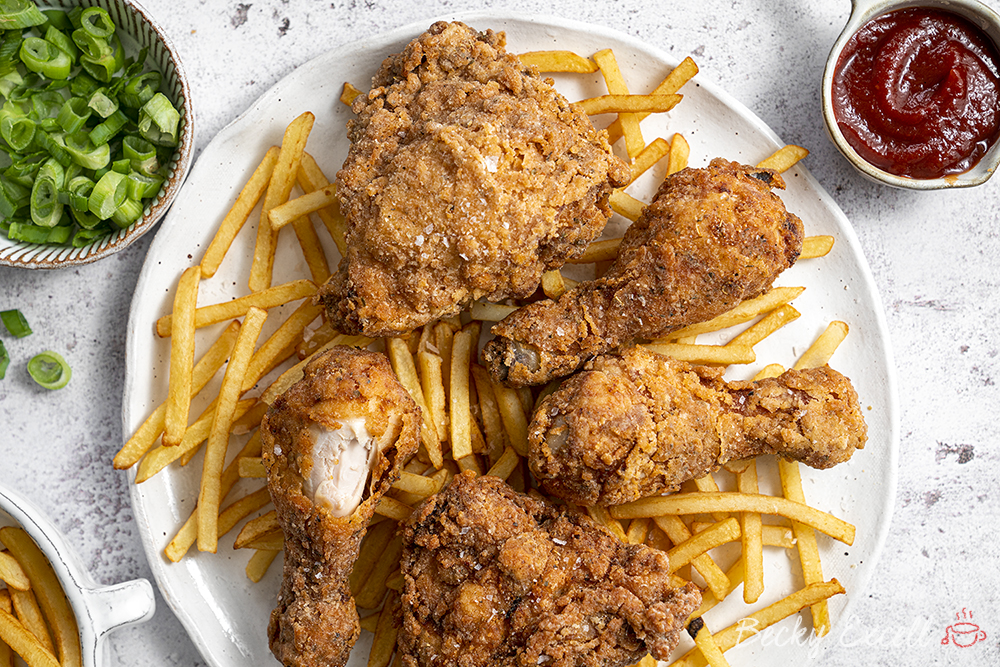
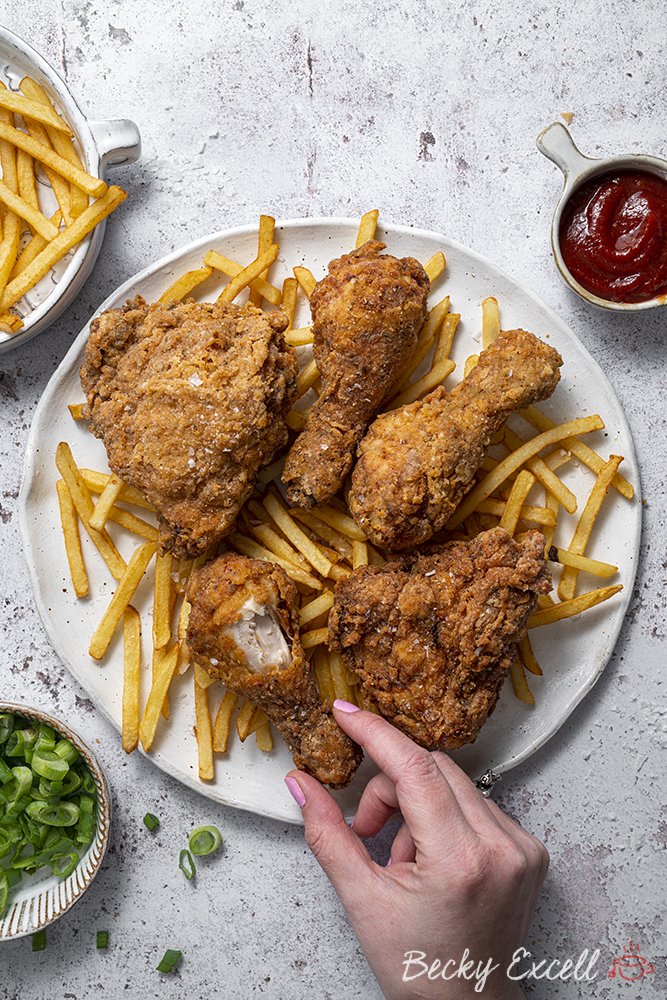
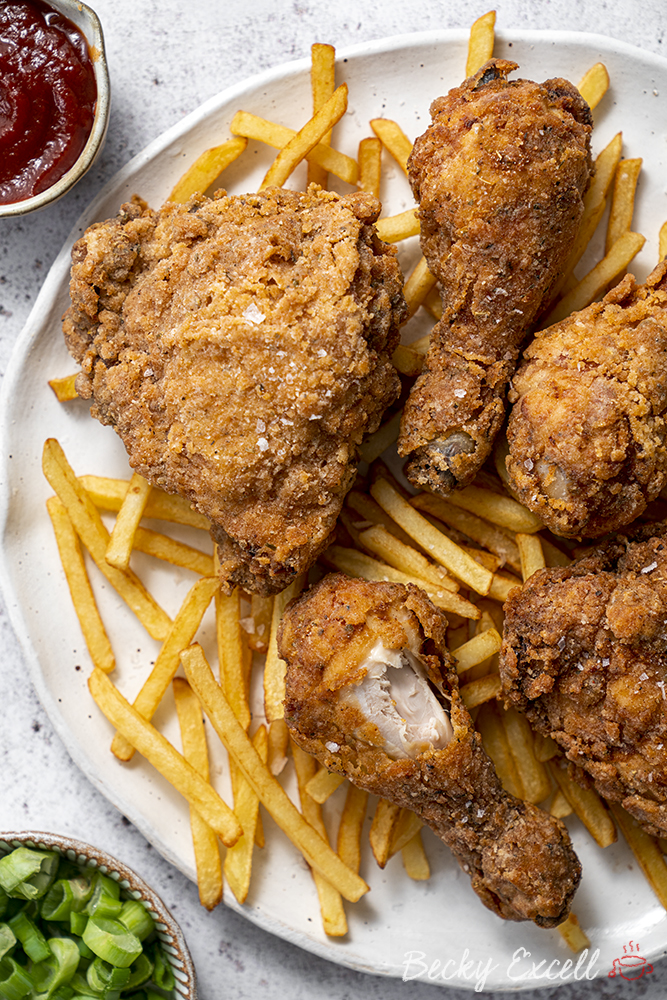
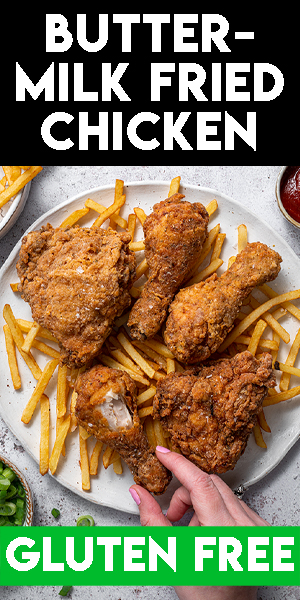
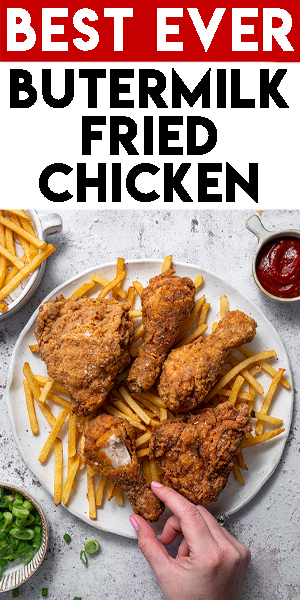
Gluten-free buttermilk fried chicken recipe – the ULTIMATE comfort food that nobody would ever know is Coeliac-friendly and wheat-free.
Gluten-free buttermilk fried chicken recipe? Don’t mind if I do! Finding gluten-free fried chicken like this is rarer than gold dust, but in your own kitchen, you can make it whenever you feel like it!
And unlike my air fryer buttermilk fried chicken, this is the ‘real deal’, deep-fried version. Whilst my air fried version comes extremely close, this is literally identical to what you’d find in muggle restaurants and takeaways.
Because, well… this is exactly how they’d make it too! Deep-frying certainly doesn’t have to be scary and if possible, I’d highly recommend using a digital food thermometer to check the temperature of your oil – it just immediately removes any guesswork!
Trust me – it’s one of the best small investments you’ll ever make if you want to enjoy this on the regular. It’s not mandatory of course, but it certainly makes things a lot easier.
How to reduce chicken ending up in your food waste:
I’ve teamed up with Love Food Hate Waste to create this post, so before we get started, I’ll be sharing my top 5 tips on how to reduce chicken ending up in your food waste. It’s one of the most commonly wasted foods in UK households, so let’s put an end to that in 2021!
- Did you know that chicken and other poultry can be frozen right up to and including the ‘use by’ date? Some labels often say ‘freeze on day of purchase’, but this is purely a recommendation. This means you can ‘save’ your chicken even on that final ‘use by’ day, if you know you’re not going to use it – just pop it straight into the freezer ASAP!
- Once frozen, chicken should be defrosted in the fridge until thoroughly thawed. Once thawed, use it within 24 hours.
- Look out for the snowflake label too on your chicken’s packaging – this indicates it can be frozen at home.
- Did you know that the average UK fridge temperature is 6.6°C? Dialling your fridge down to 5°C can keep food fresher for longer, so it’s definitely worth doing!
- Remember to store raw chicken and cooked chicken in the fridge separately. Place raw chicken on the bottom shelf and cooked at the top.
So, what does my gluten-free buttermilk fried chicken taste like?
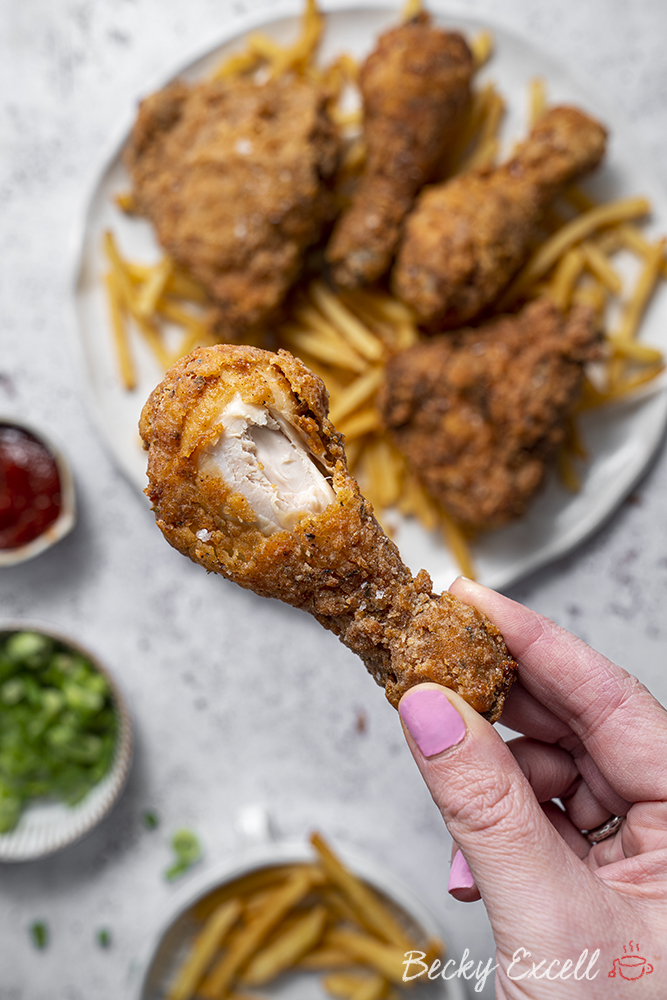
It’s super crisp on the outside, with tons of tender chicken concealed underneath. I honestly can’t get over the texture of the batter – it’s absolutely unreal.
The, the coating is packed with flavour and a mild heat from the pepper with lots of harmonious herbs and spices.
Here’s everything you’ll need for this recipe, keep scrolling until you see the recipe card for the measurements and method ??
Gluten-free buttermilk fried chicken recipe: What you’ll need
- Vegetable oil: You’ll need enough to half-fill a large, deep saucepan for deep frying. 1.5l will be more than enough, so no need to use it all – stop when the pan is half full!
- Chicken, bone in, skin-on: I used drum sticks and thighs for the recipe, with the bone in and skin on for that authentic fried chicken finish. But in reality, you can use chicken breast, boneless thighs or whatever raw chicken you have left over and want to use up – it’s a great way to stop chicken being wasted! Just remember that boneless chicken will likely cook quicker.
- Buttermilk: ‘Real deal’ buttermilk is preferable here, but if you’re dairy-free/low FODMAP, simply use dairy-free/lactose-free milk and add 5 tbsp of lemon juice to it. Then allow it to sit for 10 minutes to thicken – you just made your own buttermilk!
- Gluten-free plain flour: I use a simple gluten-free plain flour blend you can find in free from aisles in supermarkets.
- Cornflour (cornstarch) or potato starch: Adding a little extra starch helps to make the coating crispier, which is always a good thing! But feel free to use more gluten-free plain flour instead of this if you don’t have any to hand.
- Smoked paprika: Nothing gives that lovely smoky flavour like smoked paprika, but don’t use more than recommended as it can make your chicken coating quite dark.
- Dried oregano: Though the taste will be a little different, feel free to substitute the three dried herbs in this recipe for an equal amount of dried mixed herbs.
- Dried marjoram: Remember, for all of the herbs in this recipe, dried is always preferable for deep frying.
- Dried sage: Sage has such a unique taste that works so well with all of the above.
- White pepper: This adds a little mild heat which always works so well in fried chicken.
- Salt: Of course, you can skip the salt if you want, but a little goes a long way in terms of flavour.
So I thought I’d kick things off with a little frequently asked questions section – if you just want the recipe, then keep scrolling.
But I’ve thrown in some tips here that will be really helpful if this is your first time making this, or you want to adapt it. So here they are!
Gluten-free buttermilk fried chicken recipe: Frequently asked questions
Can I make this recipe gluten free?
It is gluten free, though nobody would know just by tasting it – trust me!
Bear in mind that minimising cross-contamination is hugely important if you’re Coeliac or making this for someone who is. Here’s some tips from Coeliac UK on minimising the risk of cross contamination.
Also, make sure that all ingredients used don’t have any gluten-containing ingredients. Then make sure that they also don’t have a ‘may contain’ warning for gluten, wheat, rye, barley, oats (which aren’t gf), spelt and khorasan wheat (aka Kamut).
Here’s some more info from Coeliac UK on identifying safe gluten free products.
Can I make your gluten-free buttermilk fried chicken recipe dairy free?
Yup! Simply replace the buttermilk with the same quantity of dairy-free milk with 5 tbsp of lemon juice added. Allow to sit for 10 minutes until thickened and curdled.
Then use in place of the buttermilk.
Can I make your gluten-free buttermilk fried chicken recipe vegan?
You might not believe this, but you can easily use this recipe to make vegan ‘buttermilk’ fried ‘chicken’.
Firstly, follow the steps above to make dairy-free buttermilk. Then, instead of using chicken, use nice big ‘meaty’ chunks of king oyster mushrooms.
These won’t take half as long to cook, so pop them in the oil for 5-10 minutes. You’d never know it was gluten-free AND vegan!
Is your gluten-free buttermilk fried chicken recipe nut-free?
Yep, this is a nut-free recipe as far as ingredients go, BUT make sure you check the ingredients label on ALL the products you use just to be safe.
Even if the products don’t contain nuts, they may have a ‘may contain nuts’ warning due to being produced in a factory that handles nuts.
You can never be too careful so always read the labels on everything first.
Is your gluten-free buttermilk fried chicken recipe low FODMAP?
It can easily be low FODMAP! Simply replace the buttermilk with the same quantity of lactose-free milk with 5 tbsp of lemon juice added. Allow to sit for 10 minutes until thickened and curdled.
That’s it!
What chicken pieces should I use for your gluten-free buttermilk fried chicken? Can I use chicken breast, or boneless thighs? How about wings?
Use whatever you like! This recipe uses 750g of chicken on the bone (skin-on). So in that sense, feel free to use drumsticks, thighs, or even wings – bear in mind that chicken wings will likely only need 5-6 minutes frying.
Of course, you can use boneless, skinless chicken too – like boneless chicken thighs and chicken breast. If using chicken breast, I’d recommend slicing it into strips to make goujons – that way you get lots of crispy coating instead of a whole chicken breast with more meat than crispy coating.
Bear in mind that chicken breast goujons (breast cut intro strips) will be quicker to cook and likely only take 7-10 minutes. The same goes for chicken wings too.
Can I simply make these in the oven instead? I don’t want to deep fry!
Unfortunately not as chicken coated in buttermilk and flour will not form a coating without oil – it’ll just be all dusty and dry on the outside.
However, instead of deep frying, you can shallow fry your coated chicken in a large, oven-proof frying pan with a 1/2cm layer of oil in it. Then, once the coating is looking ever so slightly golden, pop it in the oven at 200C to finish for around 20-25 minutes.
That’s the only way you can make buttermilk chicken without deep frying! Unless…
Can I make this in an air fryer?
Yes! And I actually have a blog post for it over here: gluten-free air fryer buttermilk chicken.
It’s the exact same recipe as this one, but the method reflects using and air fryer. It actually turns out incredibly well!
How can I tell when my gluten-free buttermilk fried chicken is done?
Ideally, you’d have a cooking thermometer so you can check that the internal temperature of the chicken registers at 74-75C.
Failing this, don’t just look for a crispy coating – you need to ensure the middle is cooked! The most obvious way to check this is cut one of your chicken pieces open.
Gluten-free buttermilk fried chicken recipe: Troubleshooting
My crispy coating is too dark. What did I do wrong?
If your coating is dark or has a burnt look/taste and the middle is perfectly cooked, then you probably left them in the oil longer than they needed to be.
If you ensure your cooking oil is at 170C when you put your chicken in, this is the perfect happy medium for a golden, crispy coating and the inside being cooked.
Bear in mind that if using a deep fat fryer machine which maintains 170C constantly, you’ll probably need to lower the temperature to 160C after a minute or so. This mimics the temperature of oil dropping once the cold chicken is placed into the oil – as would happen with my method on the stove.
My crispy coating is too dark, but the middle isn’t cooked?
This is a clear indicator that your oil is too hot. If your coating is dark or overly dark by the 5 minute mark, it’s a safe bet that you need to turn the heat down a little.
My crispy coating is incredibly oily – how come?
If your oil isn’t hot enough when you put your chicken it, the coating will become saturated with oil before it starts cooking. If the oil is at 170C, it will instantly form a crisp coating before it gets the chance to absorb all the oil.
The oil is spitting everywhere when cooking, is this normal?
This means your oil temperature is too hot! At around 200C+, the bubbling becomes more violent and spitting occurs, which are signs that the oil is way too hot for frying and it will likely burn your food.
In this case, I’d just remove my pan from the heat entirely and allow the oil to cool, placing it back on the heat after 5-10 minutes to start again.
Gluten-free buttermilk fried chicken recipe: Method
Ok, so here’s a printable version of my gluten-free buttermilk fried chicken recipe. Please remember to give it 5 stars if you tried it and enjoyed it as it helps people know it’s worth trying too! ⭐️ Feel free to leave your written reviews in the comments below this post.

Gluten-free Buttermilk Fried Chicken Recipe - BEST EVER! (low FODMAP/dairy-free option)
Ingredients
- 1.5 l vegetable oil for deep frying
For the marinade
- 750 g chicken bone in, skin-on (I used drumsticks and thighs)
- 400 ml buttermilk or use dairy-free/lactose-free milk and add 5 tbsp of lemon juice and allow to sit for 10 minutes to thicken
For the coating
- 125 g gluten free plain flour
- 65 g cornflour cornstarch or potato starch (you can use all flour but more starch helps make it crispier)
- 1 tsp smoked paprika
- 1 tsp oregano
- 1 tsp marjoram
- 1 tsp sage
- 1 tsp white pepper
- 1 tsp salt
Instructions
- Place your chicken into a large mixing bowl and pour your buttermilk over the top, making sure the chicken is well coated. Allow to sit for as long as you can. 12 hours in the fridge would be great, but often I just leave mine for 15 minutes and it still works really well.
- Grab a plate and add all of the ingredients for the coating. Gently mix until everything is well dispersed and consistent.
- Half fill a large, deep saucepan with vegetable oil and place over a medium heat. Heat until it reaches 170C - I check this with a digital cooking thermometer. If you don't have one, you can always submerge the handle of a wooden spoon into the oil - if small bubbles form around the handle, then it's very likely it's ready to fry!
- Whilst waiting for your oil to heat, roll as many pieces of your buttermilk-coated chicken in the coating as will comfortably fit on the plate. The more buttermilk and coating on your chicken, the more mind-blowing your crispy coating will be!
- Once heated, gently lower the coated chicken into the oil - it should gently sizzle as you put it in and bubble up more rapidly as liquid escapes from the chicken. This is why we only half fill the pan!
- After around 10 minutes for chicken drumsticks and 12-15 minutes for chicken thighs, your chicken should be done. If your coating darkens before you even reach 10 minutes, then your oil is definitely too hot!
- Use a pair of kitchen tongs or a slotted spoon to carefully remove the chicken from the oil and place onto a plate lined with kitchen roll to drain. If using a digital cooking thermometer, check the chicken is cooked by probing it - it should read 75C or higher. If you don't have one, cut one of the thighs up and check that it's cooked closest to the bone.
- Repeat until you've used up all your chicken. Serve with oven fries, mashed potato and lots of dips. Enjoy!
Nutrition
Thanks for reading all about my gluten-free buttermilk fried chicken recipe! If you make it, I’d love to see how it turned out so don’t forget to take a snap of your creations and tag me on Instagram!
Any questions about the recipe? Please do let me know by following me on Instagram and leaving me a comment on a recent photo!
Thanks for reading,
Becky xxx
Don’t forget to pin this for later!

