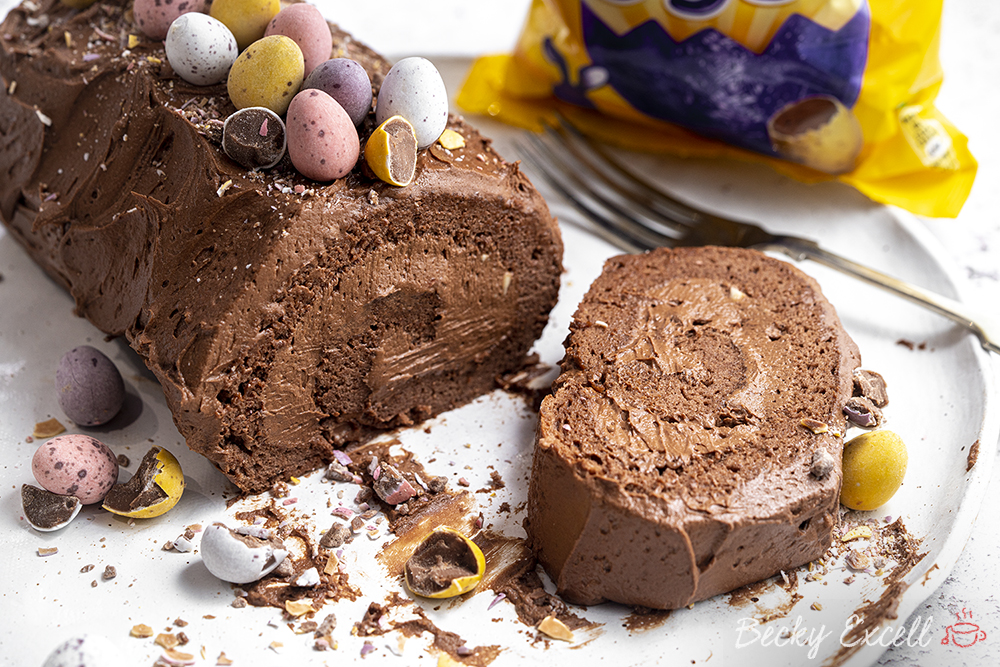
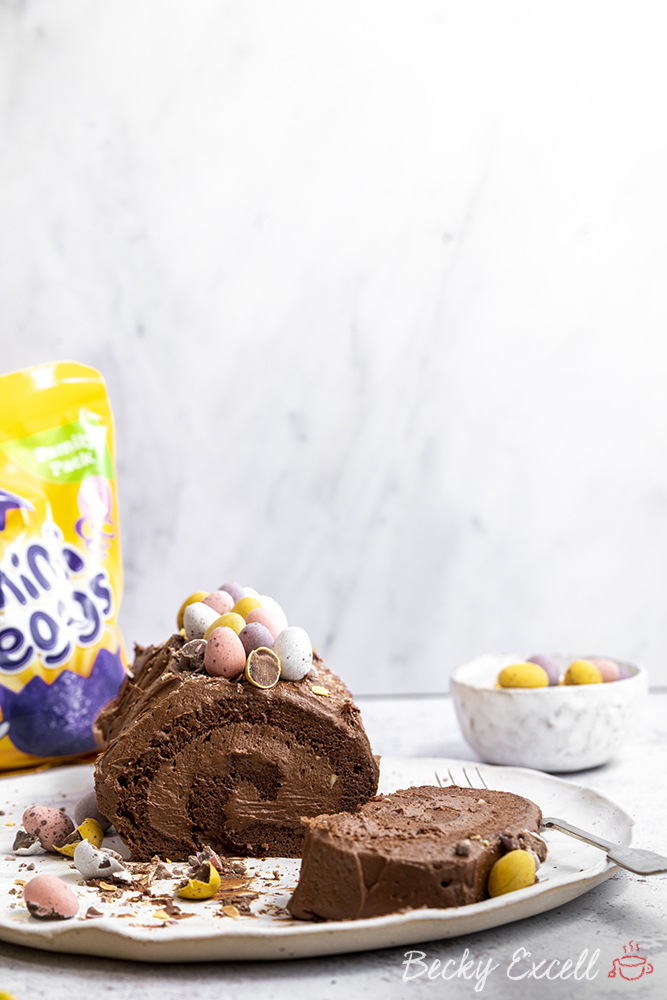
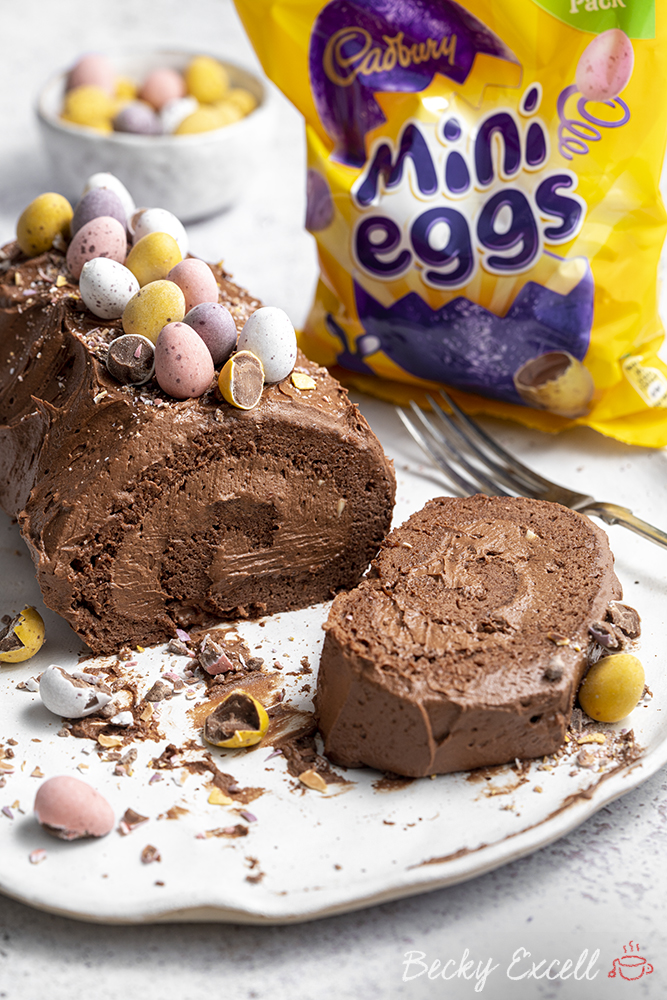
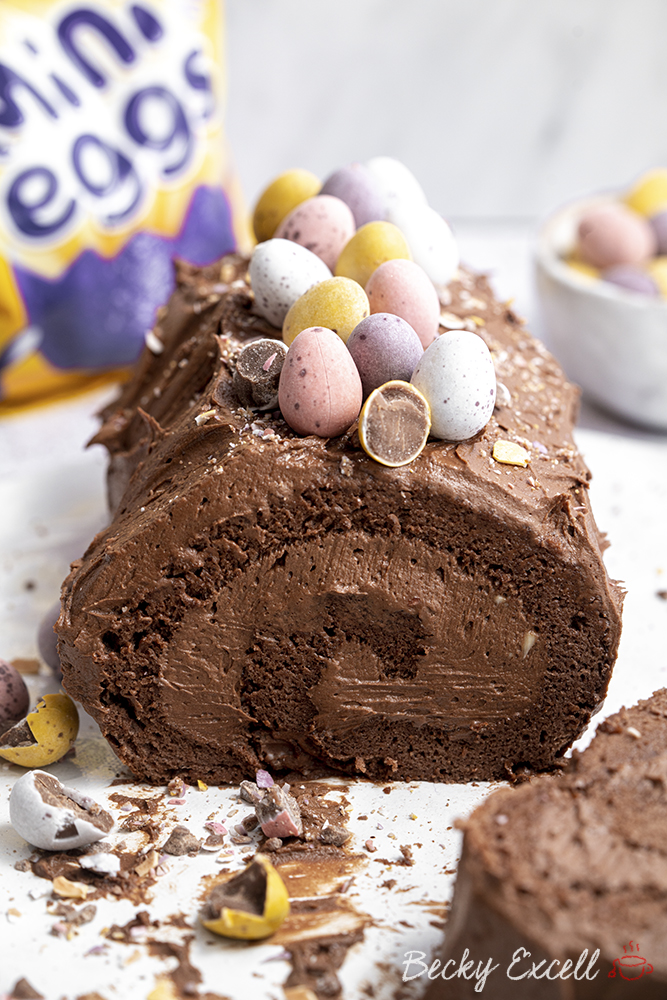
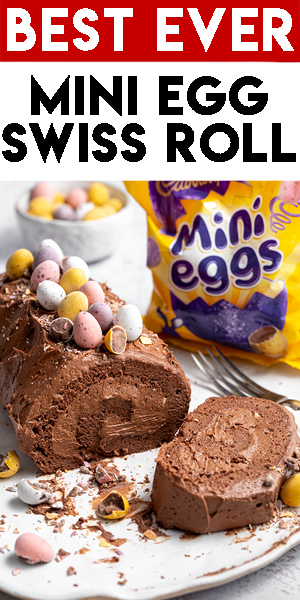
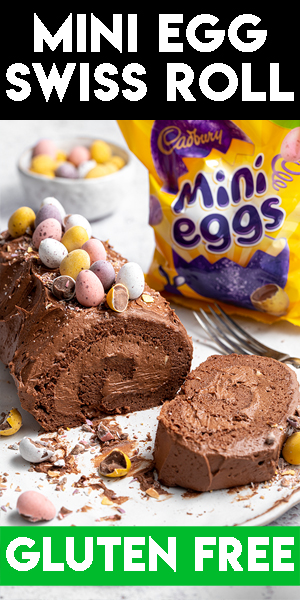
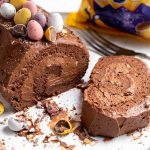
Gluten-free Mini Egg swiss roll recipe – yep, another wondrous Easter baking project! Best of all, nobody would know it’s Coeliac-friendly and wheat-free too.
Gluten-free Mini Egg swiss roll recipe? You wouldn’t believe how easy it is to get the super chocolatey swirl in the middle and impress anyone who’s lucky enough to get a slice. How egg-citing!
I’m back with yet another fun Easter baking project – just call me Becky Egg-cell.
(sorry, I promise there’s no more egg puns in this post)
This recipe is one that I’m super proud of because well… who ever thought a gluten-free sponge could fully roll up without breaking or cracking into a million crumbs?
But yes, it is possible and this recipe is proof! Here’s a few reasons you need to make this if you weren’t convinced already…
Why make my gluten-free Mini Egg swiss roll recipe?
- The sponge is incredibly light, chocolatey and the buttercream is sweet, fluffy and indulgent. It’s like eating a chocolate cloud!
- Best of all, you’d never know it was gluten-free by tasting it or looking at it – it’s super soft, moist and NOT crumbly or dry at all.
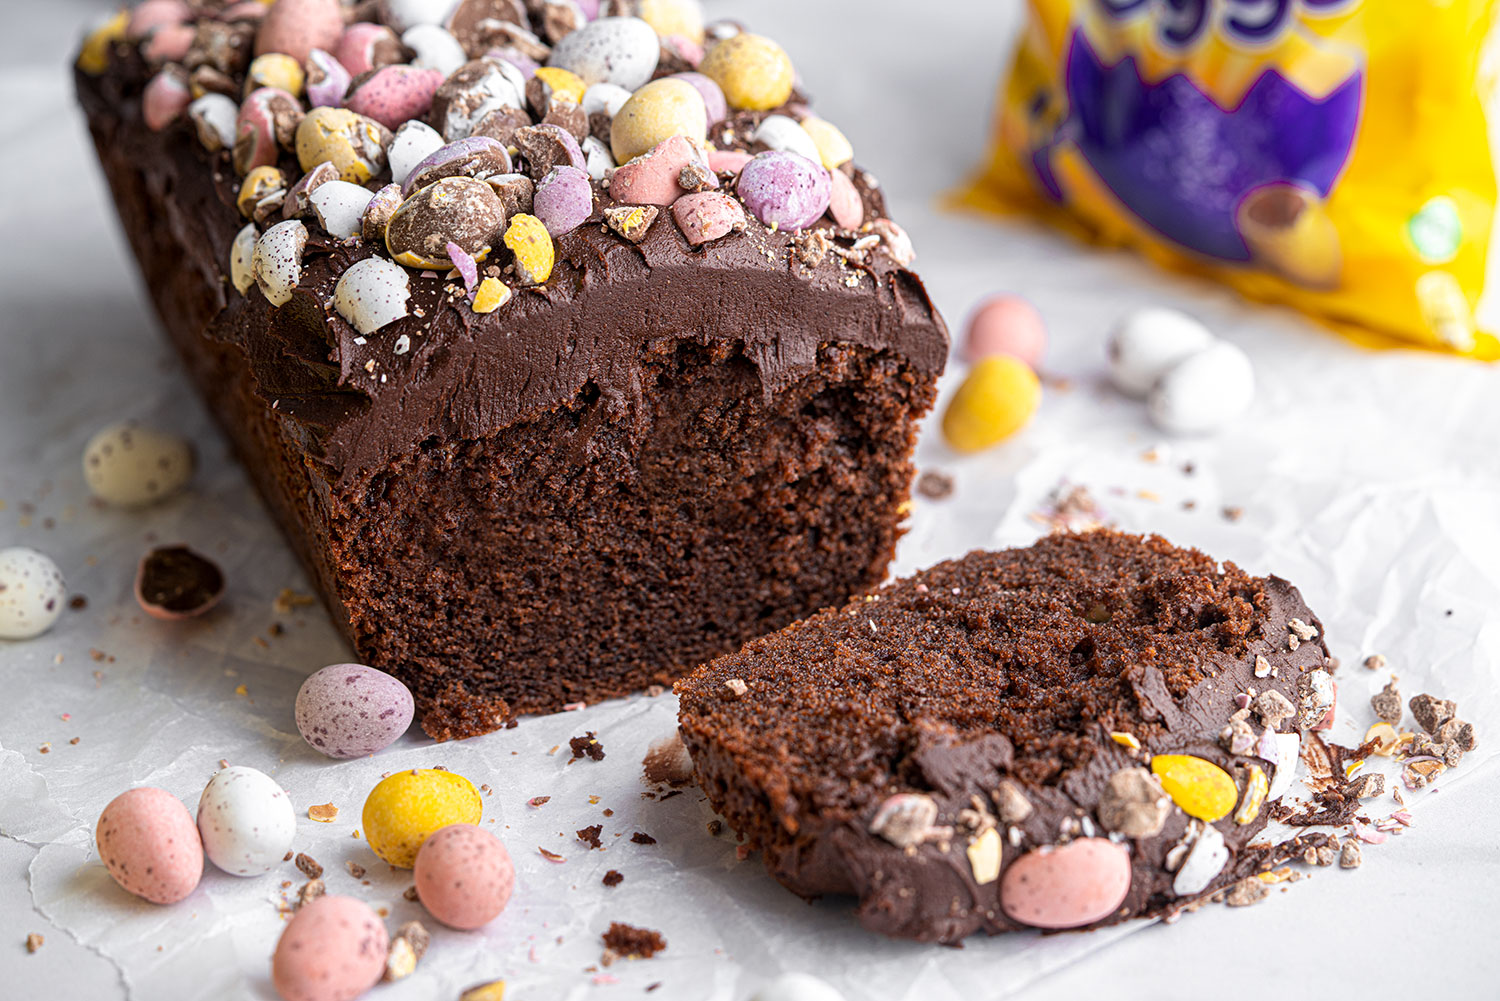
- This is essentially a classic chocolate swiss roll, so remove the mini eggs and you can make this any time of year, for any occasion.
- Mini Eggs are gluten-free in the UK, so celebrate that fact by making these!
But what does my gluten-free Mini Egg swiss roll taste like, I hear you ask? Well, let me tell you!
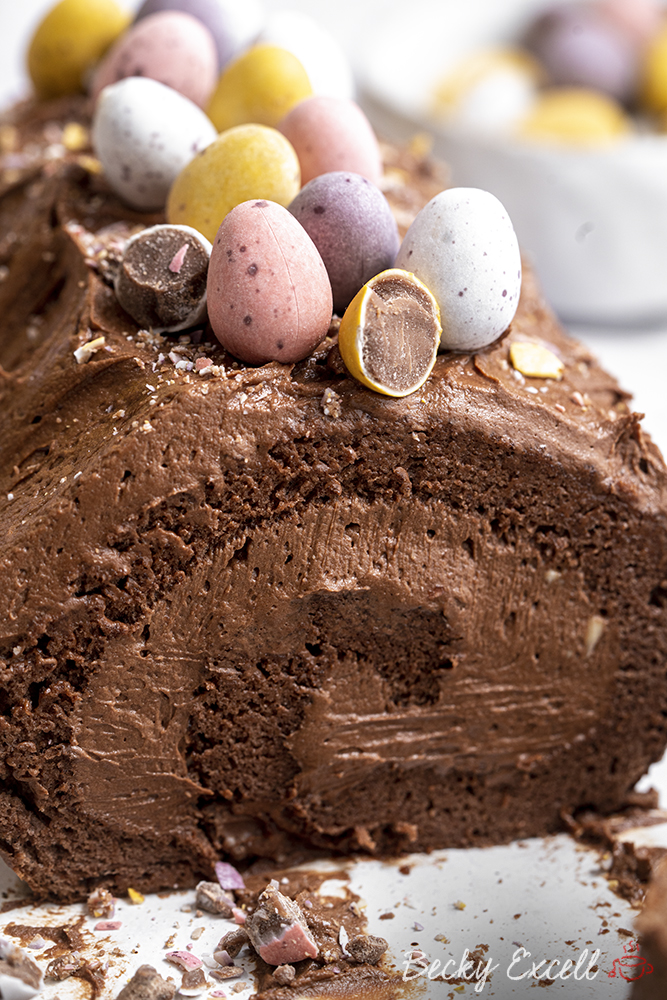
The chocolate sponge cake itself is incredibly moist and light thanks to the process of whipping the egg whites separately and folding them in. It’s my favourite type of sponge!
The buttercream is rich and chocolatey, creating that perfect swirl that you just NEVER find on the shelves of the free from aisle in supermarkets.
Then, simply top with smashed mini eggs and rejoice. The chunky texture against the fluffy swiss roll just pairs so effortlessly.
Here’s everything you’ll need for my gluten-free Mini Egg swiss roll recipe – consider this your shopping list! Keep scrolling until you see the recipe card below if you’re looking for the full ingredients and method.
Gluten-free Mini Egg swiss roll recipe: What you’ll need…
- Medium eggs: I used medium eggs, so to ensure yours turns out the same, I’d recommend you do too! Unfortunately, you cannot make this recipe egg-free due to the amount of eggs required and the fact that they’ll need to be separated.
- Caster sugar: In a swiss roll sponge, sugar is incredibly important, so don’t reduce the amount, or even worse, remove it entirely – it won’t work!
- Vegetable oil: Vegetable oil keeps the sponge super moist and is incredibly important considering there’s actually no butter in the sponge.
- Vanilla extract: A little goes a long way when combined with cocoa powder in terms of flavour – a good quality one helps massively too.
- Milk: The protein in milk helps give a gluten-free sponge structure, so don’t skip this even though it might seem like you can!
- Gluten-free plain flour: I use Doves Farm’s FREEE gluten-free plain flour blend that you can find in the supermarket. Can’t find it in your part of the world? You can always use my homemade gluten-free plain flour blend.
- Cocoa Powder: This is what makes the sponge chocolatey!
- Xanthan Gum: This is a binder and incredibly integral to ensuring that a gluten-free sponge can be rolled up without cracking or breaking. Don’t even think about leaving this out!
- Butter: Make sure yours is softened! This is needed for creating the icing – do not substitute for a spreadable margarine.
- Icing sugar: Of course, you can’t use caster sugar for the icing – that’s what icing sugar is for!
- 54% dark chocolate: Dark chocolate creates a wonderfully, rich, chocolatey buttercream but don’t worry – it doesn’t taste like dark chocolate!
- Mini Eggs: Yes, they’re gluten-free in the UK so celebrate that fact by baking this!
So I thought I’d kick things off with a little frequently asked questions section – if you just want the recipe, then keep scrolling.
But I’ve thrown in some tips here that will be really helpful if this is your first time making this, or you want to adapt it. So here they are!
Gluten-free Mini Egg swiss roll recipe: Frequently Asked Questions
Can I make this recipe gluten-free? Is it suitable for Coeliacs?
It is gluten-free, though nobody would know just by tasting it – trust me!
Bear in mind that minimising cross-contamination is hugely important if you’re Coeliac or making this for someone who is. Here’s some tips from Coeliac UK on minimising the risk of cross contamination:
Also, make sure that all ingredients used don’t have any gluten-containing ingredients. Then make sure that they also don’t have a ‘may contain’ warning for gluten, wheat, rye, barley, oats (which aren’t gf), spelt and khorasan wheat (aka Kamut).
Here’s some more info from Coeliac UK on identifying safe gluten-free products.
Can I make your gluten-free Mini Egg swiss roll recipe dairy free?
Of course, mini eggs aren’t dairy-free, but you can actually make the entire swiss roll dairy-free with three simple swaps:
- Use dairy-free milk
- Use dairy-free hard margarine (like a Stork baking block) instead of butter for the icing – do NOT use margarine like you’d spread on toast for icing.
- Use dairy-free dark chocolate for the icing.
Don’t forget to double check that your cocoa powder is dairy-free too. Do that and you’ve made a dairy-free chocolate swiss roll! Then, instead of mini eggs, you could always use dairy-free Easter chocolate instead.
Can I make your gluten-free Mini Egg swiss roll recipe vegan?
Unfortunately, because this recipe involves separating eggs, egg replacements aren’t possible here and it cannot be made vegan.
Can I make this recipe low FODMAP?
As Mini Eggs contain dairy, they’re not low FODMAP.
However, if you use lactose-free milk and chocolate, then omit the Mini Eggs, that would make this recipe suitable for the elimination phase of the low FODMAP diet.
Of course, ensure all products used are low FODMAP as they may vary from country to country.
Are Mini eggs gluten-free?
Yes, they are in the UK! They don’t have any gluten-containing ingredients or a ‘may contain’ warning for gluten.
Tap here to read the ingredients label for yourself – it never hurts to double-check! You’ll find them down the seasonal aisle in the supermarket.
Can I make your gluten-free Mini Egg swiss roll in a food processor or standing mixer?
Of course you can – and it’ll save you on elbow grease! I don’t use a standing mixer or food processor to make the cake mixture personally – I use an electric hand whisk like this.
As this recipe doesn’t require longer periods of mixing, I find that an electric hand whisk is the quickest and easiest option.
However, don’t even think about using an electric mixer to fold the fluffy egg whites into the main mixture – this must be done by hand!
Can I make your gluten-free Mini Egg swiss roll recipe by hand?
You can of course, bake this without any assistance from any appliance and simply use a hand whisk. However, you must ensure that you whisk the egg whites for long enough to achieve medium peaks, otherwise the recipe won’t work!
Ensure everything is well combined with no pockets of flour or dry ingredients as you go.
Do I need any special equipment to bake your gluten-free Mini Egg swiss roll recipe?
Certainly not! What you will need however is a swiss roll tin – I use this one by Mary Berry and Lakeland, it’s 35cm by 25cm.
If you’re in a bit of a pinch and don’t have a swiss roll tin, you can easily use a baking tray instead as long as it’s roughly the same size and sides aren’t too low.
Oh and make sure you have some baking paper – I use Bacofoil. You’ll definitely need this to successfully roll up your sponge.
Can I bake this using the all-in-one method?
In case you didn’t already know, the all-in-one method involves bunging all your sponge ingredients into a bowl at once and mixing them together. That’s instead of adding them gradually.
As there’s more ingredients than with your average Victoria sponge-style cake, I would always advise adding them gradually, instead of all at once.
Trust me, you’ll thank me when you cake comes out and it’s not a total disaster. So no, don’t use the all-in-one method for this one!
Does this recipe need xanthan gum?
You’ll see xanthan gum in a lot of my recipes as it’s an essential ingredient in gluten-free baking. And that’s exactly the case here.
How else would a gluten-free sponge be able to perform the miraculous feat of rolling up without breaking? Xanthan gum is the star here!
So yes, if you can tolerate xanthan gum, please ensure that you use it. Otherwise, I wouldn’t recommend attempting this recipe.
Can I make this recipe using other gluten-free flours like buckwheat flour or coconut flour?
There’s a big difference between ‘gluten-free plain/self-raising flour’ and a *singular* type gluten-free flour. When I say ‘gluten-free plain or self-raising flour’ in a recipe, I mean a BLEND of gluten-free flours, not just one, singular flour.
Most gluten-free flour you buy in the supermarket typically contains a blend of rice flour, potato flour, maize flour, tapioca flour AND buckwheat flour. That’s a lot of different flours!
In gluten-free self-raising flour, there’s usually even a little baking powder and xanthan gum in it too which always helps. So to replace it with just one specific type of flour… that’s not going to cut it at all. Definitely go for a gluten-free flour blend.
Do I need weighing scales to bake your gluten-free Mini Egg swiss roll recipe?
In short… yes, yes and yes! And I wouldn’t advise attempting any of my recipes without them.
A lot of work went into fine tuning ratios and quantities and for me, baking is all about consistency and precision. I want you to make this recipe and for it to turn out EXACTLY like mine did.
I’d recommending using digital cooking scales like these so you know you’re getting an accurate measurement and replicating my recipe as accurately as poss.
How long can I keep your gluten-free Mini Egg swiss roll for?
I’ve kept my gluten-free Mini Egg swiss roll for 3-5 days in an air-tight container in the fridge with no problems.
If you need to keep it any longer than that, I’d highly recommend freezing it (see advice below for doing that).
When the sponge starts getting a little dry, it’s probably starting to get past its best.
Can I freeze your gluten-free Mini Egg swiss roll?
Of course! I’ve frozen it for up to 2-3 months no problem. Ideally, slice up the cake first before freezing. Then, you can easily defrost a few slices at a time instead of the entire thing.
When you want to eat it, each slice should take around 3 hours to defrost at room temperature.
How can I tell when my gluten-free Mini Egg swiss roll is done?
Grab a skewer and give it a poke in the centre. If it comes out clean, then it’s done!
But if the skewer comes out moist and cake-like, it’s best to pop it back in for a bit longer.
Gluten-free Mini Egg swiss roll Recipe: Method
Oh and here’s a printable version of my gluten-free Mini Egg swiss roll recipe. Please remember to give it 5 stars if you tried it and enjoyed it as it helps people know it’s worth trying too! ⭐️ Feel free to leave your written reviews in the comments below this post.
Gluten-free Mini Egg Swiss Roll Recipe - Easter baking!
Equipment
Ingredients
For the sponge:
- 4 medium eggs separated
- 100 g caster sugar
- 2 tbsp vegetable oil
- 1 ⁄2 tsp vanilla extract
- 2 tbsp milk
- 45 g gluten free plain flour
- 15 g cocoa powder
- 1 ⁄4 tsp xanthan gum
For the ganache filling and covering:
- 250 g butter softened
- 250 g icing sugar
- 250 g 54% dark chocolate
For the decoration:
- Mini eggs crushed and whole
Instructions
- Preheat your oven to 180°C fan / 200°C. Lightly grease your Swiss roll tin and line with non-stick baking paper.
- Separate your eggs into two small bowls - egg whites in one and yolks in the other.
- In a large mixing bowl, add your egg yolks and half the caster sugar (50g). Whisk together until combined, then add your vanilla, milk and oil and whisk once more. Sift in the flour, cocoa powder and xanthan gum, and mix in until well combined, thick and glossy.
- In a separate bowl, whisk your egg whites (using an electric hand whisk or stand mixer ideally) until they start to turn white and frothy. Gradually add the remaining caster sugar (50g), whisking until you have medium peaks.
- In three stages, add your egg white mixture to your egg yolk mixture, folding it in carefully between each addition using a silicone spatula. Once all the egg white mixture is fully folded in, pour your mixture into your prepared tin. Spread it out gently to make sure it’s nice and even and bake in the oven for 10–12 minutes until cooked through.
- Place a piece of non-stick baking paper on your work surface and dust it with the icing sugar.
- While your sponge is still warm, loosen it from the tin and flip it out onto the baking paper. Peel off the baking paper on top that once lined the tin – don’t worry if you lose the outer layer of the cake because it sticks to the paper as you peel it off, that’s totally normal. Using your baking paper, roll the sponge up from the short end – the paper should be inside it as you roll. Try to roll fairly tightly, then leave the sponge to cool fully while rolled up. I prop something up against it to stop it from unrolling itself.
- While the sponge is cooling you can prepare the filling. Melt your chocolate (I do this is the microwave in short bursts, mixing in between) then put to one side to cool whilst making the rest of the icing.
- Place your softened butter in the bowl of a stand mixer (or a large mixing bowl if you intend to use an electric hand whisk), mix on its own on a high speed for about 5 minutes. The butter should change from a more yellow colour to being a lot more pale.
- Add your icing sugar gradually to the butter (I do this in two stages). I mix each addition of icing sugar for around 3-5 minutes before adding the second half. Now add in your melted, cooled chocolate and mix until fully combined. It should be the right consistency at this point.
- Carefully unroll your sponge and remove the baking paper. Fortunately I never find the sponge cracks using my recipe, but if it does a little, it doesn't matter - it will all be covered in icing - just be delicate!
- Spread a layer of about 1cm thick of your filling on the unrolled sponge (I leave about a half cm gap around the edge). Carefully roll the sponge back up and transfer it to a serving board or plate. Do this as tight as you can for the best swirl.
- Cover the rolled up sponge with the rest of the icing. As I said, you don't have to use it all. It can be kept in the fridge for other baking!
- Cover in mini eggs, crushed and whole. Cut the ends of to reveal your swirl and enjoy!
Nutrition
Any questions about the recipe? Please do let me know by following me on Instagram and leaving me a comment on a recent photo!
Thanks for reading,
Becky xxx
Don’t forget to pin this for later!

