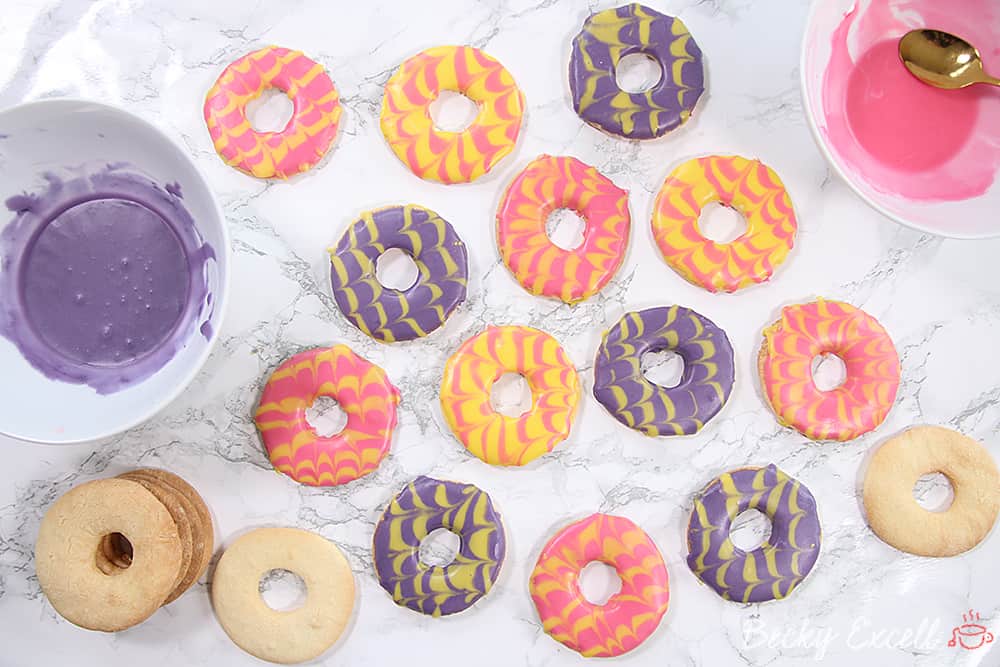
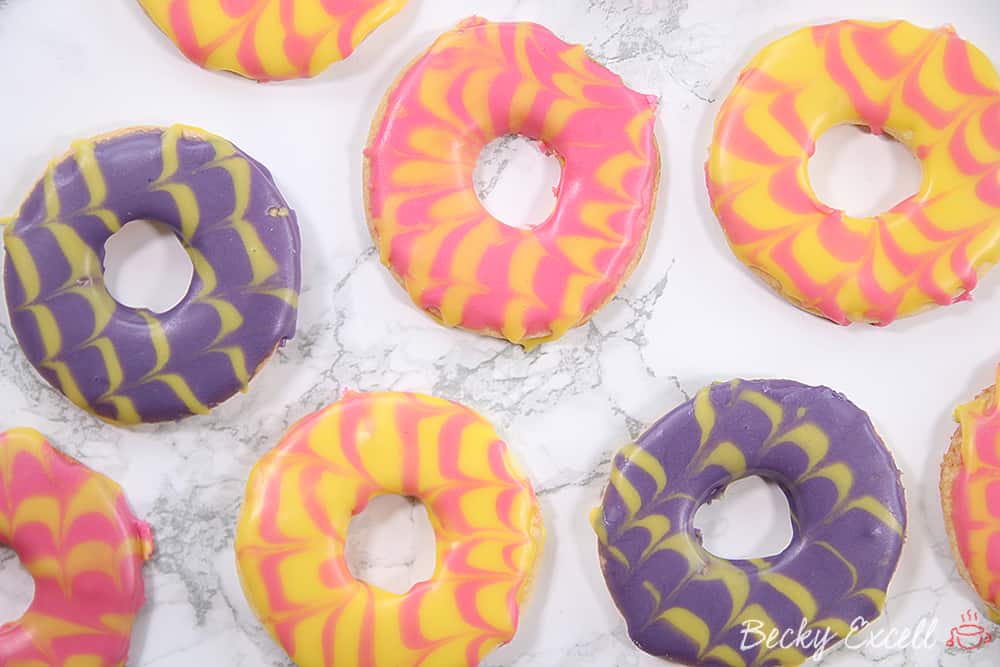
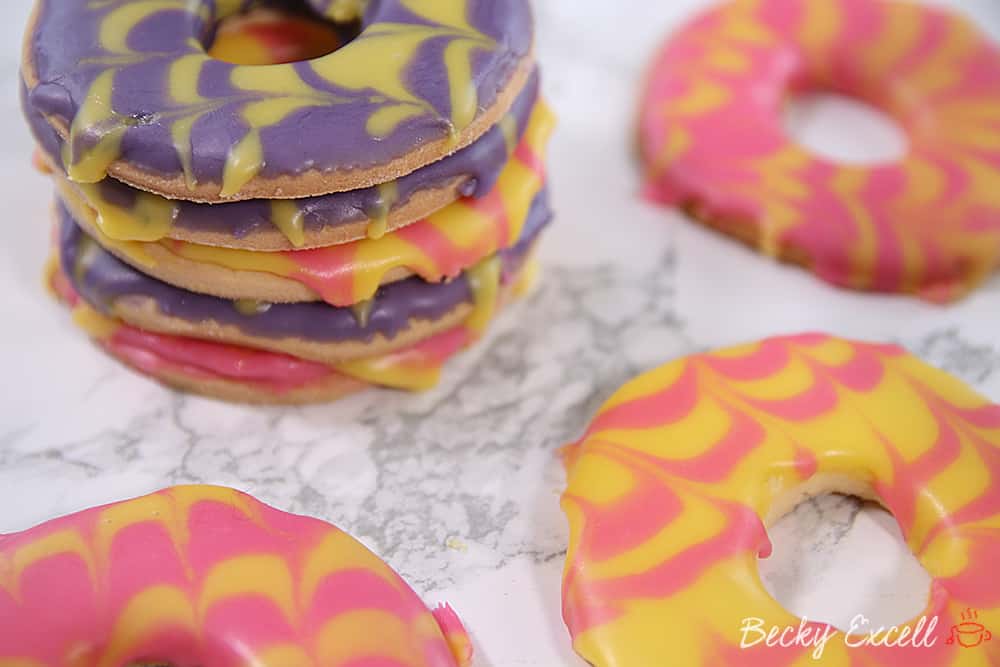
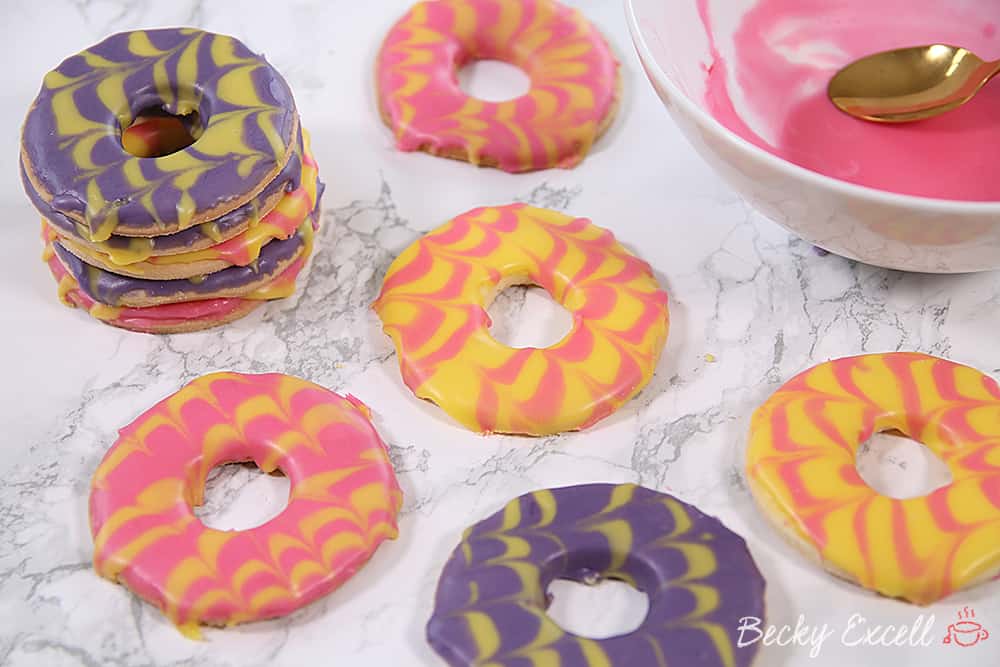
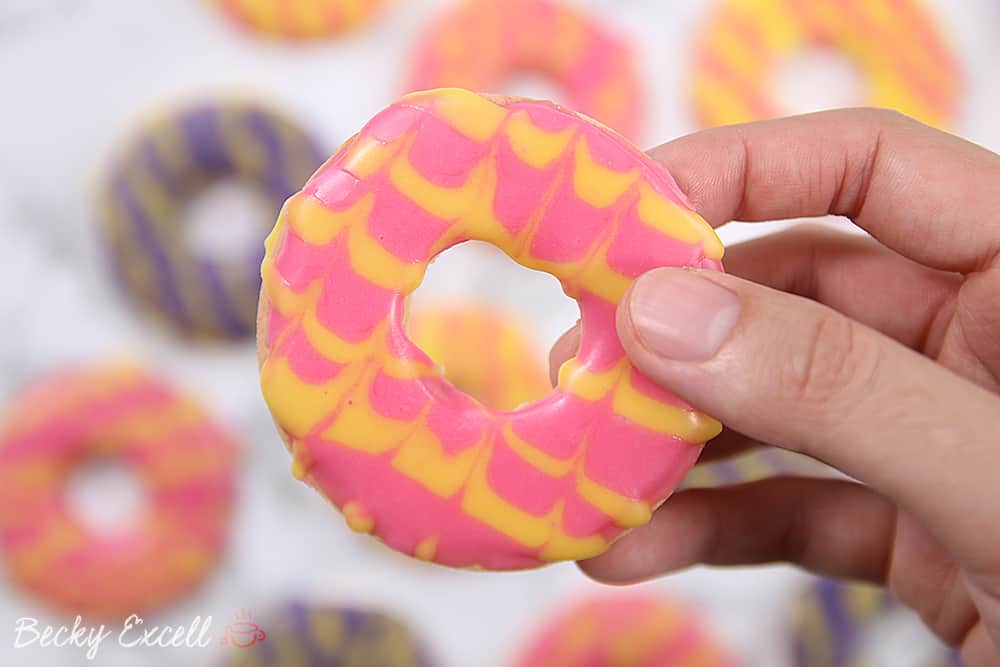
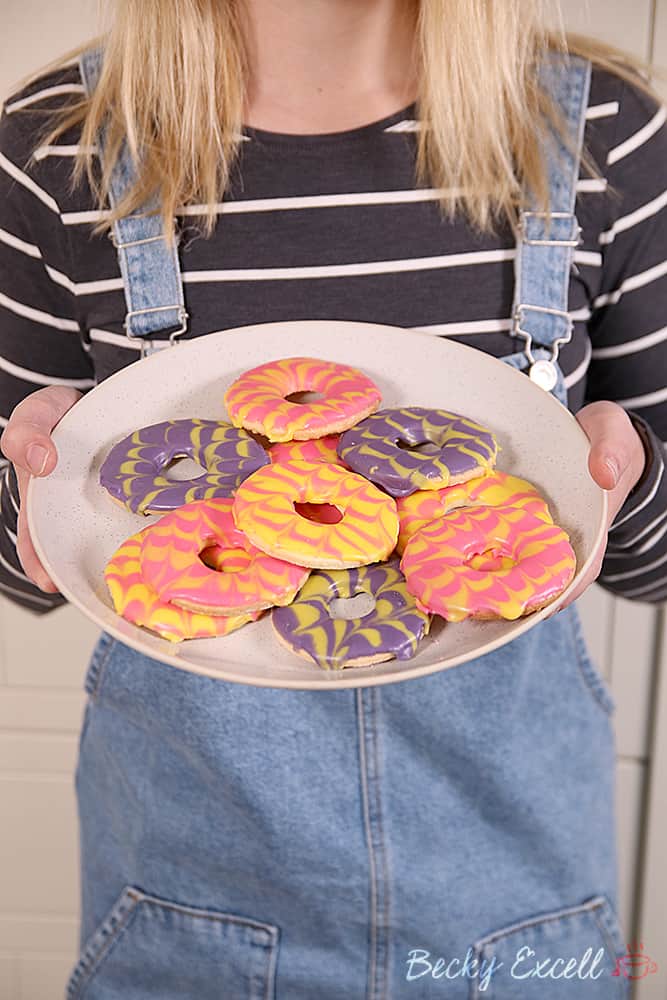
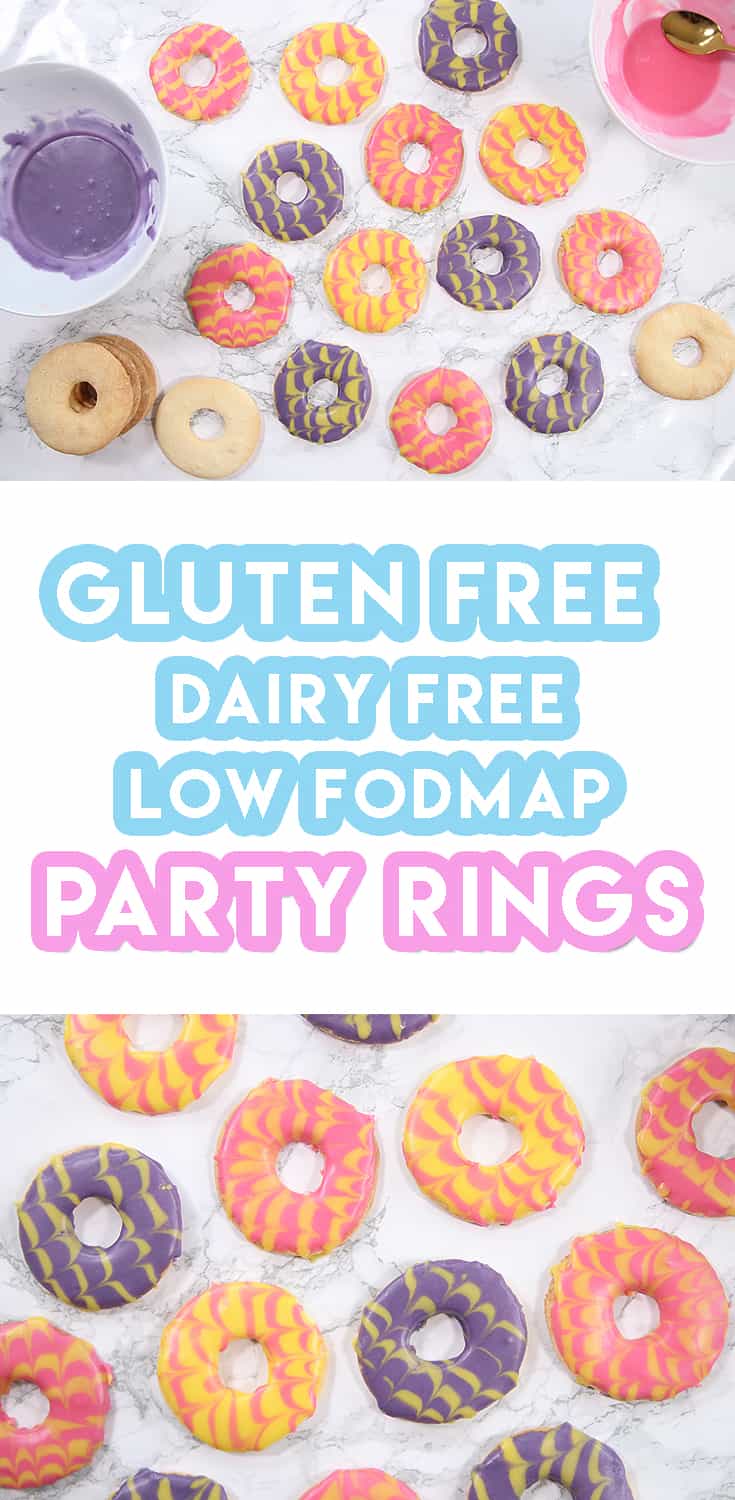
Who here remembers party rings? It might have been a few years, but my gluten free party rings recipe is here to remind you! My recipe is dairy free and low FODMAP too.
Where do I start with my gluten free party rings recipe? Well, party rings just scream nostalgia to me. Every birthday party I went to as a child, I would pile my paper plate sky-high with party rings with no regrets.
Recently I saw a packet of them in the supermarket & it brought it all back. I just wanted one! But sadly, party rings aren’t gluten free… until now!
I’m going to be honest: I’m a bit of a disaster when it comes to decorating cakes and bakes. My Grandma wouldn’t mind me saying this, but she always made the ugliest cakes too. The icing would be all over the place and her cakes definitely wouldn’t be the prettiest, yet somehow… they always tasted AMAZING.
I still haven’t figured out how she did it. Sadly, I think the ugly cake gene is definitely genetic as I always struggle when it comes to decorating stage! That’s why I’m really proud of how my gluten free party rings turned out and I hope my Grandma would be too!
The moral of the story here is: if I can do it, then you definitely can too!
Now you’ve got confidence in your decorating skills, you’ll need a few helping hands to make my gluten free party rings before you get started… namely cocktail sticks and an icing bag kit.
But most importantly, make sure you’ve got couple of round cookie cutters to shape your dough into a party ring shape. Trust me, there’s nothing like starting a recipe, then wasting an hour searching around the kitchen for a makeshift biscuit cutter.
I ended up using the lid of a bottle of gin to cut out the centres of mine. I simply couldn’t find a cookie cutter small enough, even in the shops!
Anyway, armed with one biscuit cutter and the lid from a bottle of gin, I made my gluten free party rings about 6-7cm in diameter. The bigger size definitely makes it much easier to pipe icing onto, compared to the size of real party rings.
With a little added Xanthan gum, my gluten free biscuit dough is really easy to roll out, plus it stops the biscuits from becoming crumbly. Baking without gluten can be a little tough at first but after a few crumbly nightmares, you do quickly find your feet.
These biscuits truly taste as good as they look (even if I do say so myself!)
If you’ve never had a party ring before, they’re a lovely, light biscuit with a satisfying snap, finished with a sweet touch thanks to the icing. You basically never see out them outside of kids birthday parties… until now!
If you check the free from aisle, you’ll find gluten free custard creams. bourbon biscuits and even Hobnobs these days… but where’s the gosh darn gluten free party rings?! Oh well, I assure you that these are much better than the party rings I remember!
Anyway, now you’ve confident to make these cute little beauties, here’s my gluten free party ring recipe…

Gluten Free Party Rings (dairy free)
Ingredients
- 200g gluten free plain flour
- 1/4 tsp xanthan gum
- 100g caster sugar
- 100g dairy free hard margarine I use Stork Baking Block
- 1 egg beaten
- 1 tsp vanilla extract
- 300g icing sugar to mix with boiling water
- Selection of food colouring pastes I used Dr Oetker yellow, pink and purple food colour gel
Instructions
- Preheat oven to 180C.
- In a large bowl measure out your dry ingredients (gluten free flour, xanthan gum and sugar), mix.
- Cube your dairy free hard margarine and rub it into your dry ingredients until it resembles breadcrumbs.
- Stir in your egg and vanilla extract. Keep stiring till it it starts to come together into more of a dough.
- Use your hands to bring it into a ball of dough. If it's sticky, just add a little extra gluten free flour until it's a nice, firm dough. Wrap it in clingfilm and leave to chill in the fridge for at least 30 minutes.
- Remove your dough from the fridge and roll it out on a well floured surface with a well floured rolling pin too. I roll mine out to about the thickness of a pound coin, a little thicker or thinner won't matter though either.
- Using a circular cutter, cut out the party ring shapes, then using a smaller circular cutter, cut out the centre circles and remove them. (You can use this to roll out more party rings if you have extra dough left over)
- Transfer your party rings to a baking sheet and bake for about 10-12 minutes until slightly golden. (12 minutes is perfect in my oven)
- Transfer to a cooling rack to cool completely.
- To make the icing, sieve your icing sugar into a bowl and a little boiling water, 1 tsp at a time. Mixing either by hand or with a mixer until it's a smooth and thick enough but still drizzles off the spoon. You don't want it to be runny!
- Once you are happy with the consistency of your icing, divide it into 3 separate bowls and use your food colouring gel to colour each (yellow, pink and purple).
- Dip your biscuits face down into your yellow, pink or purple icing so they are fully covered on top. Let any excess drizzle off. Leave it to set slightly for 2-3 minutes.
- Place a little yellow or pink icing into a piping bag and using a small nozzle, carefully draw lines of icing on top of a different colour icing (so yellow on purple icing for instance)
- Using a cocktail stick, feather the icing.
- Put to one side on a cooling rack so the icing can fully set. Excess icing should be able to drip off.
- Enjoy!
Notes
Thanks for checking out my gluten free party rings recipe! It’s so easy to whip up a batch of party rings, but most importantly… it’s so much fun too! Why not experiment with different colours/feathering techniques and make your own designs?
If you give this recipe a go, I’d love to see photos of your results! Please let me know what other biscuits, cookies, chocolate bars etc. remind you of your childhood… maybe we can recreate some, gluten free style?!
Did you try this recipe? Any questions? Please do let me know by leaving a comment below or on Facebook / Twitter / Instagram.
Thanks for reading and happy baking!
Becky xxx
Oh and don’t forget to pin this for later!

