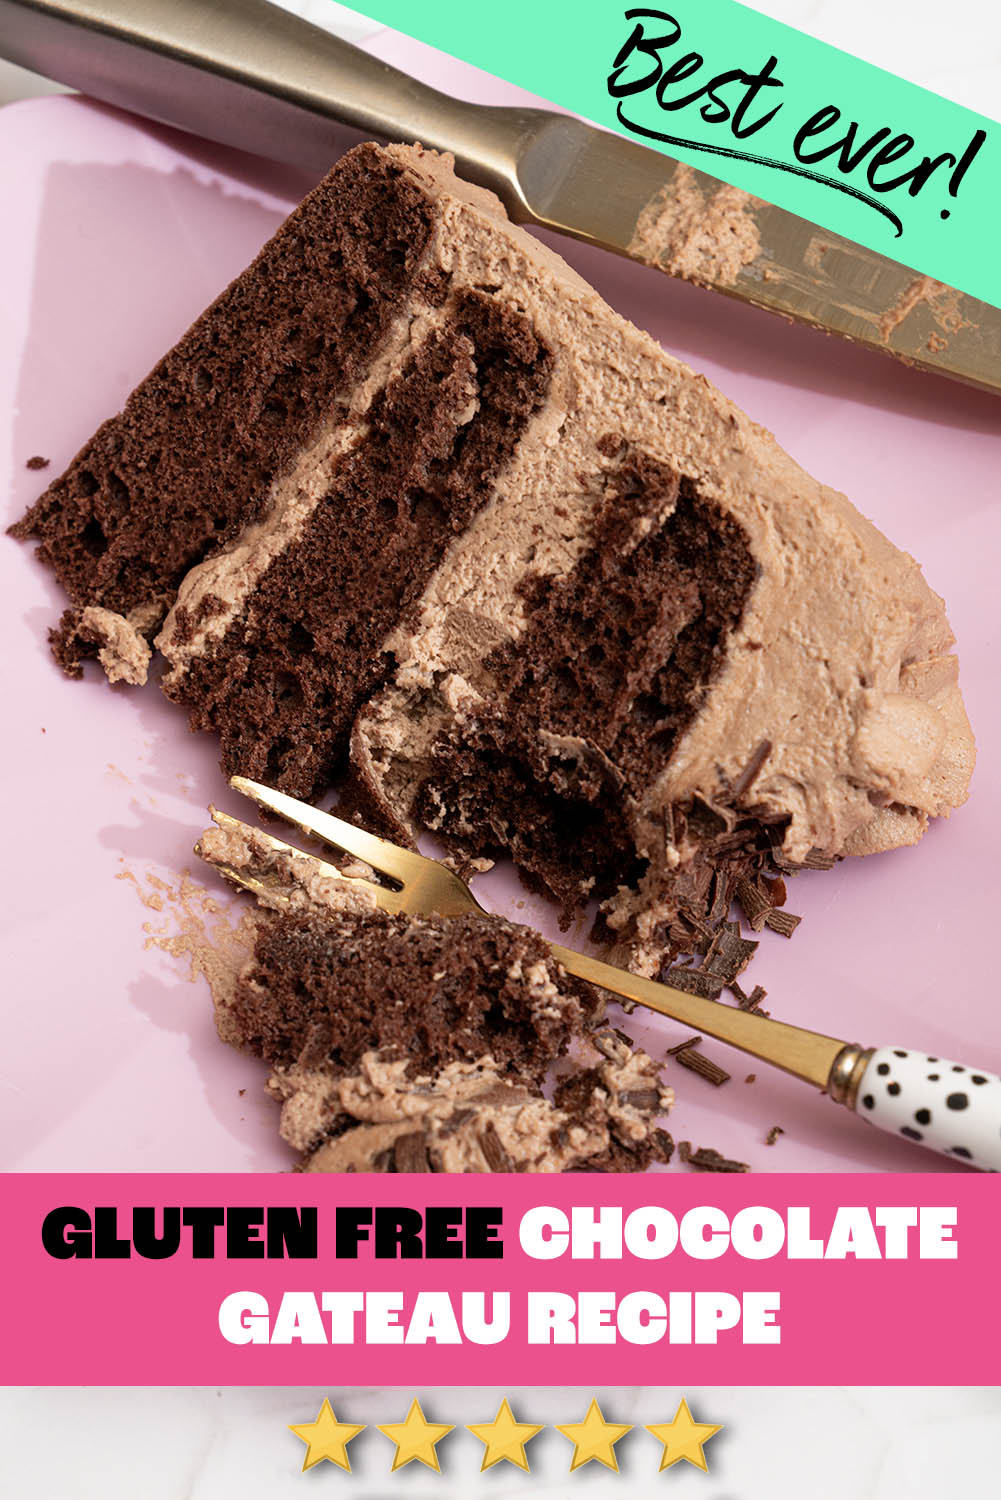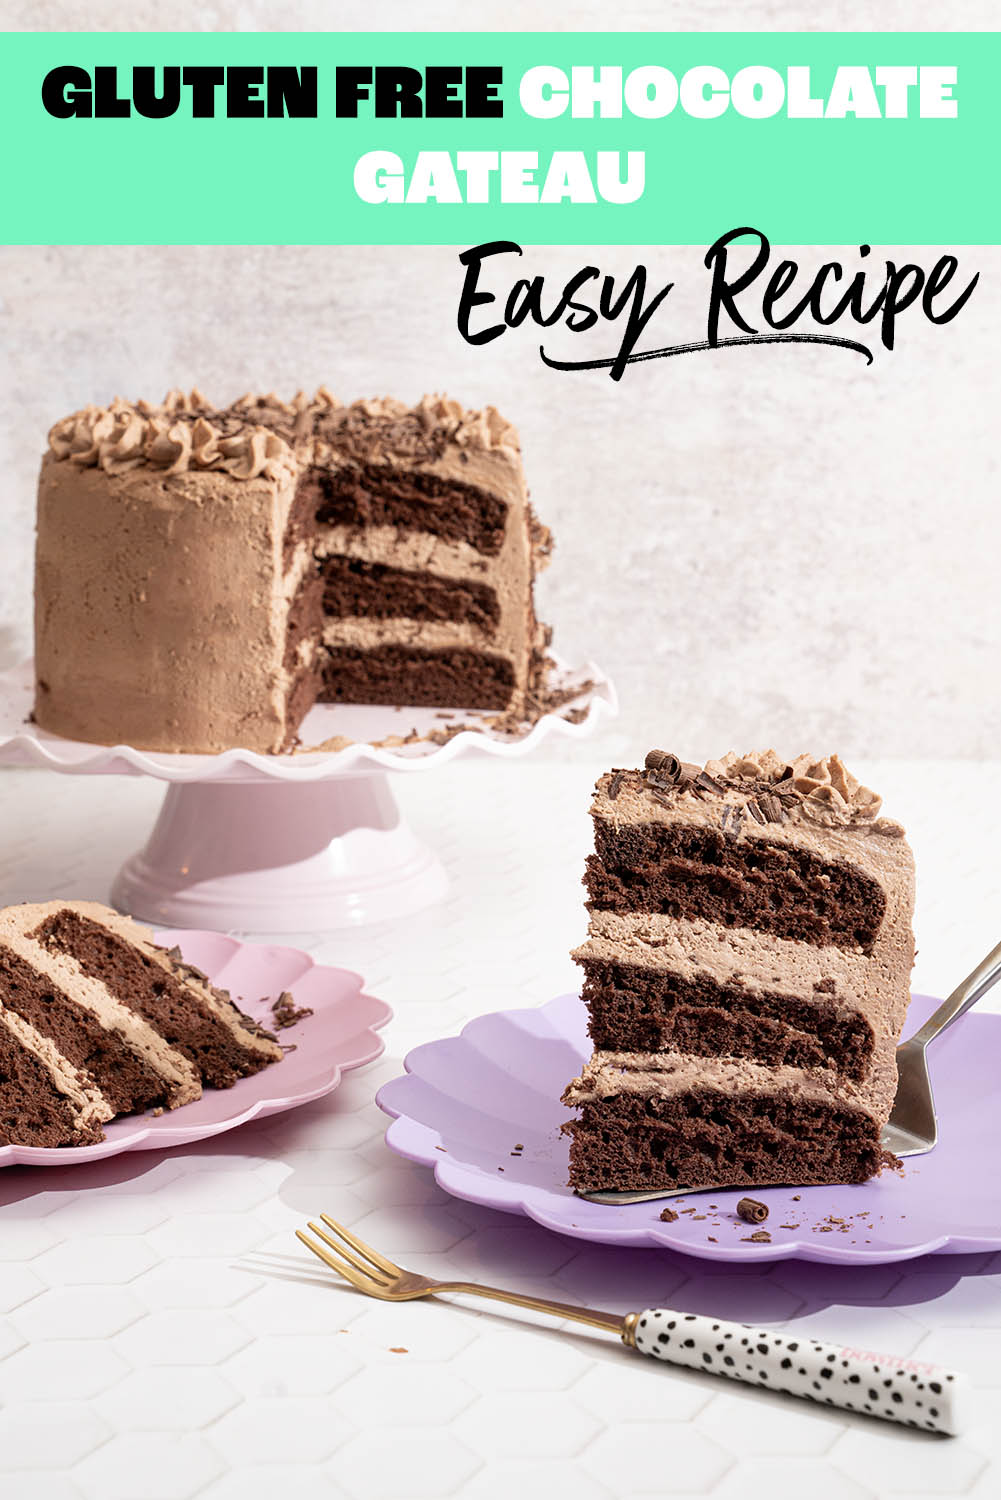

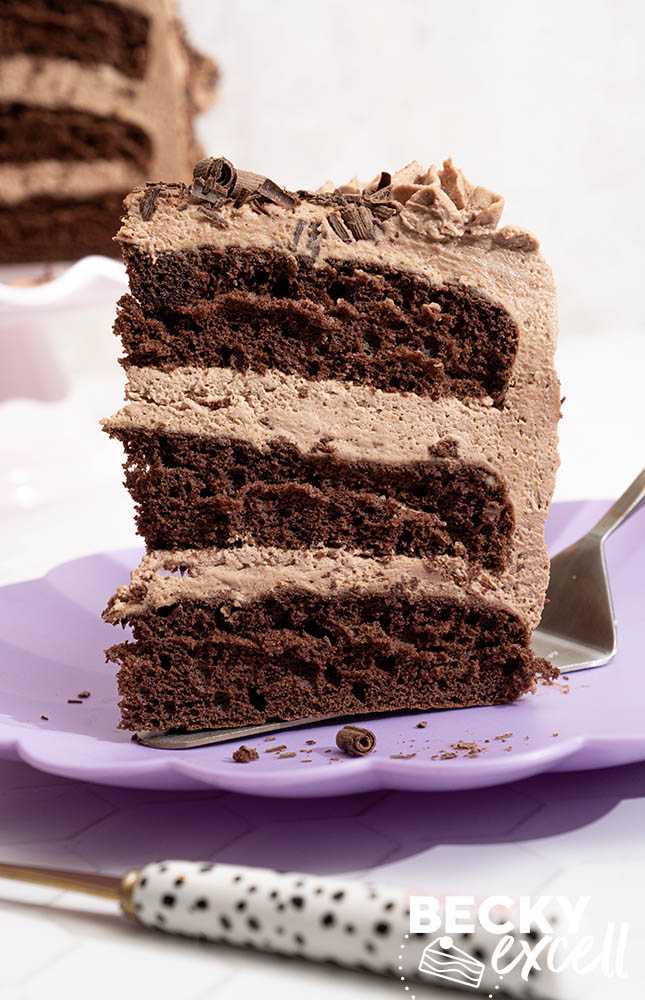
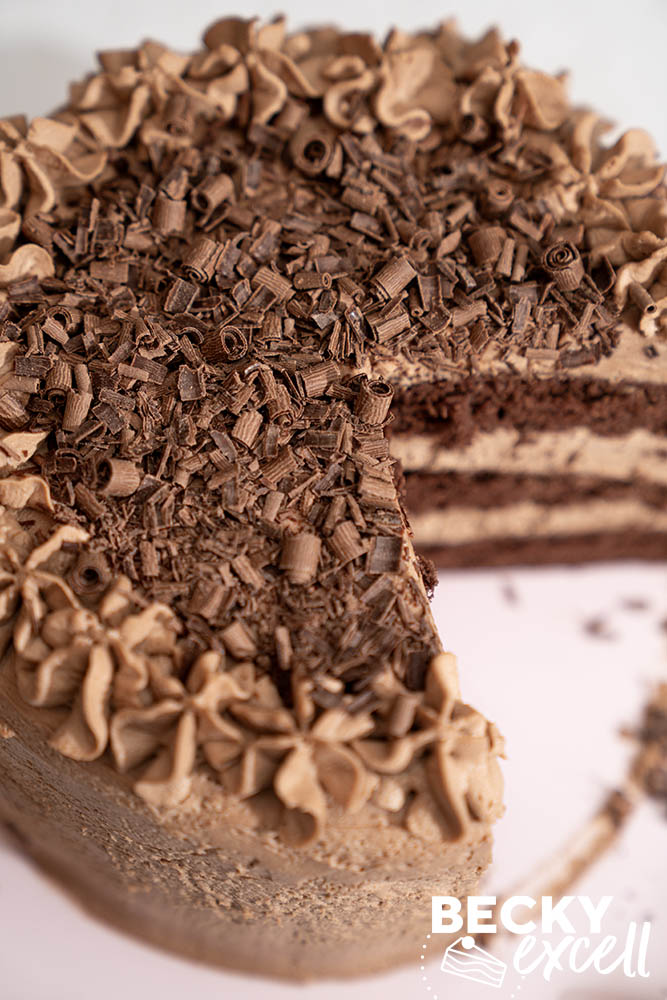
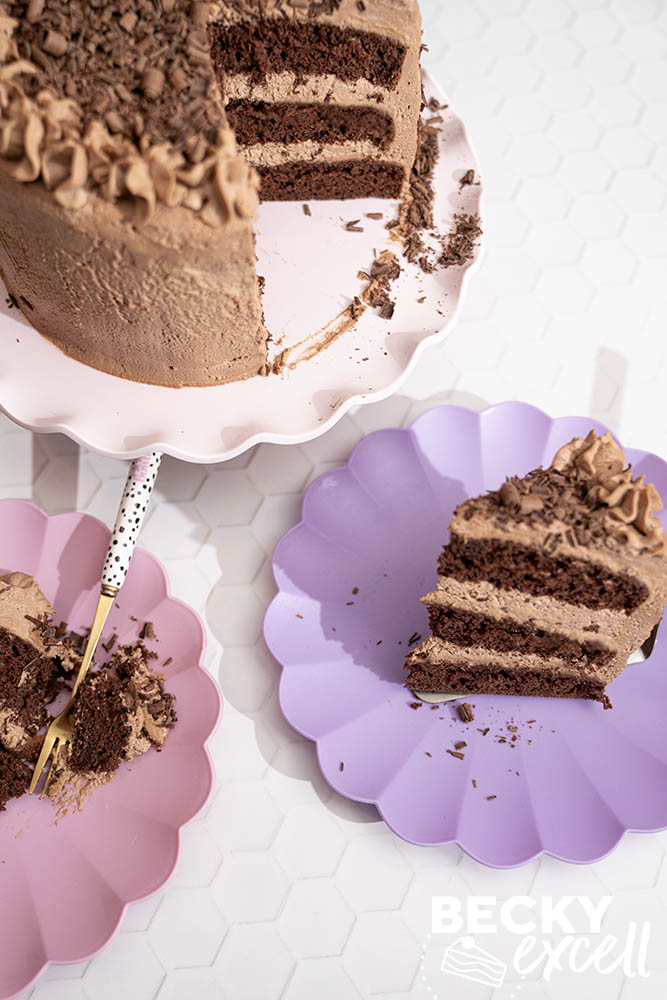
Here’s my gluten-free chocolate gateau recipe! Think three layers of light, springy chocolate sponge that won’t fall apart or crumble when you cut a slice, with fluffy whipped chocolate ganache between the layers and chocolate curls on top. It’s the kind of dessert you can bring out for everyone on a special occasion and nobody would ever know it’s gluten-free.
Does anyone else remember the frozen chocolate gateaux you used to get from the supermarket? My mum used to buy them when I was a kid, and what I remember most is that super-soft sponge and the fluffy chocolate cream on top. I’ve wanted to make a gluten-free one for years. Mine’s quite a bit bigger than the ones Mum used to buy and, if you ask me, even nicer! Not bad for 8 store-cupboard ingredients and some cream, right?
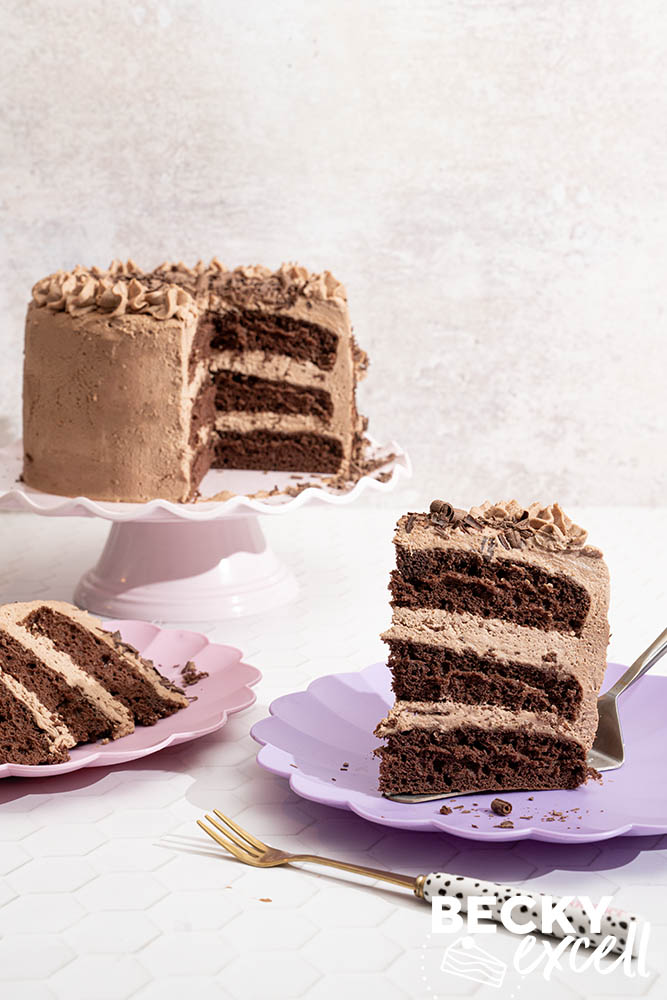
Welcome back to the ninth instalment of ‘How To Make Bake Off Gluten-free’! After last week’s gluten-free treacle tarts, it was Patisserie Week, and the Showstopper was to make 12 themed petits gâteaux. Some of this week’s bakes were a bit overly hyper-specific for me (as in, if I made them, I don’t feel confident anyone else would ever use the recipe!) so I went with something a little more familiar that still fit the brief. Well, sort of. Why make a petit gâteau when you can make one grand gâteau? 😂 Bake Off was the perfect excuse to finally make this instead!
For the sponge, I went back to the Black Forest gateau in my second book, How to Bake Anything Gluten Free. It’s a whisked chocolate sponge made without butter or oil. Whisking the egg whites gives it that lovely light, fluffy texture that’s so perfect in a gateau. It was just what I needed to recreate that super-soft sponge I remembered.
My Black Forest version has kirsch cream and cherry jam between the layers, but for this one I wanted that indulgent, almost mousse-like chocolate cream. That’s why I went for whipped chocolate ganache, or ganache montée as it’s called in French. It sounds fancy, but all you need is milk chocolate, dark chocolate and double cream. Once chilled and whipped, it’s like spreading chocolate mousse on a cake. And yes, there’s plenty left for those swirls on top!
Why you’ll love my Gluten-free Chocolate Gateau Recipe
- It’s the chocolate gateau we all remember… and then some! If you’ve spent years walking past the frozen desserts knowing you can’t eat them, this one’s for you!
- You get proper fluffy chocolate mousse-like cream in every slice. There’s real milk and dark chocolate in the ganache, and you get just as much of it between the sponges as you do on top.
- The sponge is just as soft as I remember. It’s light and springy enough that your fork goes straight through all three layers, but it still holds together beautifully when you cut yourself a slice.
- You can have dessert completely sorted the day before. Even the piped swirls hold up beautifully overnight in the fridge. All you have to do on the day is cut everyone a slice.
Ingredients for my Gluten-free Chocolate Gateau Recipe
Whisking the whites from 7 large eggs gives the sponge much of its lift and fluffy texture. Once they reach soft peaks, add the caster sugar in two batches. Hang on to the yolks – they go into the same bowl once the whites are glossy and hold a stiff peak.
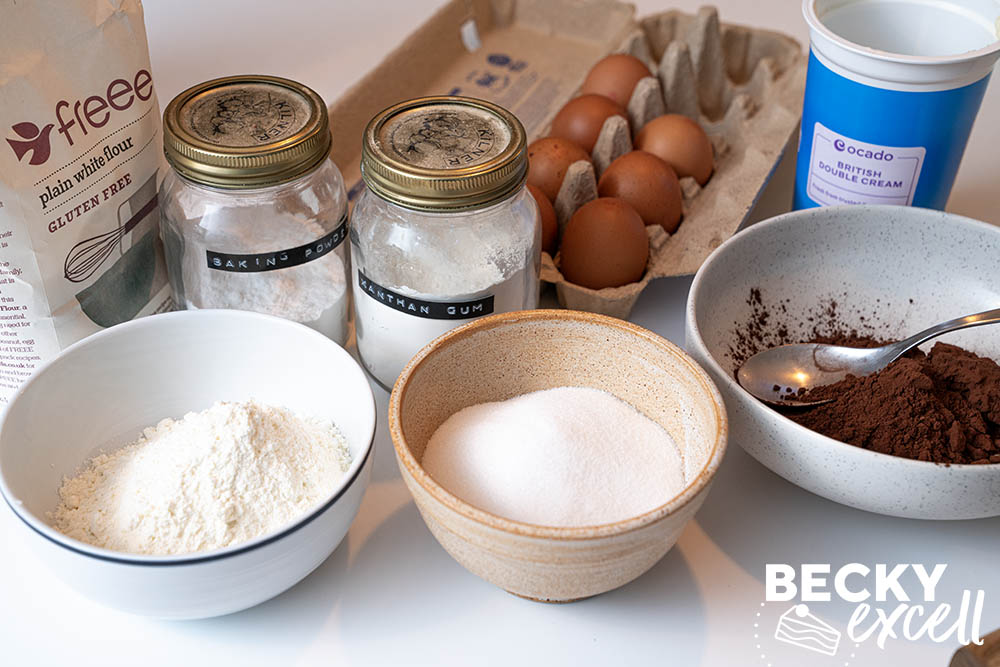
I use FREEE by Doves Farm gluten-free plain white flour for the sponges. A little xanthan gum helps the layers hold together when you cut a slice, and gluten-free baking powder gives them a little extra lift.
The cocoa powder gives the sponges their chocolate flavour. Do give it a good sifting in a sieve before mixing it with the flour. Little lumps of cocoa are surprisingly good at surviving a trip through the mixer!
Ordinary supermarket double cream is exactly what you want for the ganache. You’ll heat a third of it to melt the chocolate, then stir in the rest straight from the fridge.
I use both milk chocolate and dark chocolate in the ganache for that creamy chocolate flavour I remember. Go for a dark chocolate that’s between 50-60% – mine was 56%. Keep a piece of the bar whole for the curls so you’ve got a nice long edge to run your peeler along.
Shopping list:
Here’s what you’ll need to make one gluten-free chocolate gateau, including the filling and decoration:
- 7 large eggs
- 145g gluten-free plain flour
- 60g cocoa powder
- ½ tsp xanthan gum
- 1½ tsp gluten-free baking powder
- 200g caster sugar
- 900ml double cream
- 150g milk chocolate
- 155g dark chocolate (80g for the ganache and 75g for the curls)
How to make my Gluten-free Chocolate Gateau Recipe
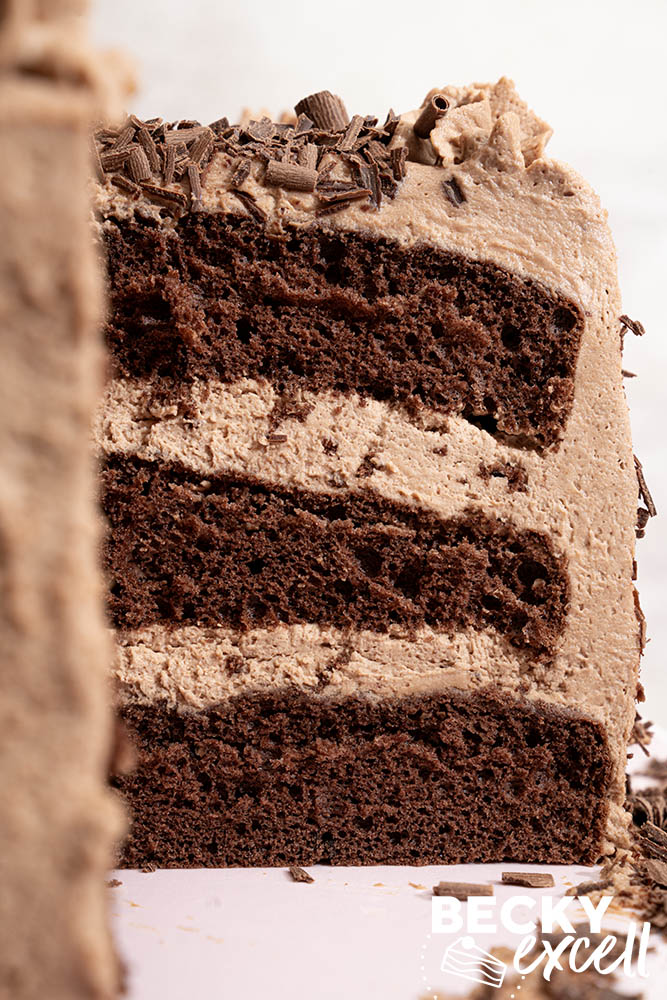
- Start with the ganache. Pour the hot cream over the chopped chocolate, leave it for 2 minutes, then stir until smooth. Mix in the remaining cold cream and chill for at least 6 hours, preferably overnight.
- For the sponge, whisk the egg whites to soft peaks, then add the sugar in two batches. Once the whites hold stiff peaks, mix in the yolks, followed by the flour, sifted cocoa, xanthan gum and baking powder.
- Divide the mixture between three greased, base-lined 20cm tins and level the tops. Bake at 180°C fan / 200°C conventional for 15 minutes, then turn the sponges out, peel off the paper and leave them to cool top-side up.
- Whip the chilled ganache on low until it’s fluffy and holds its shape. Sandwich the cooled sponges together with ganache, finishing with the flat side of the top sponge facing upwards.
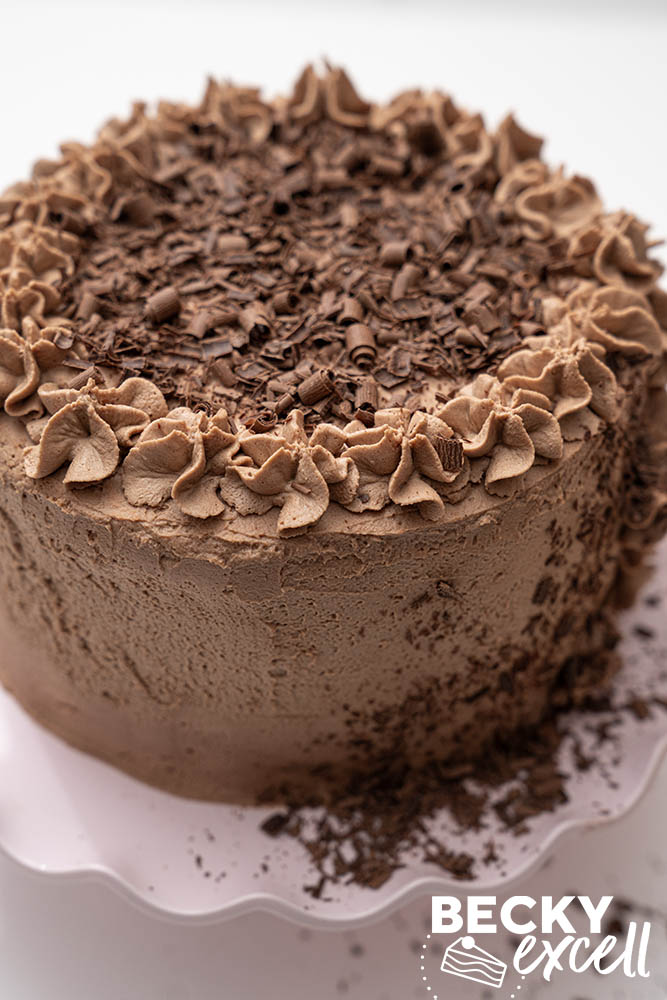
- Cover the top and sides in ganache, pipe swirls around the top edge and fill the centre with chocolate curls. Keep chilled until you’re ready for a slice!
A few tips before you start
Make the ganache first. The sponges only take 15 minutes in the oven, but the chocolate and cream need at least 6 hours in the fridge before whipping. I’d make the ganache the evening before so it’s waiting for you when you’re ready. If you’re making the whole thing today, there’s a quicker chocolate cream in the FAQs below.
Spread the sponge mixture right to the edges of each tin. I use a small cranked palette knife for this, then give the tin a gentle shake from side to side. A minute spent levelling them now makes the layers much easier to stack later.
Cool the sponges top-side up. Once you’ve turned them out and peeled off the baking paper, flip them back over. The tops are a little sticky and will stick to the wires if you leave them face down!
Storage and leftovers
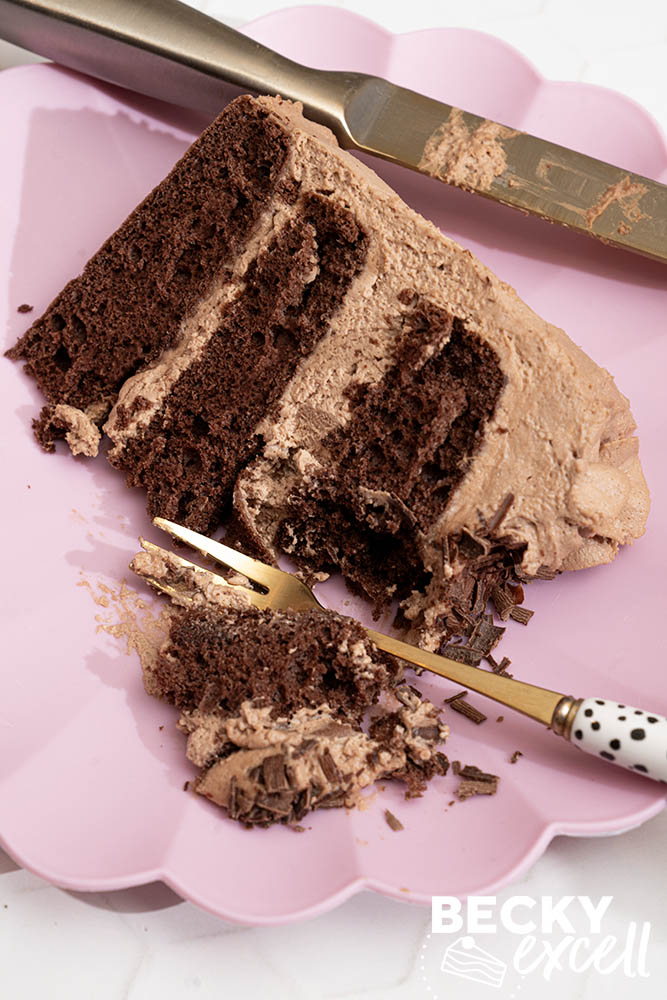
Keep the finished gateau covered in the fridge, giving the piped swirls a little room so they don’t get squashed (think loosely draped clingfilm). You can fill and decorate the whole cake the day before you need it. The sponge and the swirls hold up beautifully overnight.
Can I freeze it?
Yes! I’d slice it first so you can take out a piece whenever you fancy one. Freeze the slices in an airtight container for up to 2-3 months, then defrost overnight in the fridge. The piped swirls may lose a little definition once thawed.
Recipe tips, swaps and FAQs
Is this recipe gluten-free? Is it suitable for people with coeliac disease?
Yes! Provided all the ingredients you use are gluten-free, including the chocolate you use for the ganache and the curls on top. If you’re baking for someone with coeliac disease, follow Coeliac UK’s advice on avoiding cross-contamination.
Can I make this dairy-free?
Yes! The sponges are already dairy-free. For the ganache, use a whippable dairy-free cream with at least 30% fat. I use Elmlea Plant Double, which has 31g of fat per 100ml and whips up really well. You’ll also need a dairy-free milk chocolate alternative and dairy-free dark chocolate for the ganache, plus a little extra dairy-free dark chocolate for the curls.
Can I make this vegan or egg-free?
Unfortunately, this is not an easy one to make egg-free without considerable adaptation. Instead of the chocolate sponge used here, you’d need an egg-free chocolate sponge recipe, as the seven whisked eggs give these sponges much of their lightness and rise.
The ganache is already egg-free. To make it vegan too, use Elmlea Plant Double, a vegan milk chocolate alternative and vegan dark chocolate, including for the curls on top.
Can I make this lactose-free?
Yes! Use lactose-free cream with at least 30% fat in place of the double cream. I use Arla LactoFREE cream, which is around 36% fat and whips up beautifully. Use lactose-free chocolate for the ganache and the curls, and you’re all set.
Is this gluten-free chocolate gateau low FODMAP?
Yes! Follow the lactose-free advice above for the cream and chocolate, and make sure your gluten-free plain flour blend is FODMAP-friendly too.
Can I decorate the gateau without a piping bag?
Yes! Once you’ve covered the cake, spoon the remaining ganache around the top edge in little mounds. Give each one a swirl with the back of a teaspoon, then scatter the chocolate curls in the middle. You’ll still get a lovely big spoonful of that mousse-like topping on every slice.
What equipment do I need to make chocolate gateau?
- Three 20cm (8in) round cake tins, non-stick baking paper and a wire cooling rack. Grease each tin and use the paper to line the base.
- A small saucepan, a large heatproof mixing bowl and a silicone spatula. You’ll use these for the ganache. Keep the spatula handy for checking the consistency once you start whipping it.
- A sieve. I use this to sift the cocoa powder before mixing it with the flour so there are no little lumps of cocoa in the sponges.
- A stand mixer or electric hand whisk. I use mine twice here – first for the sponge mixture, then on low speed for the chilled ganache.
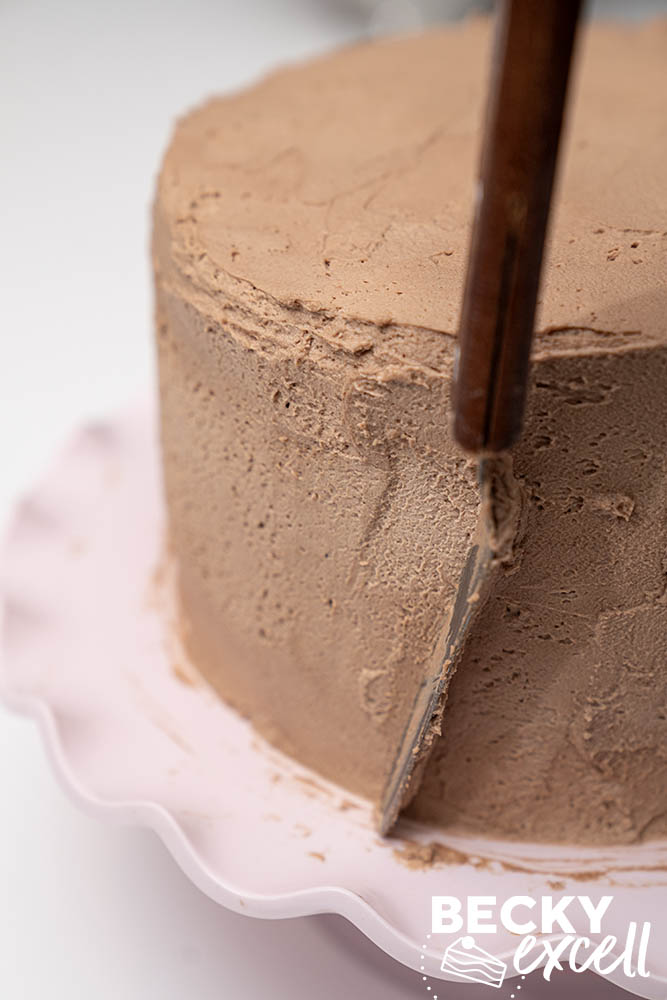
- A small cranked palette knife. It’s ideal for spreading the sponge mixture across the tins. I use the same knife to cover the cake in ganache and make those vertical lines around the sides.
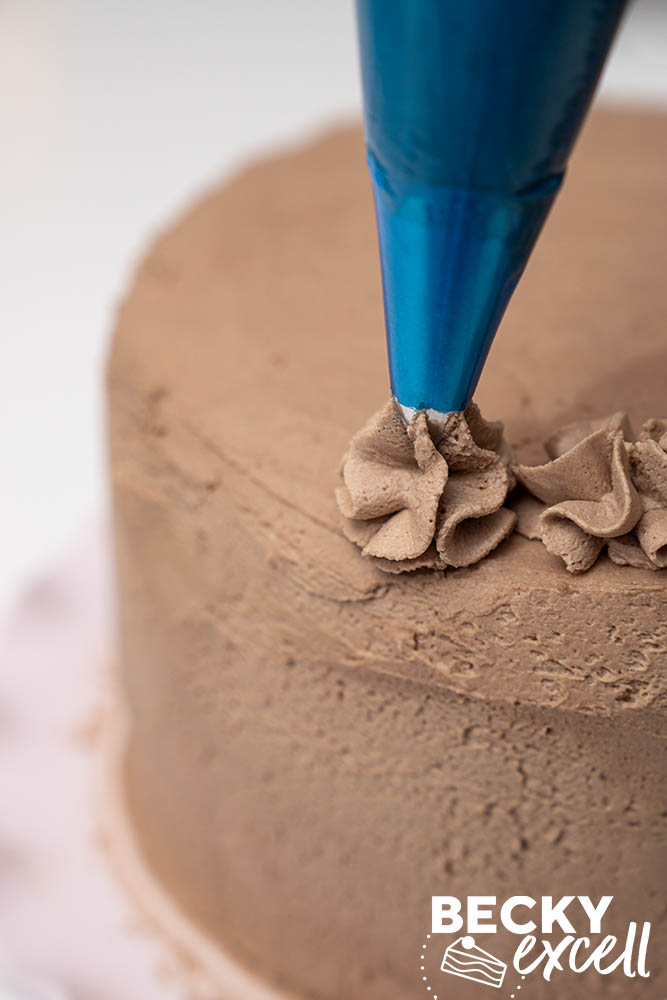
- A piping bag and a 1M open star nozzle. This is the nozzle to use for those big chocolate swirls around the top edge of the gateau.
- A vegetable speed peeler. Run it along the long edge of a room-temperature chocolate bar to make the curls for the top.
Can I make chocolate gateau without waiting 6 hours for the ganache?
Yes, but not using the ganache as written in the recipe. Instead, use the quicker chocolate whipped cream in the recipe notes. Whisk 900ml double cream to soft peaks, then sift in 120g icing sugar and 50g cocoa powder. Whisk until thick enough to spread and pipe. It gives you a fluffy cocoa-flavoured cream that you can use as soon as the sponges are cool.
If you’re making the melted-chocolate ganache, definitely give it the full 6 hours in the fridge. Adding the cold cream cools it down, but the chocolate and cream still need time to chill and set together before whipping.
Can I make the whole gateau the day before?
Yes, right down to the piping and chocolate curls! If I wanted it for a Saturday birthday, I’d mix the chocolate and cream on Thursday evening and pop the bowl in the fridge. On Friday I’d bake and cool the sponges, whip the ganache and decorate the cake. Then it can sit happily in the fridge overnight, ready for Saturday.
Can I make this chocolate gateau with two sponge layers instead of three?
Yes! For a two-layer gateau, I’d use roughly two-thirds of the sponge mixture and divide it between two 20cm (8in) tins. That keeps each layer close to the thickness in the original recipe, so you can bake them at 180°C fan / 200°C conventional and start checking at 15 minutes.
For the sponges, use 5 large eggs, 100g gluten-free plain flour, 40g cocoa powder, ⅓ tsp xanthan gum, 1 tsp gluten-free baking powder and 135g caster sugar. Follow the same method as above.
I’d also reduce the ganache to 600ml double cream, 100g milk chocolate and 55g dark chocolate. Heat 200ml of the cream to melt the chocolate, then stir in the remaining 400ml cold cream and chill as directed. You’ll have one layer to fill, plus the top and sides to cover and decorate.
Troubleshooting
Why haven’t my chocolate sponges risen much?
Each sponge is meant to be fairly thin because you’re dividing the mixture between three 8in tins. If yours feel light and springy, that’s exactly what you’re after!
If they’ve come out flat and dense, you may have added the yolks before the whites were stiff enough, or lost some of the air by mixing the batter for too long. Next time, once all the sugar is in, lift the whisk. The whites should form a glossy peak that stands upright. That’s your cue to add the yolks. Once the dry ingredients go in, stop mixing as soon as the batter is smooth and glossy.
How do I know when to stop whipping the ganache?
Once the whisk starts leaving tracks, stop the mixer and scoop a little ganache up with a silicone spatula. It’s ready when it holds a peak and still spreads easily. You want to be able to smooth it across a sponge without dragging up crumbs, but also pipe a swirl that keeps its shape.
It can look loose for ages and then thicken very quickly, so keep the mixer on low. If it’s nearly there, finish with a few gentle turns by hand. A few little air holes are normal. If the ganache starts gathering in a stiff clump around the whisk, stop there – beating it further can make it grainy.
Why am I getting flakes of chocolate instead of curls?
Your chocolate is probably a little too cold or you’re doing lots of short peels. Let the bar warm up slightly, then draw a vegetable peeler along the long edge in one steady stroke. Try it over a plate first. If the chocolate still splinters, give it another few minutes. Chill the curls briefly before scattering straight over the centre of the gateau.
Gluten-free Chocolate Gateau
Equipment
- Stand mixer or an electric hand whisk
Ingredients
For the sponges
- 7 large eggs
- 145 g gluten-free plain flour
- 60 g cocoa powder sifted
- 1/2 tsp xanthan gum
- 1 1/2 tsp gluten-free baking powder
- 200 g caster sugar
For the whipped chocolate ganache
- 900 ml double cream keep chilled until needed
- 150 g milk chocolate
- 80 g 50-60% dark chocolate I used 56%
To finish
- 75 g 50-60% dark chocolate for curls – keep this piece of the bar whole
Instructions
To prepare the ganache
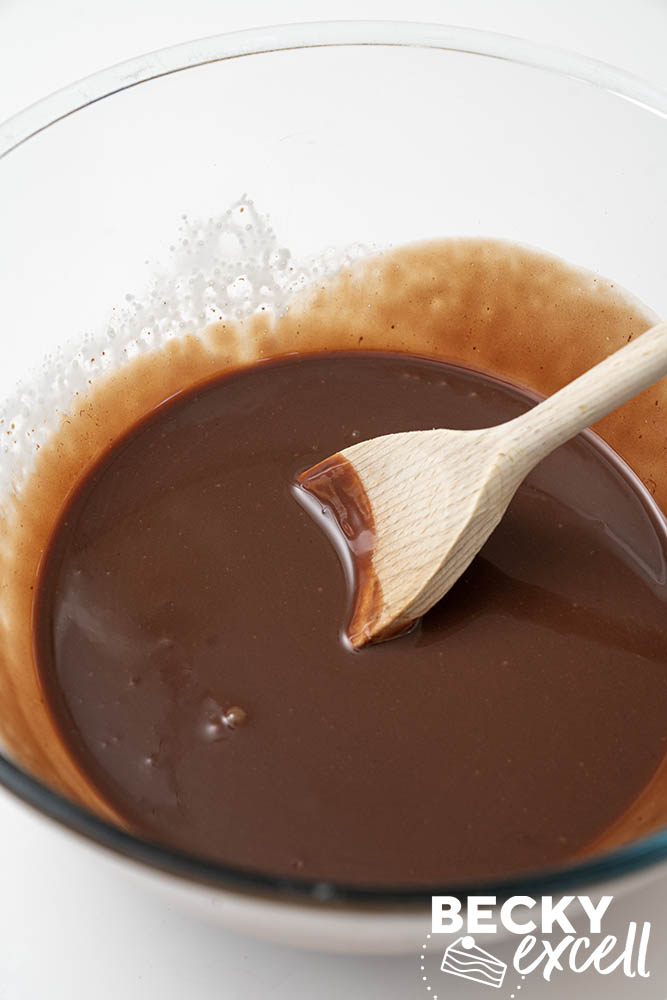
- Finely chop the milk chocolate and the 80g of dark chocolate and place in a large heatproof mixing bowl. Pour 300ml of the double cream into a small saucepan and heat until steaming and just beginning to simmer. Pour it over the chocolate and leave for 2 minutes, then stir with a silicone spatula until the chocolate has completely melted and the mixture is lovely and smooth.
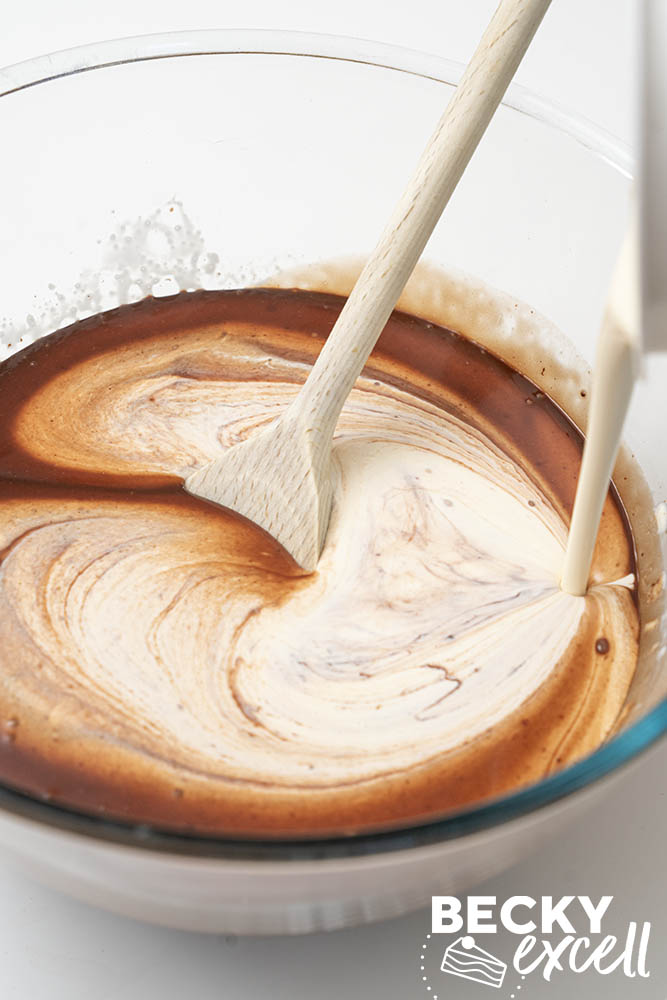
- Gradually pour in the remaining 600ml of cold double cream, mixing until well combined. Cover and place in the fridge for at least 6 hours, preferably overnight. The ganache needs to be completely chilled before you whip it.
To make the sponges
- Preheat your oven to 180°C fan / 200°C conventional. Grease three 20cm (8in) round cake tins and line the bases with non-stick baking paper. Separate the eggs, keeping both the whites and the yolks.
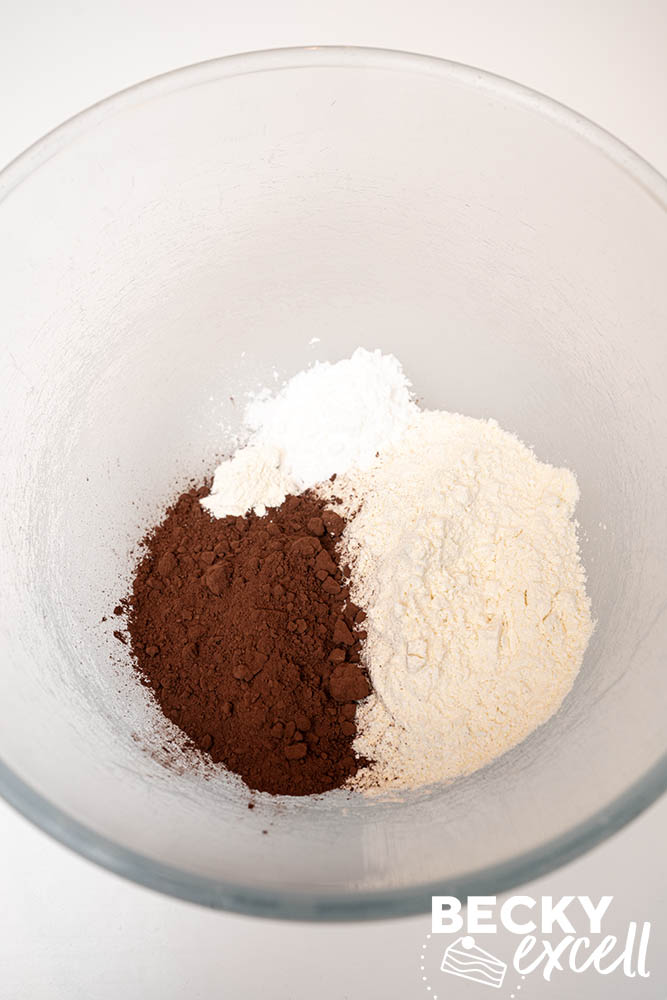
- In a mixing bowl, combine the gluten-free plain flour, sifted cocoa powder, xanthan gum and baking powder, then set aside.
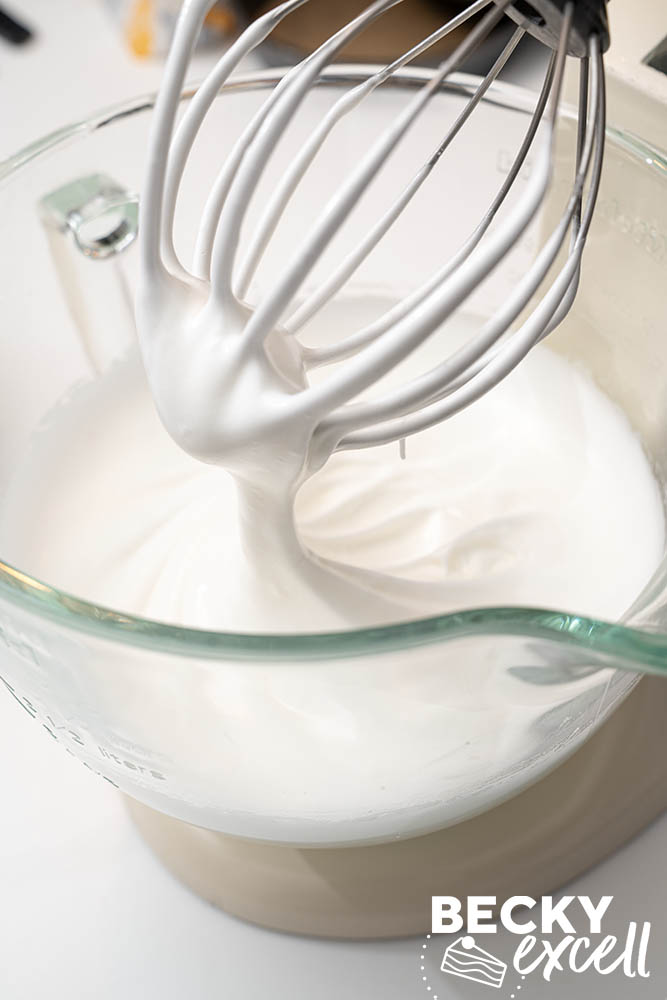
- Place the egg whites in the bowl of a stand mixer, or use a large mixing bowl and an electric hand whisk. Whisk on medium-high speed until soft peaks form. Add the caster sugar in two batches, whisking between each addition. Once all the sugar is in, increase the speed and whisk until the whites are glossy and hold a stiff peak when you lift the whisk.
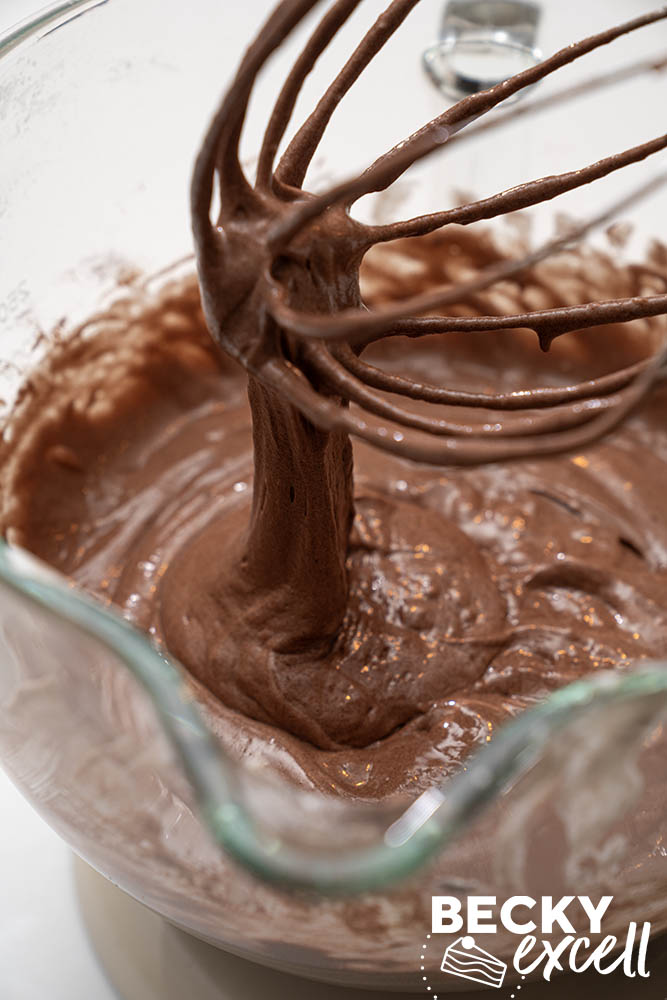
- Lower the speed to medium and add the egg yolks while the mixer is running. Once incorporated, stop the mixer and add the dry mixture. Mix again on medium just until the batter is smooth, combined and glossy.
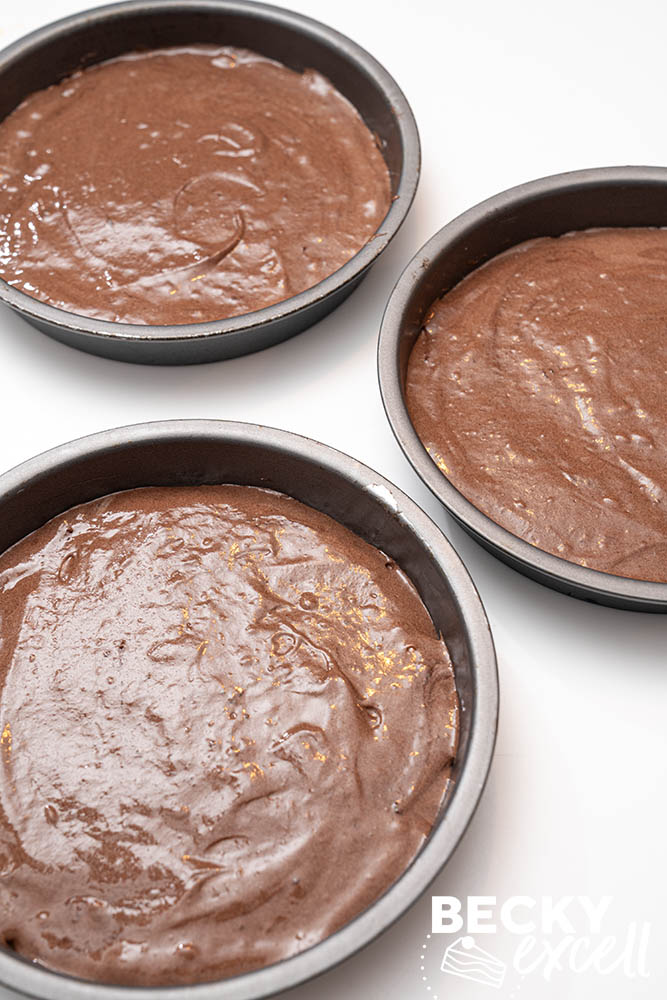
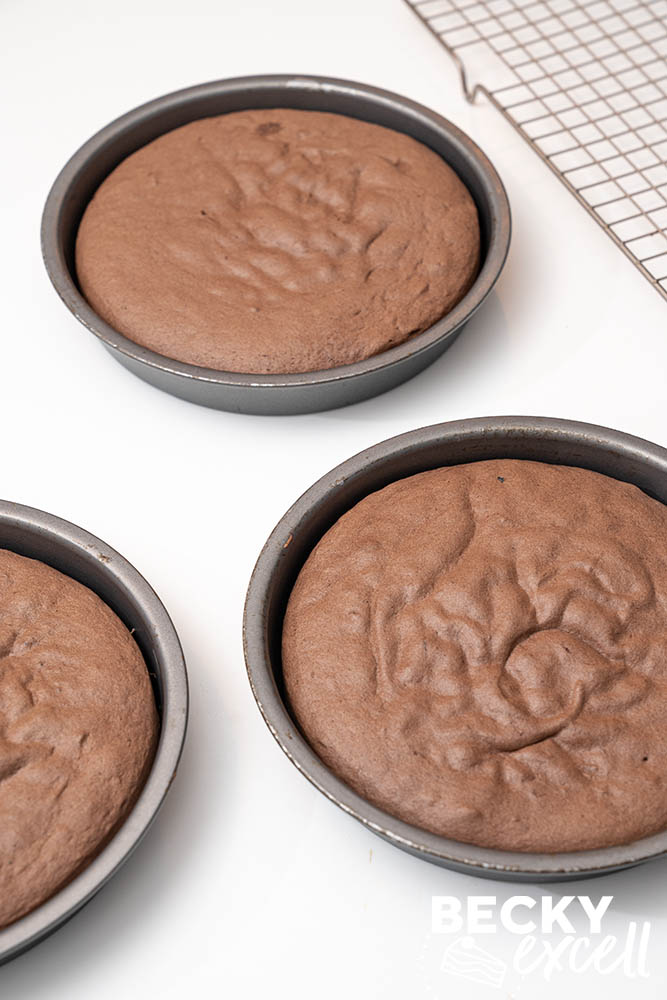
- Divide the mixture evenly between the three prepared tins. Use a small cranked palette knife to spread it right to the edges, then give each tin a gentle shake from side to side to level the top. Bake for 15 minutes until lovely and risen – don't worry if they sink a tad and the tops become a bit wrinkled, they should be!
- Carefully turn the sponges out onto cooling racks, peel off the baking paper and flip them back over so they cool top-side up. The tops will stick to the wires if you leave them face down! Allow to cool completely.
To whip the ganache and assemble the gateau
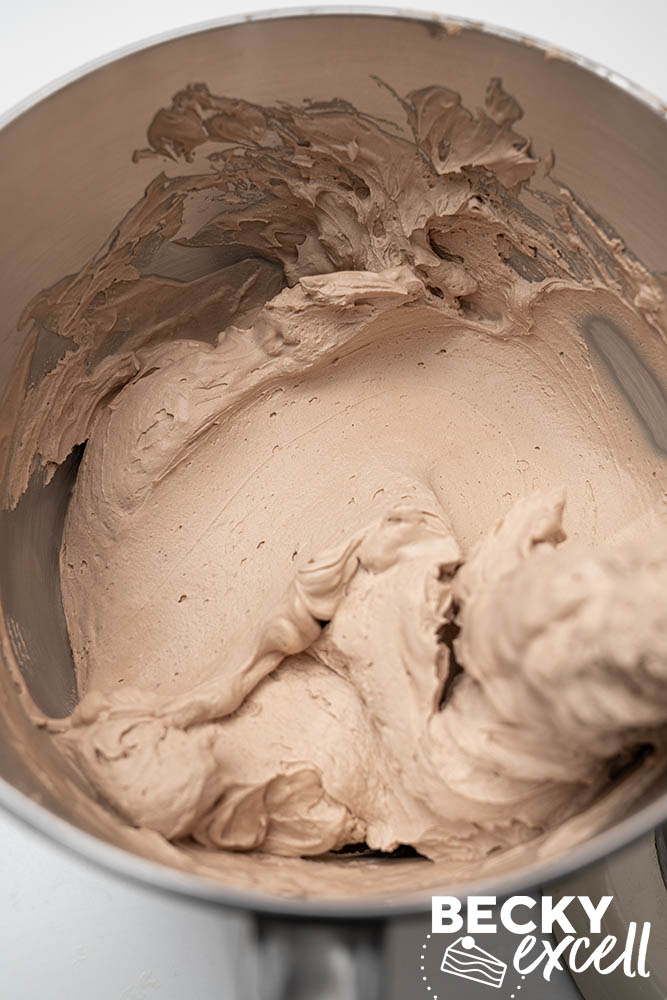
- Once the sponges are completely cool, whisk the thoroughly chilled ganache on low speed. It can seem loose at first and then thicken very quickly. As soon as the whisk starts leaving tracks, stop occasionally and check the consistency with a silicone spatula. It’s ready when it holds a peak but still spreads easily. If it’s nearly there, finish with a few gentle turns by hand. Stop before it starts to gather in a stiff clump around the whisk.
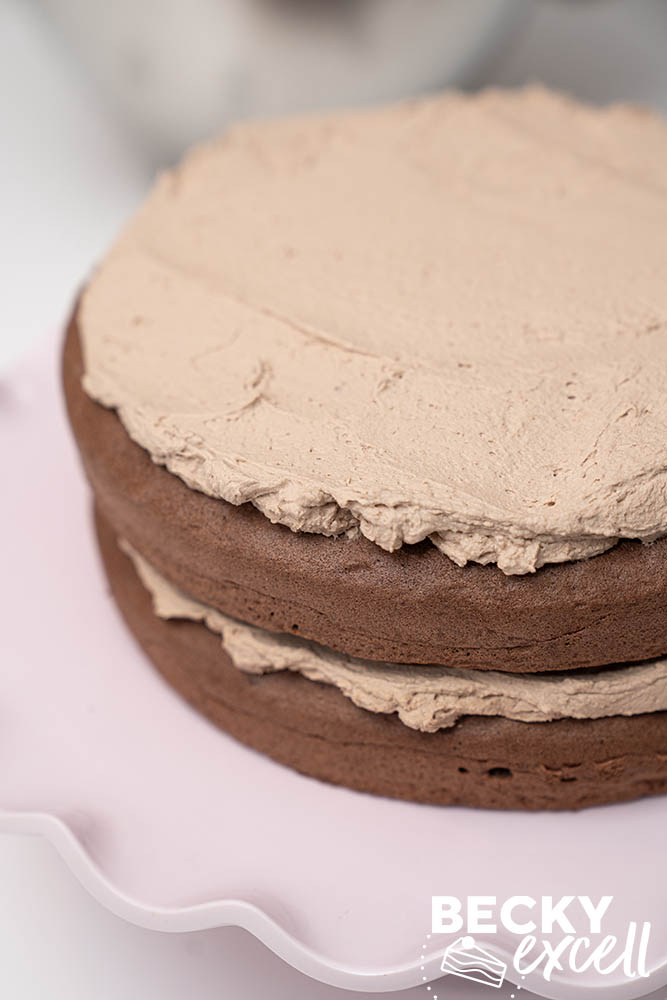
- Place one sponge on a serving plate and spread a 1cm layer of whipped ganache over it, right up to the edges. Place the second sponge on top and repeat. Finish with the third sponge, placing it flat side up.
- Cover the top and sides of the cake with whipped ganache using a small palette knife. Smooth the sides, then use the edge of the knife to make a few gentle vertical lines in the ganache for that classic chocolate gateau finish.
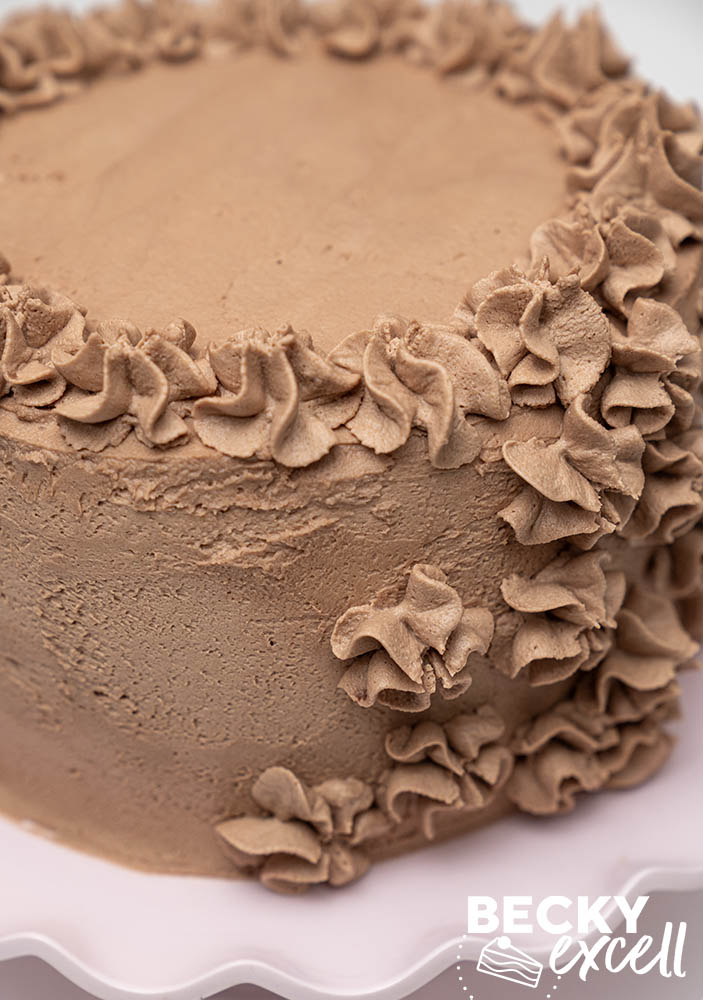
- Spoon the remaining ganache into a piping bag fitted with a large open star nozzle. Pipe tall, generous swirls all around the top edge, keeping them close together.
- If you have any ganache left, you can pipe a few more sporadically around the sides too.
- To make the curls, draw a vegetable peeler along the long edge of a room-temperature dark chocolate bar. Scatter the curls over the centre of the gateau and add a few to the sides if you fancy. Keep chilled until you’re ready to serve.
Notes
Nutrition