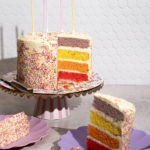
Gluten-free Celebration Cake Recipe
Four colourful layers of gluten-free vanilla sponge, sandwiched with vanilla buttercream and finished with rainbow hundreds and thousands. My gluten-free take on the M&S rainbow cake.
Servings 24 slices
Calories 609kcal
Equipment
- 4 20cm round cake tins or 2 if baking in batches
- Stand mixer or an electric hand whisk
Ingredients
For the sponges
- 400 g caster sugar
- 400 g unsalted butter softened, or use dairy-free baking spread
- 395 g gluten-free self-raising flour see FAQ section for what I used
- 1/4 tsp xanthan gum
- 1/2 tsp gluten-free baking powder
- 1 1/2 tsp vanilla extract
- 7 large eggs around 400g without the shells
- concentrated food colouring gels or pastes suitable for baking see FAQ section for what I used
For the vanilla buttercream
- 600 g unsalted butter softened
- 1 kg icing sugar
- 2 tsp vanilla extract
- 1-3 tsp milk only if needed to loosen the buttercream
For decoration
- 85 g gluten-free rainbow hundreds and thousands see FAQ section for what I used
Instructions
- Preheat your oven to 160°C fan / 180°C conventional. Grease four 20cm round cake tins and line the bases with non-stick baking paper. If you're baking in two batches, see the FAQ section before you start.
- Crack the eggs into a bowl and lightly beat them together.
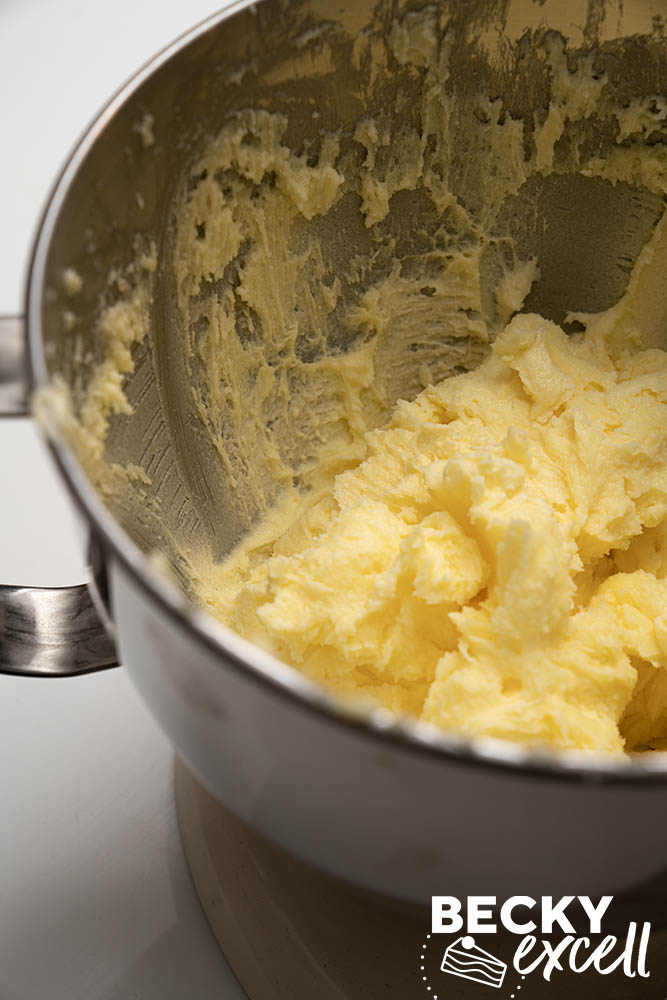
- In a large mixing bowl, cream the butter and caster sugar with an electric hand whisk or stand mixer until pale, light and fluffy. Scrape down the sides of the bowl as needed.
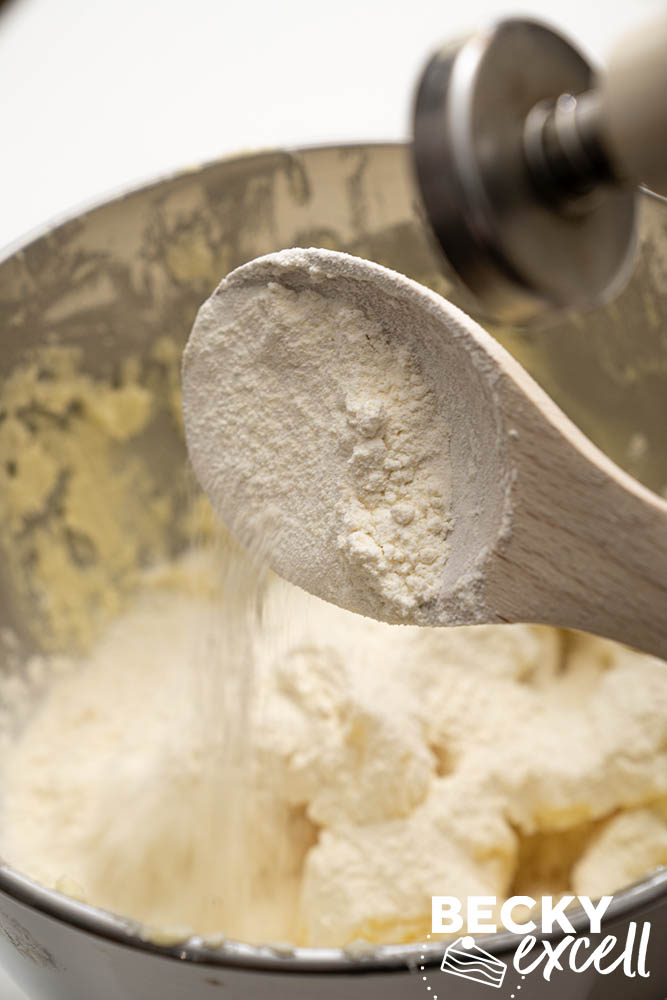
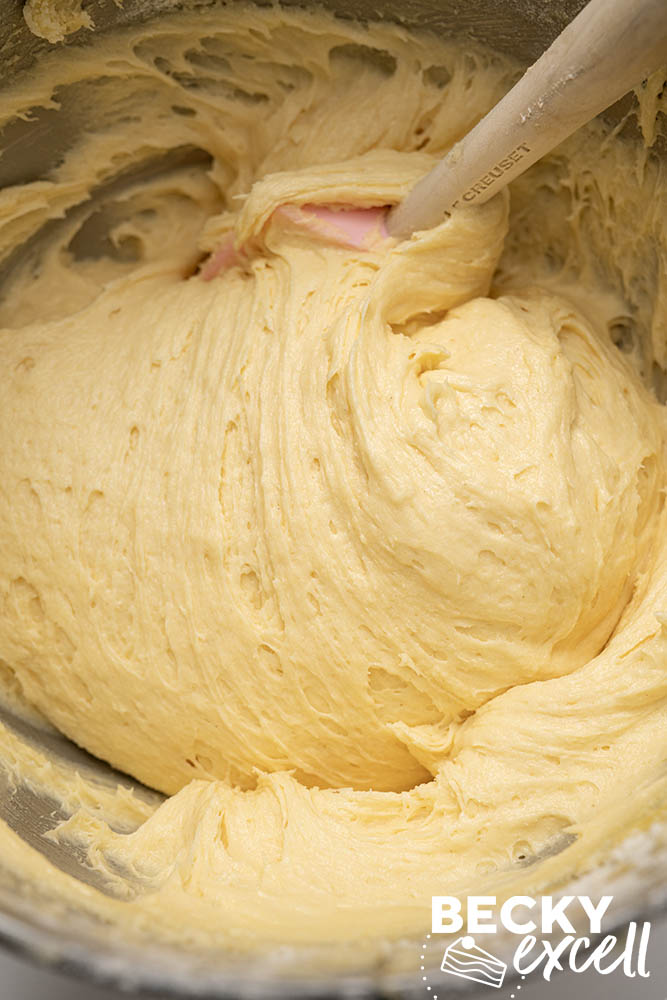
- Add the gluten-free self-raising flour, xanthan gum, baking powder, vanilla extract and beaten eggs. Mix until smooth and evenly combined, scraping down the sides and bottom of the bowl.
- Weigh the finished mixture and divide its weight by four. You should have around 380-400g per bowl. Zero the scales with each empty bowl in place before spooning in the mixture so the layers bake to an even thickness.
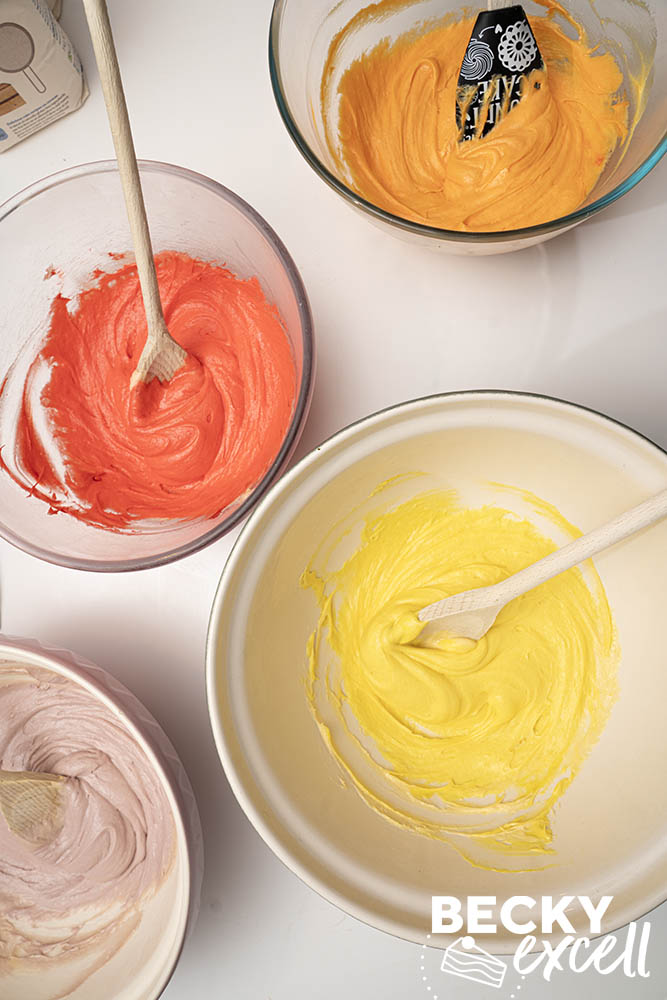
- Colour one bowl red, one orange, one yellow and one purple. I used 4-5 drops per bowl, though the amount you need may vary by brand. Add the colouring gradually, following the guidance on the pack. Use a silicone spatula for each bowl and stop mixing as soon as the colour is even, with no streaks or lumps of colouring.
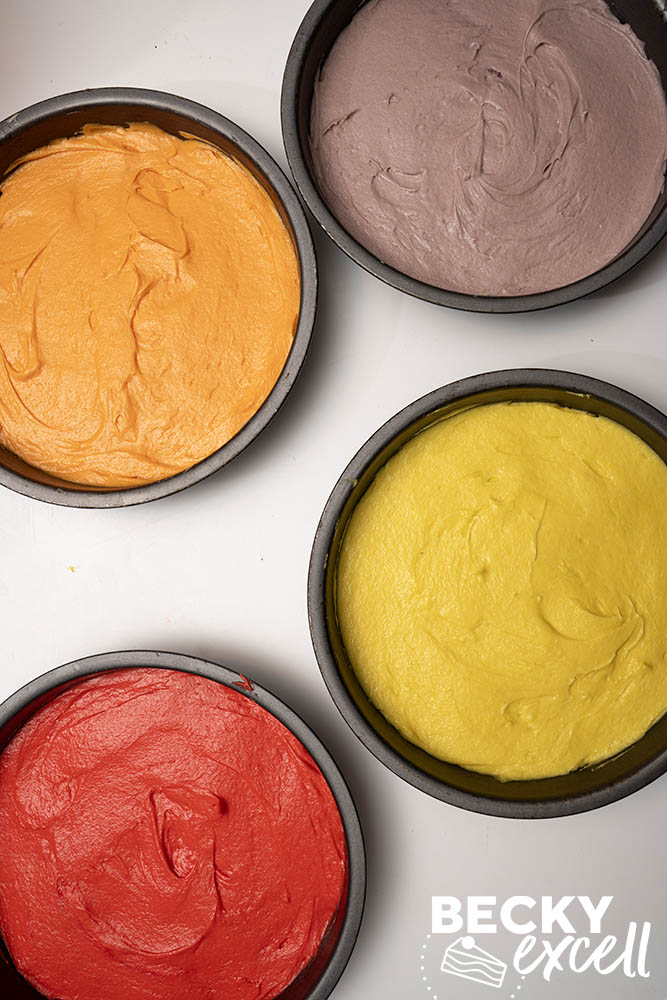
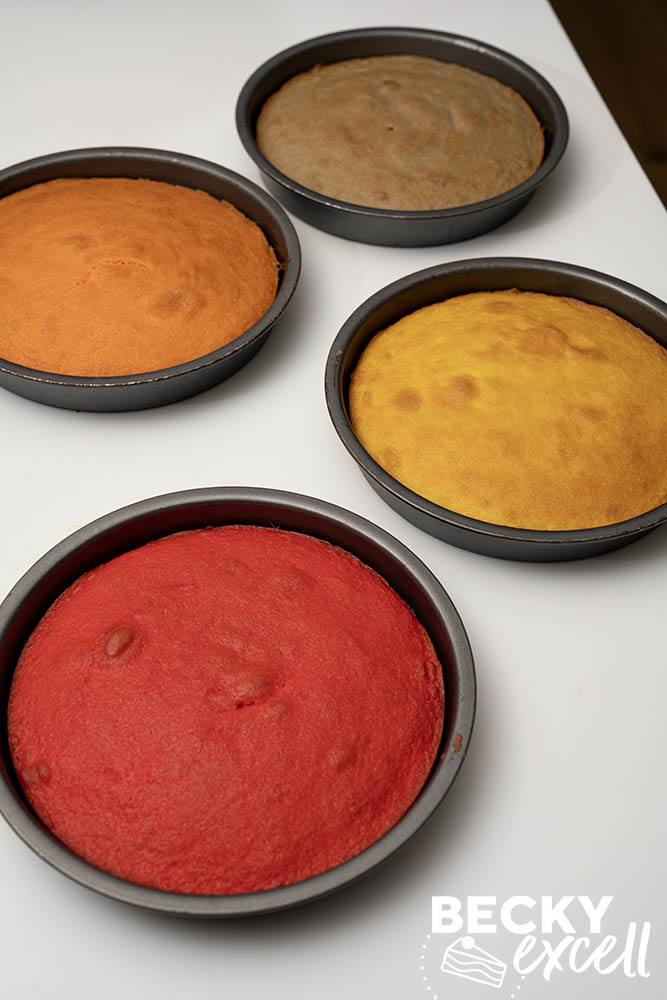
- Transfer each colour to its own tin and gently level the tops. Bake for 20-25 minutes, checking from 20 minutes. The centres should spring back lightly when touched and a skewer should come out clean.
- Leave the sponges in their tins for 10 minutes before carefully turning them out onto wire racks. Leave them to cool completely.
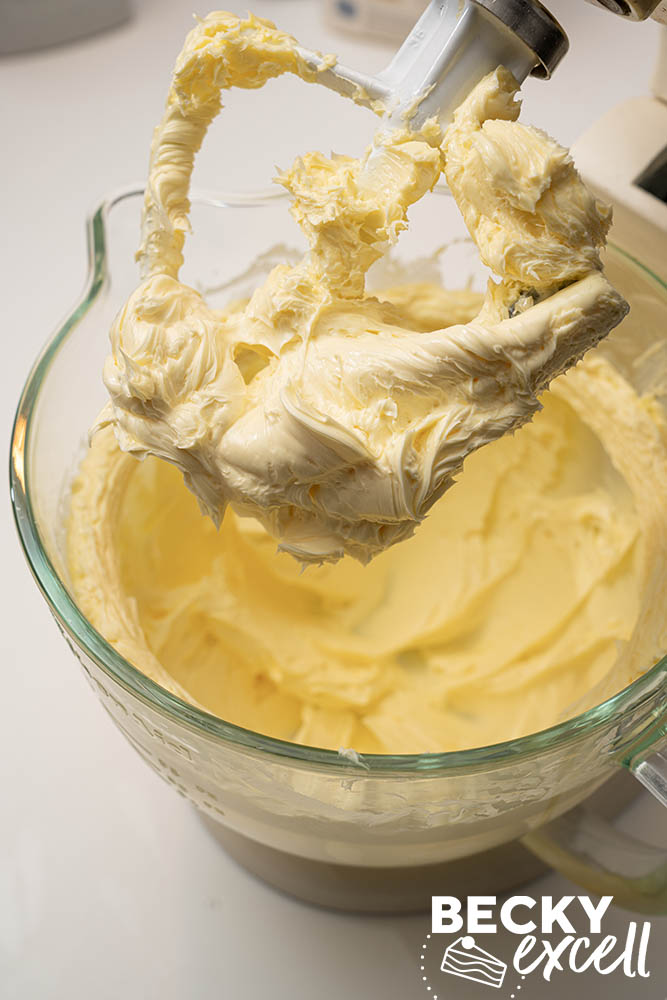
- For the buttercream, beat the softened butter on medium speed for about 5 minutes until very pale and fluffy. I use a stand mixer for this, but an electric hand whisk works too.
- Add the icing sugar in 2-3 stages. Start slowly each time to avoid a mini icing sugar explosion, then turn up to medium-high and beat for about 3 minutes after each addition.
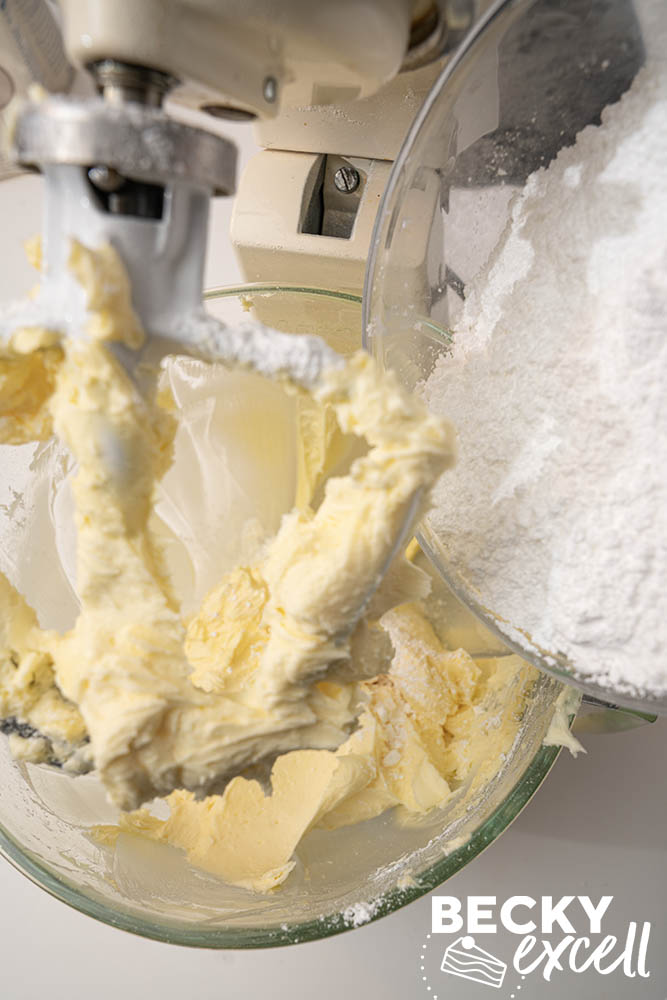
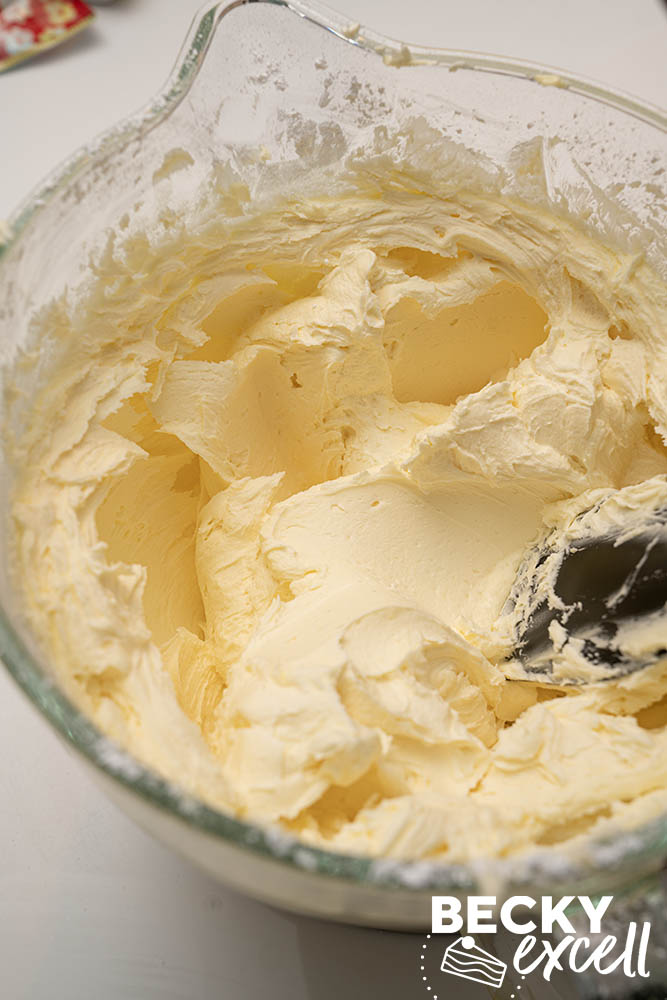
- Add the vanilla extract and mix once more. If the buttercream is too thick to spread, beat in 1-3 tsp milk, a teaspoon at a time, until it spreads easily and still holds its shape.
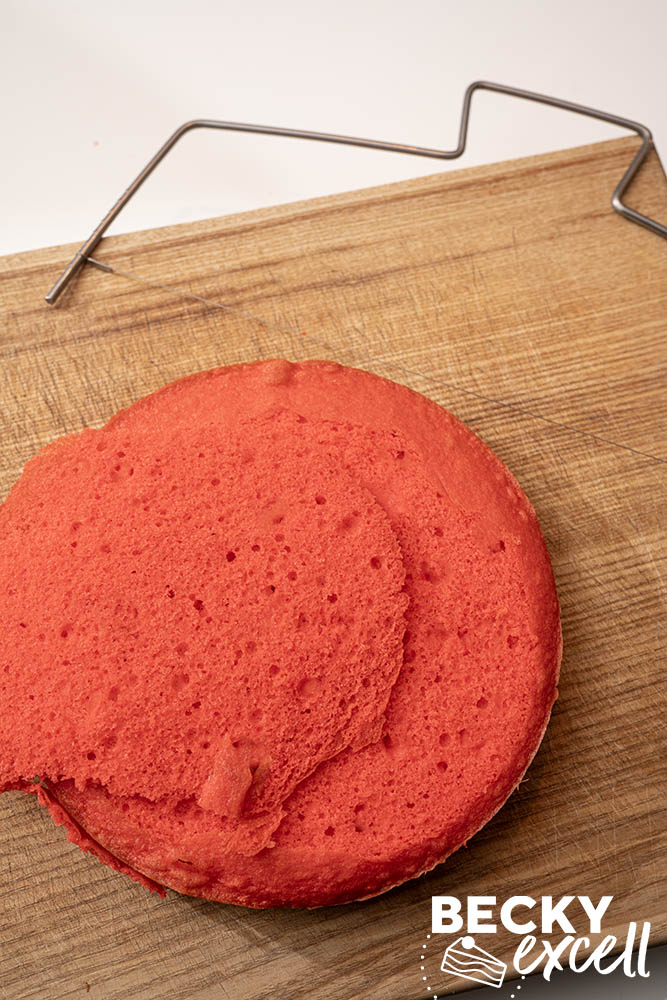
- If the cooled sponges have domed, use a cake leveller to trim just enough off the tops so they stack evenly. A long serrated knife works too if you're careful.
- Secure the red sponge to a cake board or flat serving plate with a small dab of buttercream, placing its flat base underneath. Spread 150g buttercream evenly over the sponge, taking it almost to the edges.
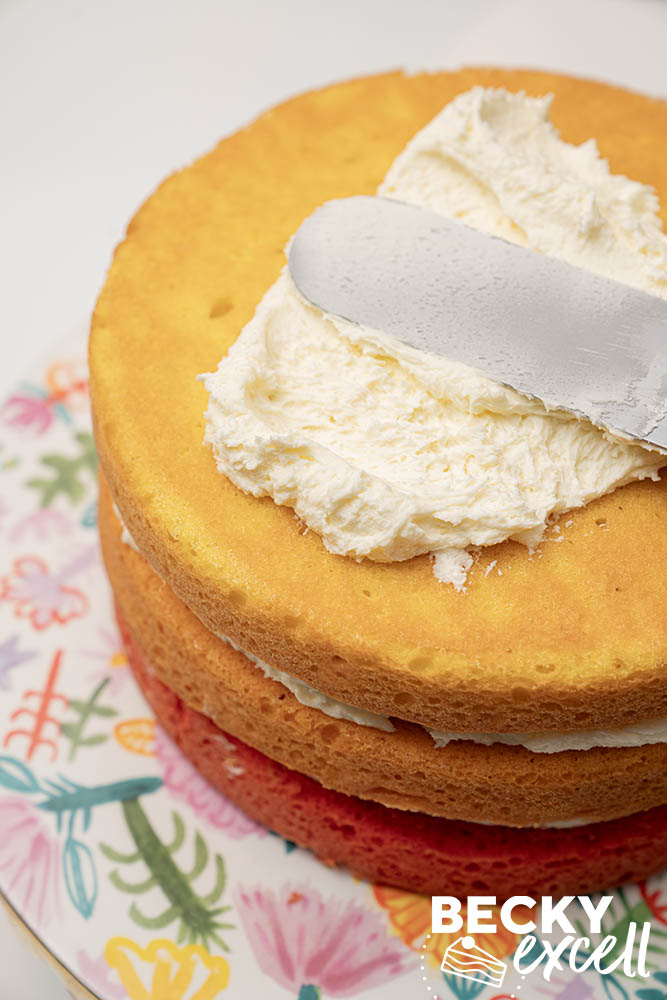
- Place the orange sponge on top and press down gently. Spread over another 150g buttercream, then add the yellow sponge and another 150g buttercream. Finish with the purple sponge, placing its flat base uppermost.
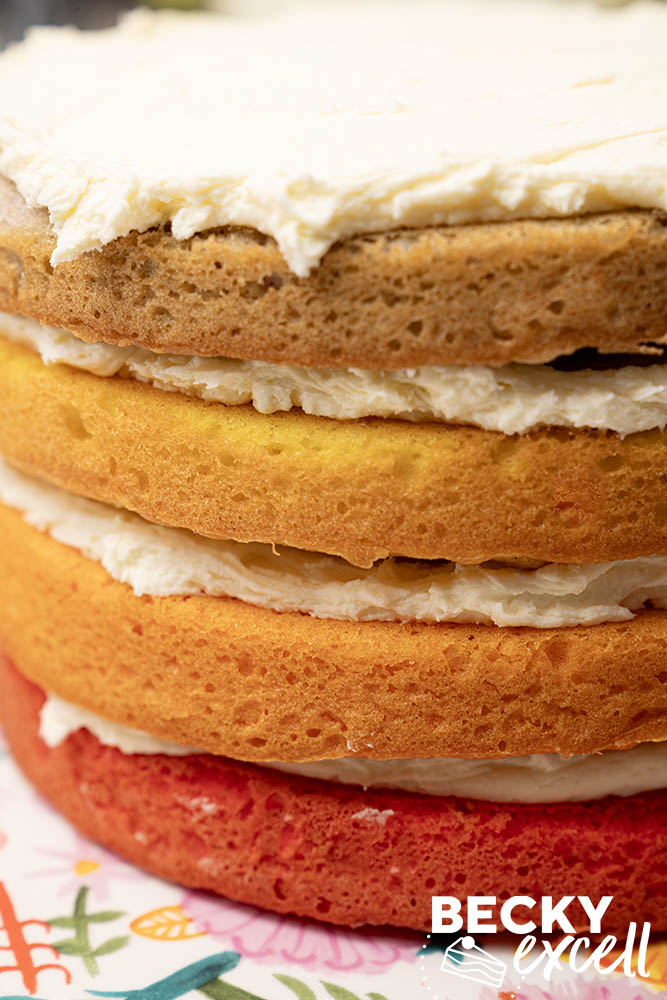
- Use a small cranked palette knife to apply a thin crumb coat to the top and sides, filling any gaps between the layers. Smooth it with a scraper. You should still be able to see the sponges through it. Chill for about 20 minutes until firm to the touch and cover the remaining buttercream while you wait.
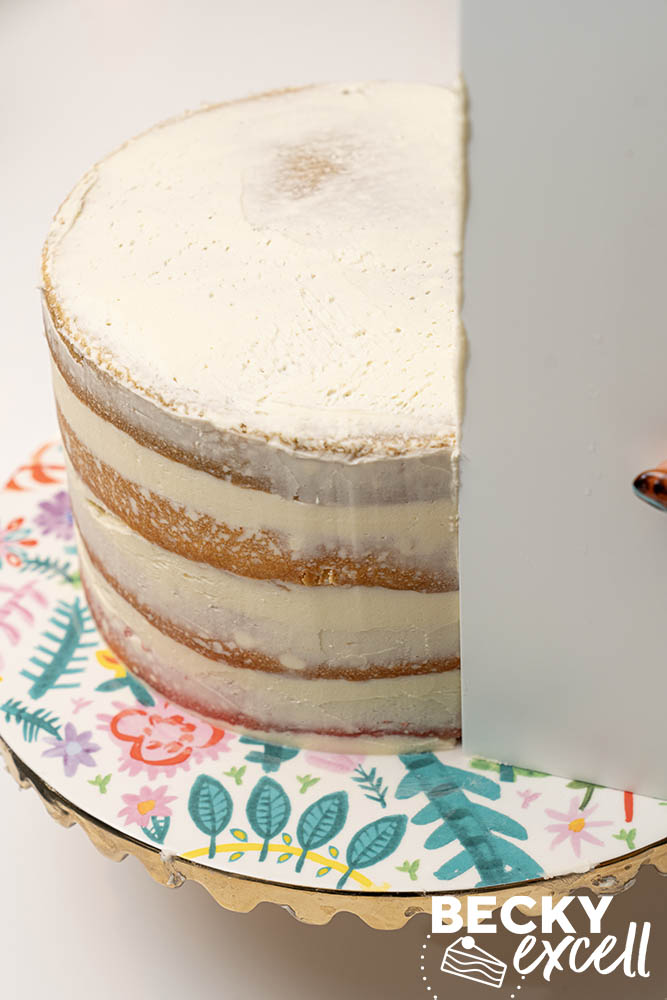
- Apply a generous final coat of buttercream, about 5mm thick, with a large palette knife.
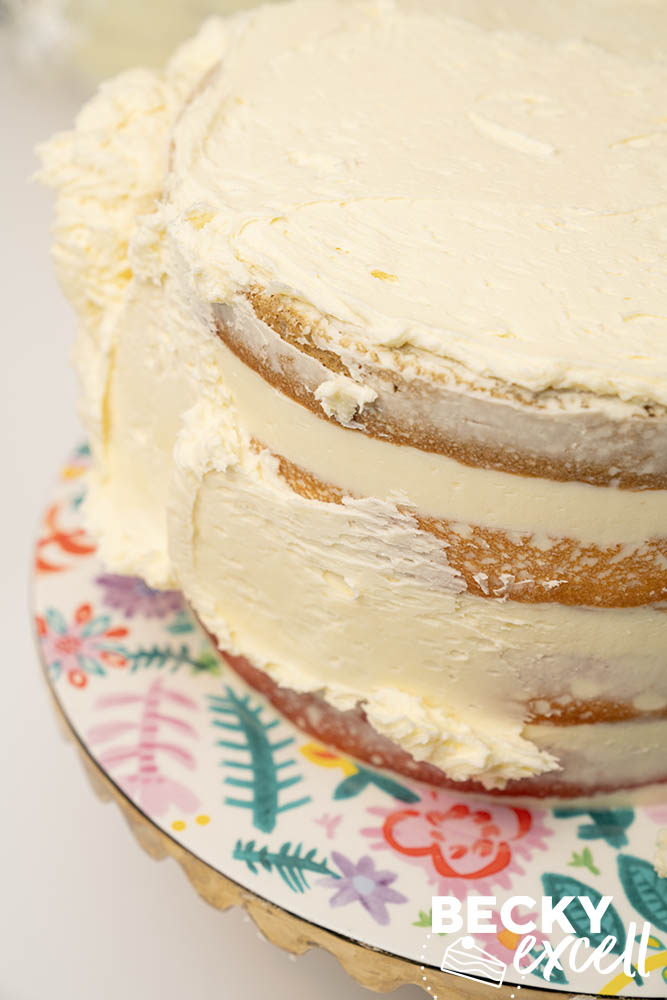
- Smooth the sides with a cake scraper, using a turntable if you have one. Sweep the scraper inwards from the edge towards the centre to level the top. You may have some buttercream left over.
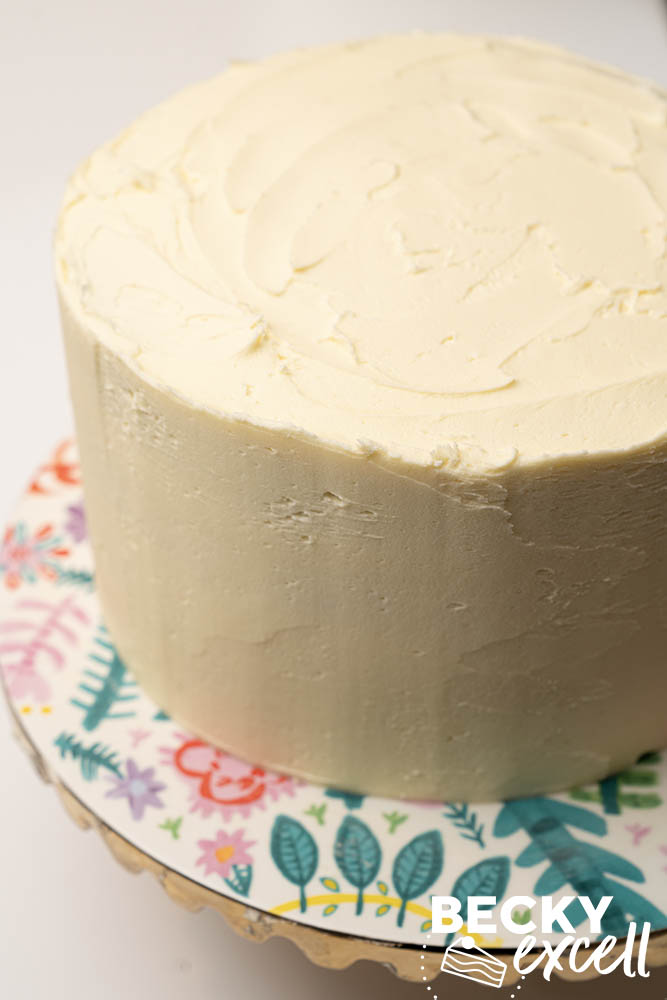
- If you want sprinkle-covered sides, put the cake on a large rimmed tray and gently press small handfuls of hundreds and thousands into the buttercream while it's still soft. Work from the bottom up, turning the cake as you go. Reuse any sprinkles that fall into the tray and leave the top plain. It's a real faff to get an even coat, and the little round sprinkles bounce and roll everywhere, even with a tray.I'd just sprinkle them on top instead. Use the back of a spoon to make a shallow dip in the buttercream, leaving a slightly raised rim all the way round. Scatter the hundreds and thousands into the dip so the rim keeps them from rolling off.
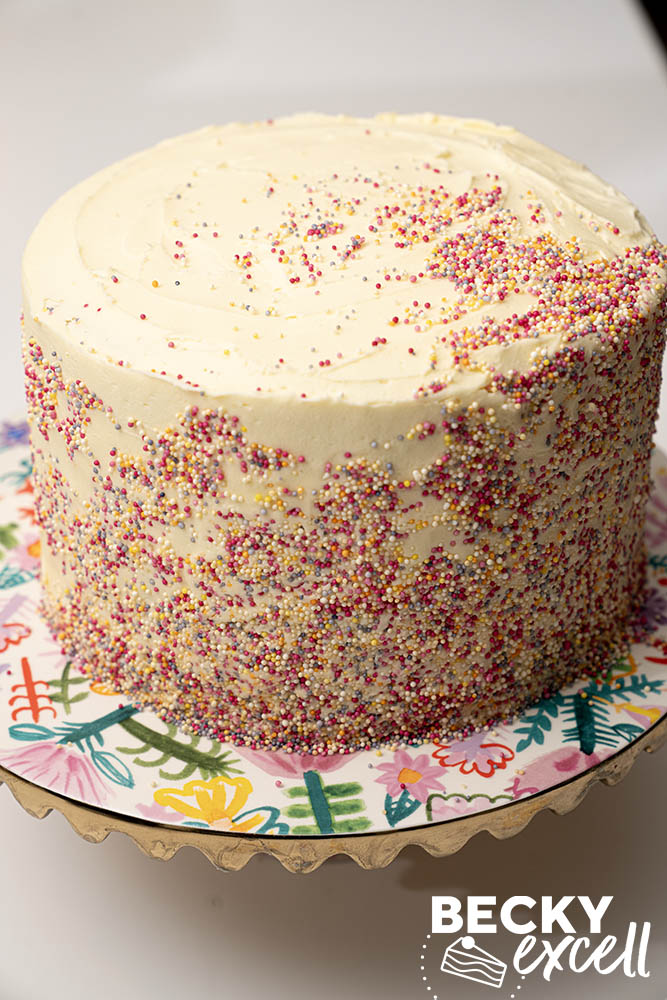
- Refrigerate for about 30 minutes to firm up the buttercream. Let the cake come back towards room temperature before serving.
Nutrition
Serving: 1slice | Calories: 609kcal | Carbohydrates: 72g | Protein: 3g | Fat: 36g | Saturated Fat: 22g | Polyunsaturated Fat: 2g | Monounsaturated Fat: 9g | Trans Fat: 1g | Cholesterol: 137mg | Sodium: 34mg | Potassium: 30mg | Fiber: 2g | Sugar: 61g | Vitamin A: 1111IU | Calcium: 33mg | Iron: 1mg